
⇀ adjustment layers
─────────────────
ADJUSTMENTS

hello hello!
there aren't actually adjustment layers in ibispaint as there are in photoshop, i just called the chapter adjustment layers bc that's what comes closest to what we will be doing lmao
however you also can use the adjustments in filter -> adjust color. i do use them sometimes but i prefer to work with layers because i can be more precise with the lighting using a brush to apply the shadows etc. also i can adjust the opacity of the layers to my liking later on if they don't fit anymore.
anyWAYS let's start
for this chapter i'll be using a different example, bc in the cover with daenerys in it she is already in good lighting and almost everything fits so there's not much need for any more adjusting.
the only thing i'll be doing is adding a shadow towards her neck. that way the head kinda blends in more with the rest of the body and it looks all well-connected.
for that i will make a new layer on top of daenerys' layer and set the blending mode to soft light.
now i'll use a black airbrush with low opacity and brush around the chin and neck. it looks like that:
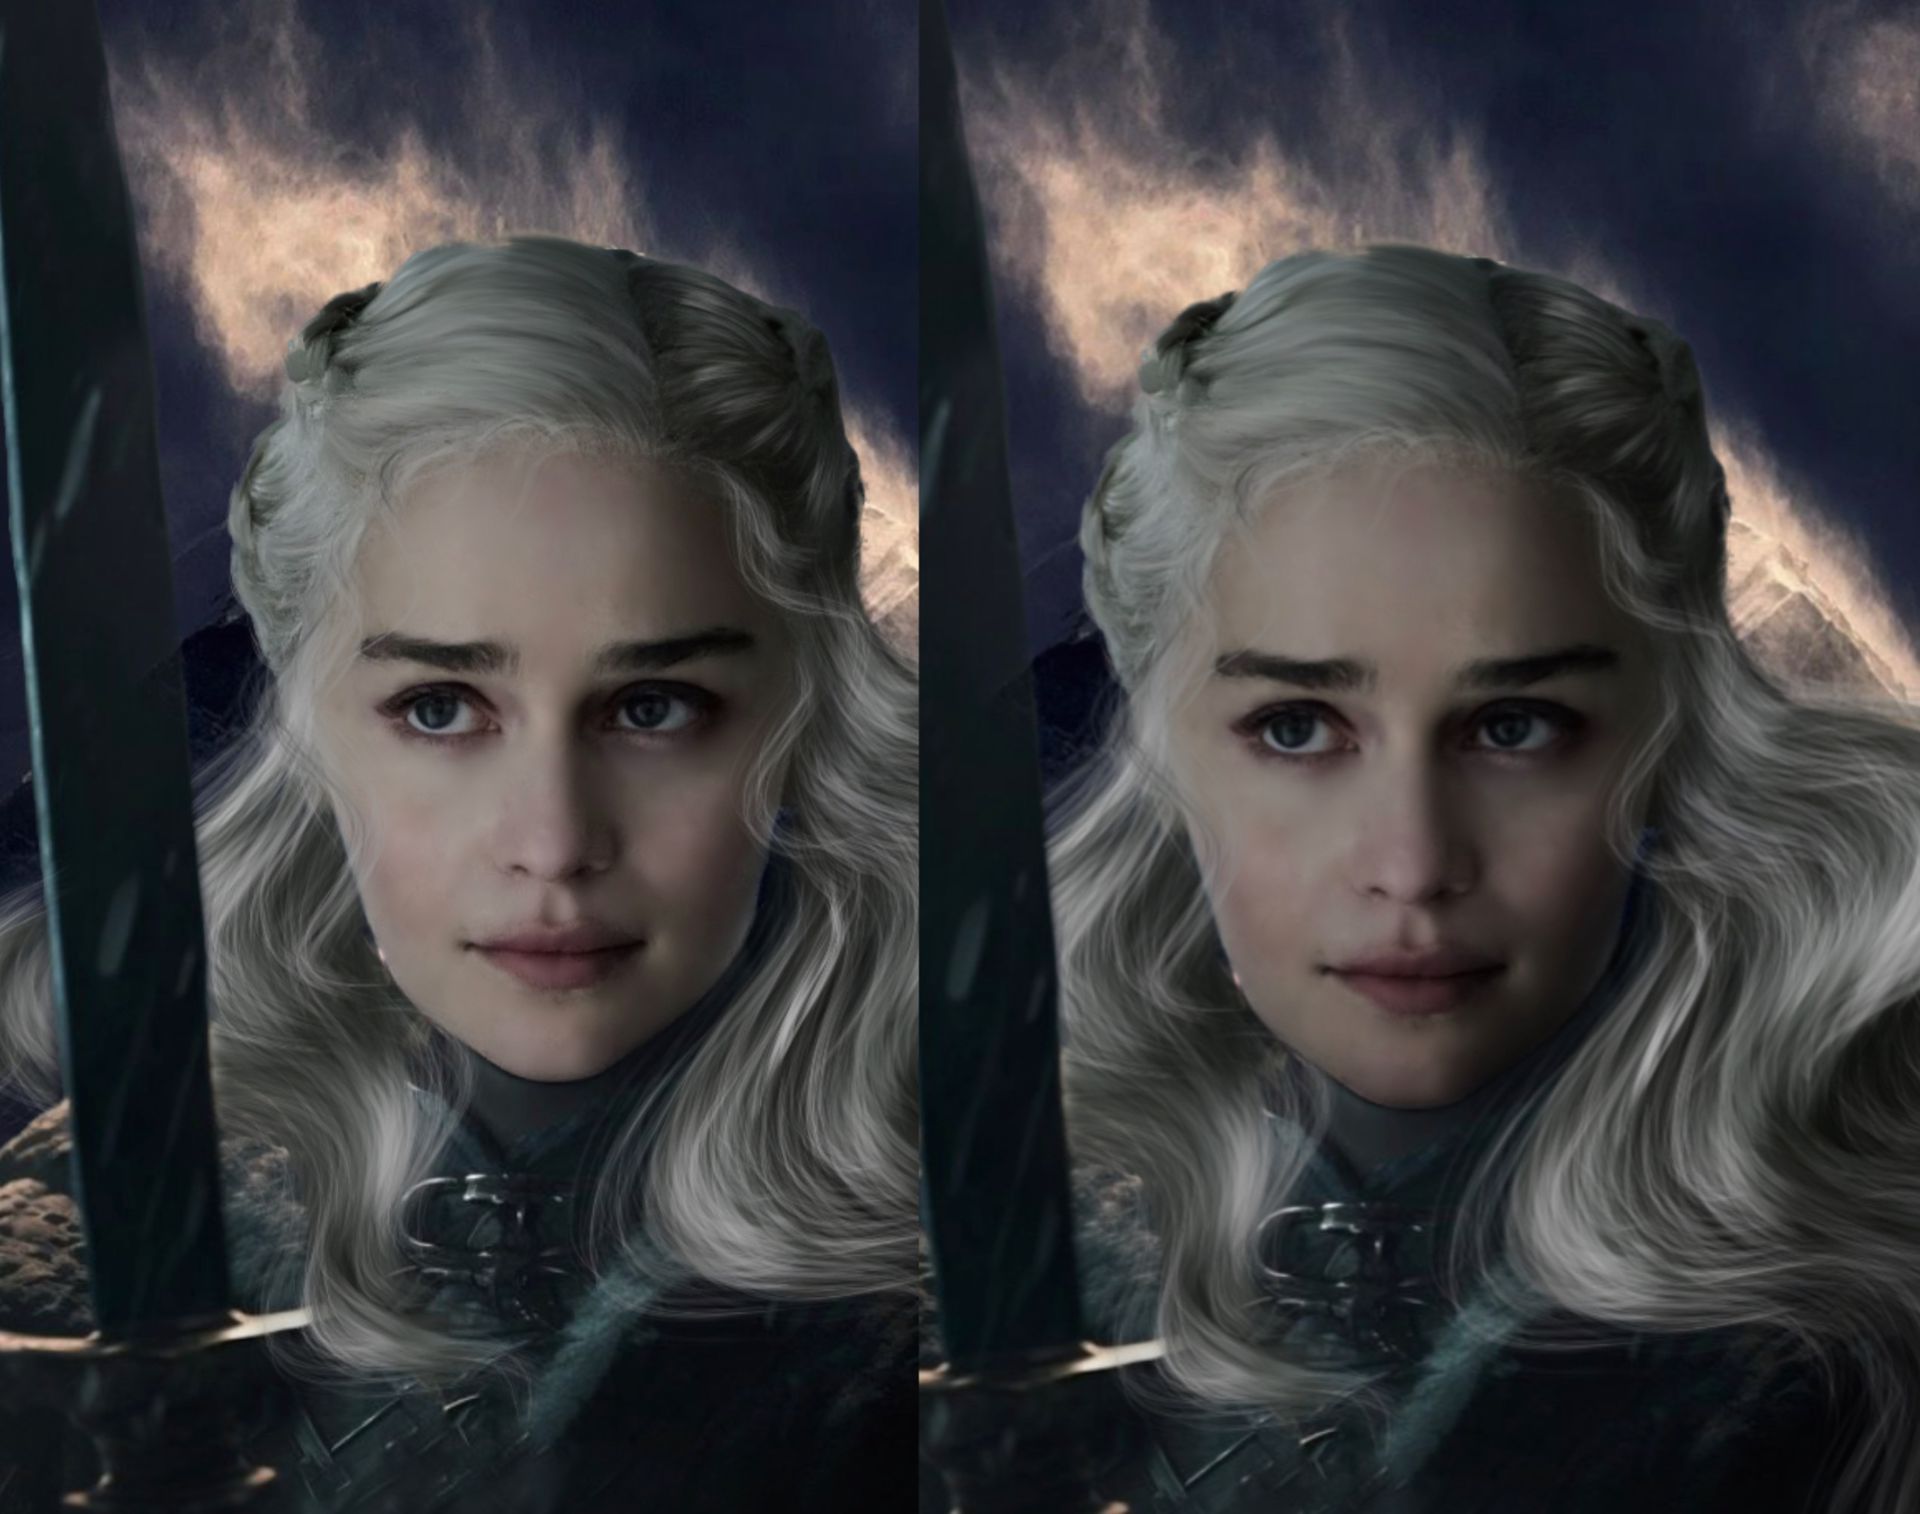
See the difference? it's only small, but when you want your manips to appear realistic and natural looking, adding small shadows and highlights is essential.
blending modes
now onto the blending modes you'll be using to adjust your faceclaims lighting.
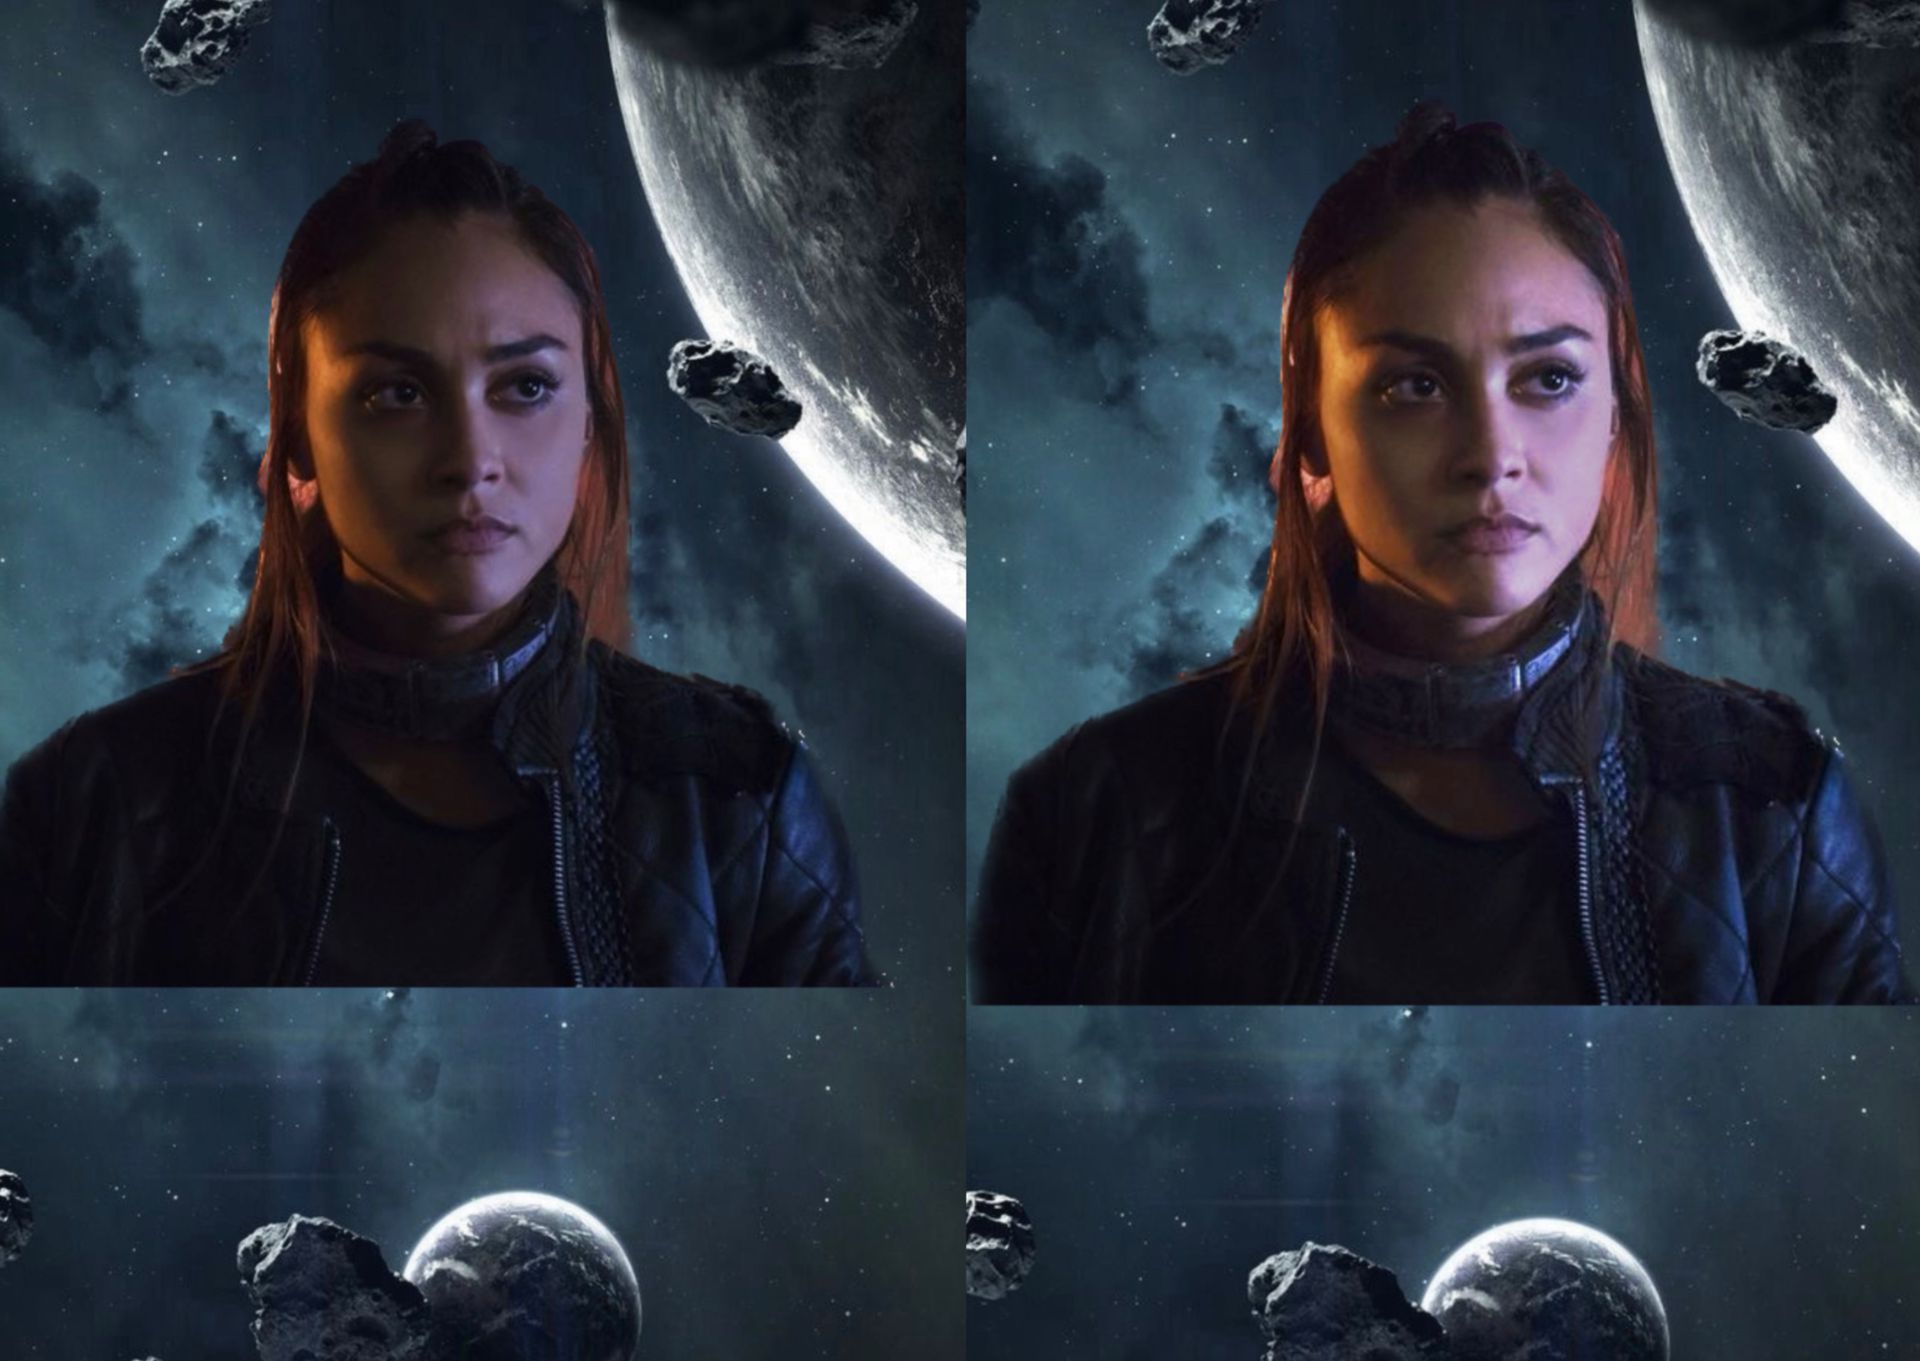
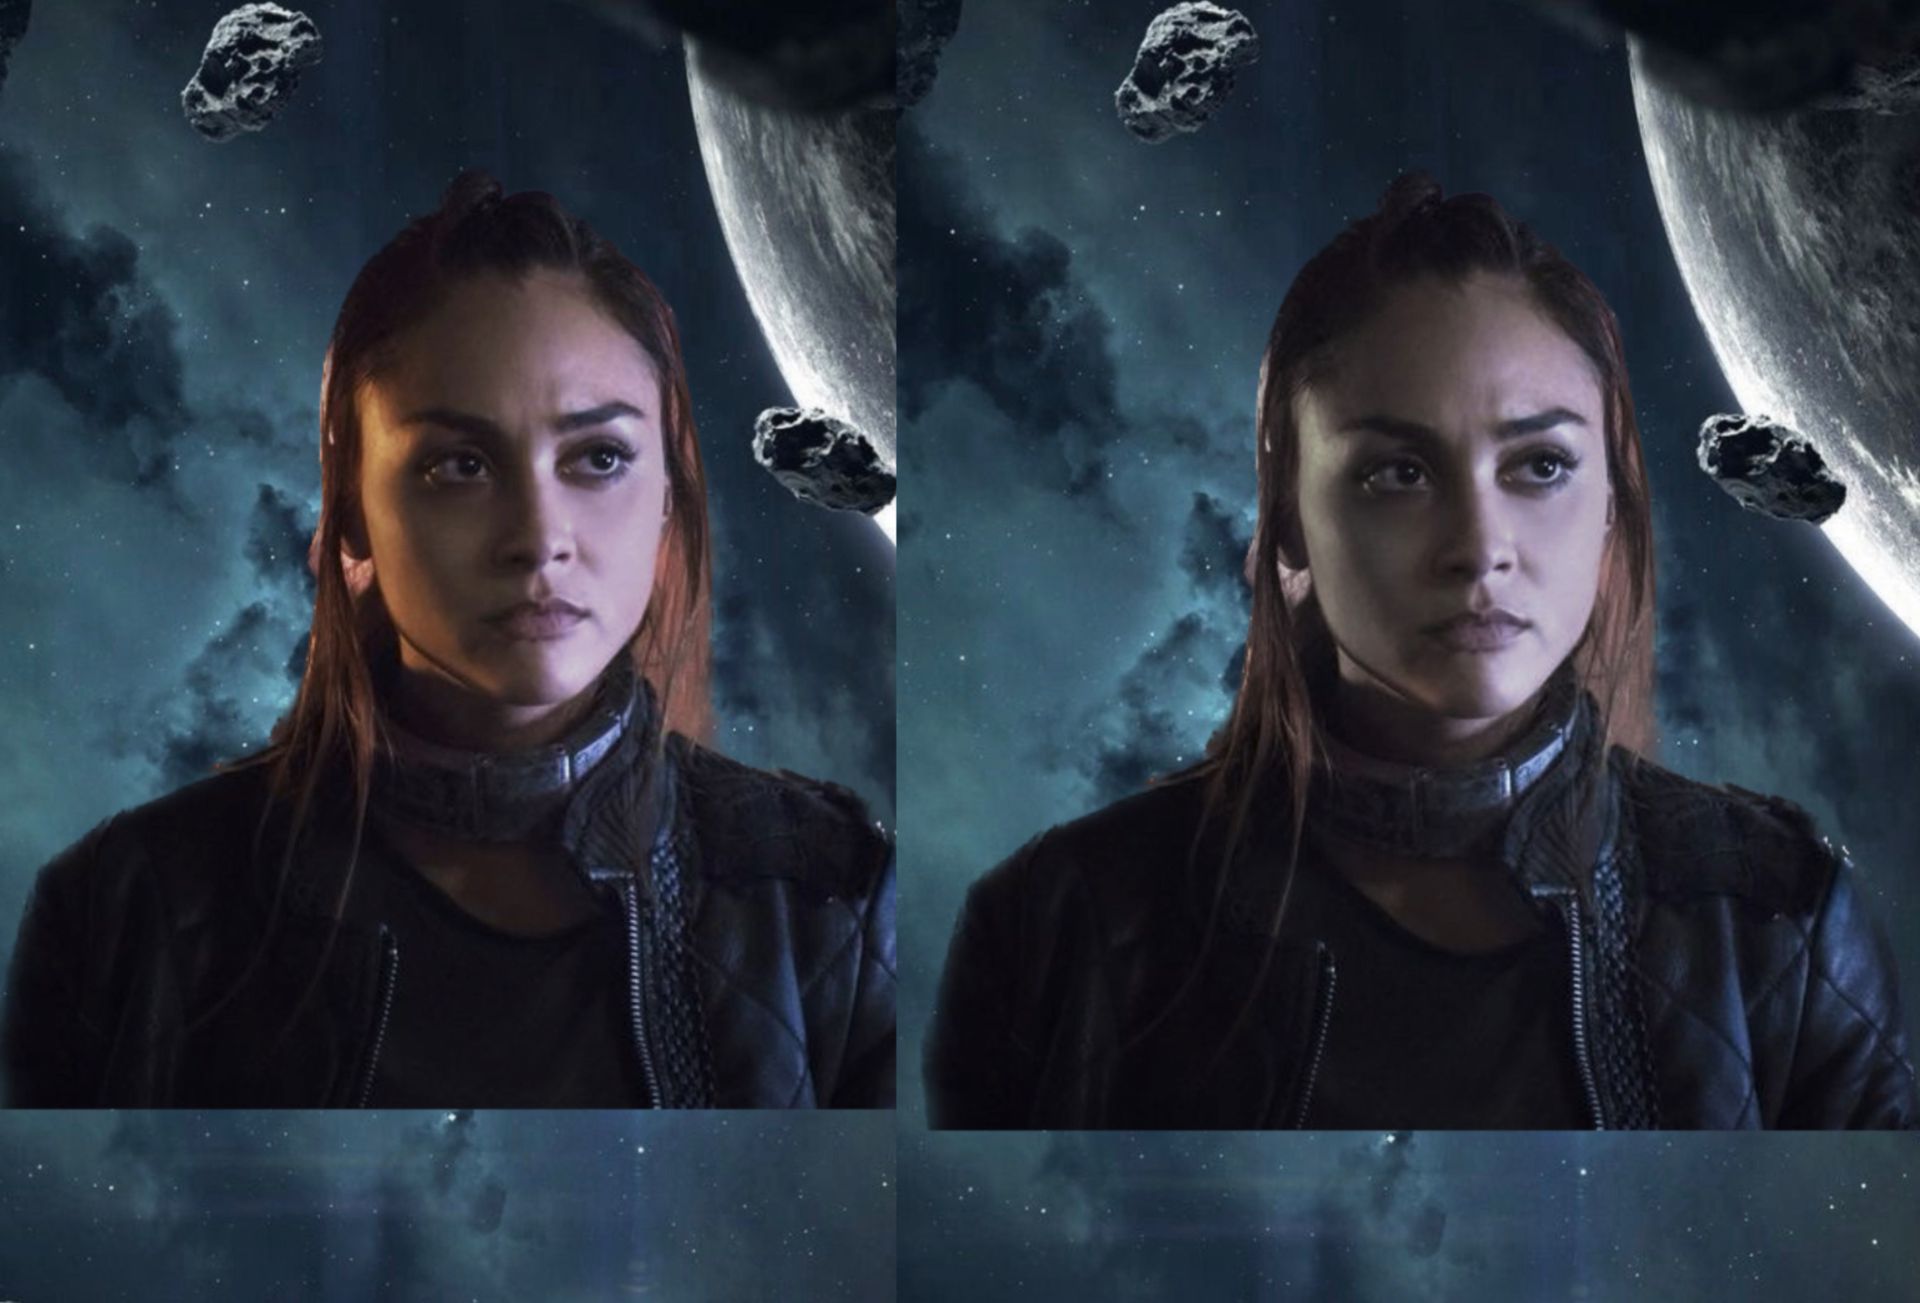
this is our example.

see how the lighting and her coloring doesn't fit? she has too warm tones and it just doesn't look good, so now we're going to change that.
brightness
there are also some modes you might want to use if you want the lighting to be darker.
make a new layer and set the blending mode to soft light. draw with a black airbrush around the barts you want darker. now adjust the opacity depending on how much contrast and darkness you want. if you want to heighten the contrast instead of just making the fc darker, use overlay.
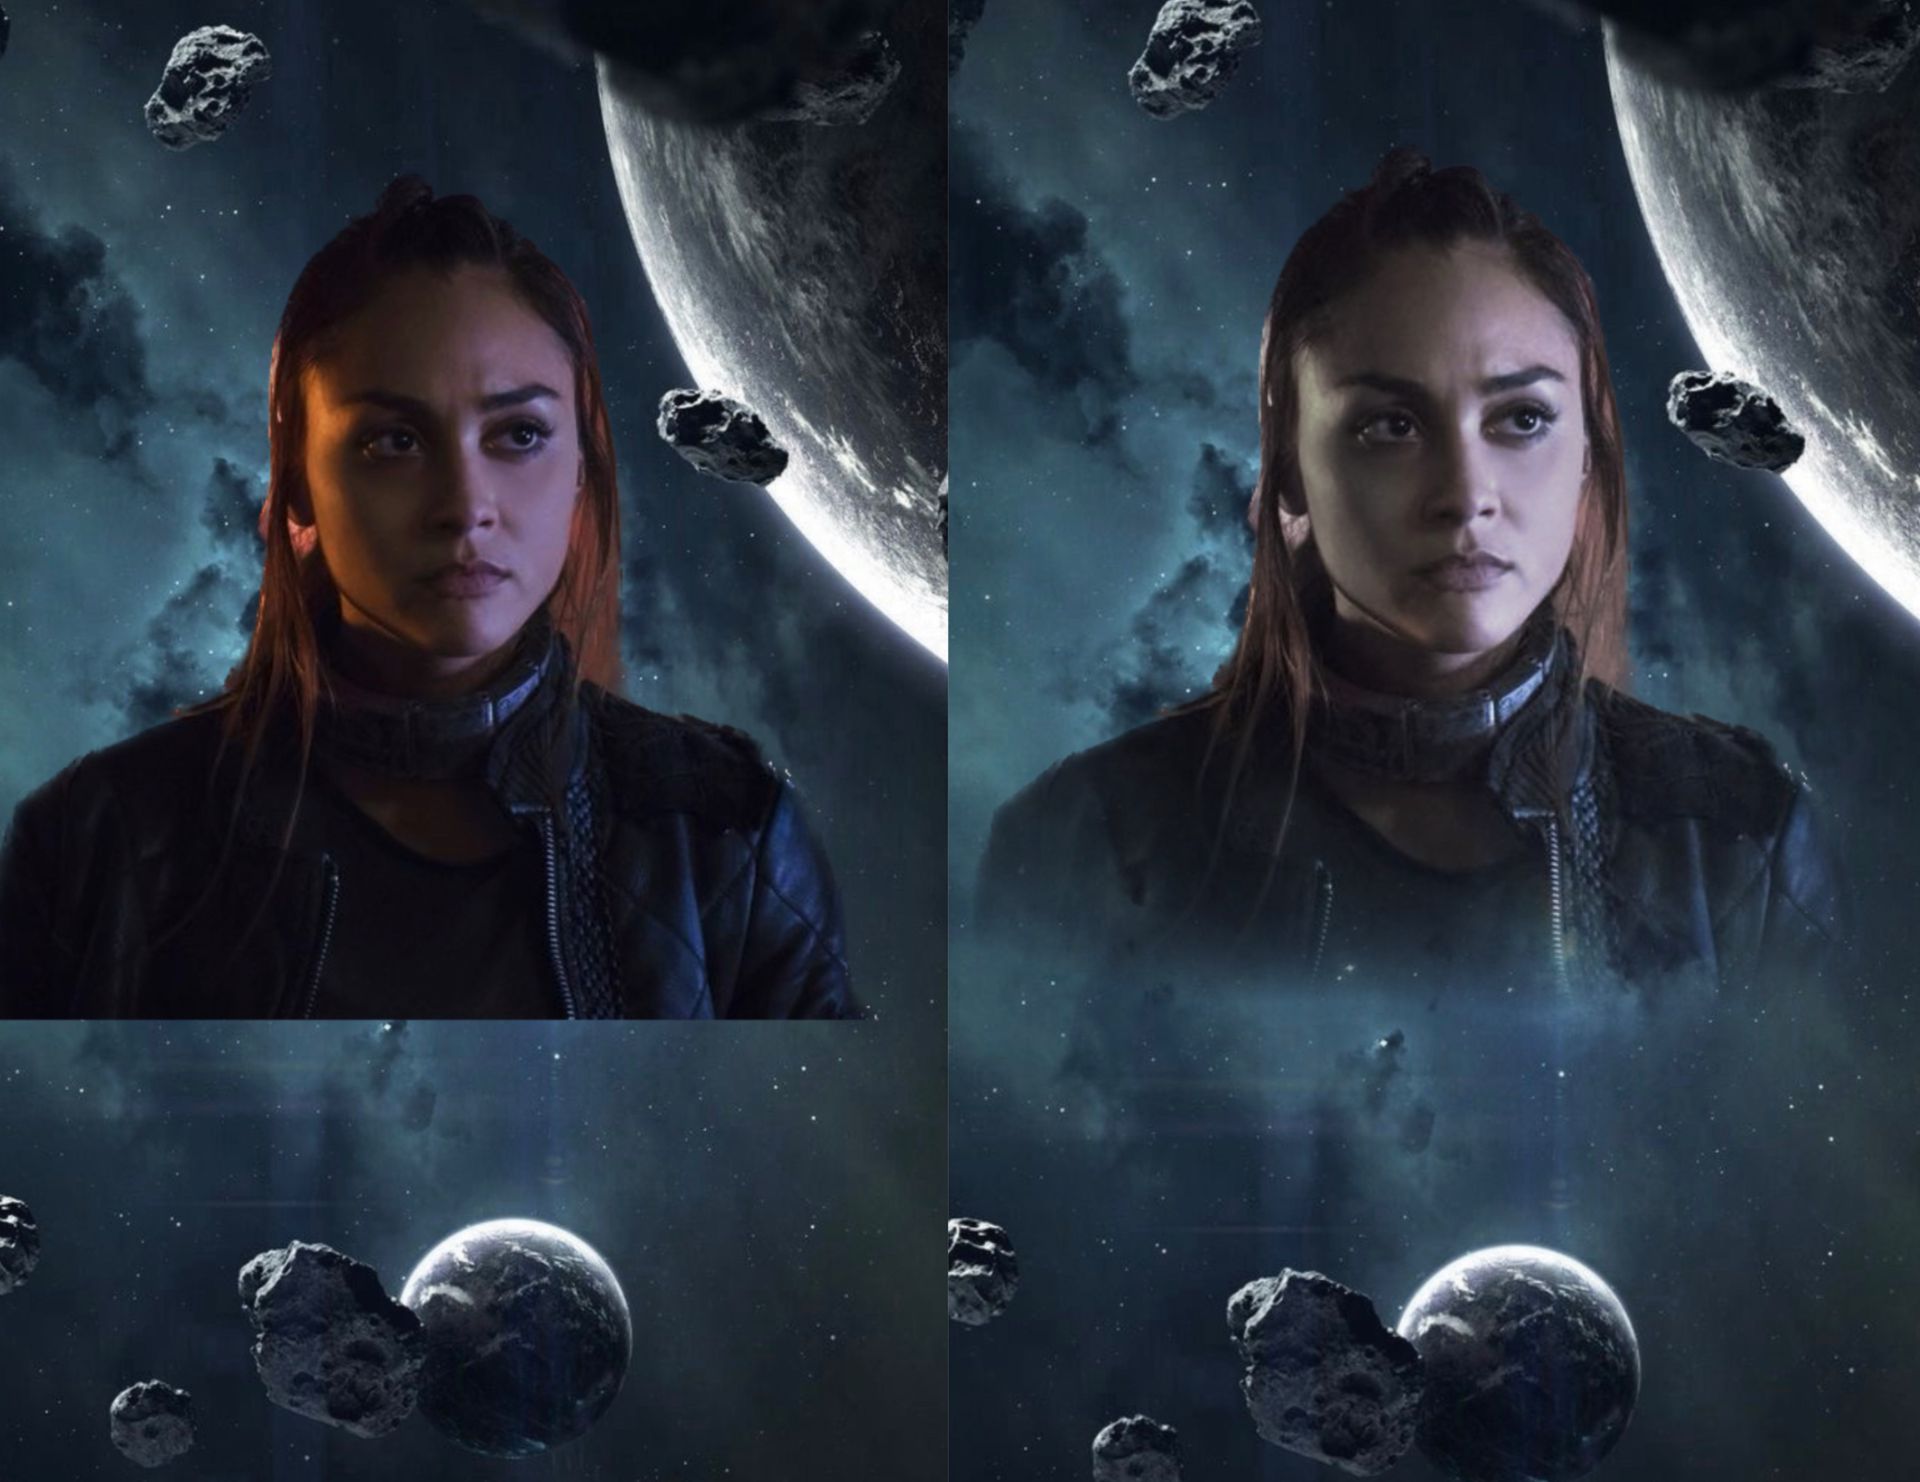
but we don't want this fc darker, we want it brighter. so i make a new layer, set it to overlay and draw with a white airbrush. i've also flipped the background so that her brighter side is turned towards the brighter parts in the background.
saturation
now onto the next step. for lowering the saturation also make a completely black or white layer, set the blending mode to saturation and adjust the opacity, looks like that:
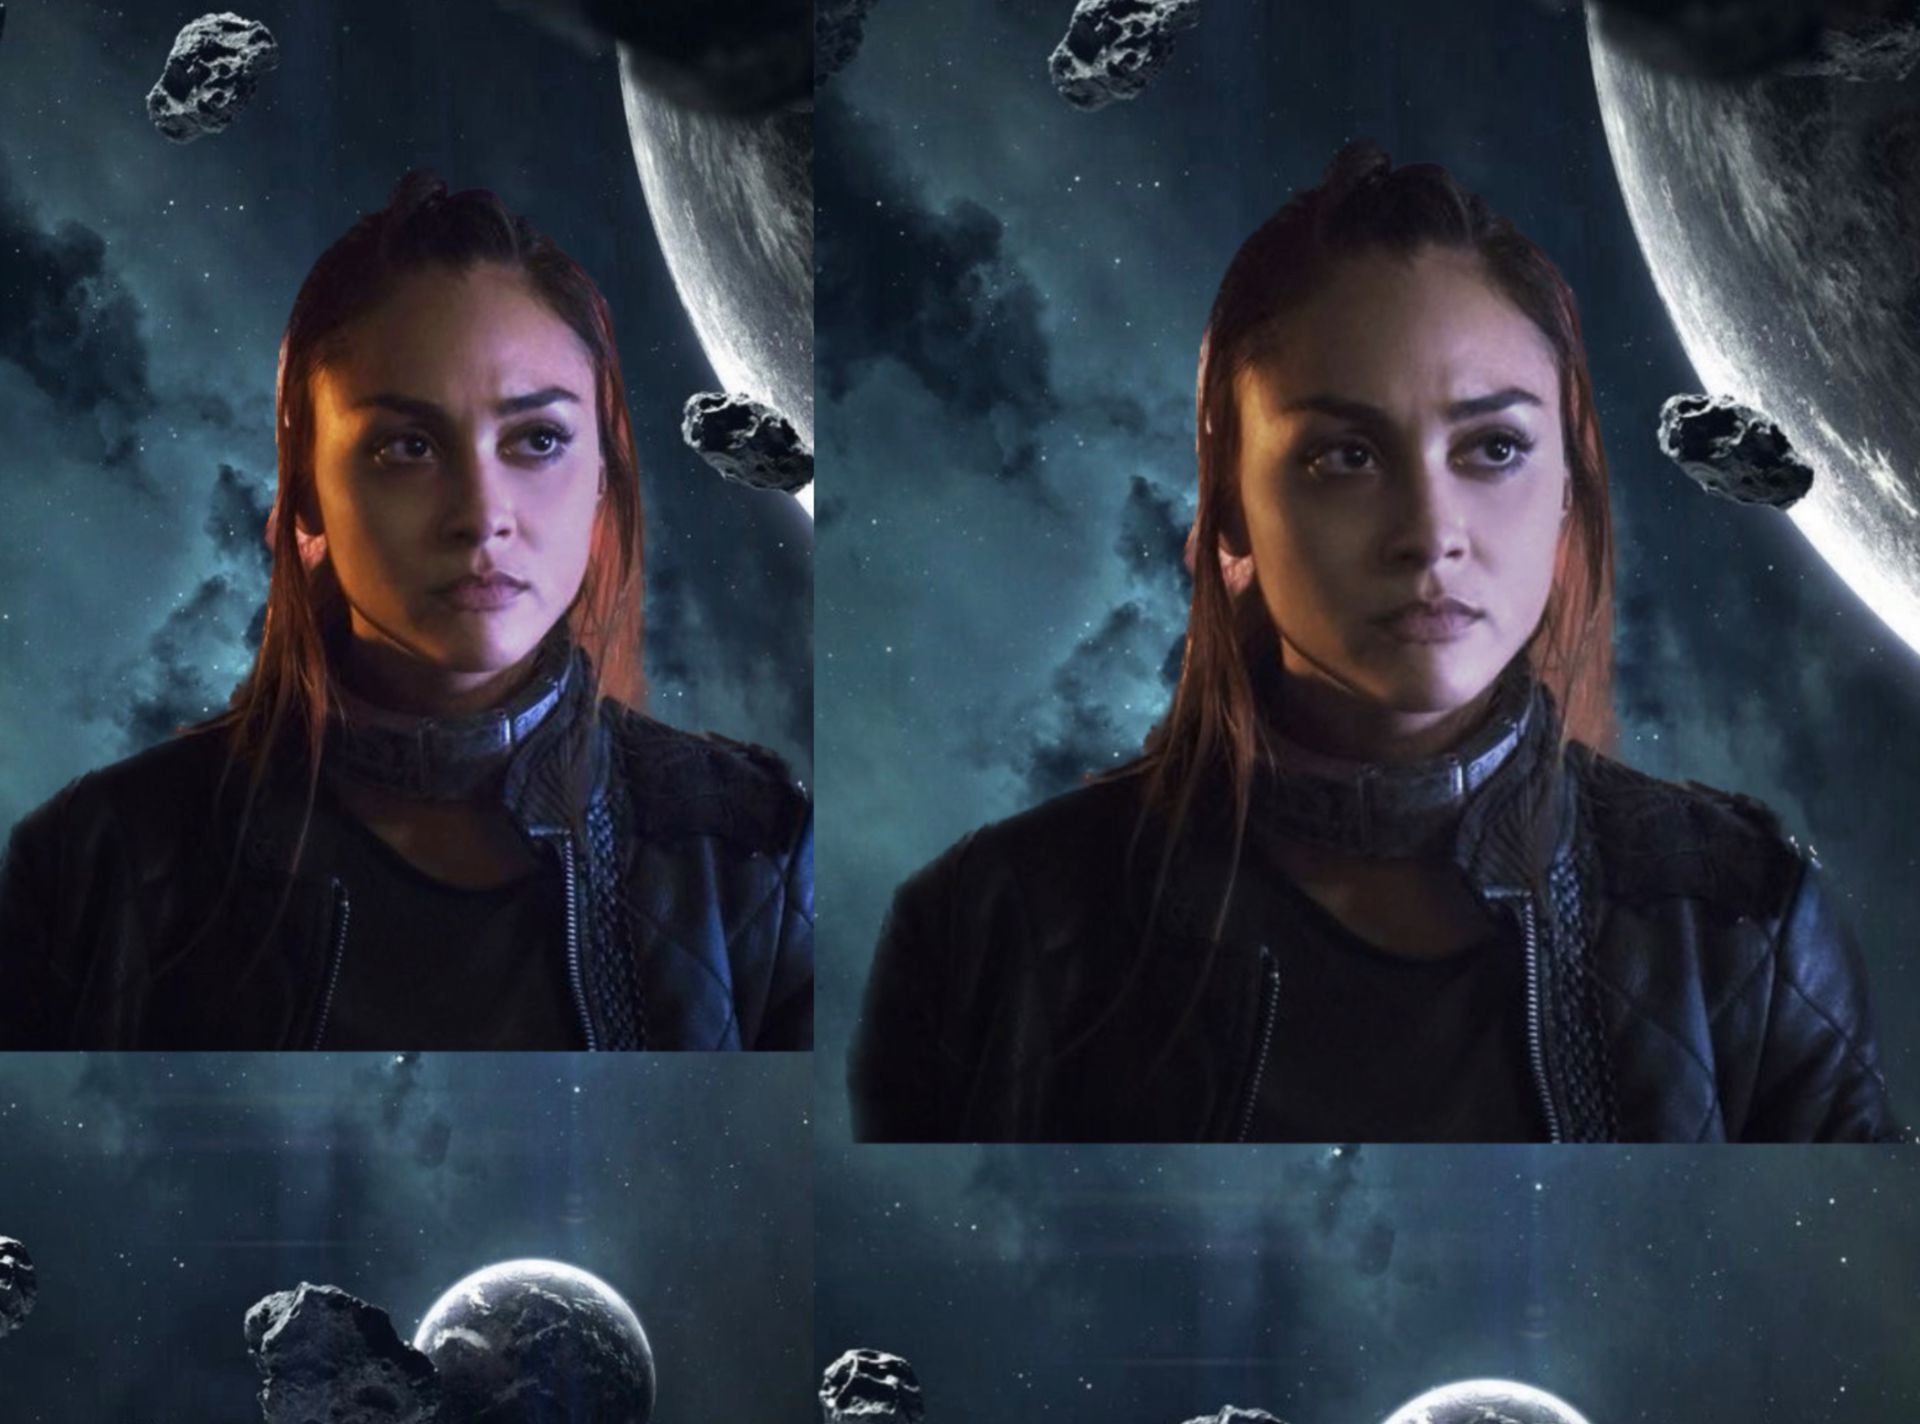
coloring
now we've got to fix that yellow lighting on her left side. for that make a new layer, set it to hue and pick a color from the background. draw with an airbrush that color onto the fc.
yas better.
now when i erase the edges a bit we have a well-blended faceclaim!
that's it!
『 drop any tips <3』
─────────────────

Bạn đang đọc truyện trên: Truyen247.Pro