
𝐓𝐮𝐭𝐨𝐫𝐢𝐚𝐥 𝟏#
First thing I do is come up with the basic gist of the cover. Basically the fandom (if any) characters or objects included and that stuff. Im going to be making a Harry Potter cover with Peyton list (To go off of my cover Wingardium Leviosa (Its a premade btw)
Then I go onto Pinterest and find the photo of Peyton I want and the backround photo I want.
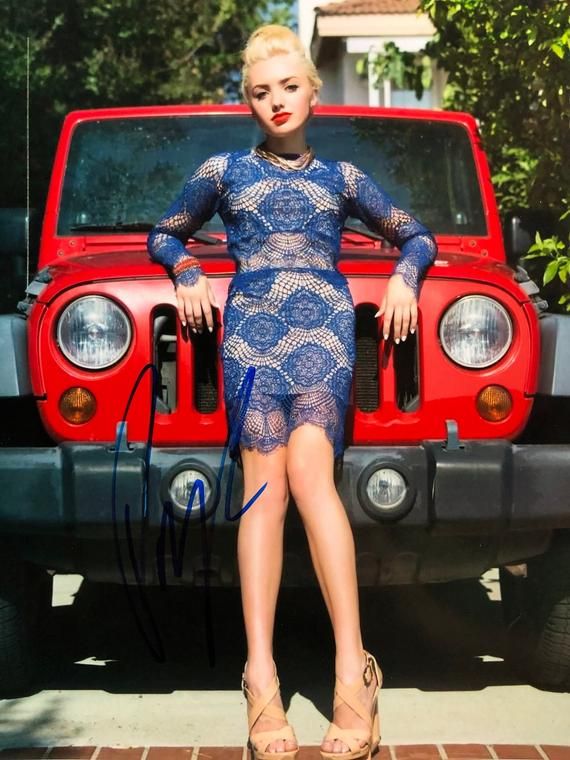
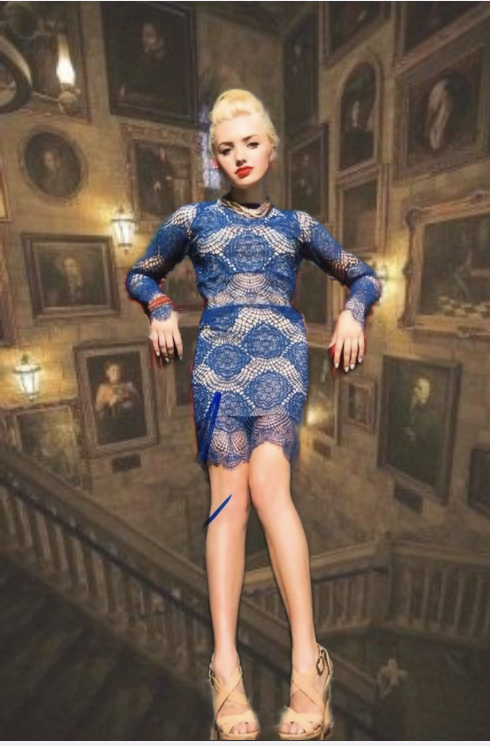
I ended up picking this photo,
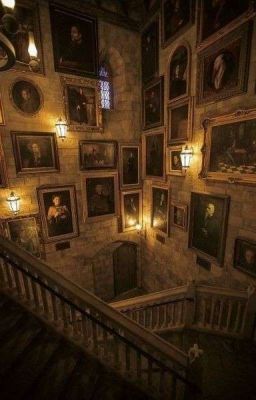
And this one.
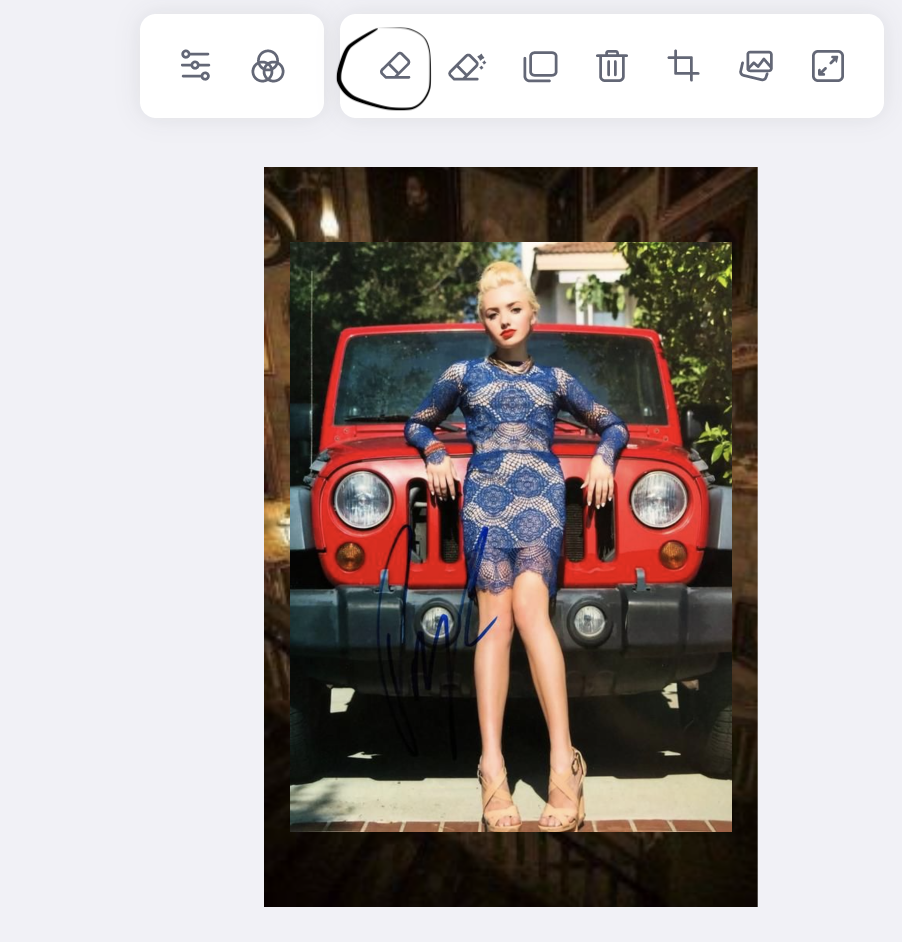
Then I wen onto picsart.com a free browser and tapped on Pinterest poster

After that I put backround on and the photo. After that, click on the photo and press the eraser.
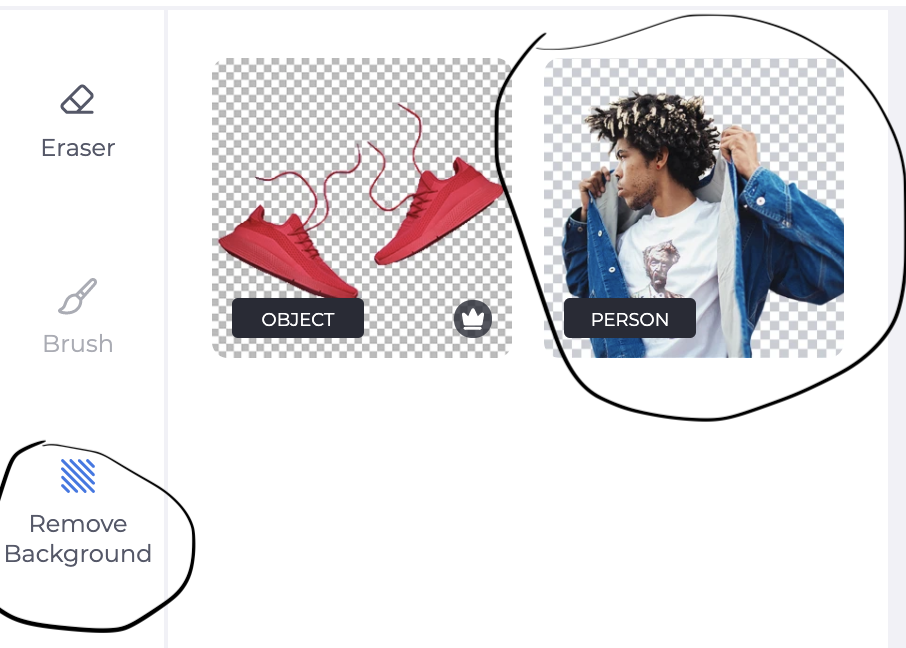
Then press remove backround and after that, person.
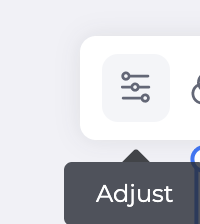
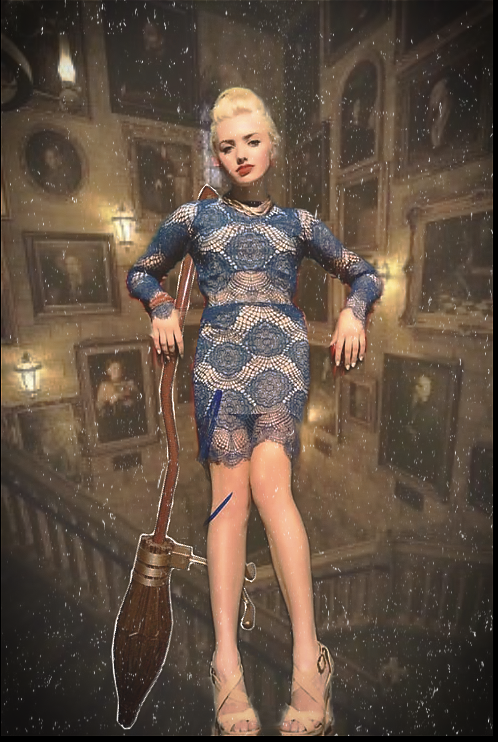
After that the photo should be cropped decently so just clean up the edges with the normal eraser after that for maximum crispness. After that I tap on the backround, then adjust
And tune down the opacity a bit. This step is optional.
It should look something like this,
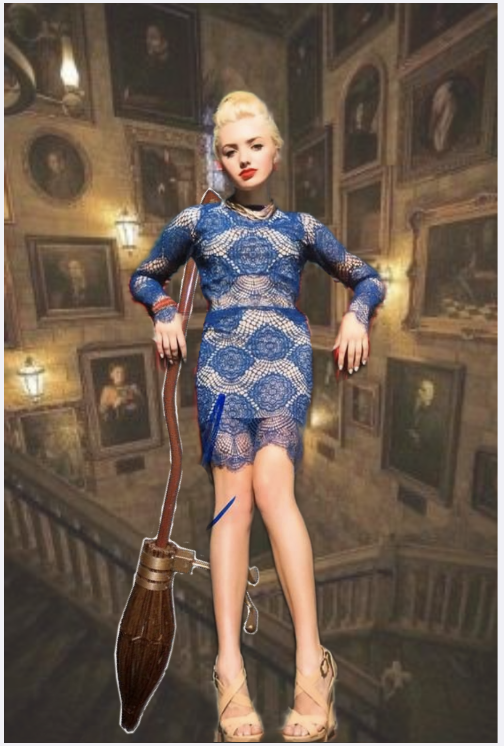
You might want to find something for her to lean on for realness, for instance a broom. (Not the best Idea but i'm out of Idea's 😂 ) (I found the broom on stickers btw)

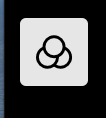
Then I shift over to Polarr. Then I Tap the three circle icon
And choose a good filter.
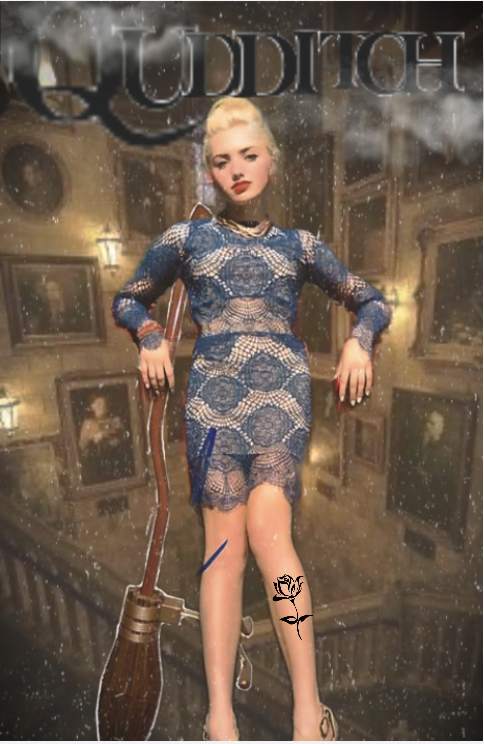
After that, add some final details like for instance some dust and scratches.
(Tap the three stacks icon to get to these edits)
After that, press this button
And adjust to whatever seems fit. Once you're done adjusting and adding it should look something like this. I recommend adjusting in the area's of light, detail and maybe vignette. Whatever seems fit.
After that, add text. For instance mine will be named "Qudditch" I use dafont.com for my fonts.
Then you find a font you like, for instance tornado, then download it. Then you go onto polarr, press add text, the font you have on (Most likely san Serif) and import font. Then you drag the folder you downloaded, pick your version of the font and voila.
After adding the font I return to picsart and add final edits like stickers. Clouds are also on polarr but I got mine from picsart.
Then you're done! Sorry If this wasn't the best tutorial, Im making more later.
Platfroms/formats used: picsart.com, polarr, dafont.com and canva. This took me around 30-45 minutes but once you get used to making them like this it gets easier. Don't be afraid by the numbers I just spent 10 minutes wondering what I should add to the cover 🤣
Credit to potter_spellbook for her amazing tutorial that inspired me to make my own and helped me elevate my covers.
Bạn đang đọc truyện trên: Truyen247.Pro