
🍂•𝐓𝐮𝐭𝐨𝐫𝐢𝐚𝐥 1: 3 𝐩𝐢𝐜𝐭𝐮𝐫𝐞𝐬 𝐛𝐥𝐞𝐧𝐝 𝐞𝐝𝐢𝐭•🍂
Hey there everyone!💖
Hope you all are doing well. am here with our first tutorial. Basically about a simple blend edit.
I will try my best to explain with the screenshots. At some steps the screenshots weren't taken due to picsart's privacy policy. Still, I will try my best to reach you all.
Let's start!
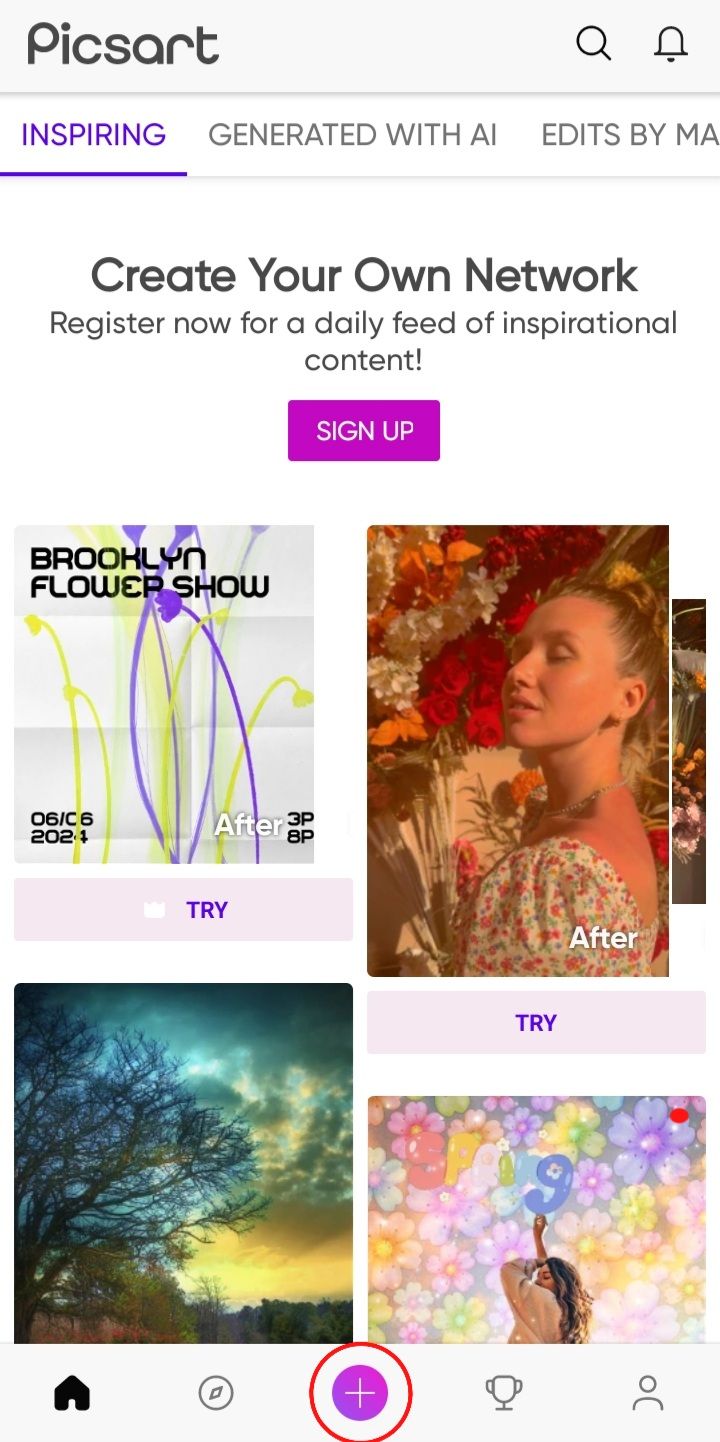
Step 1 : Open picsart, and click on the '+' or add sign on it's bottom.
Step 2 : Click on the 'edit a photo' option on it's top.

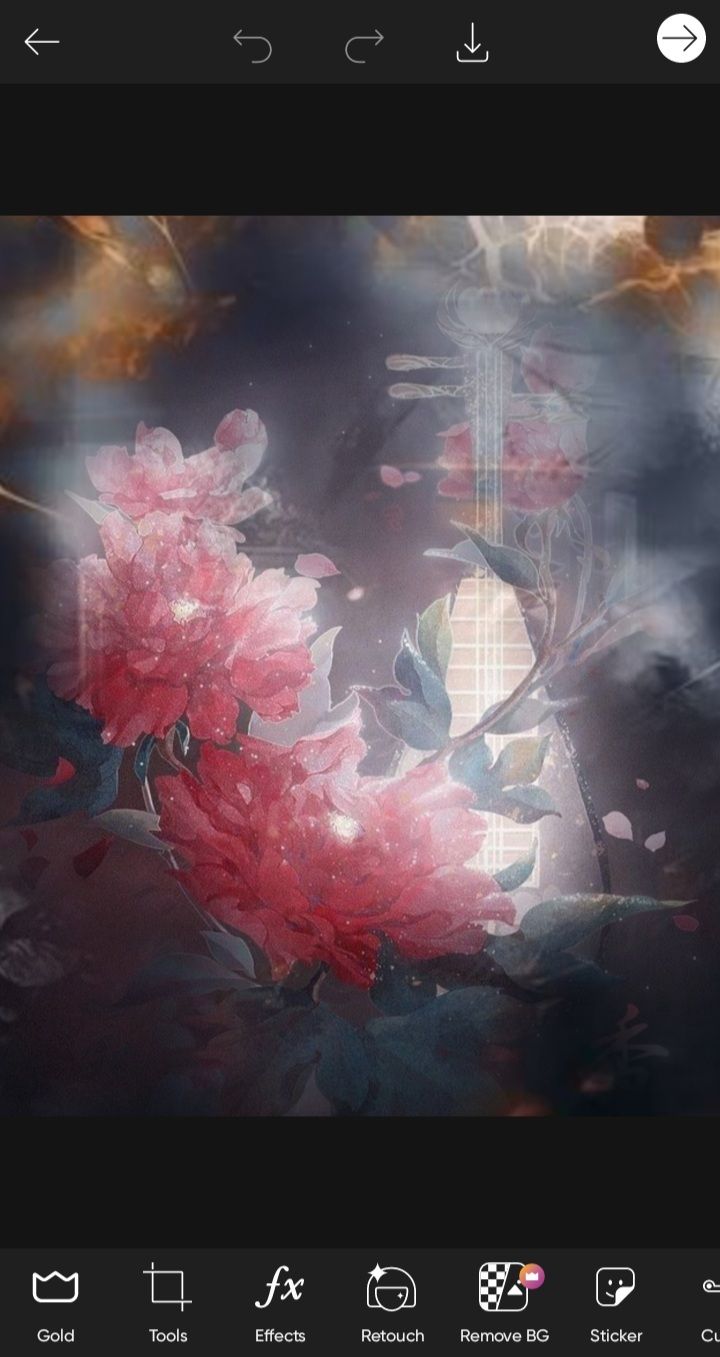
Step 3 : Select a background of your choice.
Step 4 : Scroll to right and click on "add photo' button on it's bottom. You can have photos of ur celebrity/idol from pinterest or any other social accounts of them.

I chose these 3 photos of Shraddha Kapoor. (you can have of anyone as your wish)


Step 5 : So now let's come to the main topic. 'blending'
(Blending is really important. So kindly be careful doing it.)
(I wasn't able to take screenshot of this step as it wasn't permitted by picsart)
As you select the 3 pics, the pics will appear. Now, click on any one of the pics and click on the "Eraser" like button on the top of your screen.
As soon as you will click it, four options will appear-: Select, Restore, Erase, Invert.
Click on "Erase".
Set the size, opacity and hardness.
As required.
And now erase the sides of the picture which will make it look blended.
(Do the same with the other 3 pictures)
Now arrange the pics in the format you feel right. And then click on the 'tick' option in it's right corner.
Click on the 'sticker' option in the down.
click on search option and search for 'white line' and then press on the second sticker that appears.
A white line sticker will appear on the screen. Press on the white line and select the 'blend' option in the down.
Many options will appear. But u need to click on the overlay ones.
Now place the sticker on either sides of your edit.
Like this-:

After applying the sticker, click on the tick option.
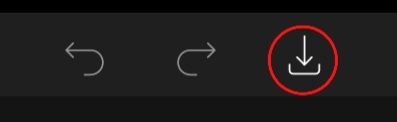
So we completed our work in picsart. Now save your edit in gallery. By clicking on the download option on it's top.
Step 6 : Open polarr and click on the image like option in it's left corner.

Now click your edit from the pictures and click on select. Choose any filter you feel as suitable and then click on Instant export.
Here's my edit after applying a filter to it.
Step 7 : now open remini and click on your edit from 'all photos'
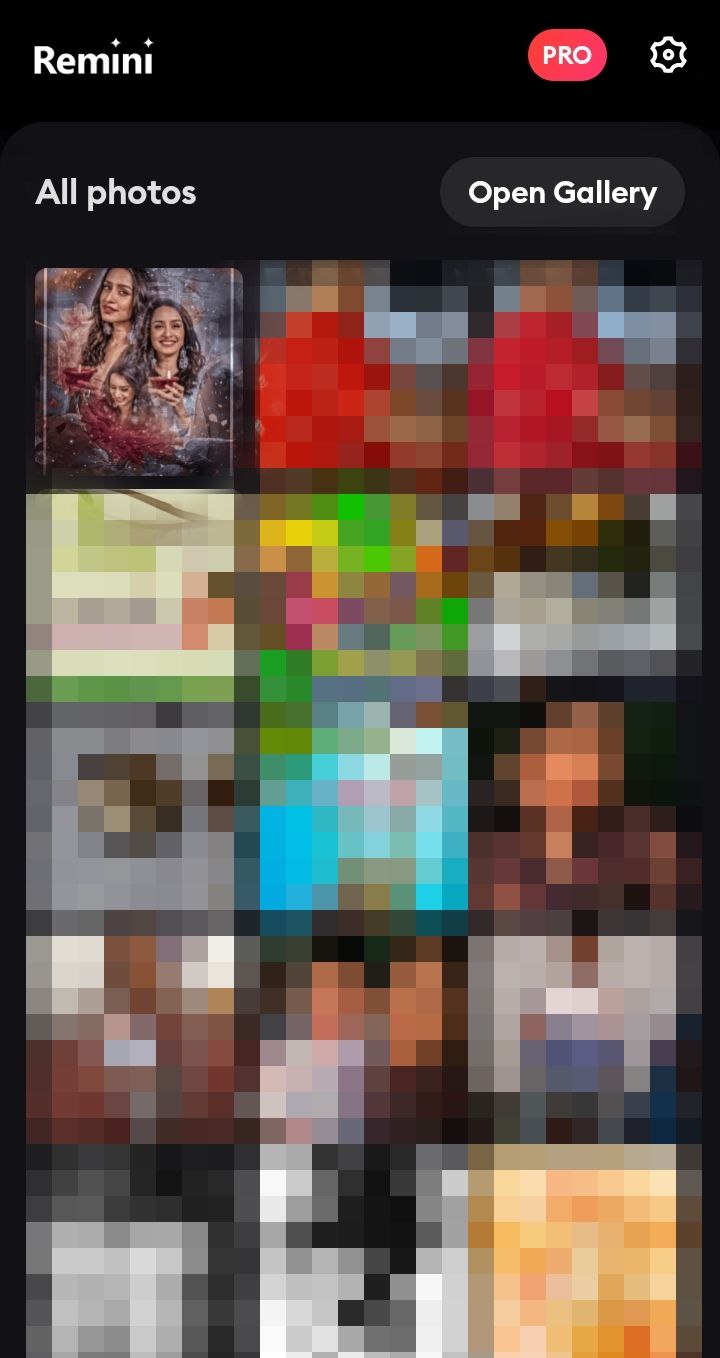
Now an ad will be shown. After the ad, you can see a enhanced version of ur edit. And then click on the download button on it's right corner.
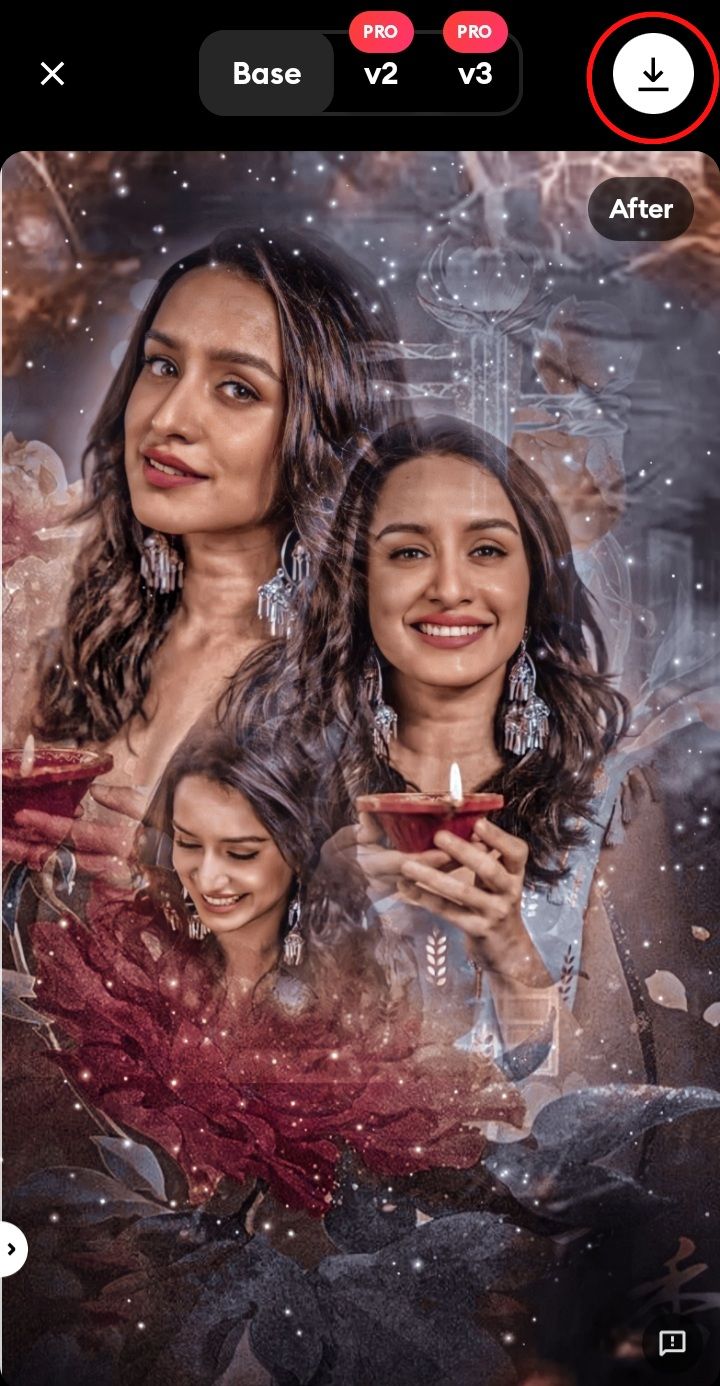
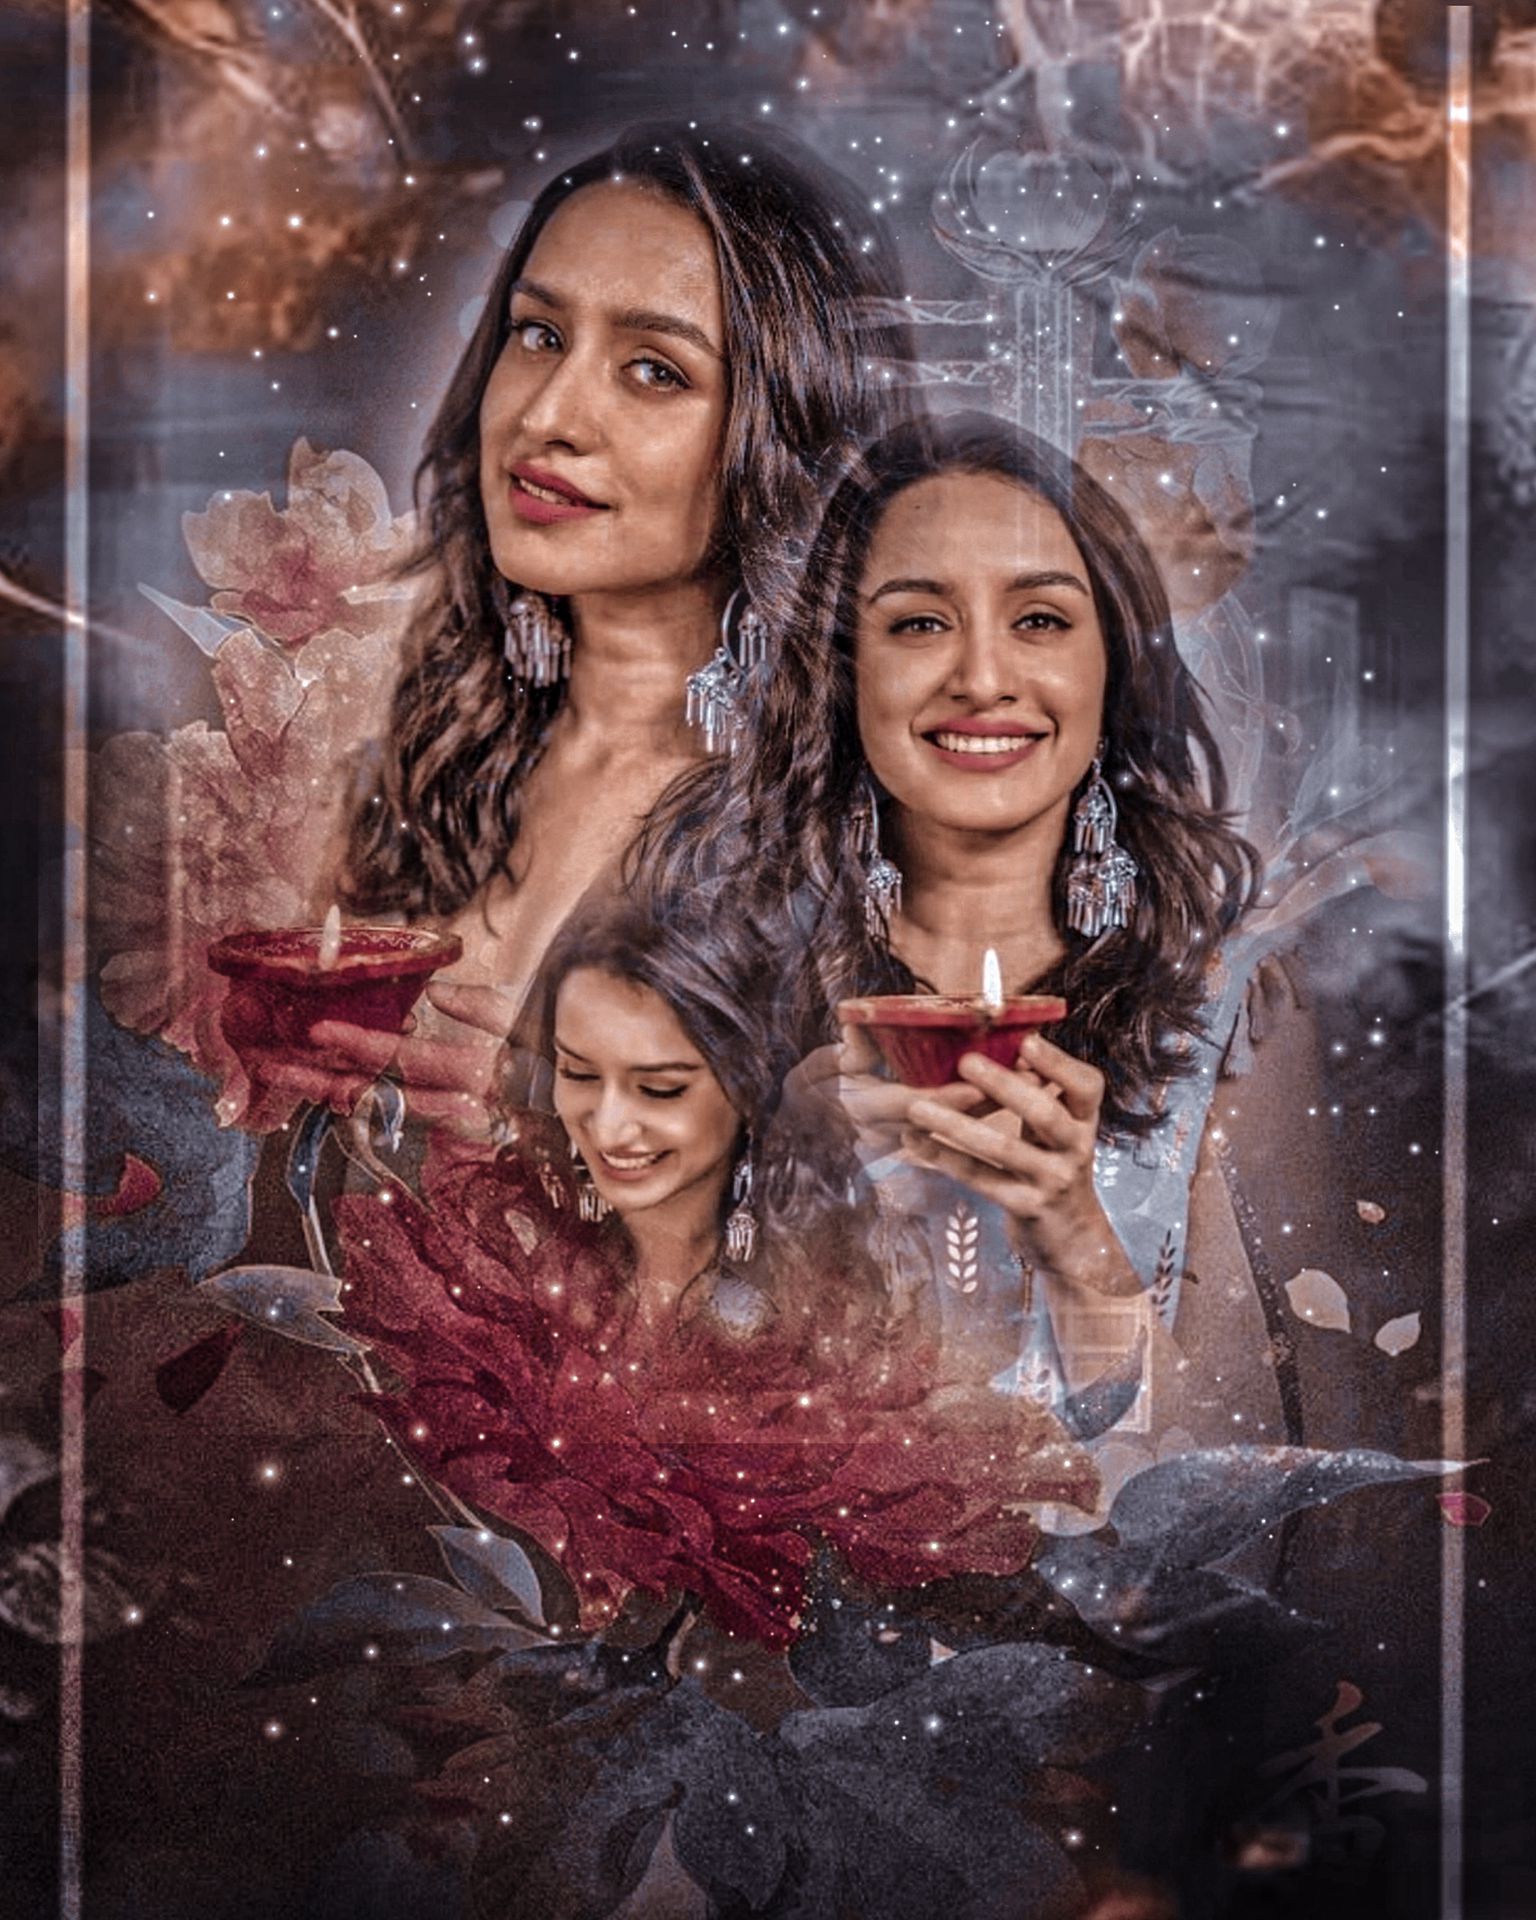
And our edit is finally ready!

Quite pretty..isn't it?😌
And yes, Ik it's much difficult for the beginners. but trust me the more you try, the more you can learn. The more you'll explore the apps, the more expert you'll Become. And I have faith in my students! Ik you all can do it! :)💓✨
And afterall am always there to clear ur doubts. You may either comment or pm me. I'll help in either ways!
Whatever edit I made, please try to go through it and understand it thoroughly!
And now let's come to our assignment
Make an edit with minimum 2 and maximum 3 pictures. The face Claim and background can be of ur choice.
The size of the edit is 3098×3873
You can tag me Avanya_2009 whenever you'll post ur edit.
The last date for submission is 20/06/23
Hope I was able to reach my students well?.🤧
Will be waiting for your submissions! And will try to be back with another tutorial asap!.✨
Till then,
Love & Regards
Avanya!🤍
Bạn đang đọc truyện trên: Truyen247.Pro