Slip and Chain
Hopefully by the time you're reading this you've purchased a hook and some medium-weight yarn to practice with or have some already lying around. If not, I recommend getting a 6 mm crochet hook and some blue or red yarn to practice with and then coming back for this tutorial.
Are you ready? The first step in all crochet and knitting projects is to make a slip knot. It's simple enough:

To begin making a slip knot, fold the yarn on itself so you have a loop.
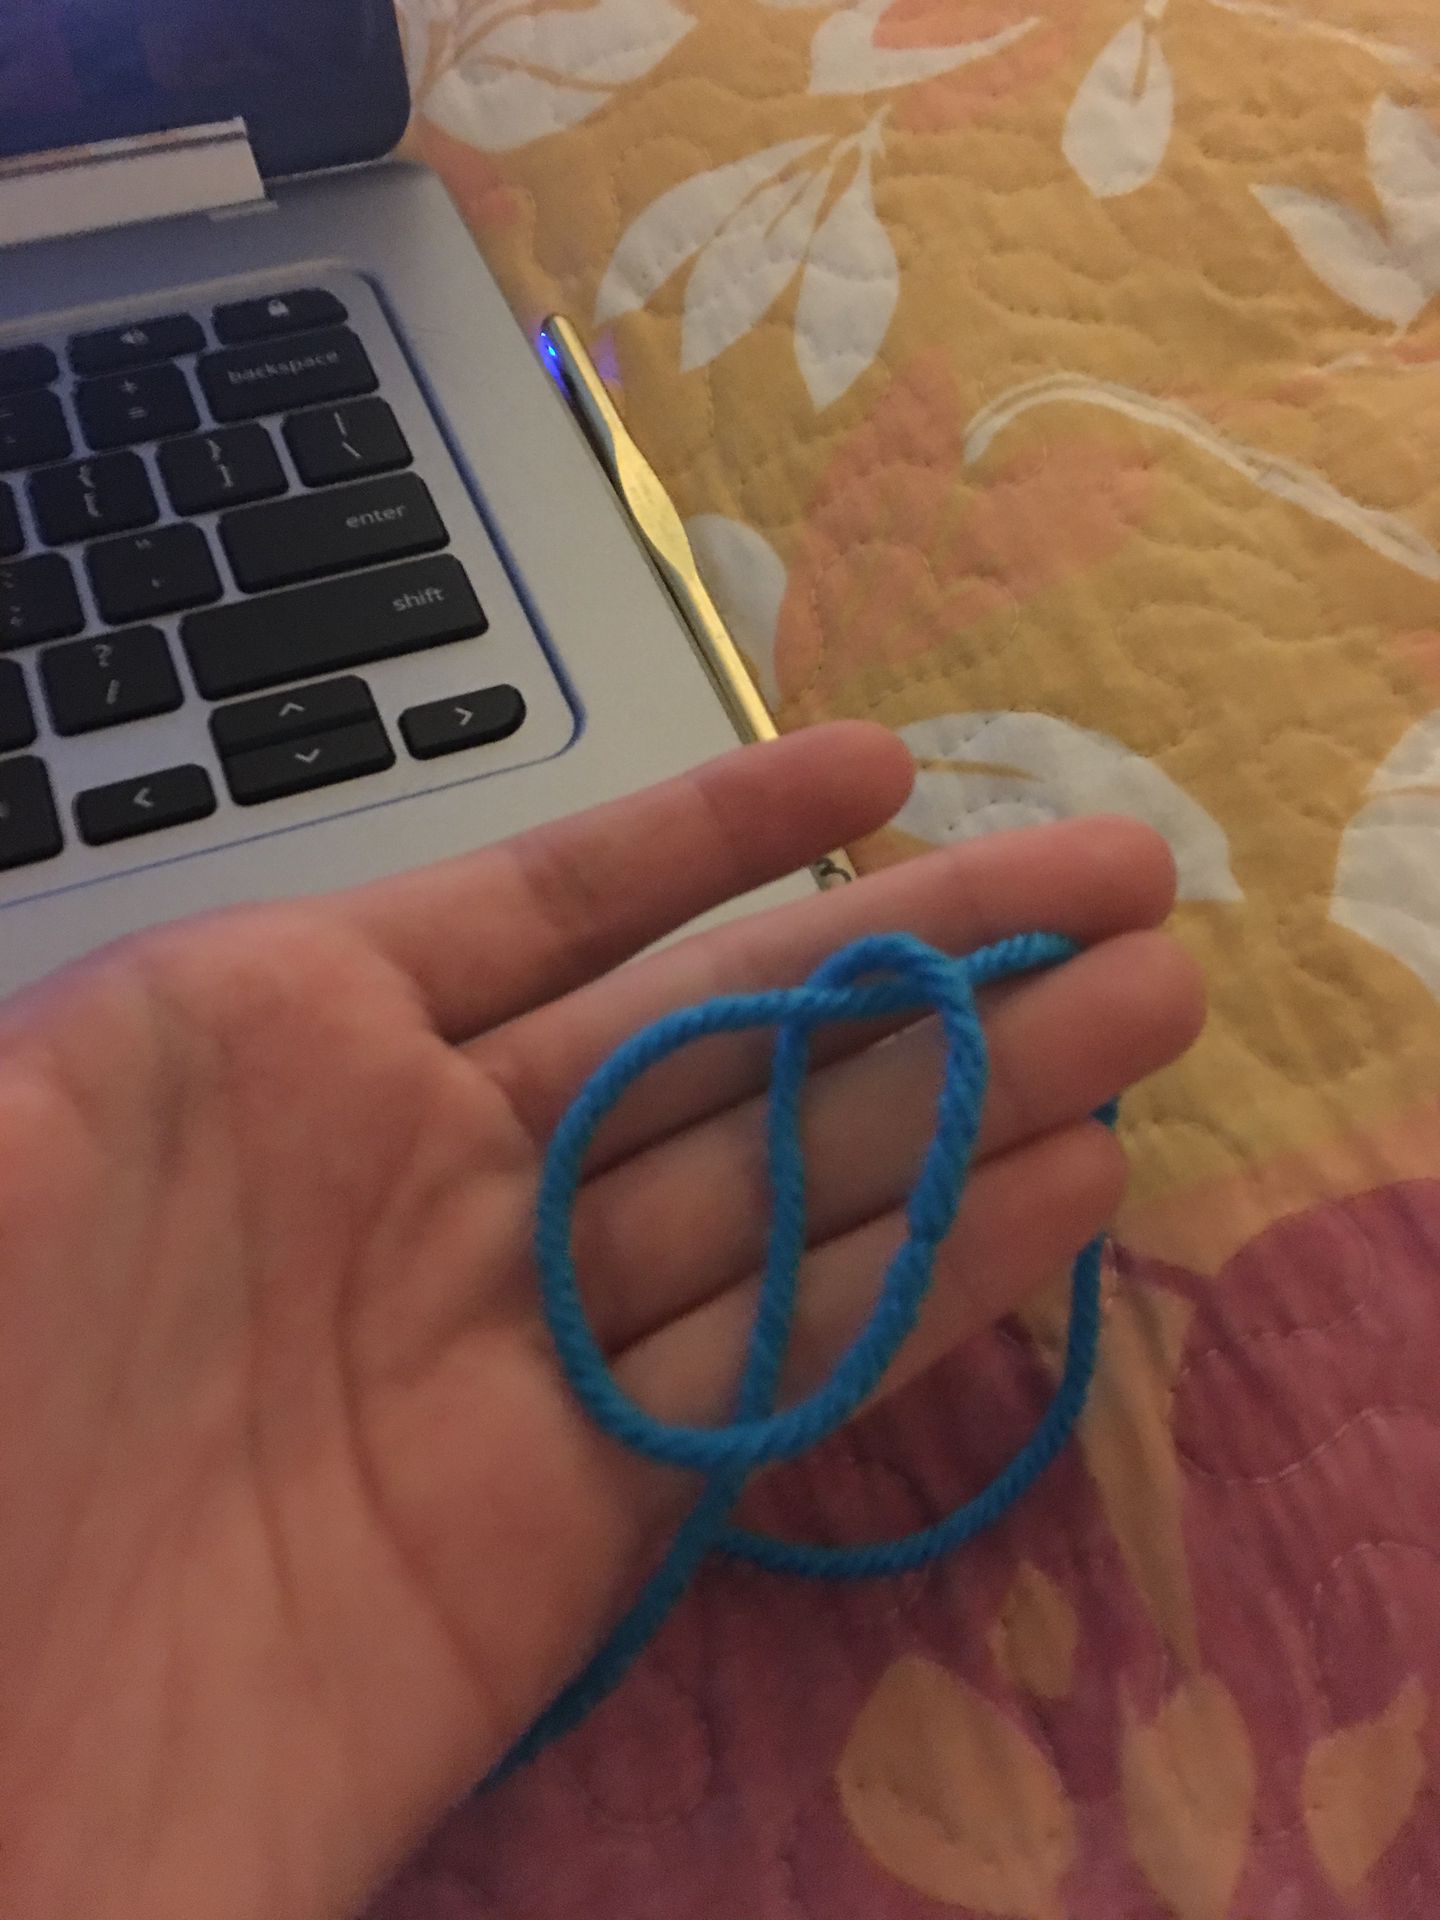
Now fold that loop back on the working yarn. See that piece of yarn going through your loop? Pull it through and tighten the loop:
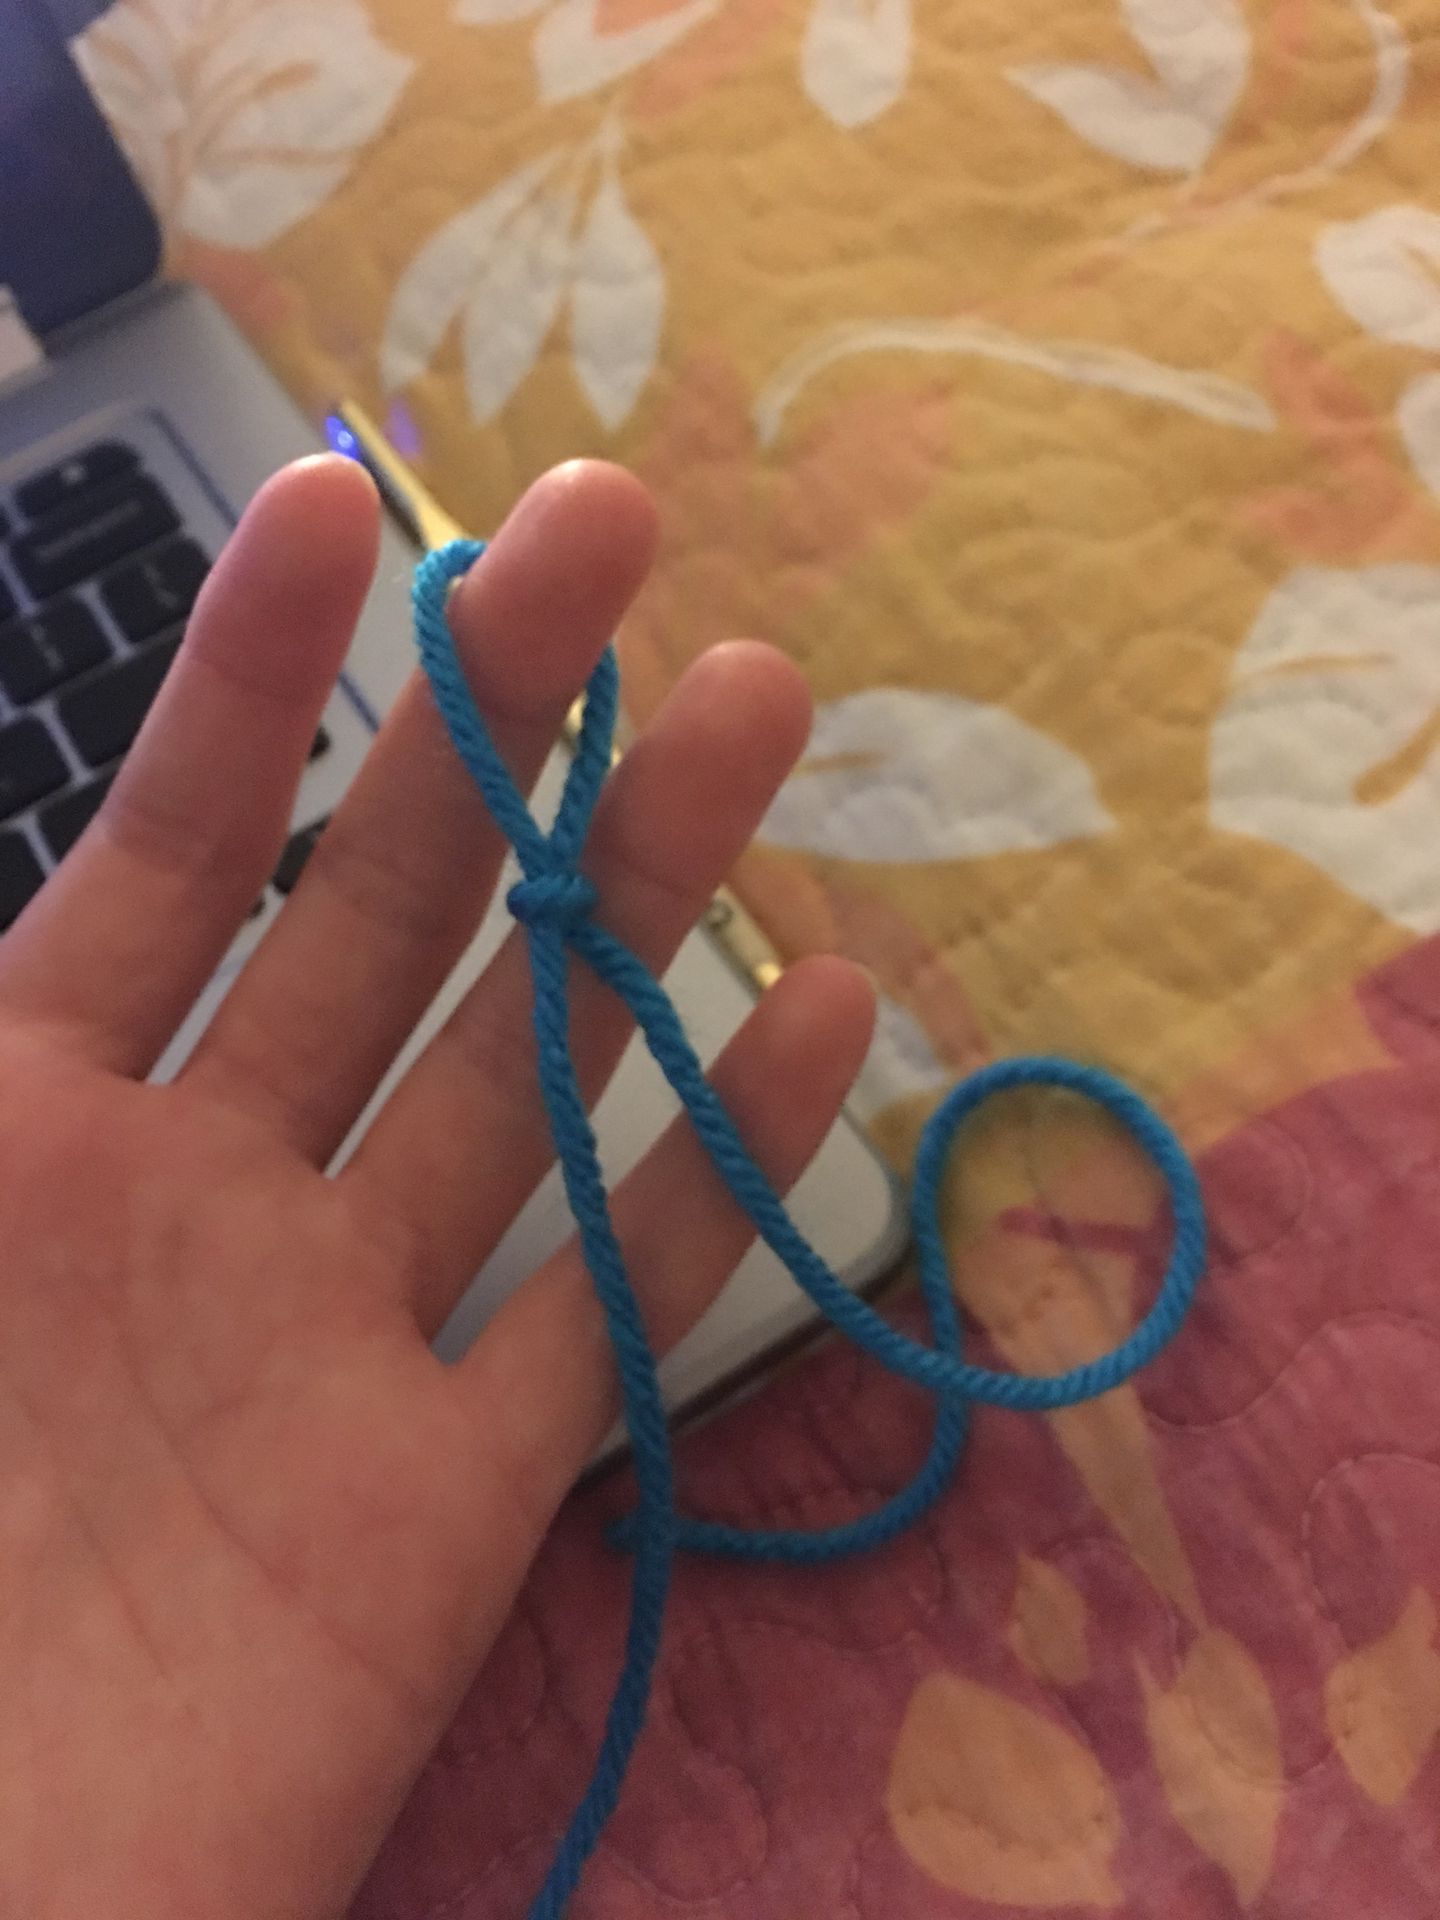
Now you have an adjustable loop for any crochet project. Slip that loop around your hook and tighten it by pulling the edges (but don't make it TOO tight; you'll need it in a bit).
By now you have a beautiful slip knot on your hook. Now we're going to make a "foundation chain", or the mother of the first row of your crochet. Chains are important throughout the project, and the simplest part of crochet. Here's how we'll make one. For practice, we'll make 11 chains.
1.) Hold the working yarn (yarn attached to the ball) in your non-dominant hand. Make sure it is the yarn that isn't the tail of your work (the yarn cut off from the slip knot.
2.) Wrap the working yarn clockwise around the hook (counter-clockwise for us lefties), tight enough so it doesn't come off but loose enough that you see a small "v" after the chain is finished.
3.) Hold the yarn in the throat of the hook and slip the bottom loop off. You should see a "v" and have one loop on your hook.
Repeat steps 1-3 ten times: 11 chains. To count the chain stitches, count one of the lines of the "v"s across the line. Do not count the slip knot (that bump at the end of the "v"s).
Bạn đang đọc truyện trên: Truyen247.Pro