💌 | Simple Filtering

Chamber of Tutorials !
Tutorial No. OO2 :
Simple Filtering
[ Filtering ]

Simple filters are for enhancing the look of your graphic in a mild way. They don't largely affect the skin texture or highlights/shadows of your graphic. They can be done using the pre-mades available in Picsart or using Polarr as well. I'll be demonstrating using the former.
Step 1: Open Picsart. If you don't have it, install it from Google Play Store/App store.

Step 2: Click on the '+' sign at the bottom.

This will take you to a screen showing 'what would you like to create?'. Click on 'Edit a Photo' and choose the graphic you want to edit.

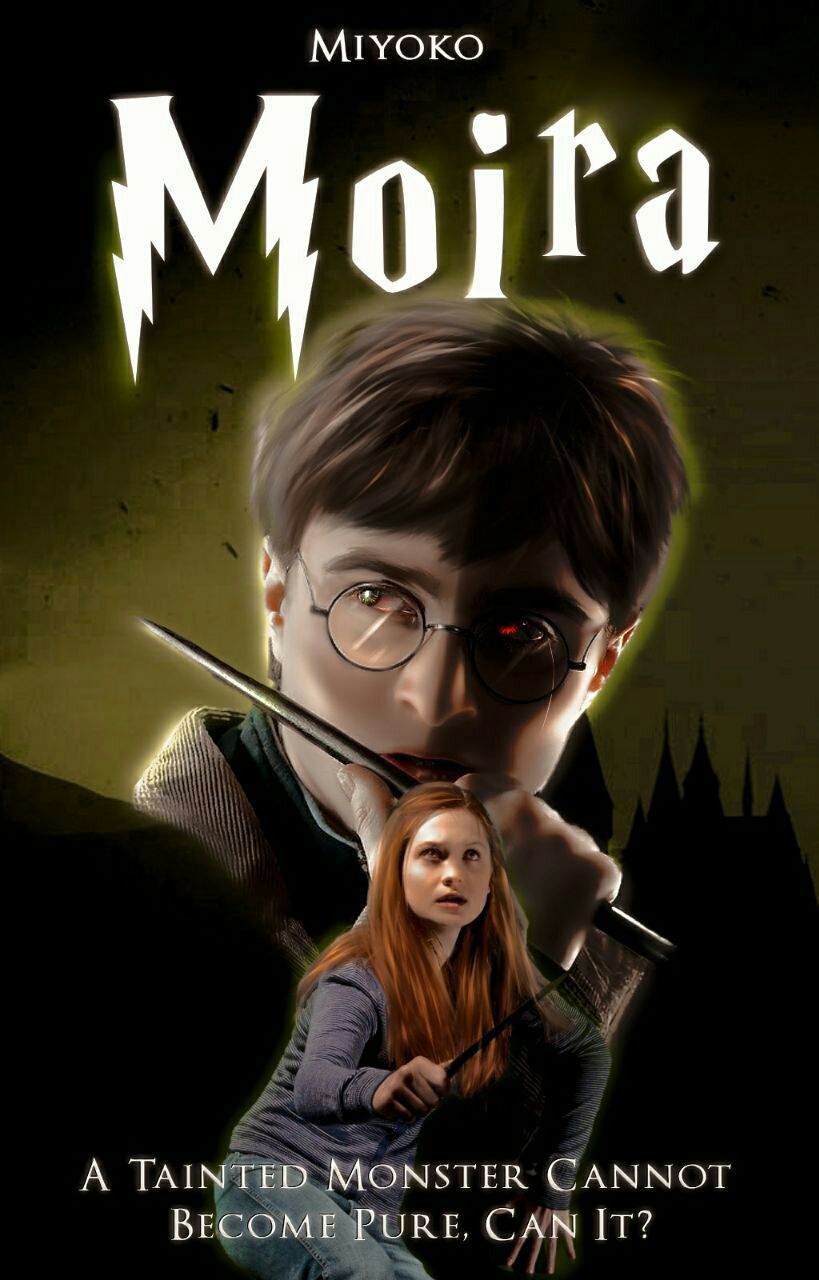
Step 3: I'm using this cover which I created lately. Now, on the bottom ribbon bar, there's an option titled 'effects'. This will take you to the premades. Let us first try applying them.

Step 4: There are several options here. Lemme explain them.
'SIMPLE' contains filters that can be used directly. They affect the colour toning of your graphic. 'FX' affects the quality of your graphic. 'BW' is the various types of Black and white filters you can apply while 'BLUR' affects the focus of your graphic.
'COLORS' helps to change the colours in your graphic totally! I don't particularly use this option because it'll lead to a monochromatic look. 'AI' is for advanced options that may give you varying results so I'm not gonna touch on that. 'ARTISTIC' is helpful if you are dealing with anime graphics and 'MAGIC' actually messes the graphic. Lastly, 'PAPER' gives a parchment-like feel to your graphic.
The only options I'll be teaching are 'SIMPLE' & 'BW'. Note that certain premades are only for premium customers and since I don't have premium, I can't teach those.
Firstly, there's 'SIMPLE'. As said before, it affects the colour toning of your graphic. BRN72 gives a sharp and brown feel to our graphic as you can see.
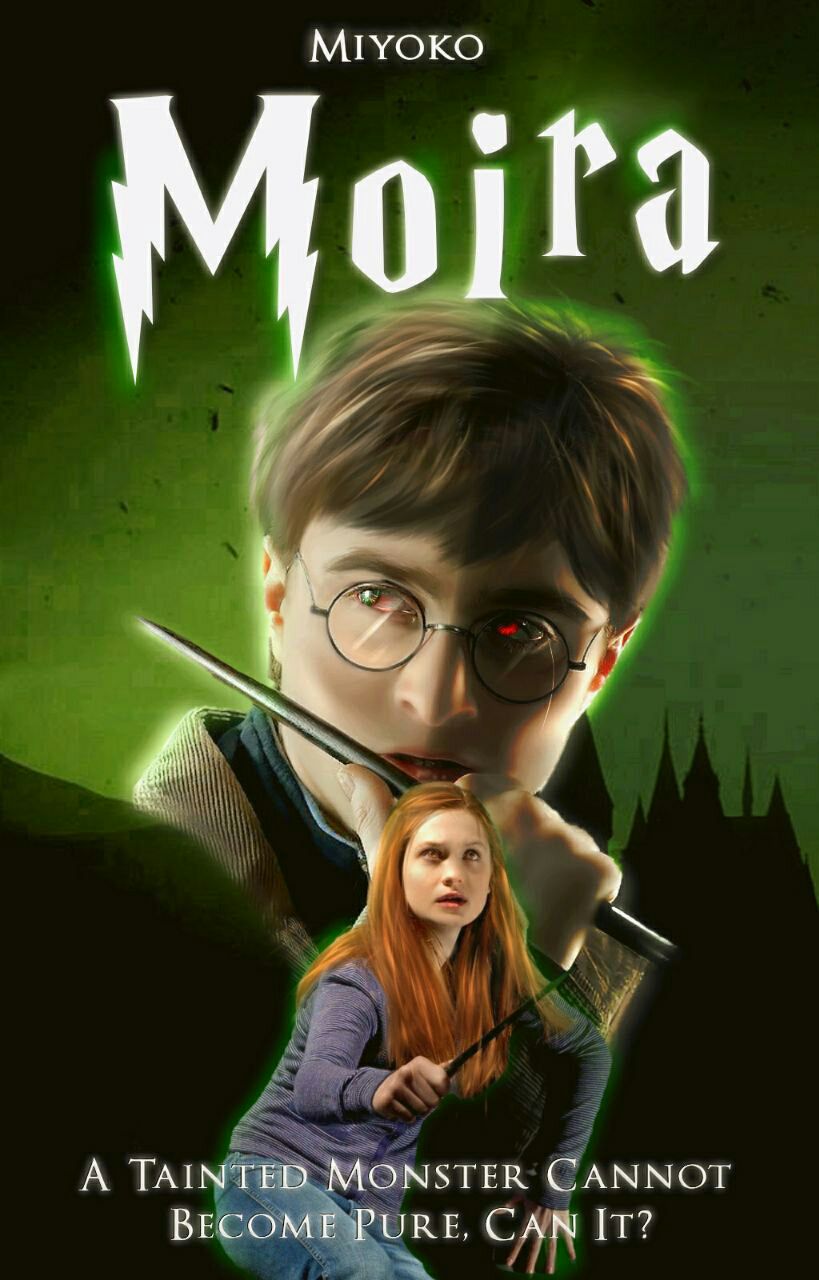
SFT1, another option, brightens our cover and gives a soft touch to it as the name suggests.
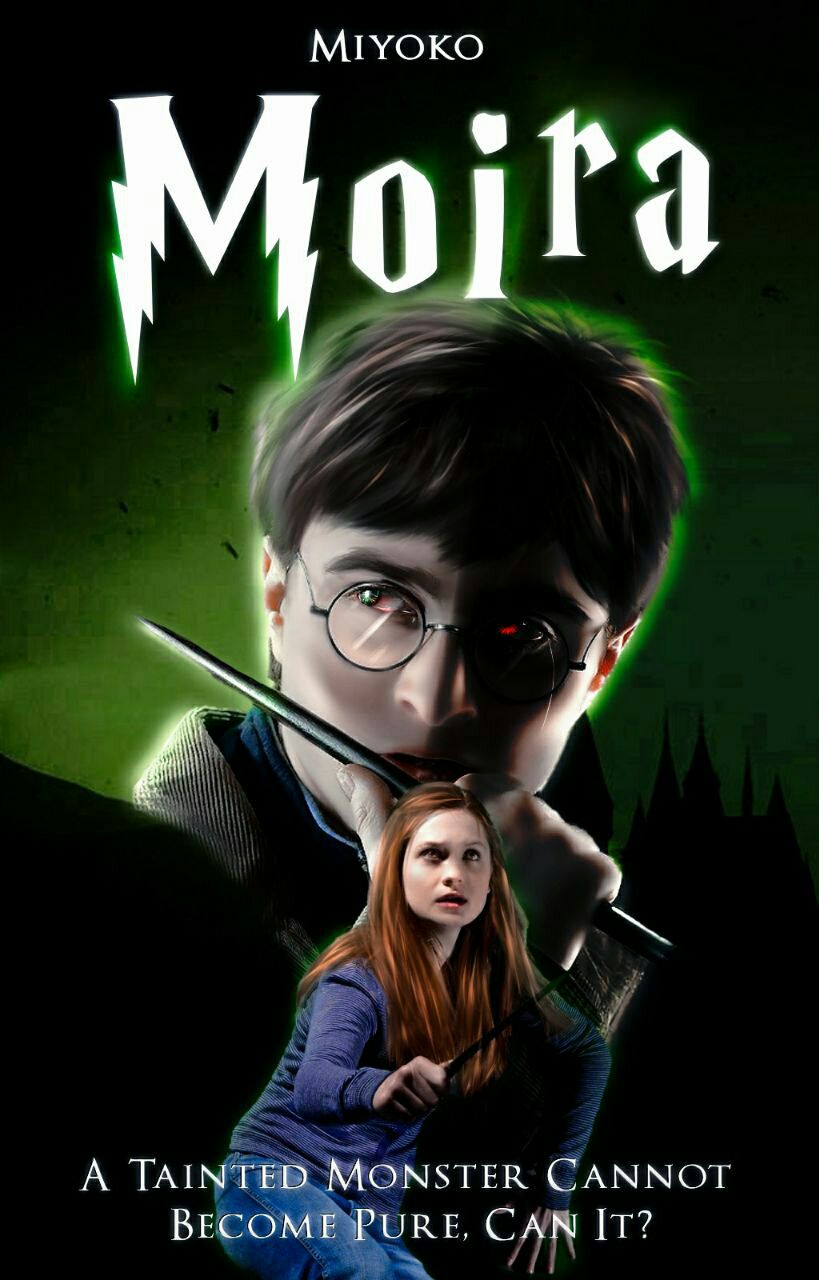
1971. Good ol' vintage days gives a vintage vibe.
ICY, any ICY for that matter, gives a crisp, blue feeling to your graphic.
The VIN series gives Vinyl like texturing.

And them there's saturation. This can be done even through the adjust option but blending is not possible by using adjust. This option basically colours the already existing hues to be even brighter.

You can try out the other filters too! Each graphic yields different results for the same filter. And if you want the blending option, just double click on the filter you've chosen and you get a pop up menu. You can change it from Normal to anything. 'Screen', for example, makes the filter softer while 'Color Burn' and 'Multiply' darken it. I'm unable to show it as Picsart doesn't allow screenshots when the effects menu is open.
Step 5: after applying your filter, click on the tick on the top right corner and you can save it!
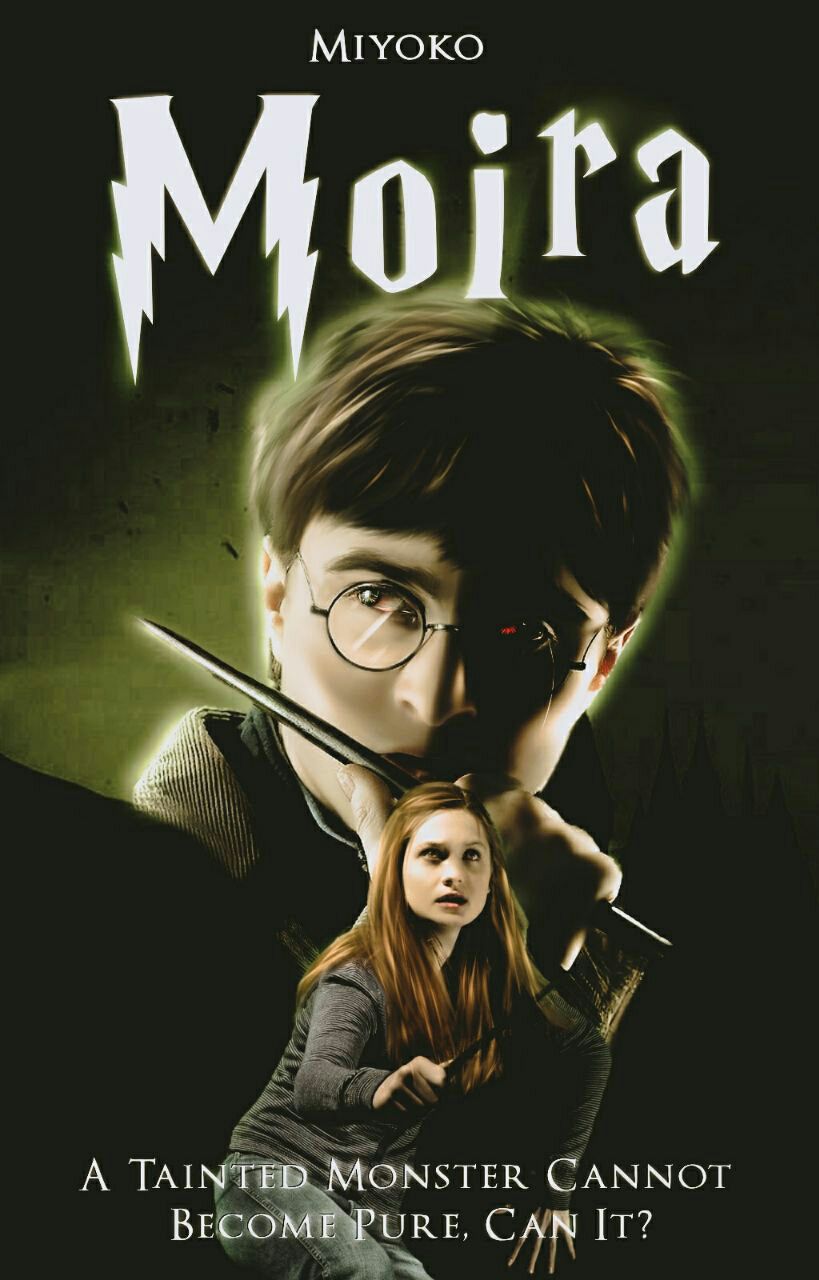
Now, it's time for 'BW'. I use this for giving the red feeling more than using it for black and white. If you want your graphic to highlight the red aspect of it more like this, follow these steps!
Step 1: Go to effects and click 'B&W'.

Step 2: Select the first option, 'B&W' and double tap on it. You'll get a pop-up menu.
Step 3: the first column should show 'Std', 'R', 'G' and 'B'. Select 'G'.
Step 4: Now, select the blending to 'Lighten' and this will be the result.

Since my graphic is primarily green, all traces of the colour is now replaced by black and grey.
Step 5: Select the tick option and save your graphic!
That's all for simple filtering! I could not provide you with appropriate screenshots so if you do have any questions, feel free to ping me up and comment here!

Credits !
Teacher: pxrfectly_sxrene
Next Up 👉
Advanced Filtering

Bạn đang đọc truyện trên: Truyen247.Pro