🐉 | How To Edit Live-Action Icons The Manga-Style

Welcome to the final session of manga-style editing!
I hate the ridiculously long titles, tho-
In this chapter, we are gonna learn, as the looong title says, to edit live-action icons to look like they've been spat out of a manga. I must say, these can be tricky as they require two apps.
The first is PicsArt, which is a cool app that doesn't let me take screenshots. Guess, you guys gotta learn it the hard way, quite literally.
Step 1 : Go to PicsArt, choose a photo. My base is gonna be this:

Step 2 : Click on effects→artistic→hoxtone dots. It will look like this:

Step 3 : Now, save your photo and import it to IbisPaint X. Start shading, by choosing the darkest shade of a colour of your choice.
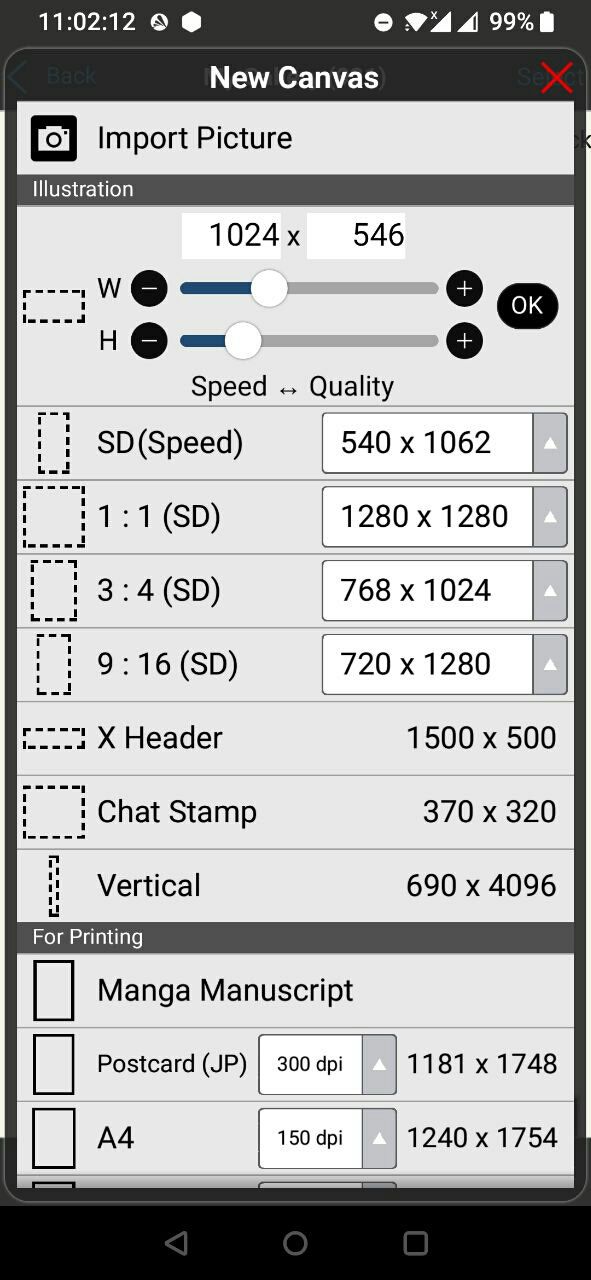
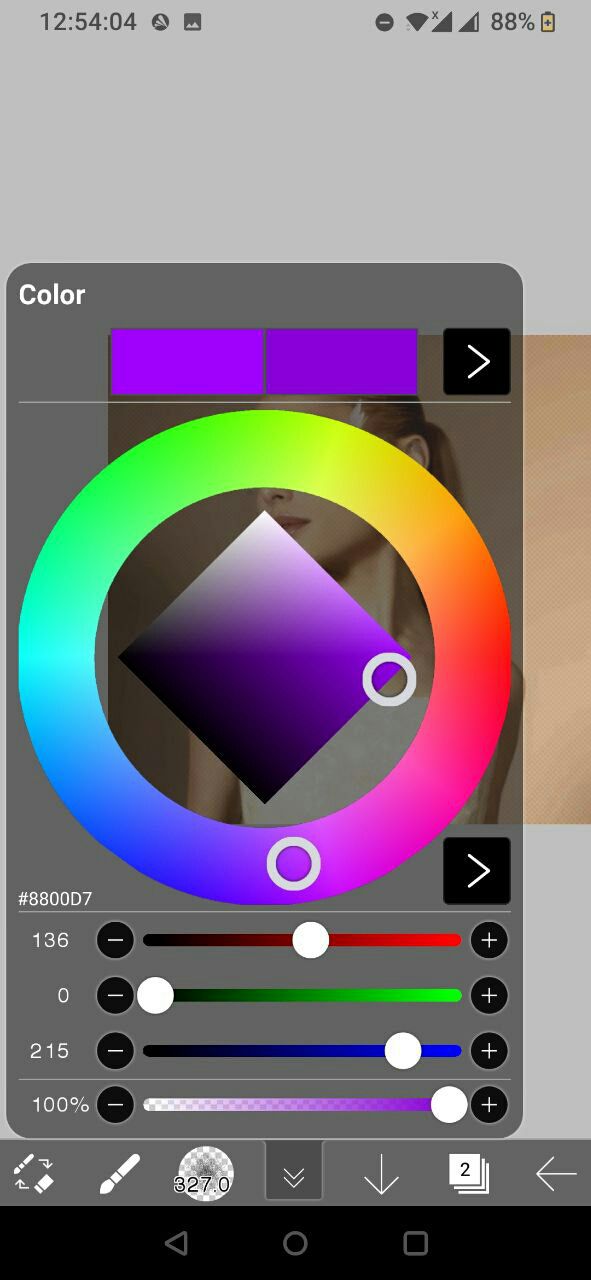
Step 4 : Keep using lighter shades than the previous one with each stroke. This is pretty much the same one as the last tut.
Step 5 : Use Gaussian blur at 3px. It's found in the filter section. Also, set black and white to the following metrics. The former must be done for the shaded layer, while the latter should be done in the photo layer.
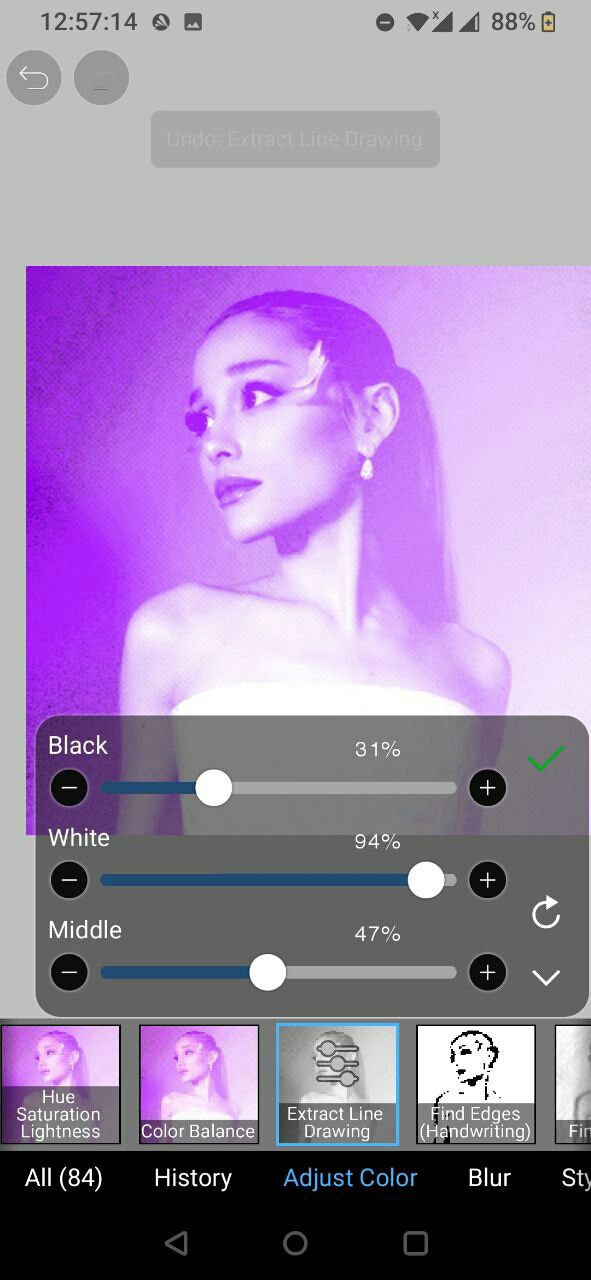
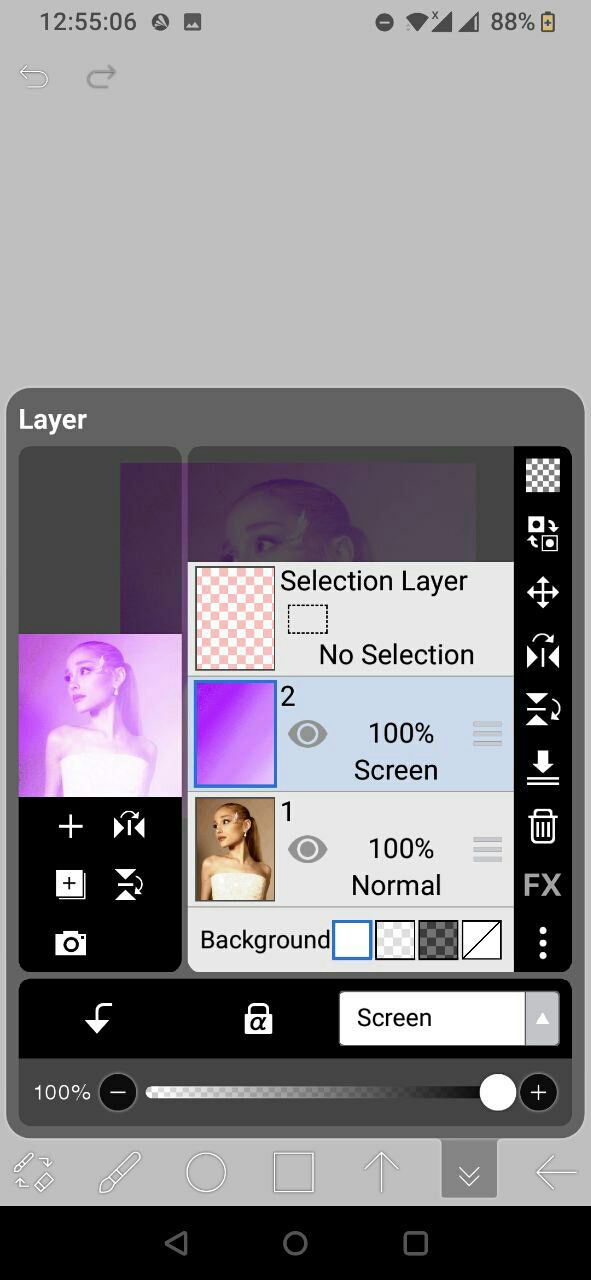
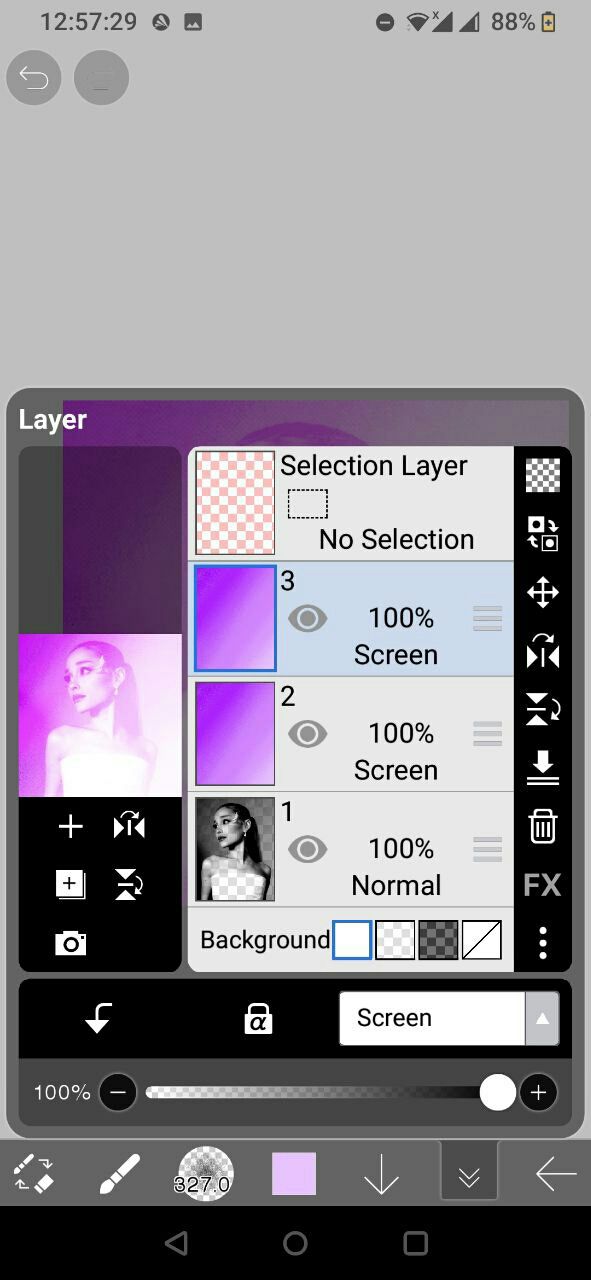
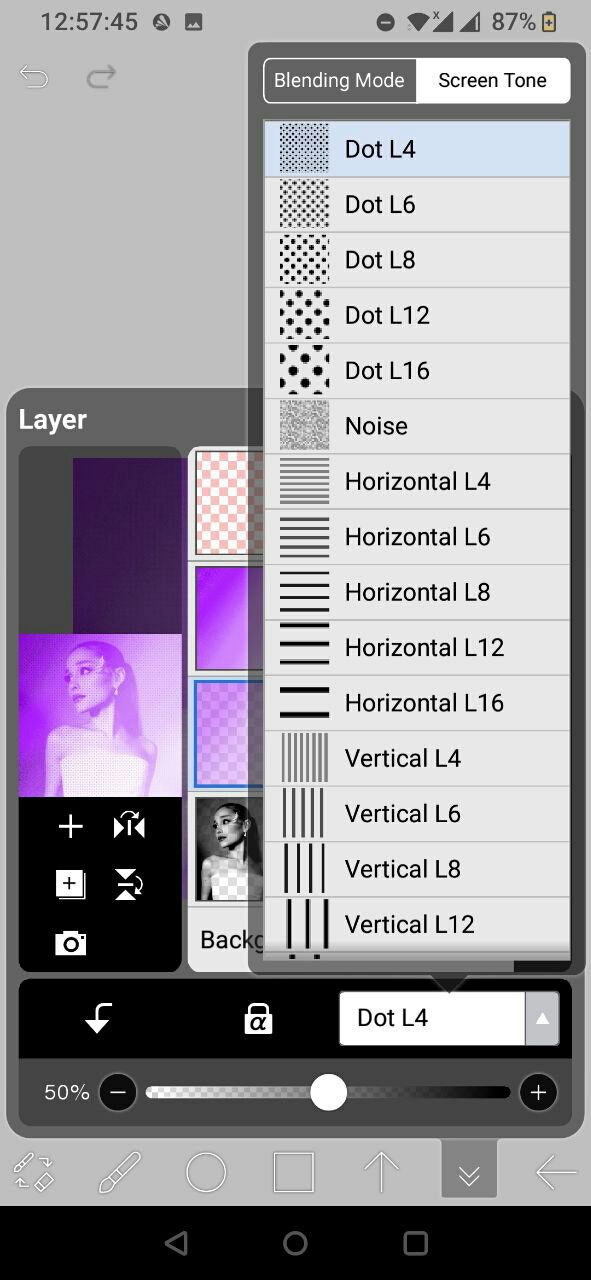
Step 6 : Now, set the layer to Screen, and duplicate it. Place the duplicated layer below the master shaded layer, and set the duplicate layer to Dot L4.
Step 7 : (optional) you can add the speed lines by going to filter→radial line. Set the color, so that it matches your image, and you're done!
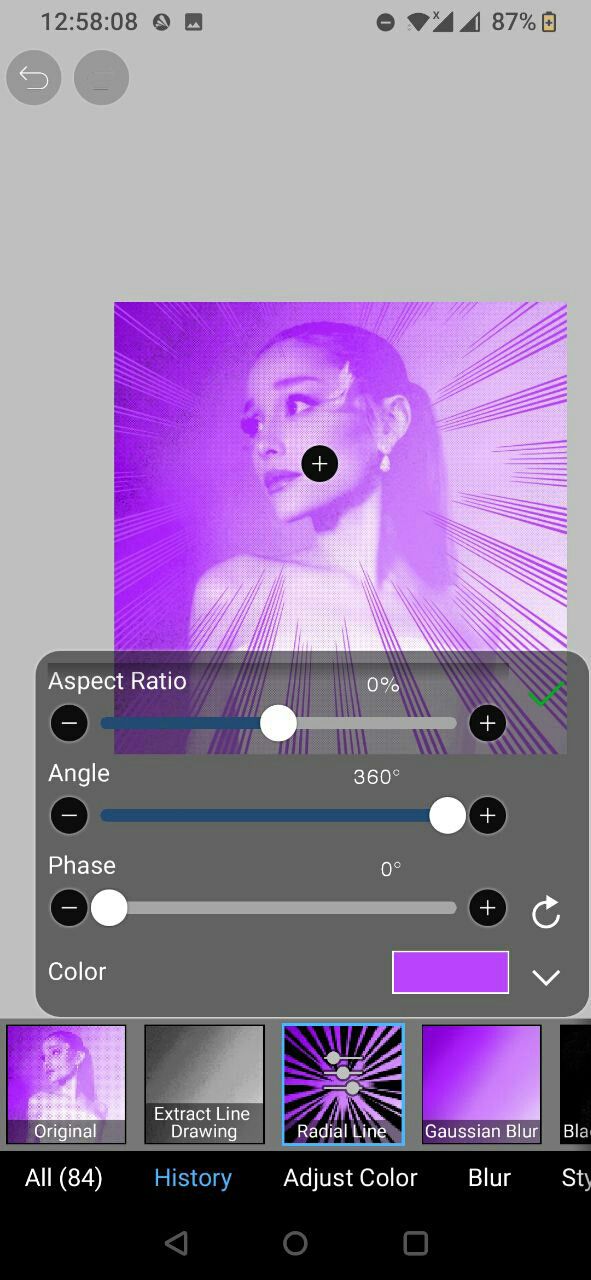
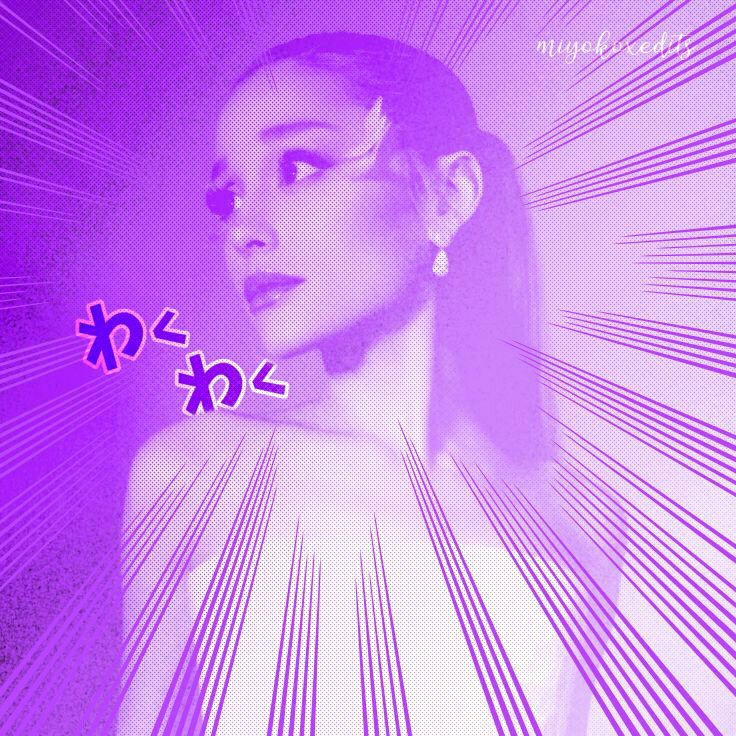
Ta-da! Here's the end result with added text and radial lines!
If you have any doubts, feel free to approach me! Have a great day, folks!

Graphic Instructor: pxrfectly_sxrene

Bạn đang đọc truyện trên: Truyen247.Pro