"(GIF) Moodboards" || @corvums
Moodboards - those things you see often as character aesthetics, because graphic-ing is all about the aesthetic, right?
Not necessarily, but here is a tutorial for (GIF) moodboards! You're free to interpret this however you'd like; it's written as a simple guide, and you're more than welcome to build upon it to suit your liking. If you're not intending to include a GIF, just follow Steps 1 through 3 then jump to 7 and 8, and you're done. You don't have to follow all of the steps, either! It's really up to you.
SOFTWARE:
Photoshop CS6
STYLE OF GRAPHIC:
Manipulation and Combinations
LEVEL OF DIFFICULTY:
Beginner
─────────────────────────────
Step 1: Choose six images. If you're making a GIF moodboard, make one of them a GIF! For the purpose of this tutorial, the GIF selected is not self-made (step 2A); however, if you'd like to do that (step 2B) that's alright too! Further steps will enclose details of how that's possible. Please remember just to create the individual layers rather than make them into a GIF!
Step 2A: Look at the dimensions of your GIF. If you're on Google Images, you can do this really easily (see Figure 1). Otherwise, on Mac, go to Edits > Adjust Size on Preview or on windows, in File Explorer, right-click and select Properties (all the way at the bottom of the list), then click Details (Figure 2).
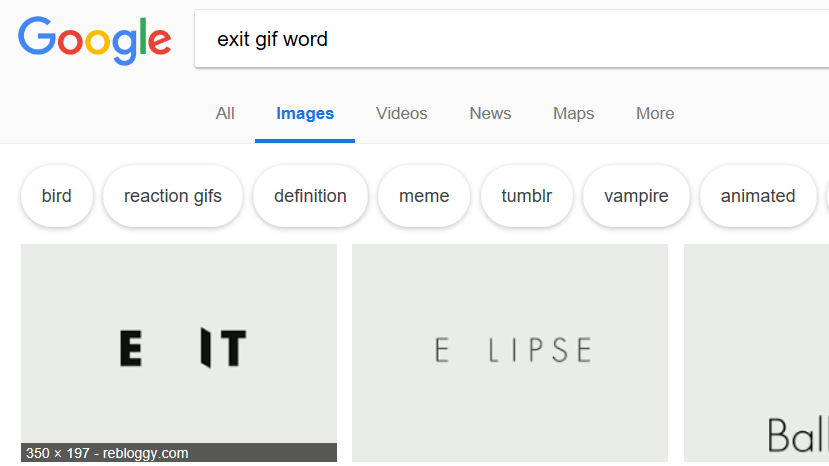
Figure 1: How to view dimensions on Google Images.
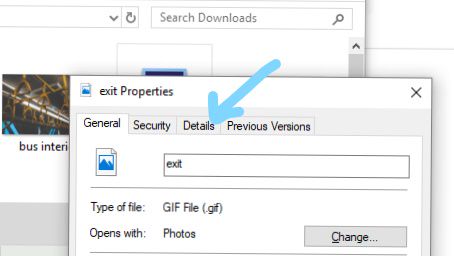
Figure 2: How to find the dimensions on Windows.
Step 2B: Create your own GIF. Use as many panels as you'd like!
Step 3: Multiply the width of your GIF by two and the height by three. In Photoshop, create a new document of those dimensions. The dimensions used in this example are 588x486 (Figure 3), because the width of the GIF is 294 and the height is 162.
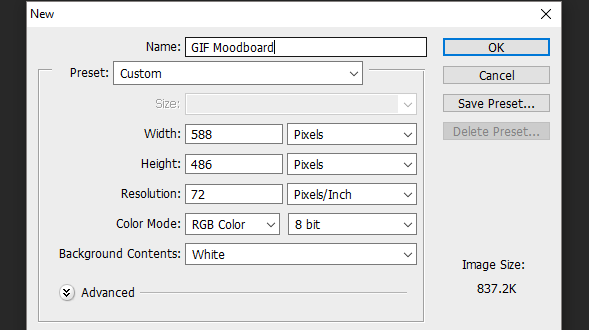
Figure 3: An example of dimensions.
Step 4: Open your GIF with Cmd+O for Mac and Ctrl+O for windows. This should work whether you're opening a PSD or a .gif file. It should appear in multiple layers, as in Figure 4.

Figure 4: A demonstration of what the GIF should look like when opened.
Step 5: Transfer the layers over to the file you made in Step 3.
Step 6: Position these layers however you'd like. Make sure you're selecting all layers (Figure 5), otherwise you'll have to move each of them manually!
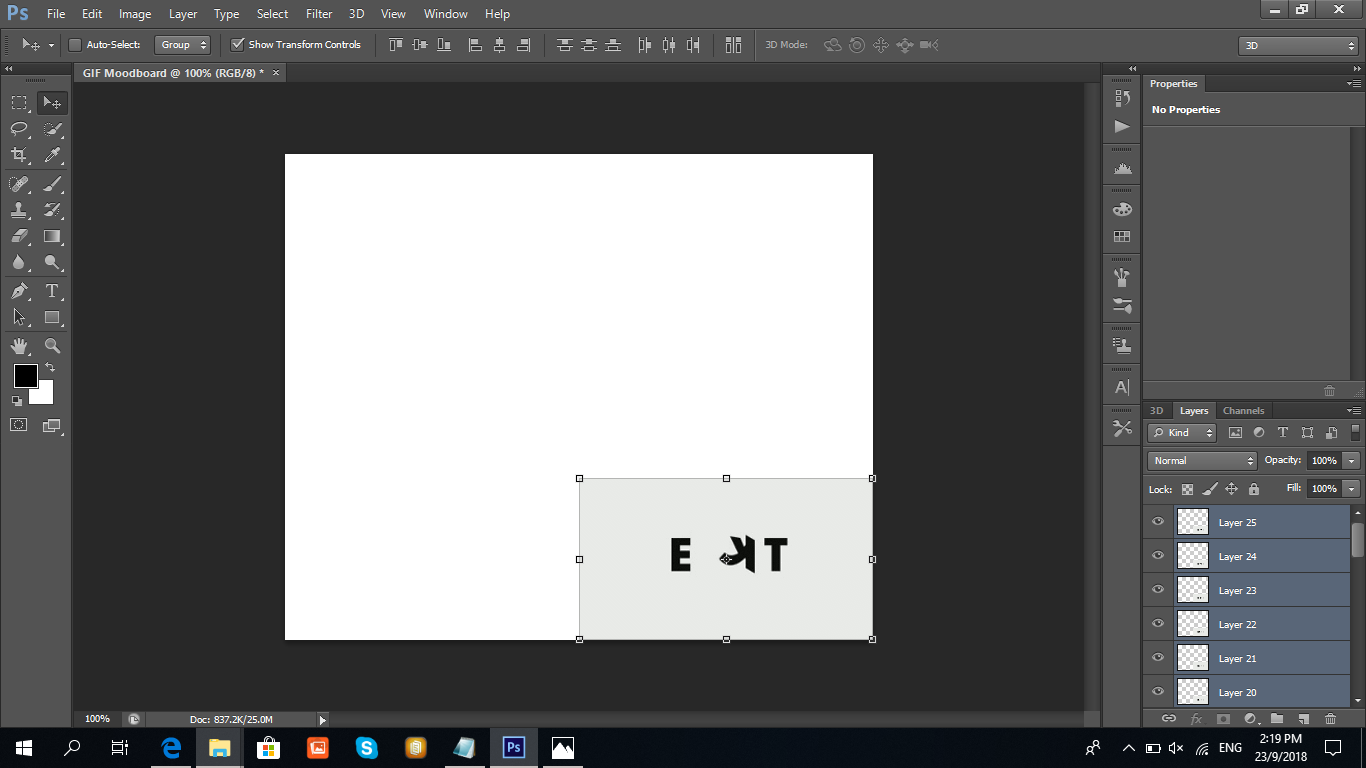
Figure 5: Selecting all layers!
Step 7: Open the rest of the images you've chosen and edit them so that they have the same colour scheme. Usually, I use hue/saturation adjustment layers as well as fills with low opacity, but you're welcome to use anything else you'd prefer! I'd suggest that you flatten each image so that you can transfer them over to the GIF easily for later steps.
Step 8: Add all images to the GIF Moodboard PSD. Resize them accordingly (Figure 6).

Figure 6: Adding and resizing all images.
Step 9: Merge all 5 images except the GIF (Figure 7). (Some shortcuts: Right-click or control-click the eye icon to hide all other layers and Cmd+E/Ctrl+E to merge all layers after you've highlighted. Press the external link for more default keyboard shortcuts!)
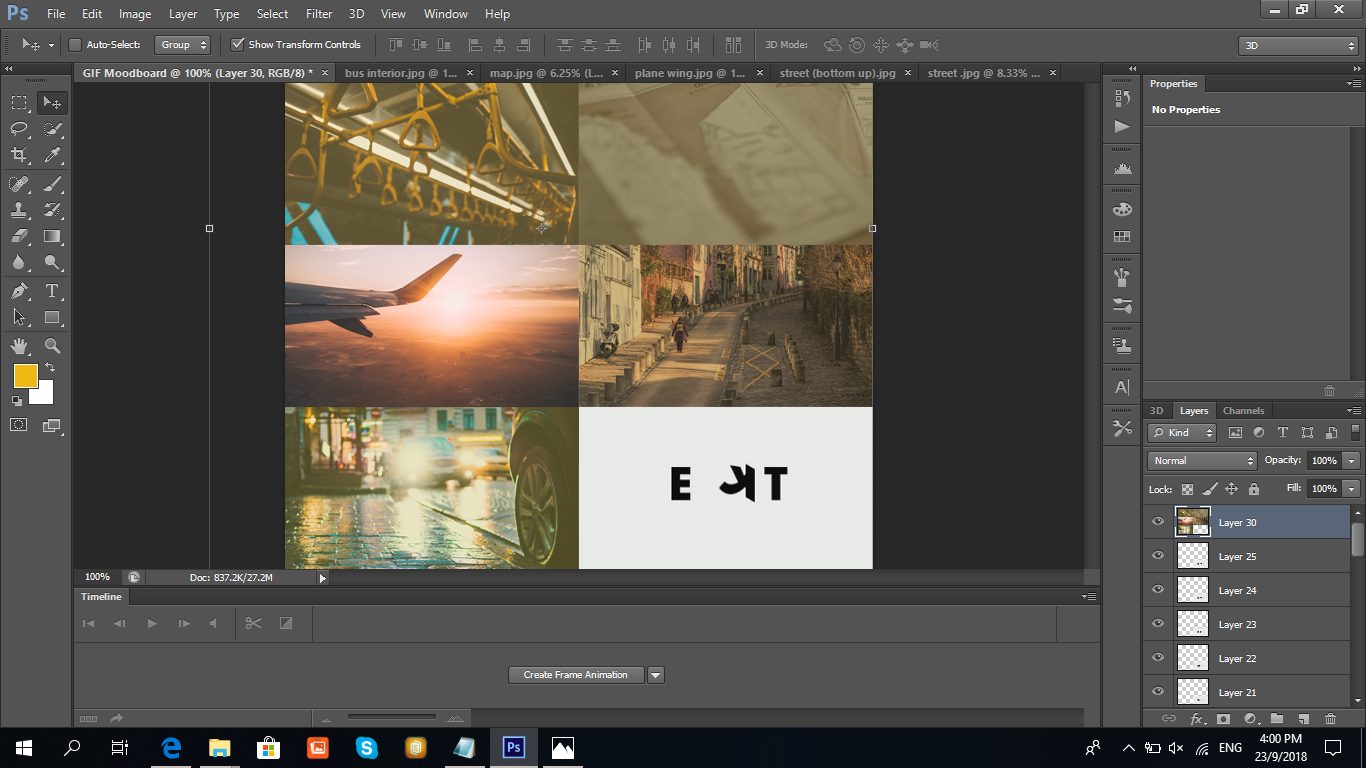
Figure 7: Merging all 5 images.
Step 10: Duplicate these, adding one layer of the GIF each time.
Step 11: You should end up with the same number of layers as your GIF had in the first place; if not, something's probably gone wrong! Retrace your steps to find out what's happened, if you'd like.
Step 12: When you're satisfied with what you've created, press Window > Timeline. Figure 7 shows the panel on the bottom that should be brought up. Click on 'Create Frame Animation'.
Step 13: On the side of that panel (Figure 8), select Make Frames from Layers.

Figure 8: The arrow shows where to press.
Step 14: Press the space bar and watch your GIF play! When you're happy with the result, press File > Save for Web or Ctrl+Alt+Shift+S or Cmd+Opt+Shift+S. On the menu that pops up, change the Animation looping options (bottom of the page) to Forever, press Save, and you're done!
Bạn đang đọc truyện trên: Truyen247.Pro