
The Making of LOST [ Tutorial ]
You have spoken, and this cover got the most votes. So here be the tutorial for the cover LOST.
First things first, you're going to need Photoshop as this is made in Photoshop cs6. As long as your photoshop is cs4 and up, you can do this tutorial.
Remember to link back/ tag me if you use this tutorial to create your very own LOST cover. CREDIT IS A MUST OR I WILL KILL YOU.
You're going to need:
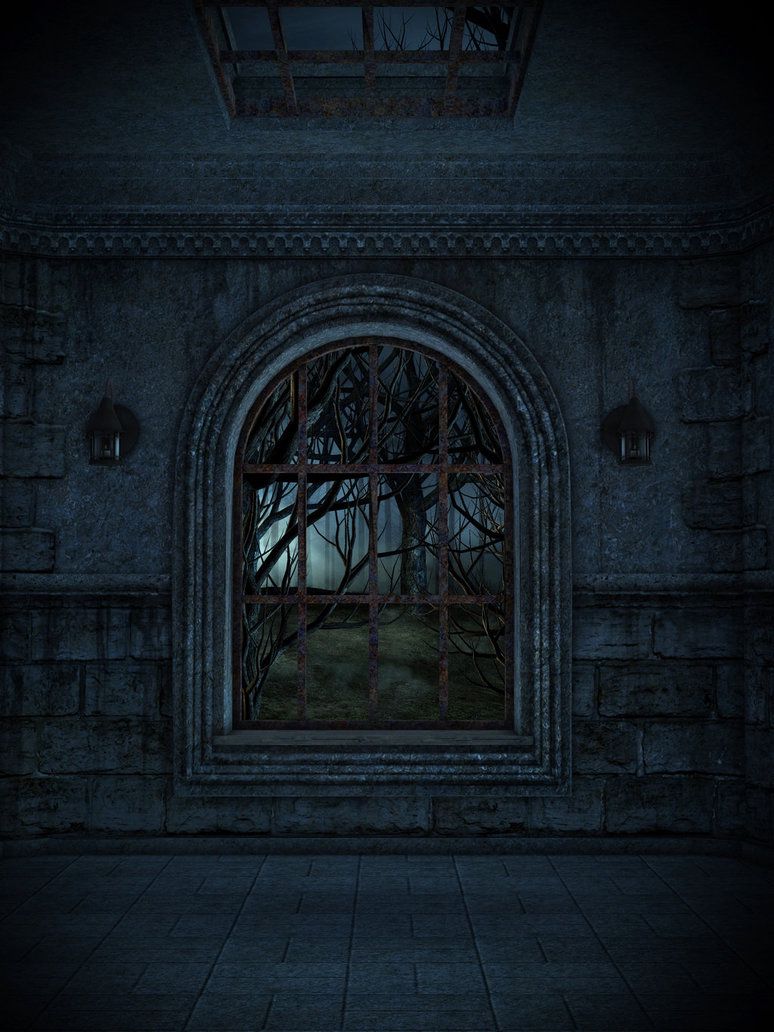
http://frozenstocks.deviantart.com/art/UNRESTRICTED-Dungeon-Window-Premade-458728769

http://etoile-et-lune.deviantart.com/art/Dark-Cotton-Clouds-168451107

https://www.pinterest.com/pin/408279522445073954/
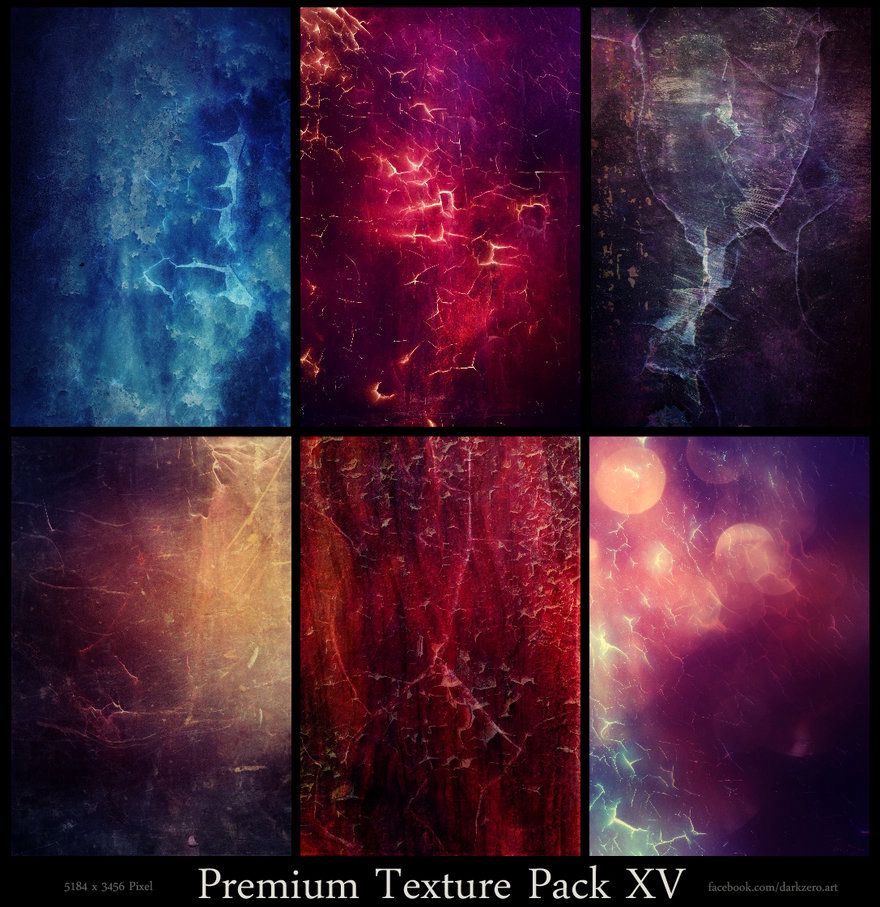
http://pre05.deviantart.net/de60/th/pre/f/2014/124/2/e/premium_texture_pack_xv_by_sirius_sdz-d7h2urr.jpg
And some fancy lens flares.
STEP BY STEP
STEP ONE
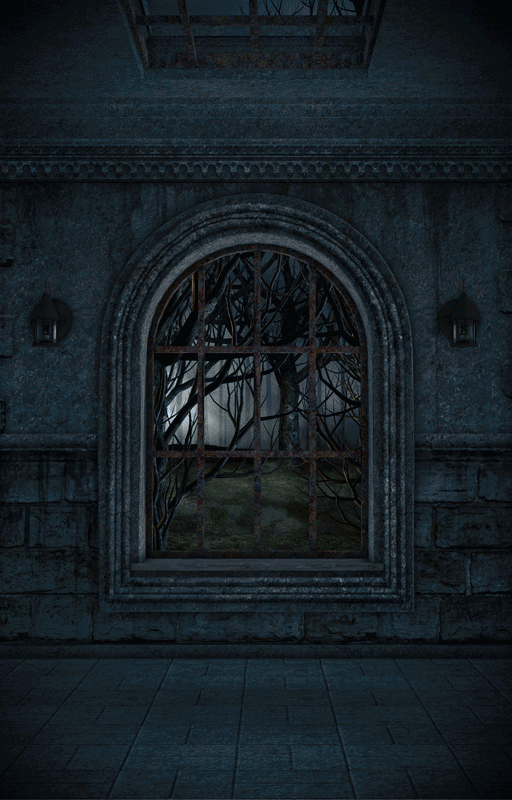
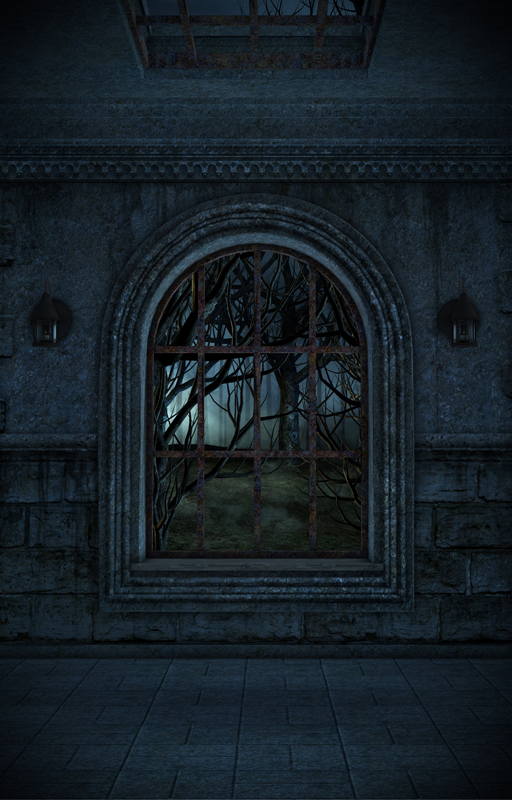
First, open your canvas with the size of 512x600 px. Normally I use 200 dpi, but you can use the custom 72 dpi if you prefer. Unless you're printing it out, it doesn't really matter. Open up the dungeon background and align it until it is at the center of the canvas.
STEP TWO
Next, open up the fluffy clouds and drag it over to your canvas (this layer must be on top of the dungeon window background). Using a large, 100 opacity soft eraser, gently brush out the skies until you achieve the misty, cloudy effect below.

STEP THREE
Now, this is the tough part. You're going to need a lot of patience to cut out the damn slipper. Use the polygonal lasso tool, it's going to be easier for you. As the slipper has a part hooked to the metal rungs, you can either use the stamp tool to clone the heel part without the hook, or you can use a brush tool to paint it out.
When that is done, position the heel in the middle of the canvas. To make sure it is at the center, you can hit ctrl+A and then hit ALIGN CENTER BUTTON at the top of your taskbar.

STEP FOUR
Ok that heel looks a bit dull. It's time to brighten things up! Go to the tabs above:
layer -> New adjustment layer -> color balance -> tick create clipping mask -> ok
Then adjust the color balance of the slipper until it is a nicer shade of dark purple.

STEP FIVE
Add in the text. The text should be behind the slipper.
Font I used: Perpetua Headings
Text effect: Now this can be entirely up to you. I did a general cutting bevel and a texture overlay.
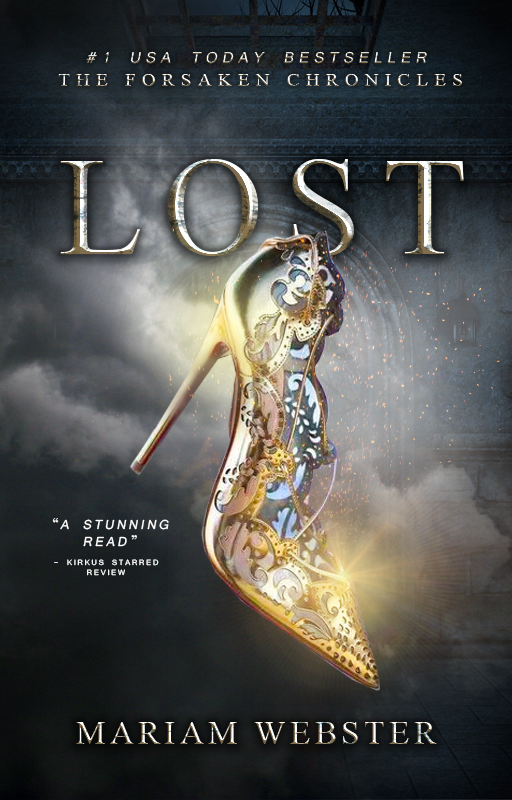
STEP SIX
Grab some golden lens flare, change that layer setting to either SCREEN or COLOR DODGE ( you need to work this out by yourself to see which one fits your cover because we're all using different lens flares here). Move the shiniest bit to the bottom of the heel as shown in the cover below. Duplicate the lens flare layer if you have to.
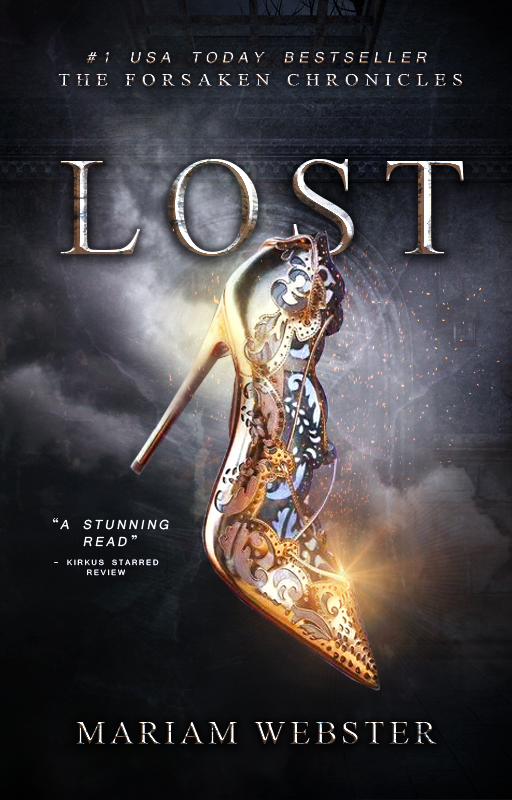
STEP SEVEN
If you have a nice purple texture, or you can get one of those textures in the texture pack I have posted above, select one and drag it until it covers the entire canvas. Then, change the layer setting to SOFT LIGHT.
Then go to FILTER -> GAUSSIAN BLUR -> FREE ADJUSTMENTS/ IT'S UP TO YOU TO DECIDE WHICH INTENSITY IS BETTER.
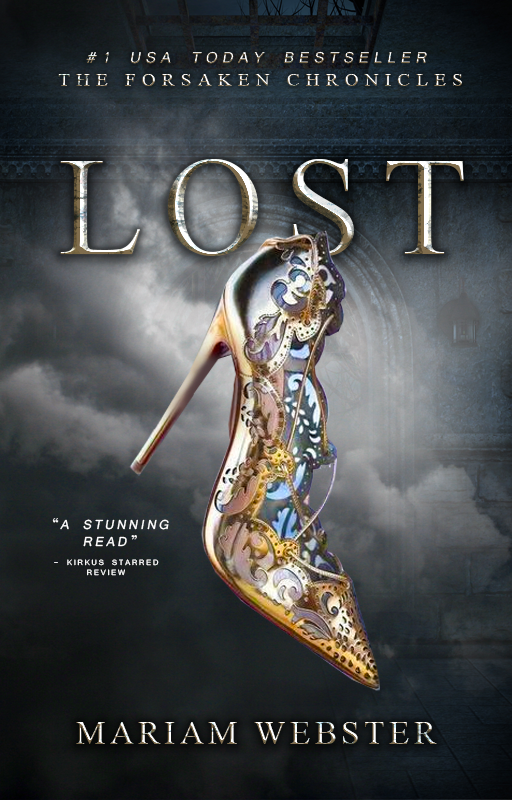
FINAL PRODUCT:
At the end of the tutorial, you should get this cover, more or less the same if you used different stocks, textures, flares and colorings.
If you tried this out, do show me the results! :D Happy designing!
Bạn đang đọc truyện trên: Truyen247.Pro