
How I do my art... pt. 1
Hey everyone, SK here.
First, this was written in May 2020.. so if you're reading this in the future (hello from the past!! XD), my style has probably changed.
Anyways- this will be in two parts, because I took more screenshots than the picture limit for a chapter (20 pics), so yeah. Annular_Eclipse requested I do Serena, and Cindy_Ketchum asked that I do Fairy Serena (i.e. her design from my book, The Fairy's Cure), so I'll be drawing Serena's fairy design.
If you look in the book now there will be a different design there- the one I did last year. If you're a reader of that book then you'll know that I've been trying to redraw the characters, so once they are all done (halfway there, if you're wondering!), the old designs will be taken down and the new ones will be up. So today, you'll be getting a sneak peak of her new design!!
I'm not sure if this really qualifies as a 'tutorial', but I'll try and be detailed with it.
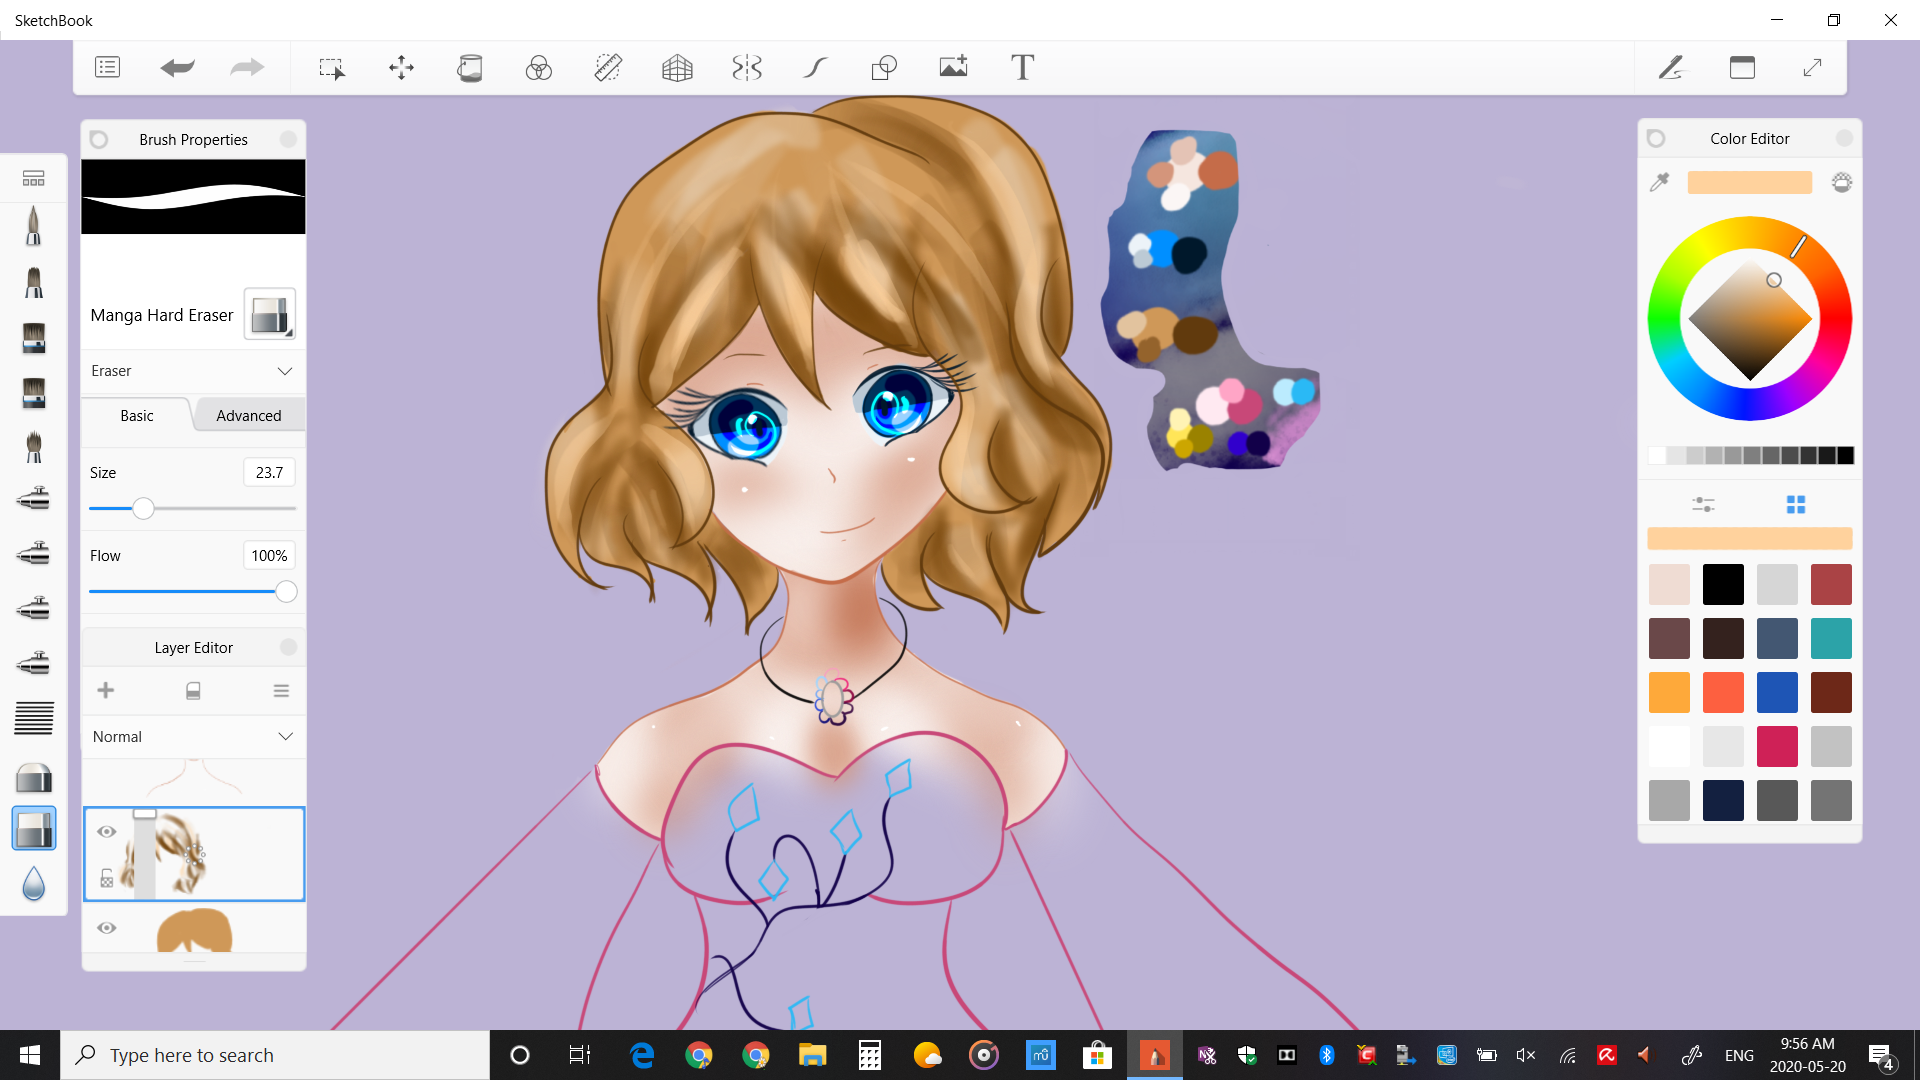
If you're wondering, the software I use is Autodesk Sketchbook (a little glitchy, but works really well for me, also free!), and the brush set that I'm using is the Manga Basics one (free to download too!).
Let's start!
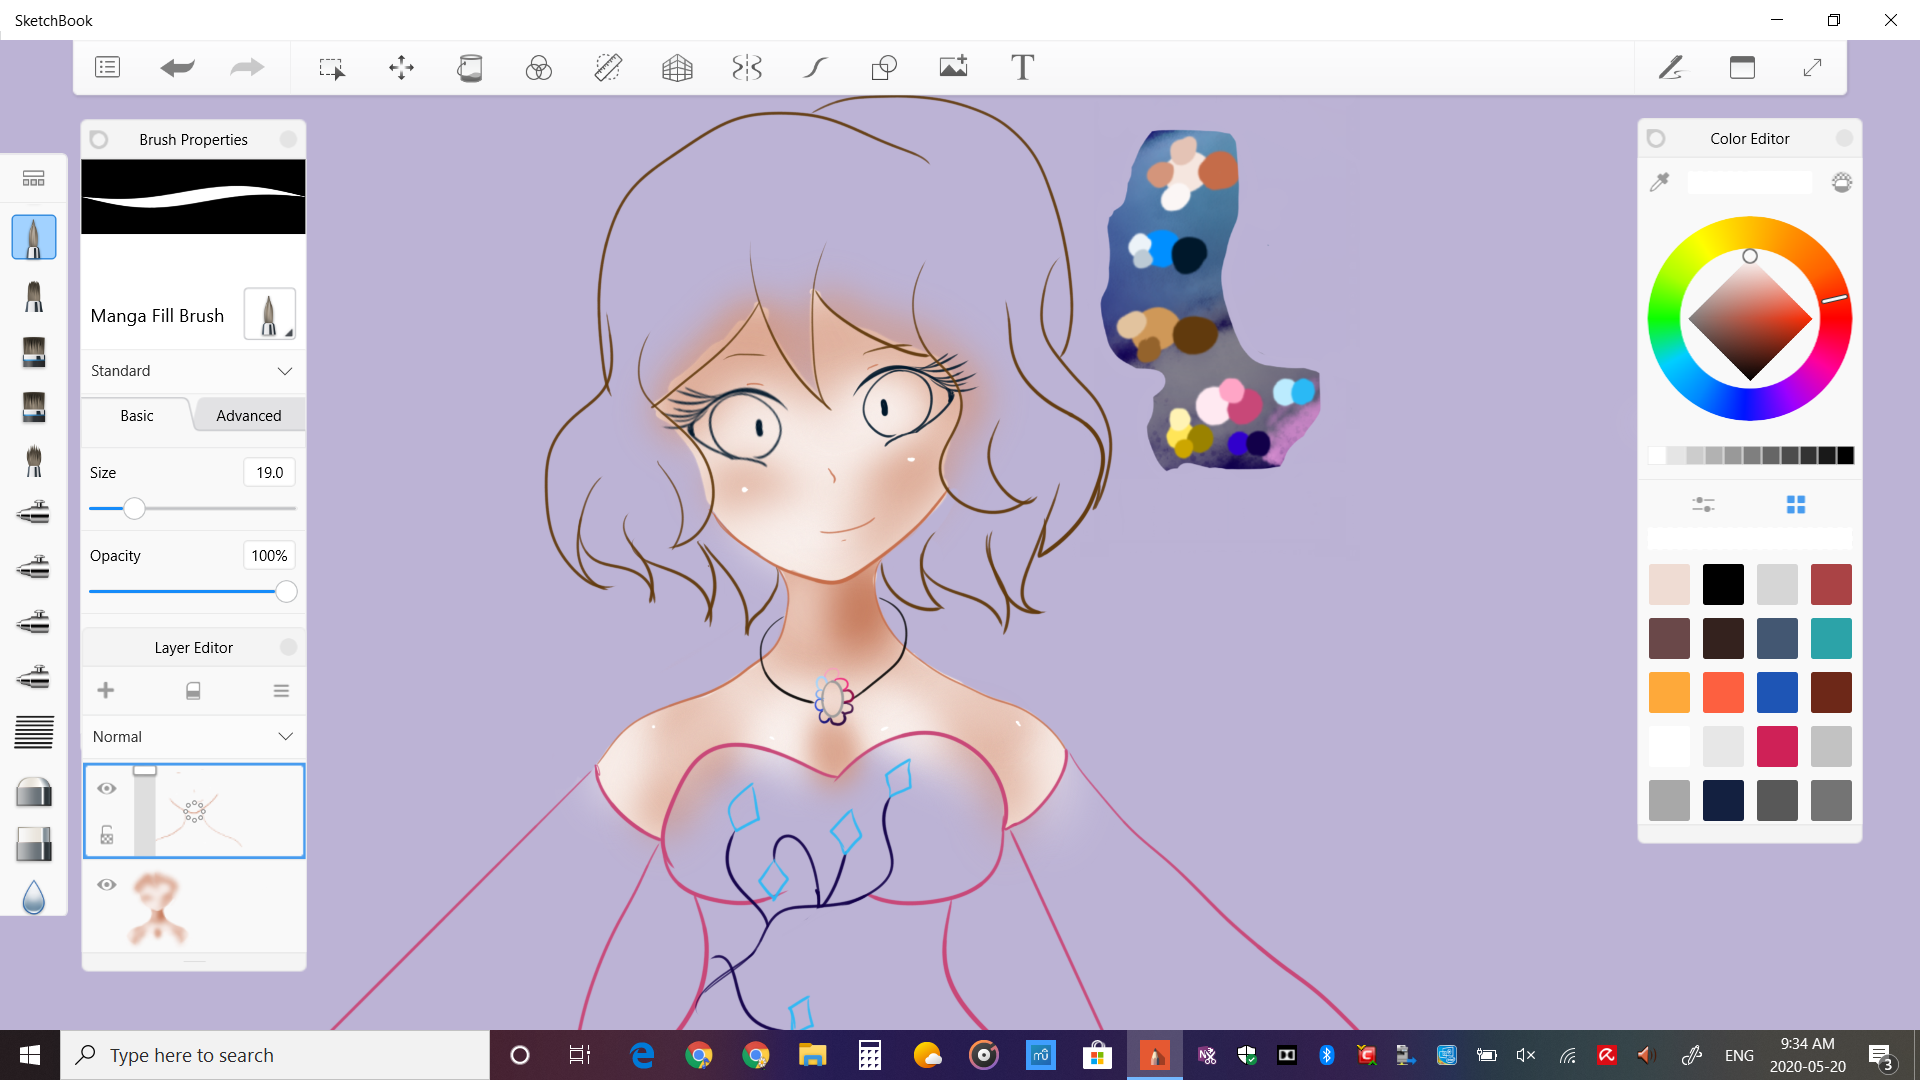
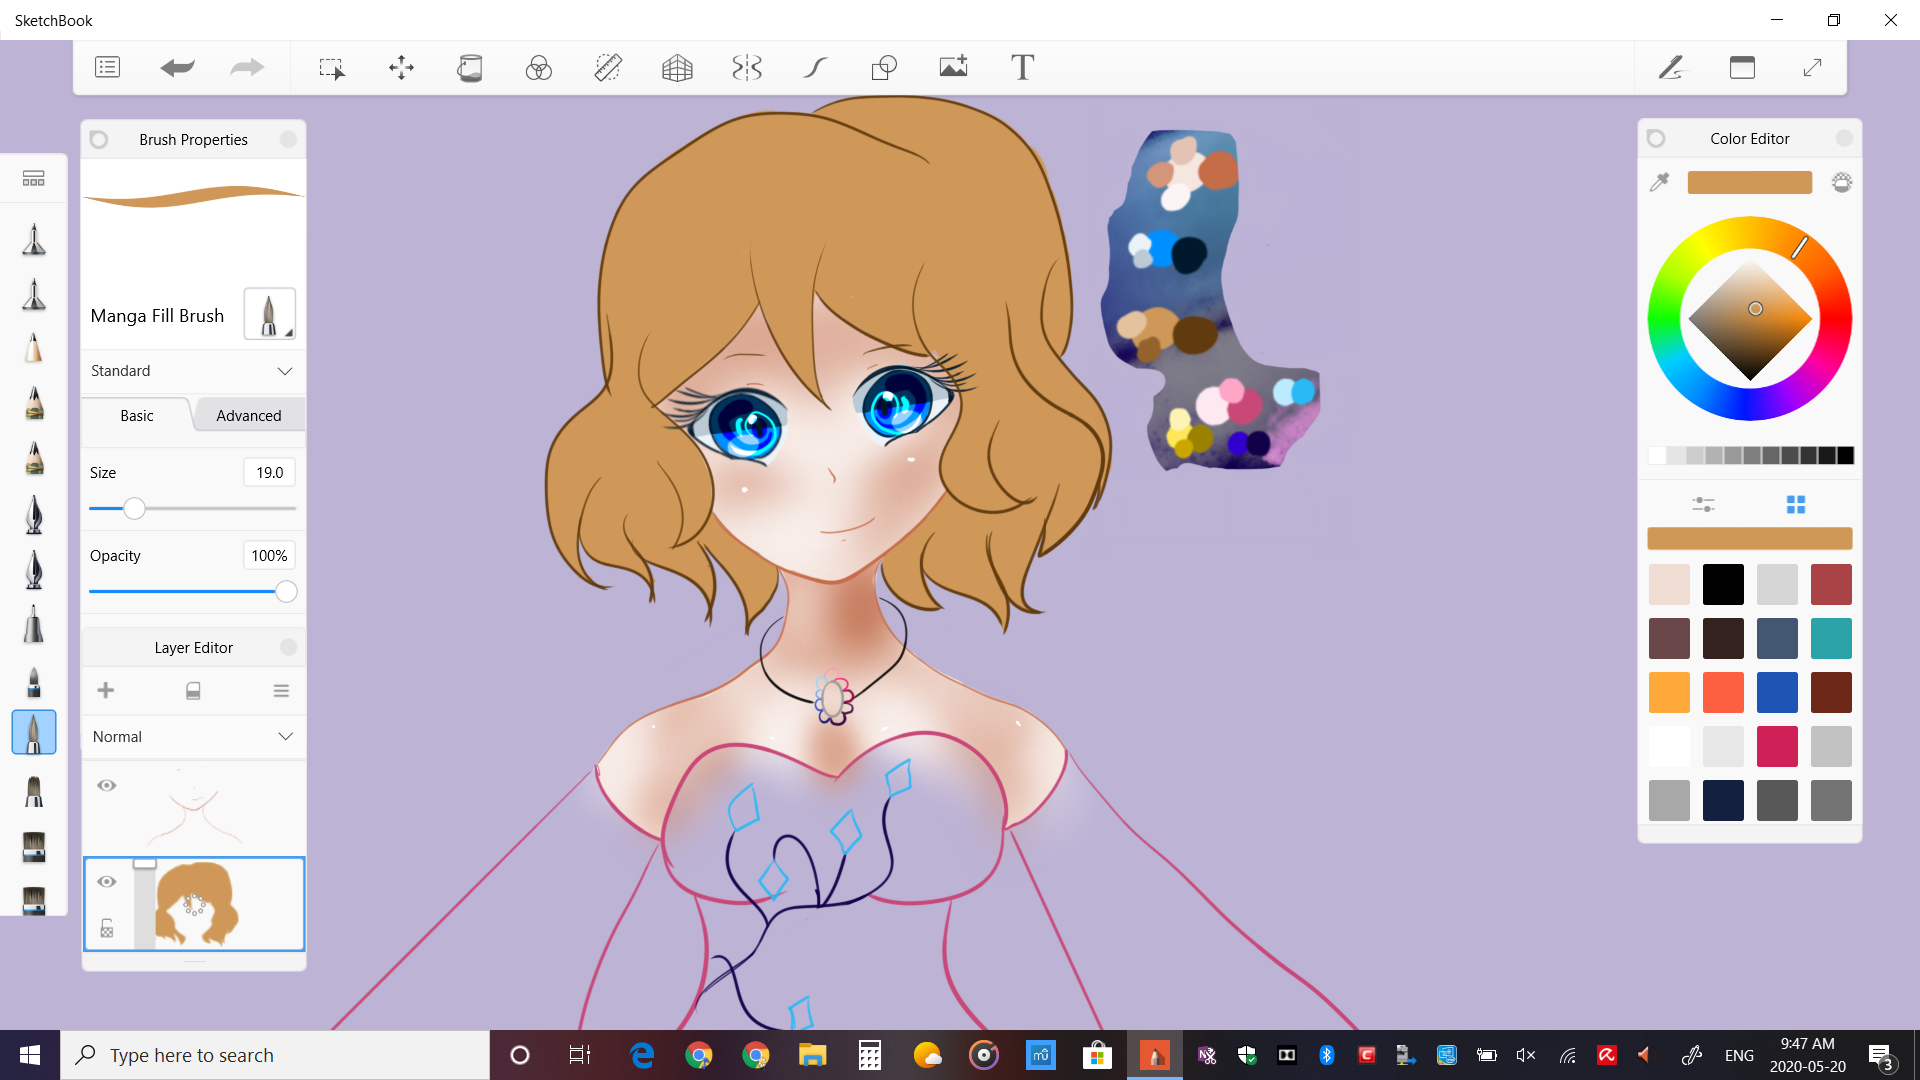
First, I like to do a rough outline in black, like this:
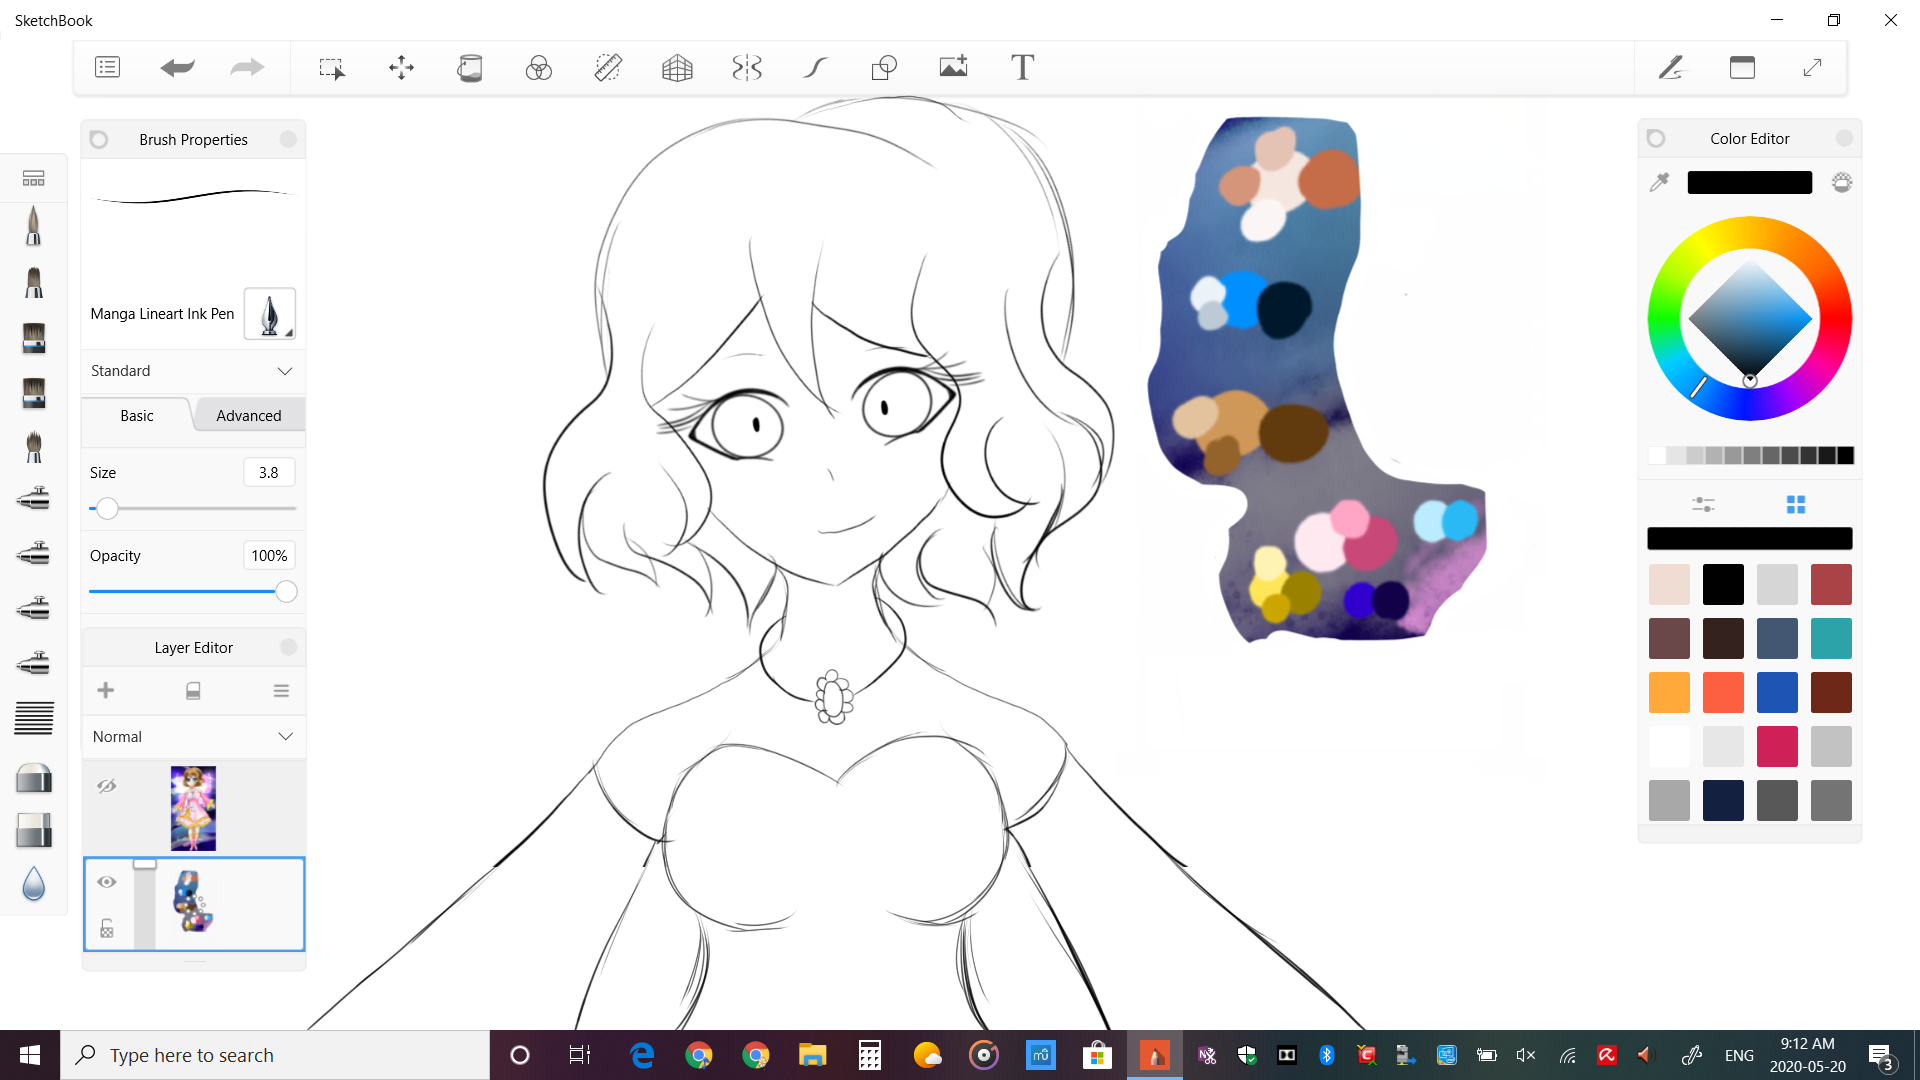
It looks cleanish, but it's just so I have something to trace with the real outline, which will be cleaner and coloured properly. I use the manga lineart ink pen to do all the outlines (but I think you can see in the image?? idk). The thing beside Serena is the colour palette, taken from the full-body version I've already done of her.. which you can maybe see ;)
Now, I bet you're wondering- if she's a fairy, where are her wings? I draw the wings (outline, fill, everything) after everything else, and I mean everything else, is completed.
I also don't use the smooth stroke tool to do this- I only use it for her eyes to make sure they look nice. Also, for her eyes, I only draw the one on the right, then copy it and reflect it to make another one... I can't draw symmetrical eyes TwT
Next thing I do is to do the proper outline. Here it is over the black outline (the black one has the opacity turned down to make it traceable)
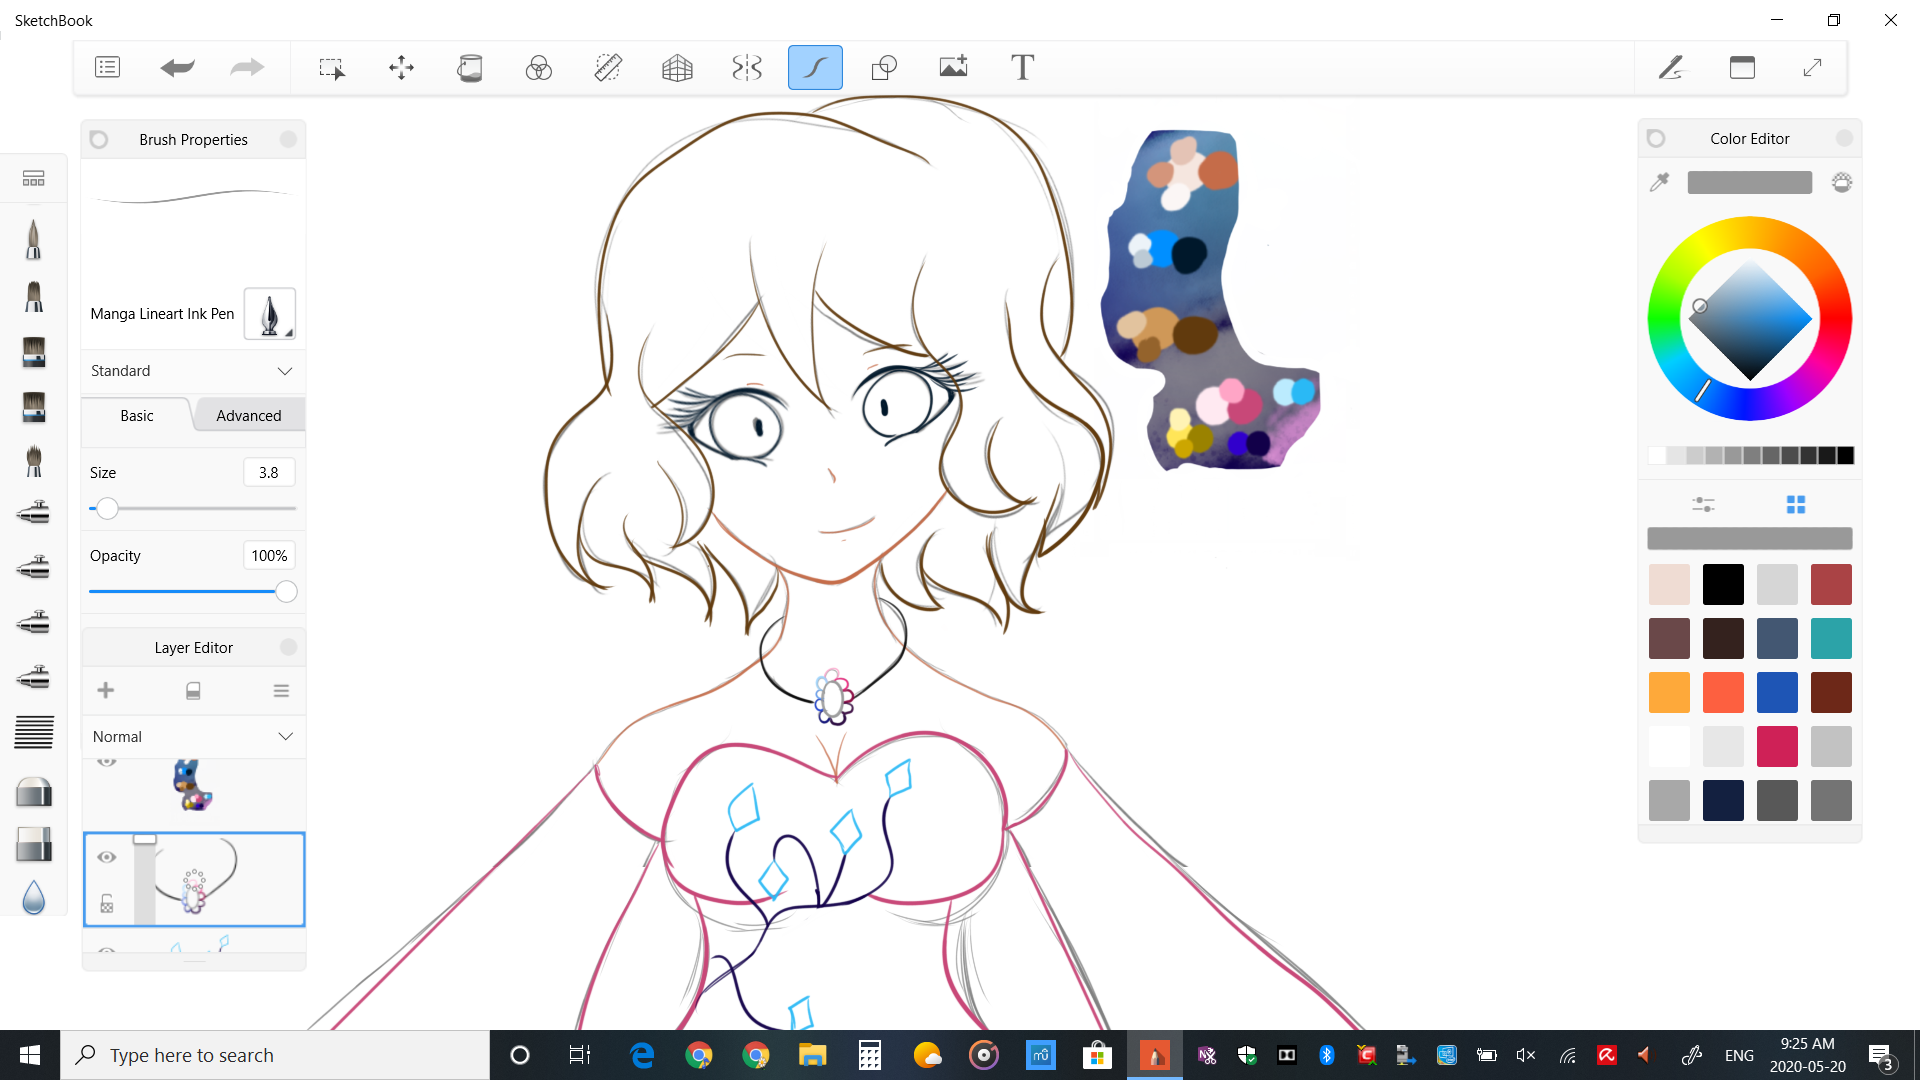
And here is the outline by itself...
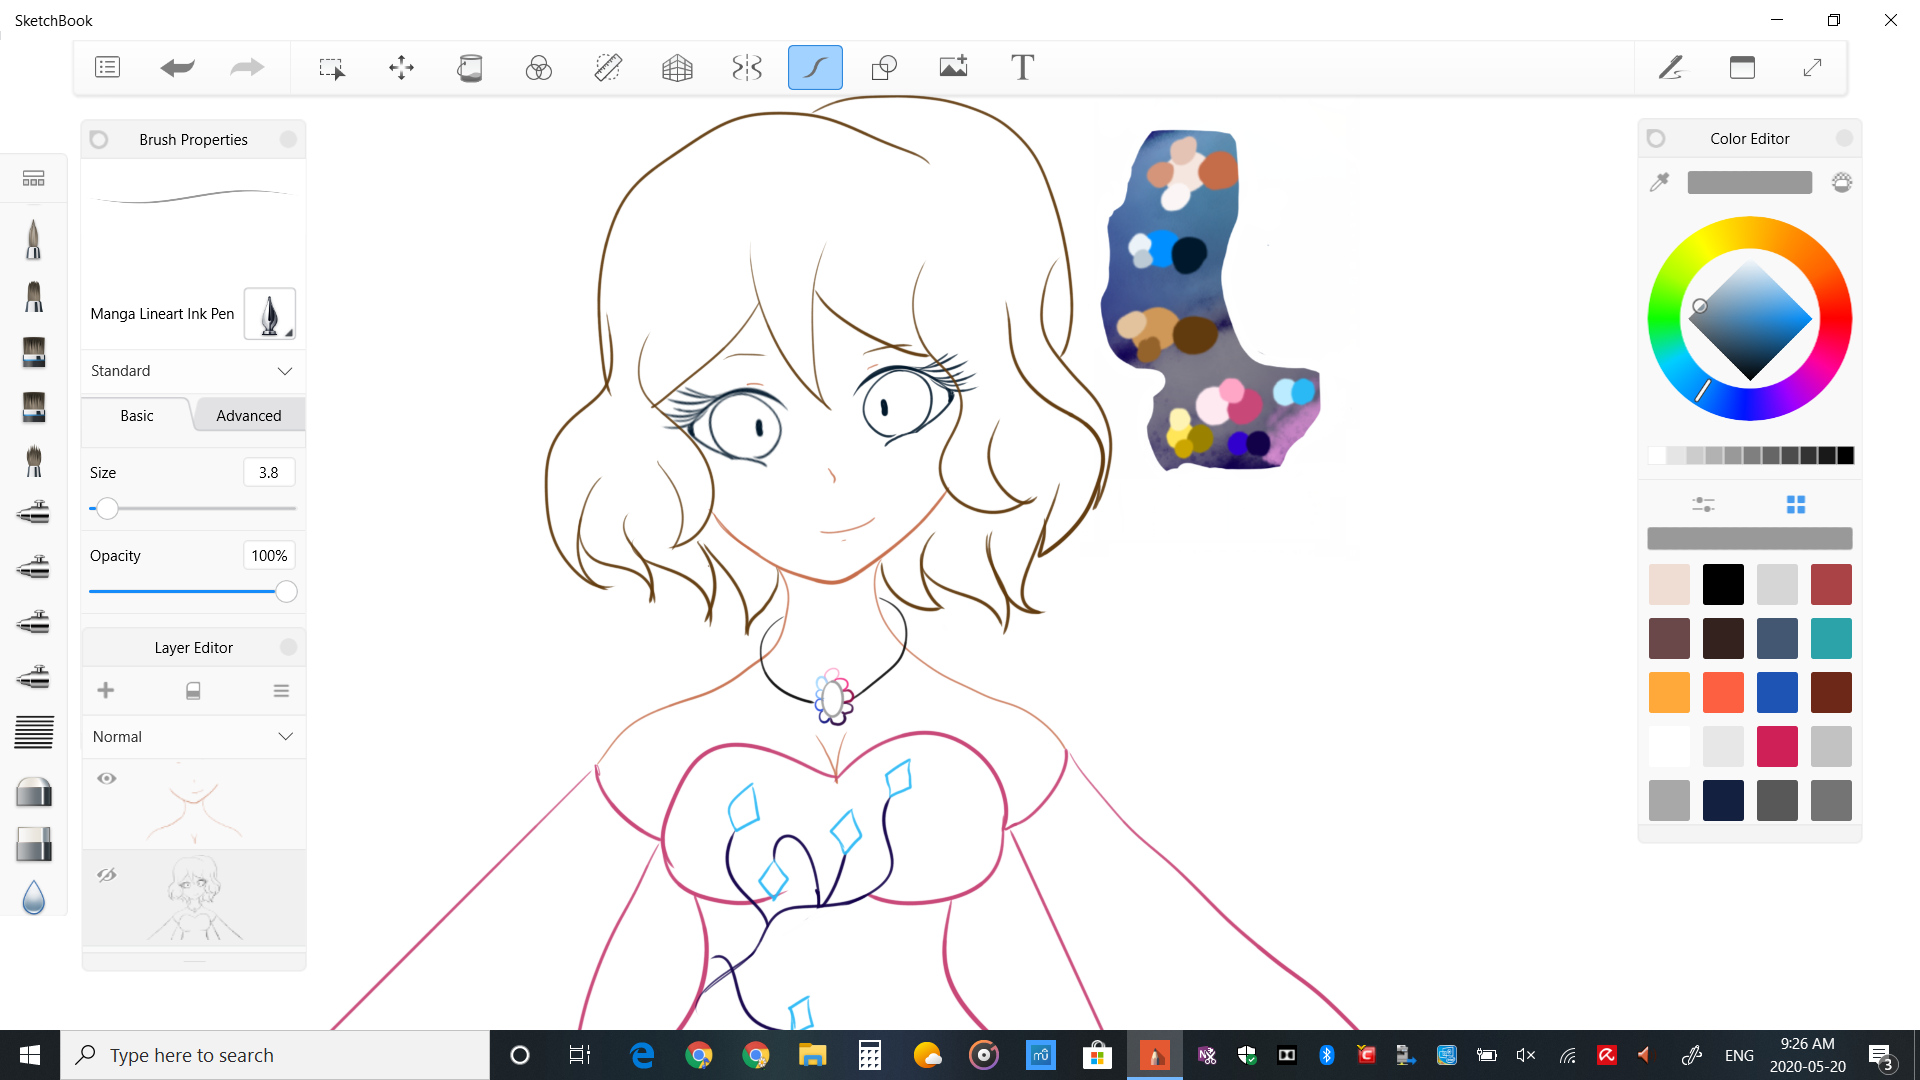
As you can see it looks considerably cleaner than the rough outline, and it's also colour proportionate (don't know the proper term for when the colours go together haha). I also made some changes to some proportions to make it look a tad more realistic. To do the outline, I always use the smooth stroke tool to make sure it looks clean.
I like to work on one area at a time, completely finish it, then move on. I always start with their skin because it's the layer that's behind everything else. For all the plain fill colours, I always like to use the manga fill brush.. because well, duh.
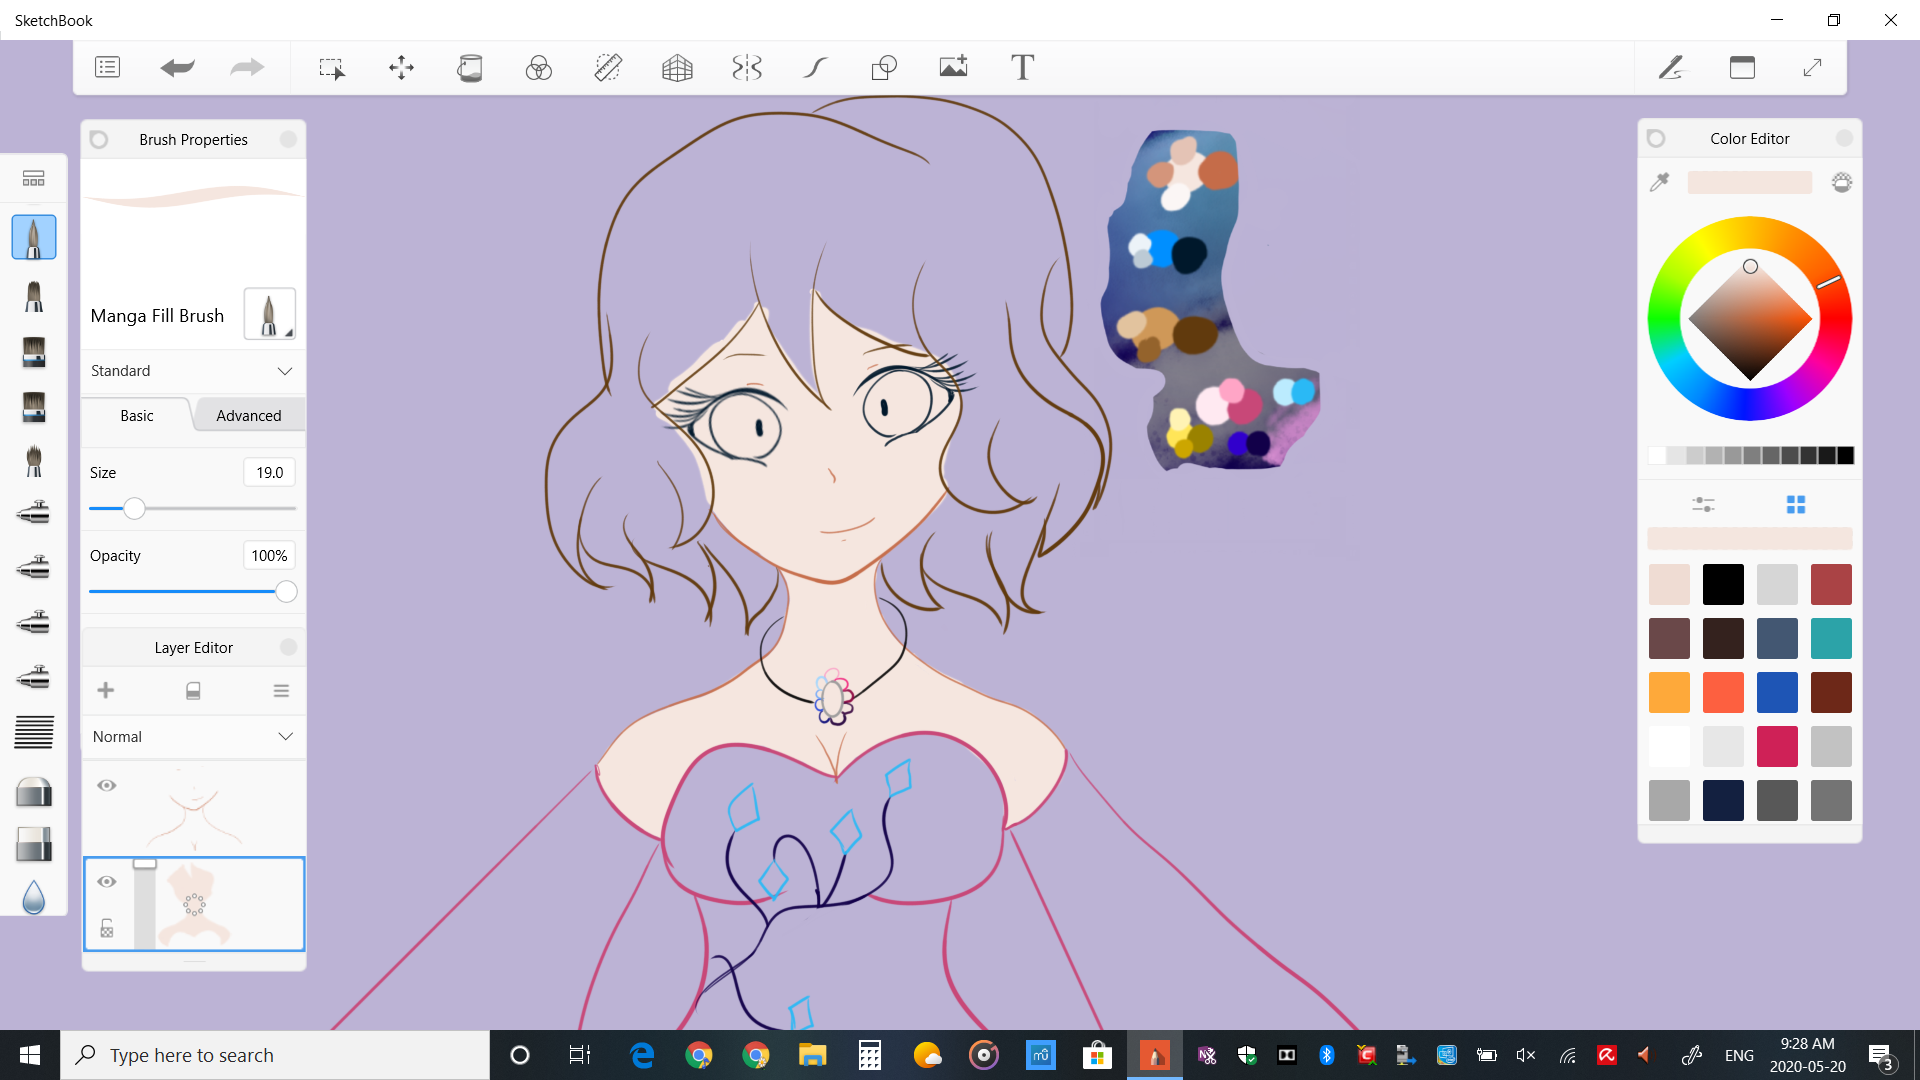
Having the colour palette is really useful because you can always have a reference and never have to guess. The areas where her skin is showing are completely coloured in.. you can see that I coloured over her eyes, necklace, and a bit of her hair, but that's okay because this is the back-most layer, so it's going to be coloured over anyways.
To shade the skin I use one of my favourite tools of this app: the Soft Airbrush. Seriously, there isn't a drawing where I haven't used it. I shade the top of her head where her hair is, her cheeks, and the left (looks like the right) side of her chin. I also shade the underside of her arms and her neck, as well as the area between her breasts. I then highlight the places that weren't shaded to bring the effect to life more. This is what it looks like:

It's not done yet, however! There are still some little things I need to erase. I don't normally do this, but sometimes I add little white dots on her cheeks, shoulders, and breasts because it helps to highlight them better. Since the shading is done now, I can remove the line between her breasts- this was just a reference line.
The skin is done! The next thing I like to do is her eyes.
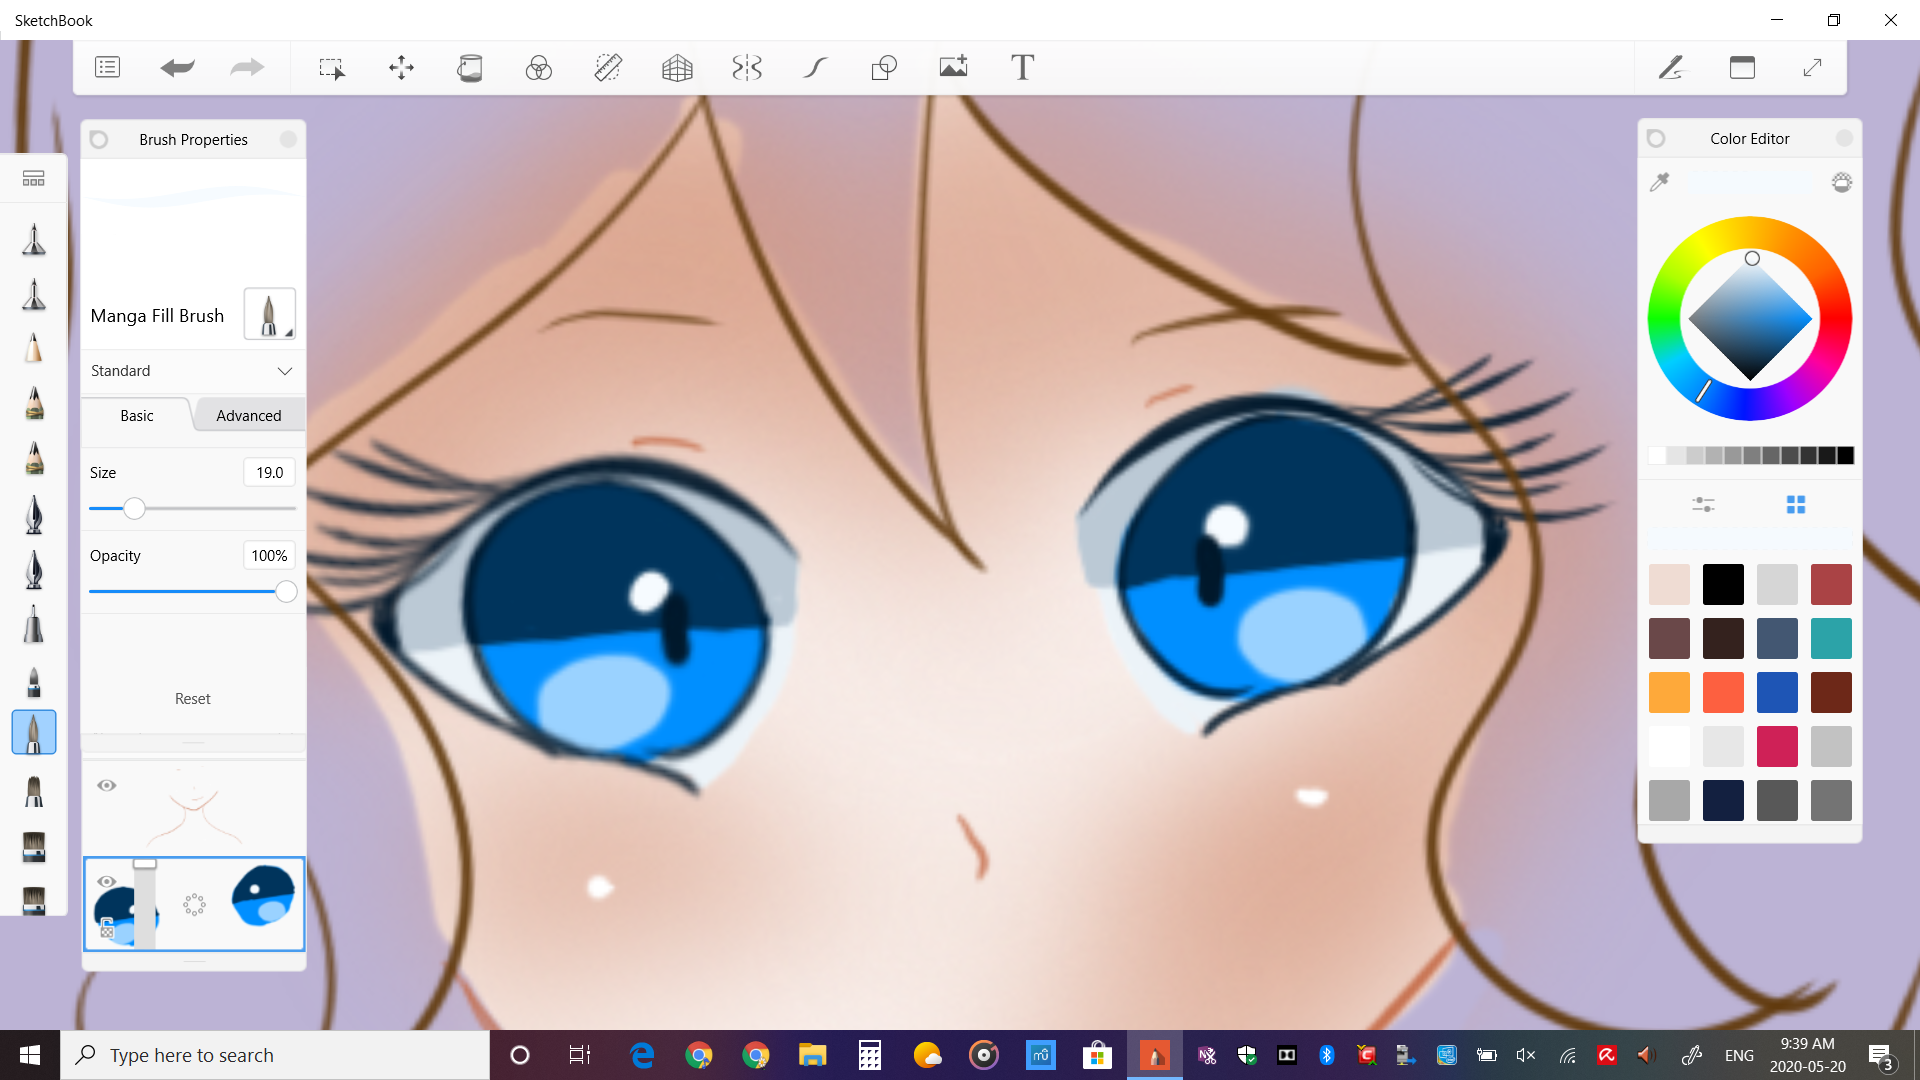
All the colours for the eyes are taken from the eye's main colour- in Serena's case the middle blue. The eyes look nice now, but they aren't finished yet! This is one of the times I experiment with the layer types.
In this app you can change a layer from the 'normal' type (just like Pokemon XD) to something like Multiply, Colour Burn, Glow, Colour Dodge, Overlay, etc. For the eyes, I like to use the colour burn (darkens and saturates), and colour dodge (brightens and saturates) layer types. The image above is what I've shaded in with the colour burn layer, a hook around the outside and a dot behind her pupil.
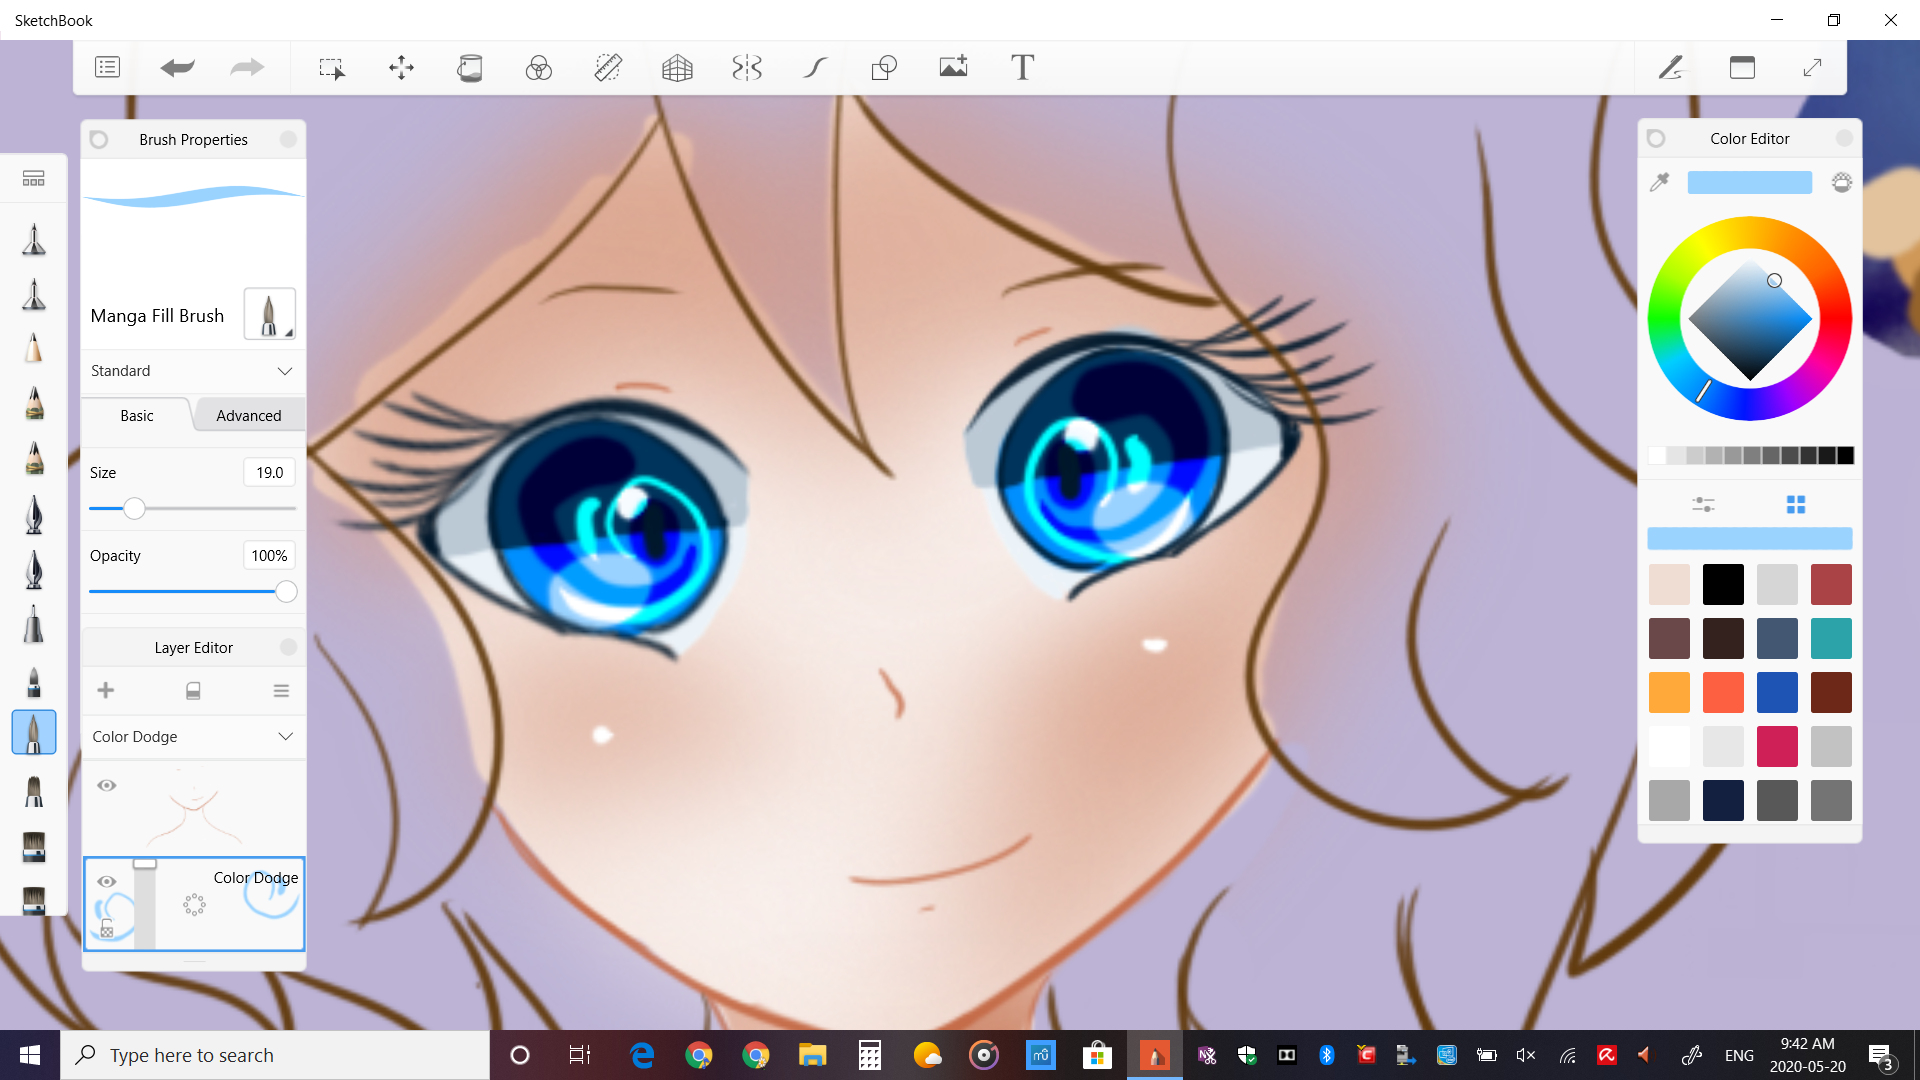
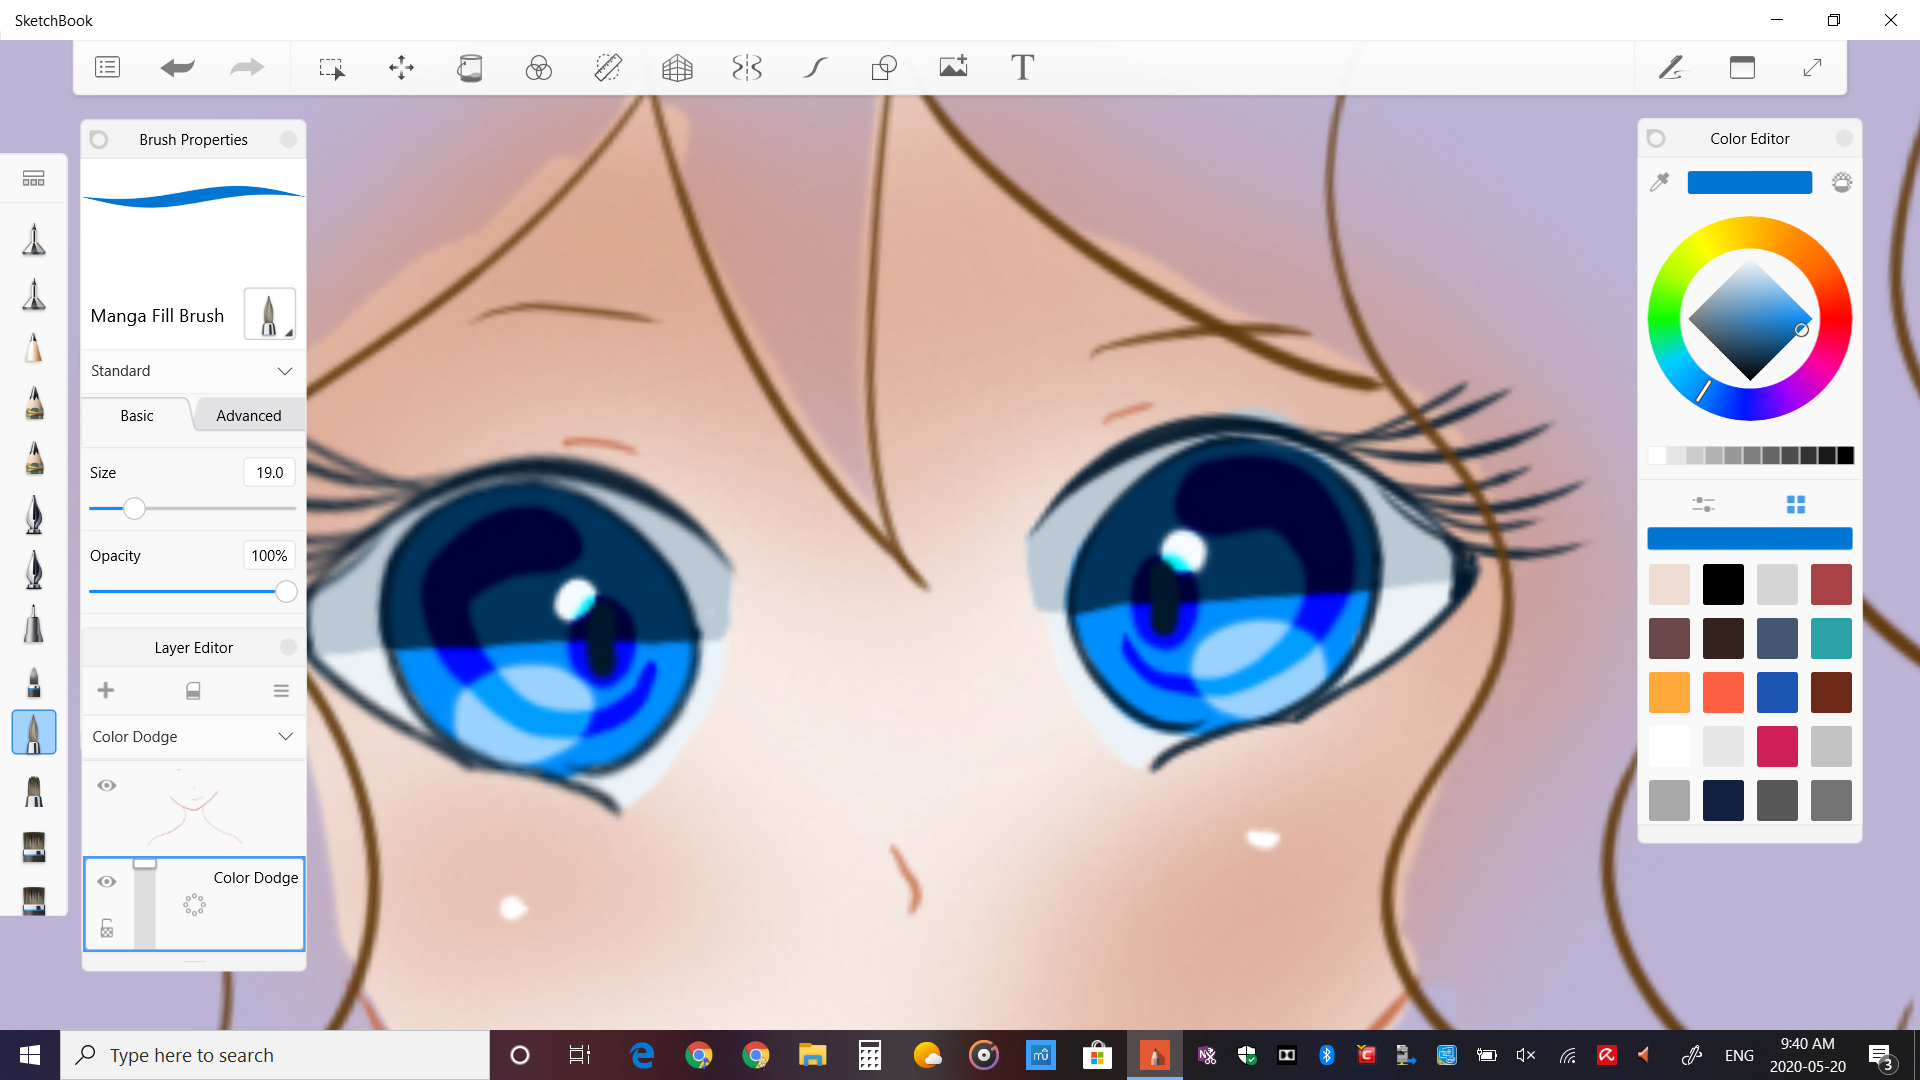
For the colour dodge layer, I do a sort of spiral shape coming from the middle of her eye that loops around her pupil and the bottom curve, and a small dash beside it. The colour dodge helps to bring the eyes to life. Anyways, that's her eyes, moving onto her hair! First, I just colour all of it in her honey-blonde colour.
Now, to shade in her hair and make it look nice, I use the water-colour brushes and the blur tool. It's hard to describe how to do her hair, it's easier to see the pictures. So this is how her hair is shaded, each layer at a time.
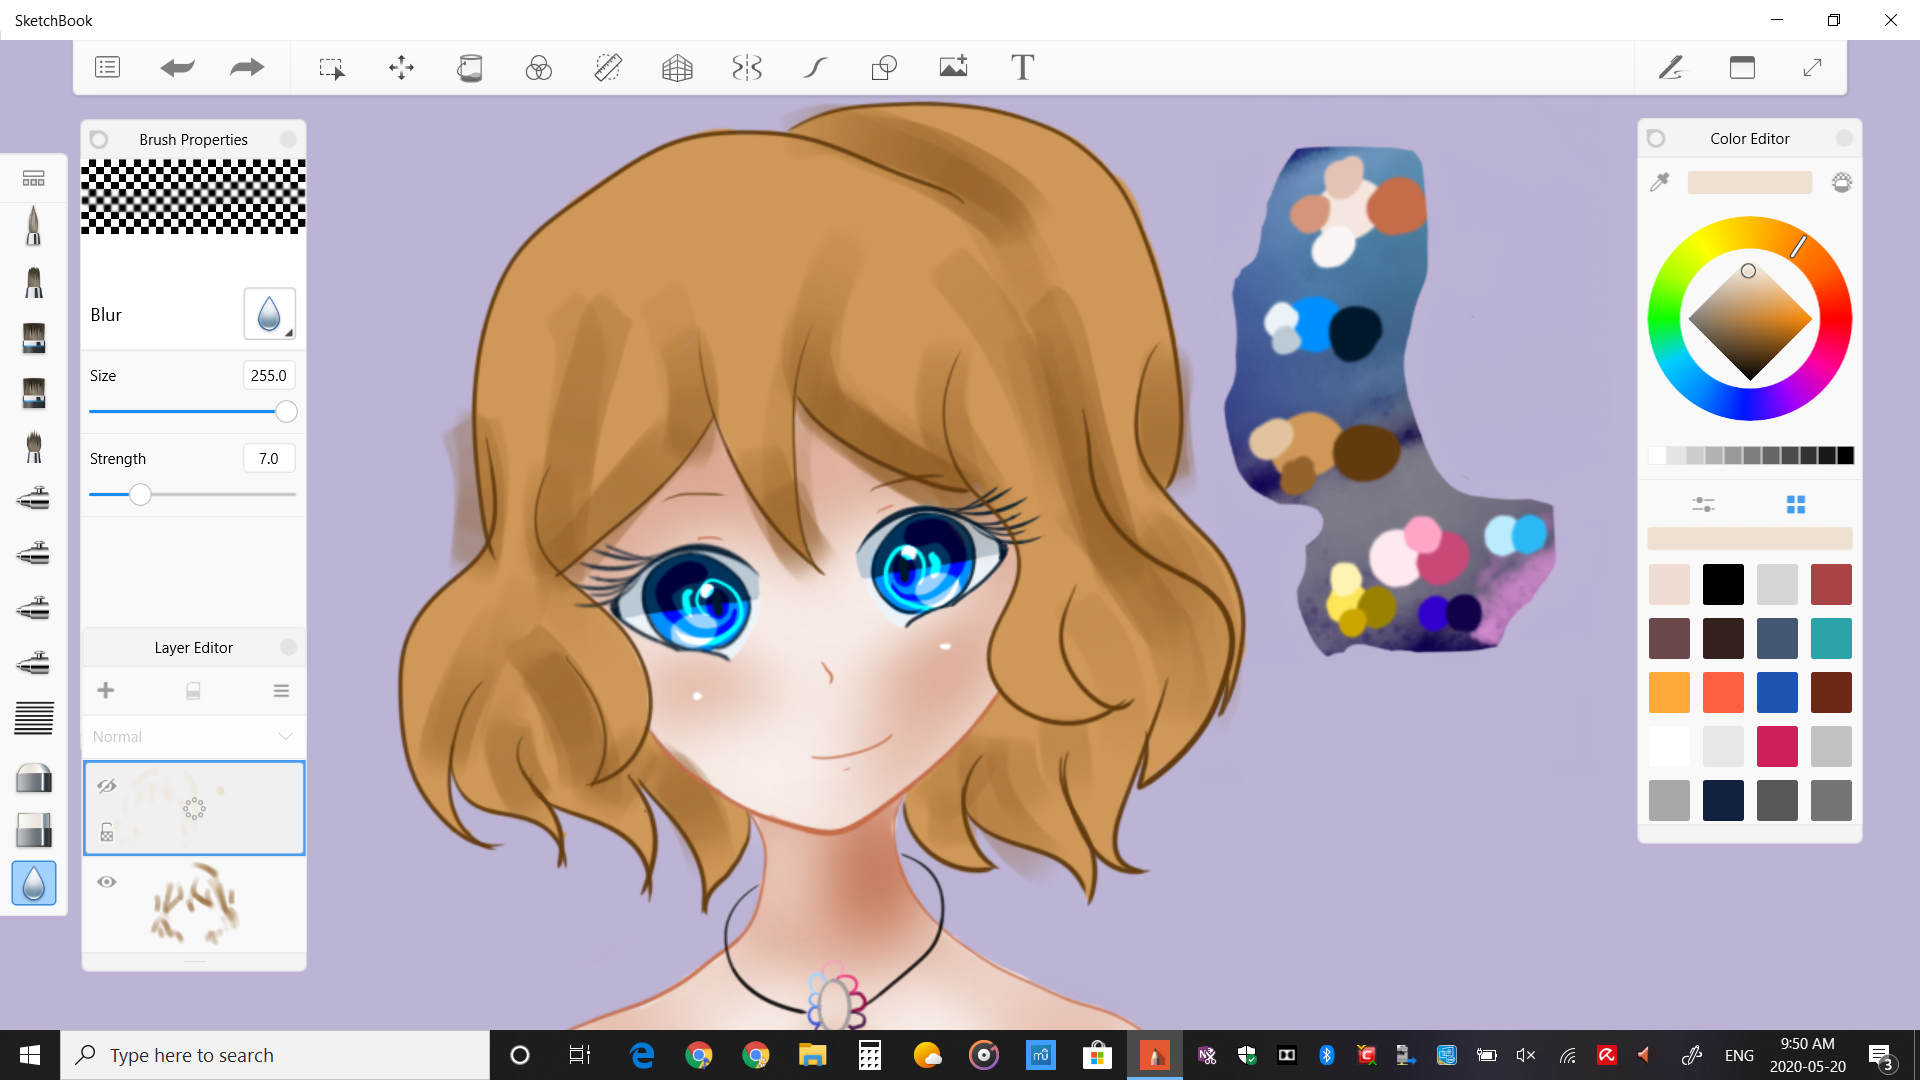
First, using the square one, I just do some dark lines to shade in the dark parts. I blur it afterwards.

Using the same tool, I add some highlights. This one doesn't get blurred.
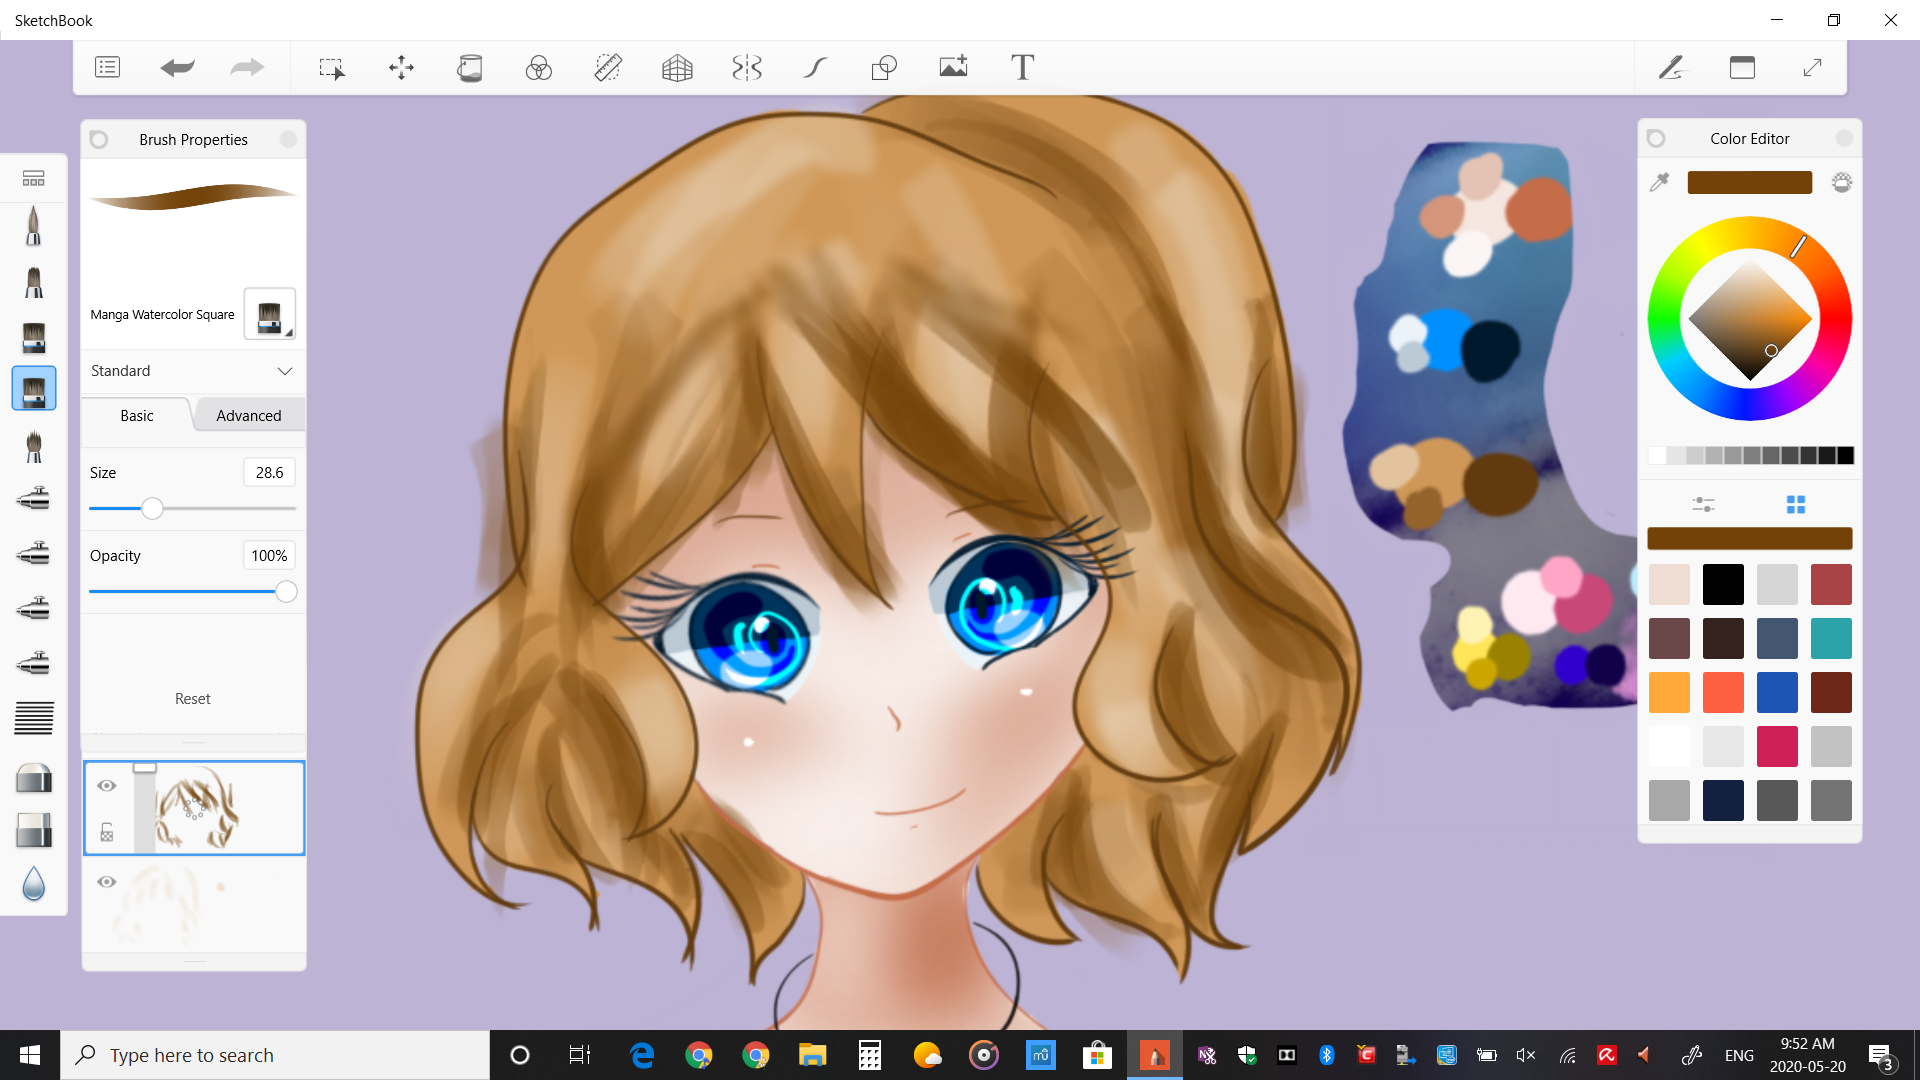
Now, using the curved water-colour brush, I go in an expand on the shadows I put in earlier, making them more visible.
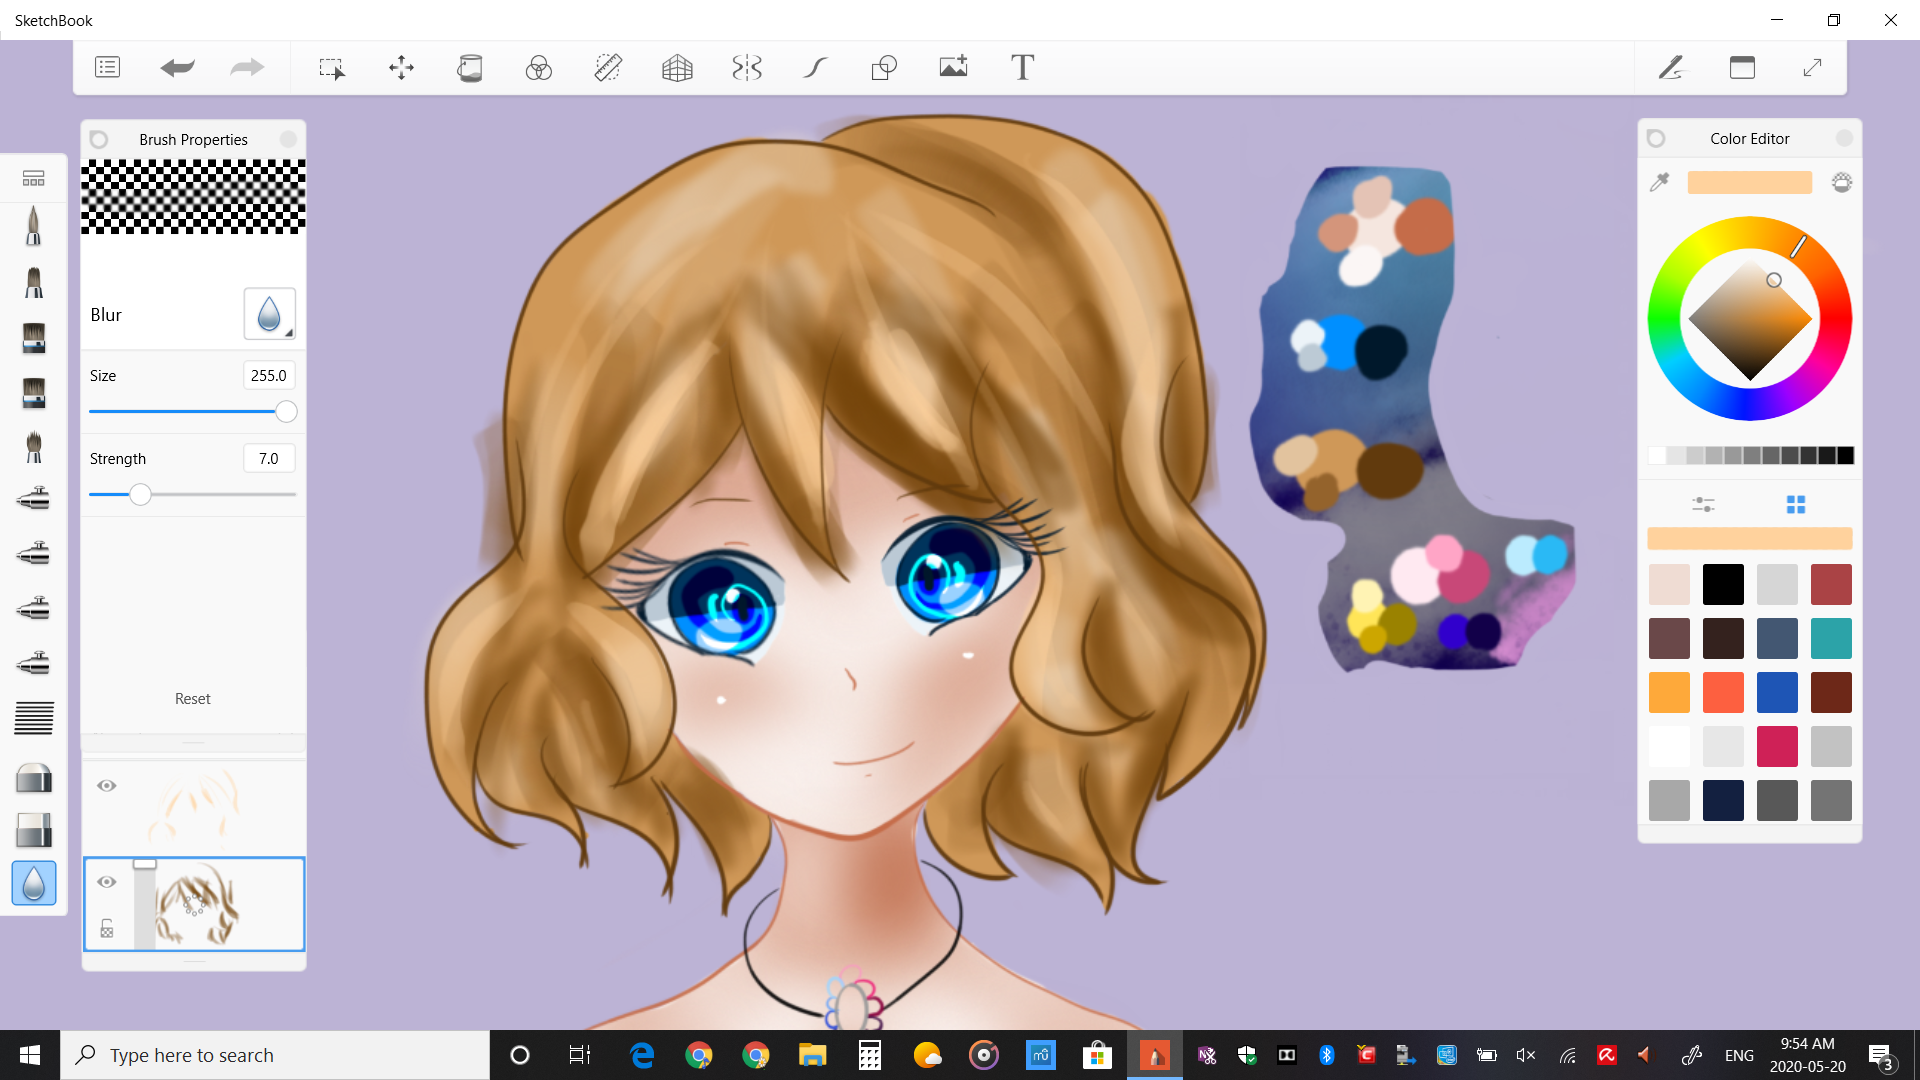
Lastly, I do the same thing but with highlights this time... and her hair is finished! Sorta. As you can see I still have to do some erasing.
...And the erasing is done.
That's all for this part, because it made more sense to me to split the steps up and not stop it in the middle of a step. I'll tell you though, next part is where things really come together.
As soon as I publish this, I'm going to go work on it, so stay tuned! :)
Bạn đang đọc truyện trên: Truyen247.Pro