
𝟎𝟎𝟑. ˚. 𓄼 graphic tutorial 1 ꙳᠀
─────── ⋯ ────────
𓆩♡𓆪 ┊𝐓𝐇𝐈𝐍𝐆𝐒 𝐘𝐎𝐔 𝐍𝐄𝐄𝐃 . . . ꜜ
𓄳 piscart ❪ app. ❫ ▬⠀⤸
❝ we will be using this app to get our
wattpad measurements correct and
find our stickers/photos. the last time
i've checked, this app is free! ❞
𓄳 phonto ❪ app. ❫ ▬⠀⤸
❝ is a font app that we will be using
for our covers and is absolutely free! ❞
𓄳 photopea ❪ website. ❫ ▬⠀⤸
❝ basically, an online photoshop that is free.
great substitute for those that don't have the
real deal and don't wanna spend money on it ❞
desclaimer!! this cover is inspired by various ppl
who have also made this cover so the rightful
credit goes to the original creator. I can't
seem to find their acc on here so lmk if
anyone does.
▇▇▇▇▇▇▇▇▇▇▇▇▇
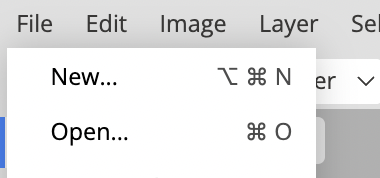
001. Hi everyone welcome to my first graphic tutorial. Here is the following files that we will be using. i suggest saving them on pinterest and downloading them so you can access it easily.

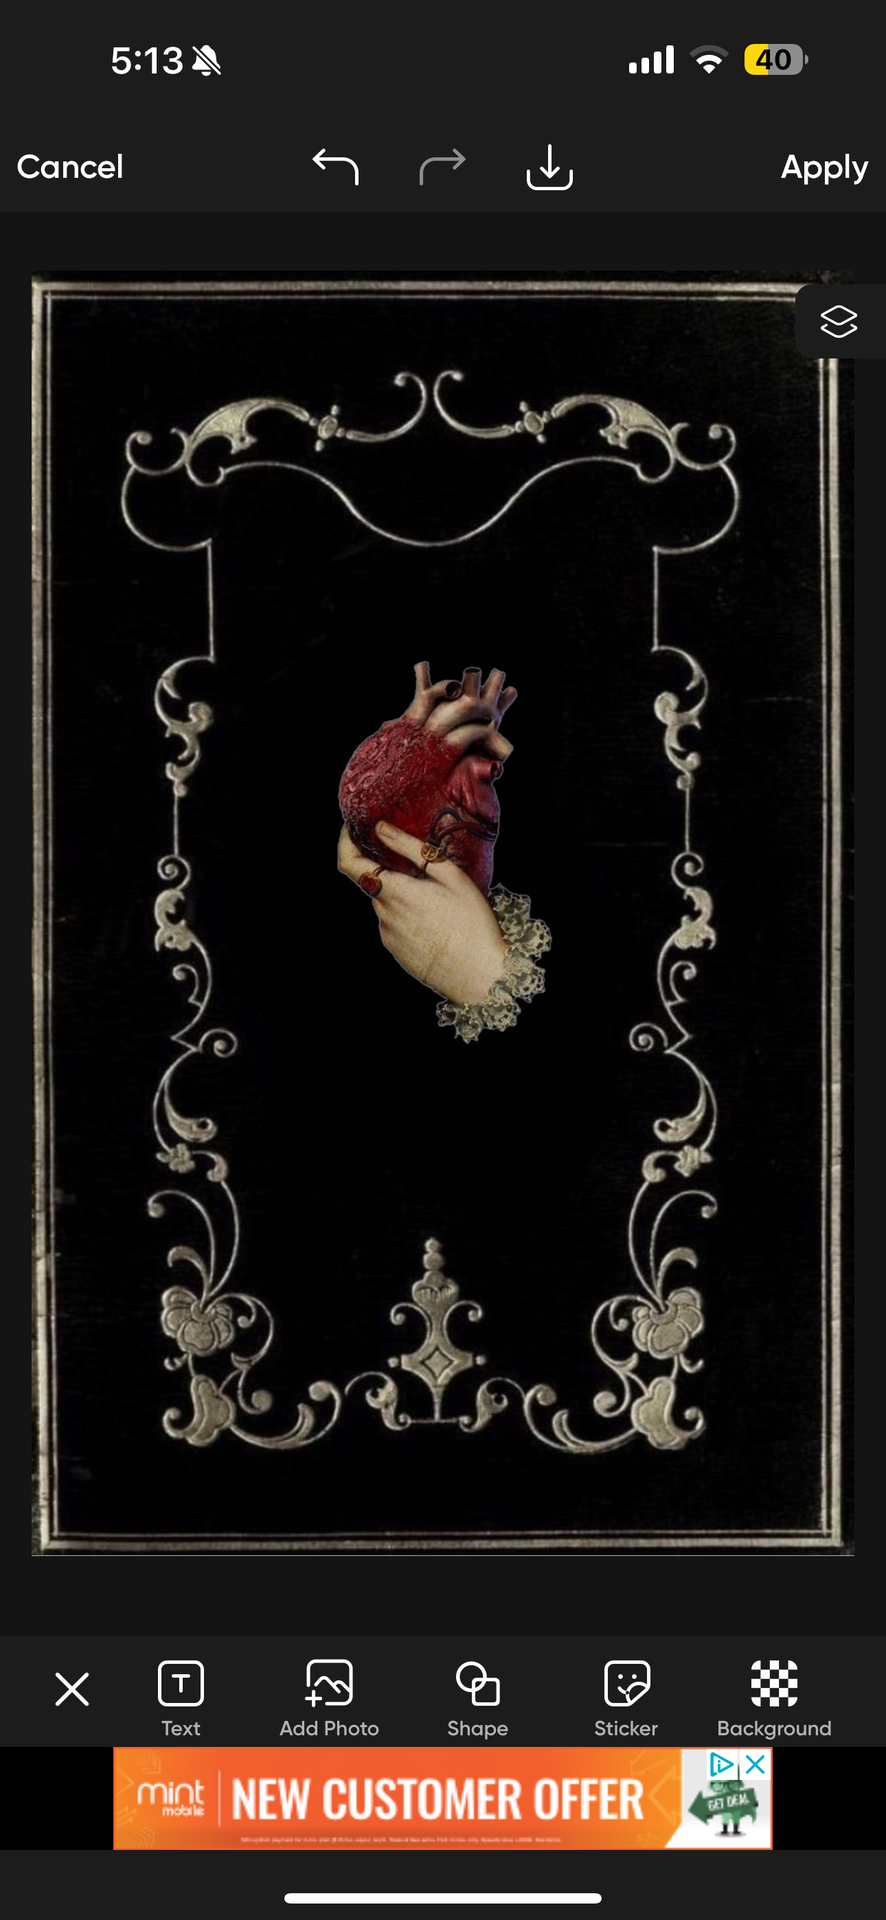
002. We're going to first start off by going to PicsArt. Now I'm an Apple User so I don't know if the App is available for Samsung. If it's not, viewers comment some alternatives pls ty ty.
003. Go to stickers and search up any sticker you are looking for. If your going for the aesthetic feel i always search up things like "Vintage Aesthetic, Dark Vintage Aesthetic, Dark Academic etc."
004. Now this is what my cover looks like at the moment. As you can see I realigned it to my liking and made it the size that I want. I clicked apply and saved it to my camera roll.
005. Next open up the Phonto app where we will be creating our titles. Down below I listed each font that I have used and their sizes. I won't go too in depth with it because the app is pretty easy to navigate.
Gill Sans Bold: 25
STIX Two Text: 50
Arial Bold Italic: 35
** Side Note: I made all my text gray. To do that you just go into "STYLE" and click on the lightest shade of gray.
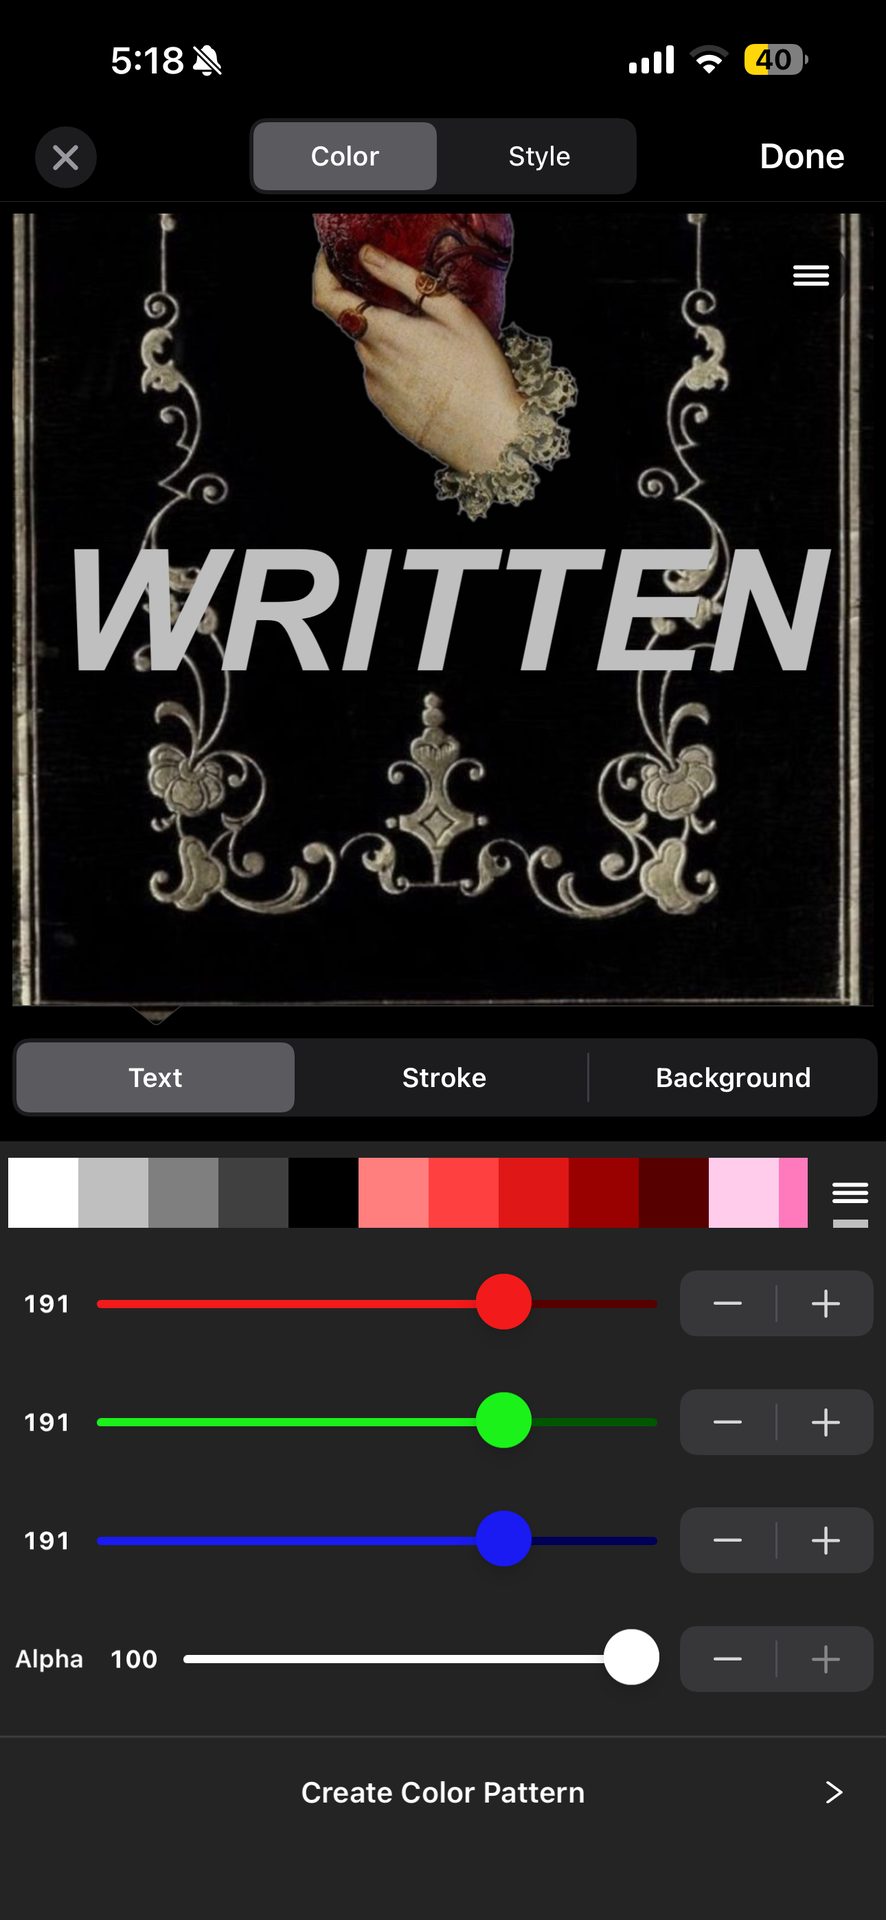
Once you are done you want to save it to your camera roll and transfer it onto your computer. If you are an Apple User like me, I airdrop it to my MacBook. As for other users I think the second option is to email it to your laptop.
006. Open up your Photopea app and open "NEW PROJECT" we will be creating the size of our blank canvas before we import our cover from photo pea.
The wattpad cover size is 512 x 800 so we want to change it to that before clicking create.
007. Go to the "OPEN" tab and find your cover.
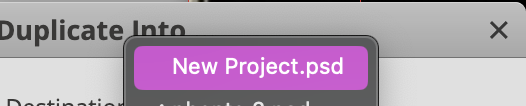
008. Your Cover will important into a different tab. Now what you want to do is go to "LAYER" and click "DUPLICATE INTO" where you click on new project ( Which is where you want it to go ).

If necessary, resize your cover.
if you are having a hard time, go to the search bar and look up "FREE TRANSFORM" to help you resize. I'm pretty sure in my other tutorials I go further in depth.
009. Go back to the Open tab and find the second required file which is the overlay.
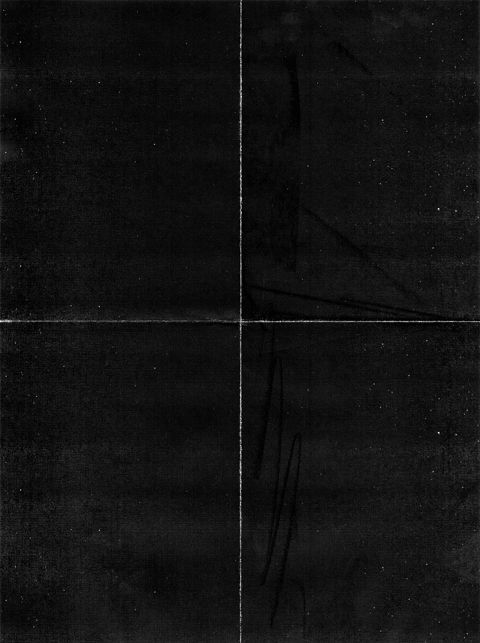
010. Repeat step 008 & 009
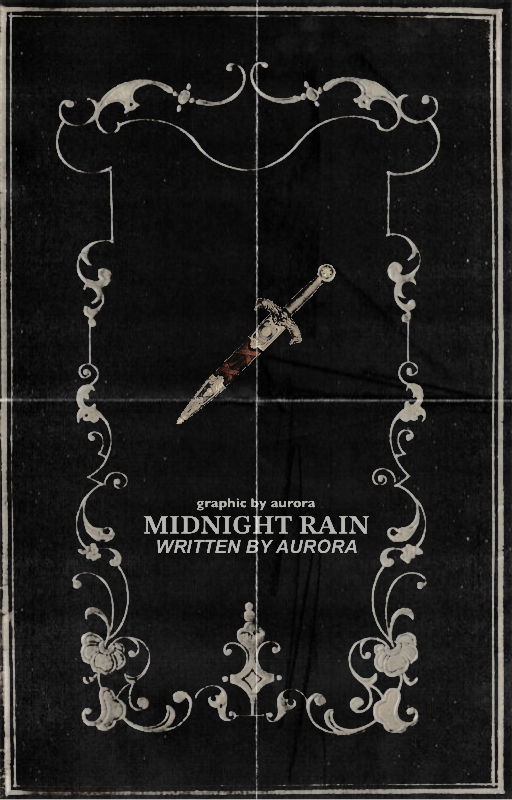
011. Now go down to layers and change it to screen.
**Notice how my top layer is highlighted showing that I selected it?

012. THIS ISN'T LIKE MY PREVIOUS COVER ABOVE BUT THIS IS AN EXAMPLE OF WHAT IT SHOULD LOOK LIKE. Feel free to add a PSD and customize it.
─────── ⋯ ────────
I hope you enjoyed this tutorial. Let me know if you have any questions!
Bạn đang đọc truyện trên: Truyen247.Pro