
𝟎𝟎𝟏. ˚. 𓄼 wavy text + gif banner tutorial on photopea ꙳᠀
─────── ⋯ ────────
𓆩♡𓆪 ┊𝐓𝐇𝐈𝐍𝐆𝐒 𝐘𝐎𝐔 𝐍𝐄𝐄𝐃 . . . ꜜ
𓄳 photopea ❪ website. ❫ ▬⠀⤸
❝ basically, an online photoshop that is free.
great substitute for those that don't have the
real deal and don't wanna spend money on it ❞
𓄳 deviant art ❪ website. ❫ ▬⠀⤸
❝ this is where i generally get my psds. ❞
▇▇▇▇▇▇▇▇▇▇▇▇▇
𝟎𝟎𝟏. hi everyone, welcome to the first tutorial on how to do the wavy text on photopea! i just learned this today so here it goes! i will be using one of my examples here below on a banner gif i've done earlier today.
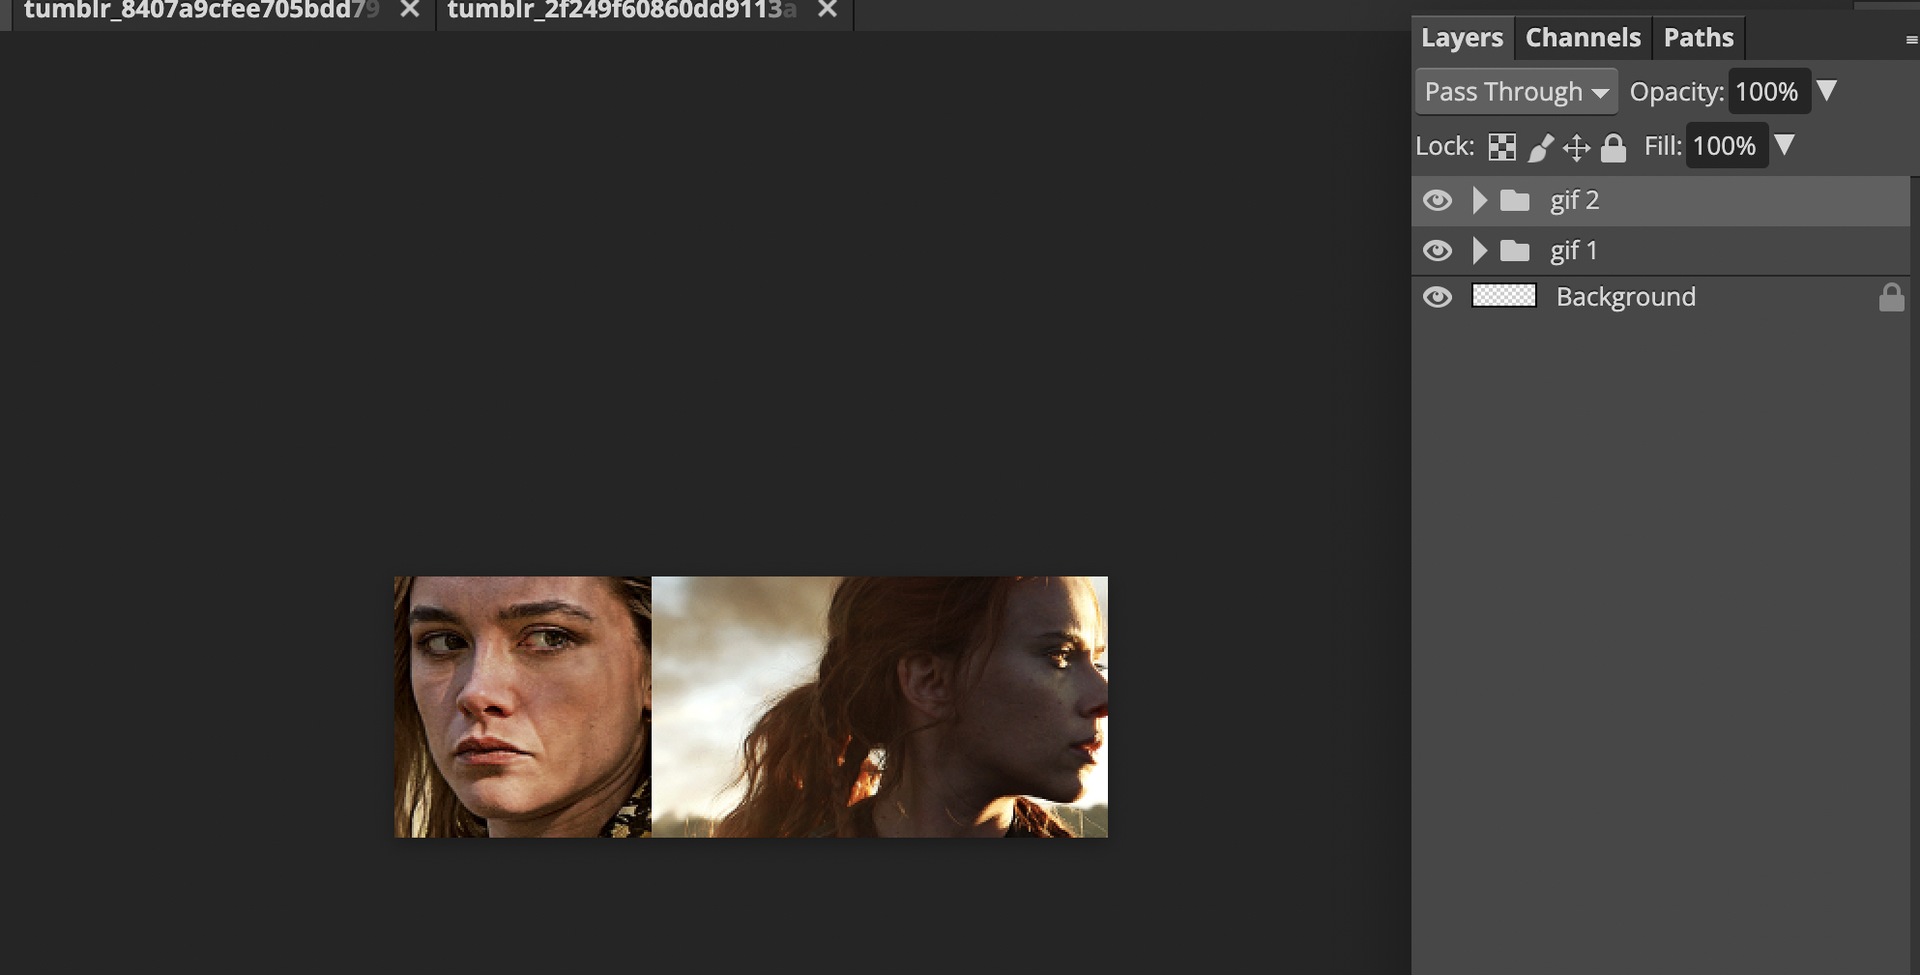
𝟎𝟎𝟐. go to photopea and change it to the width and height of your choice. Usually with banners and gif quotes i do 369 x 135.
𝟎𝟎𝟑. i picked out two gifs and now i'm going to blend them out. highlight the top gif and make sure it's highlighted from the rest. I retitled both the gifs so it's easier to tell.
*NOTICE HOW GIF 2 IS HIGHLIGHTED THAN GIF 1?
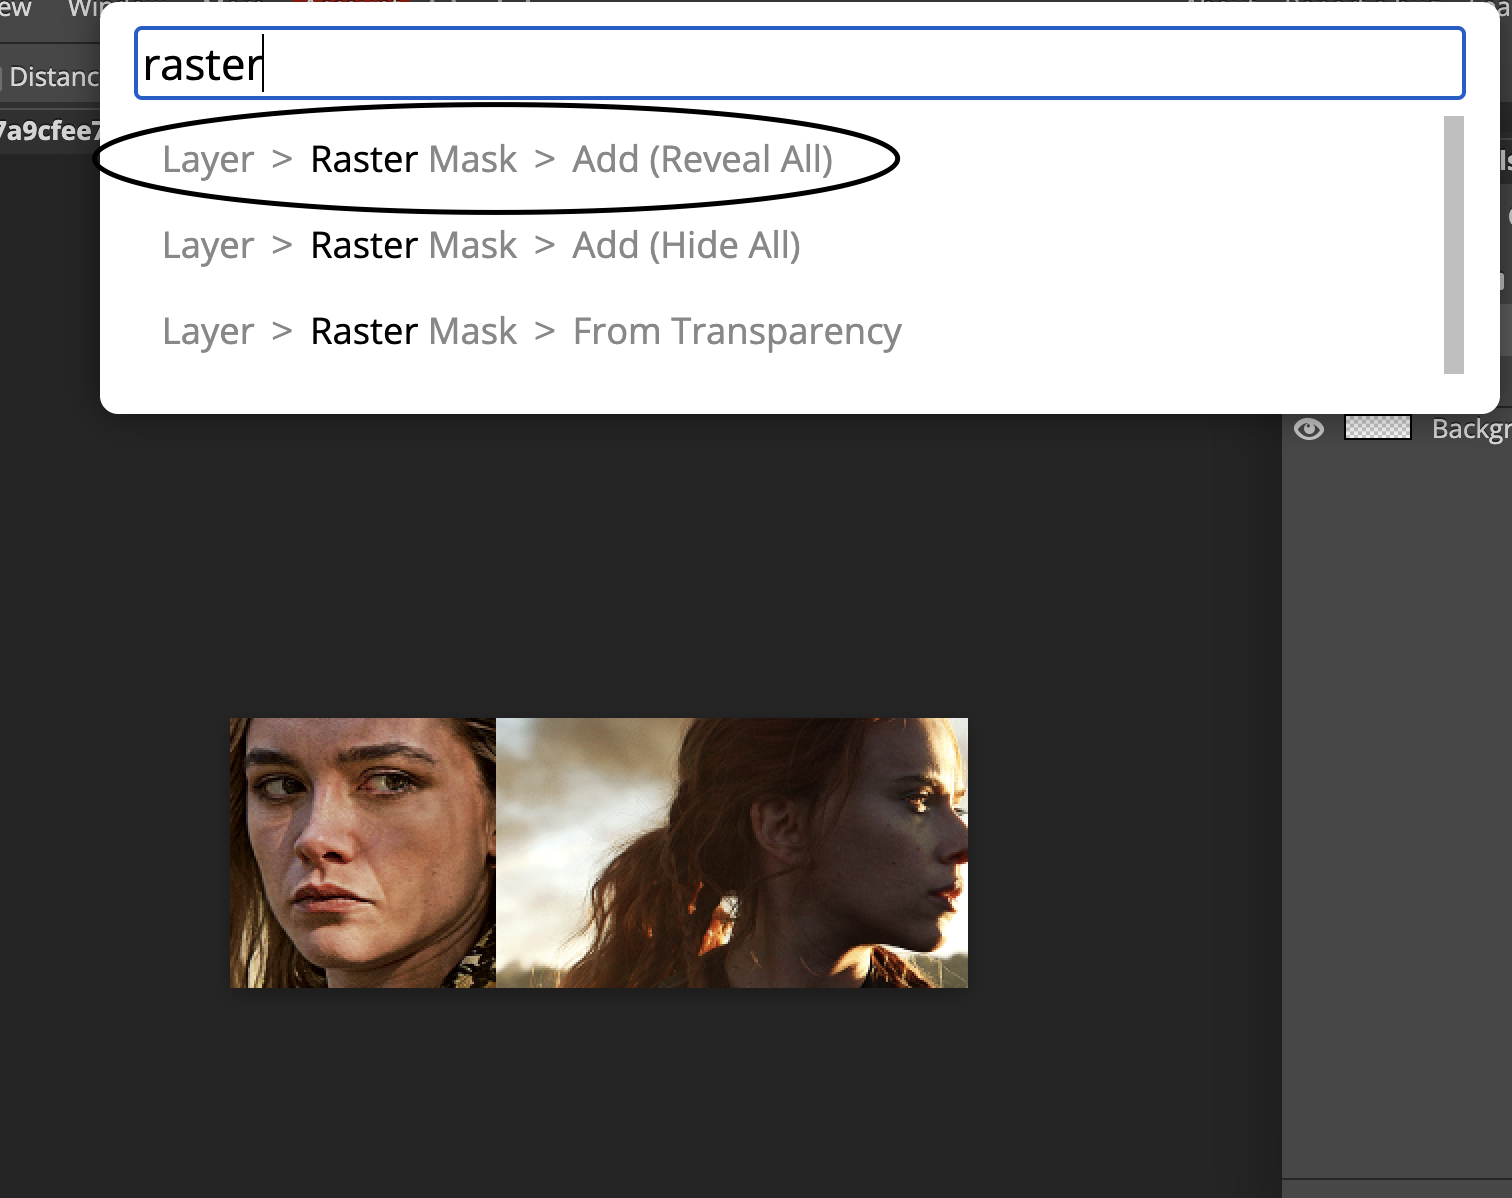
𝟎𝟎𝟒. Now to the search bar search of "RASTER" click on the one that says reveal all.
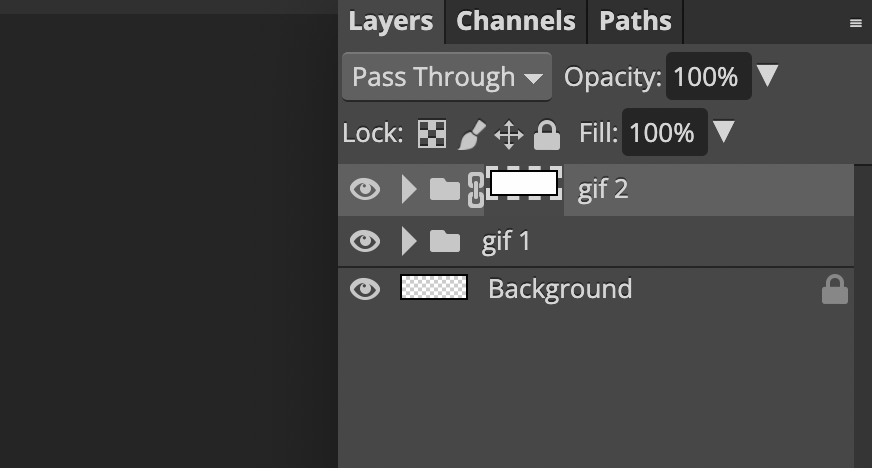
𝟎𝟎𝟓. the screen should look like this now. Now make sure that the raster ( white square with the lined dashes around the box ) is clicked on otherwise it won't work.
𝟎𝟎𝟔. now go up to the eraser tool change it over at the brush area to this setting.


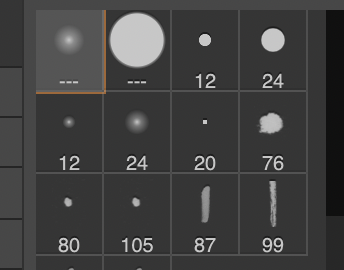
𝟎𝟎𝟕. now feel free to erase as much as you want but this is what I did.

𝟎𝟎𝟖. now what you want to do next is make sure the frames are even with one another. So make sure they both have the same amount so that way they sync and merge correctly. This brings us to the next step.
Both GIF 1 & GIF 2: have an even amount of 37 so I don't have to worry.
But for example, if one gif has 66 and the other has 24, then delete the frames that are in 66 to match with 24.
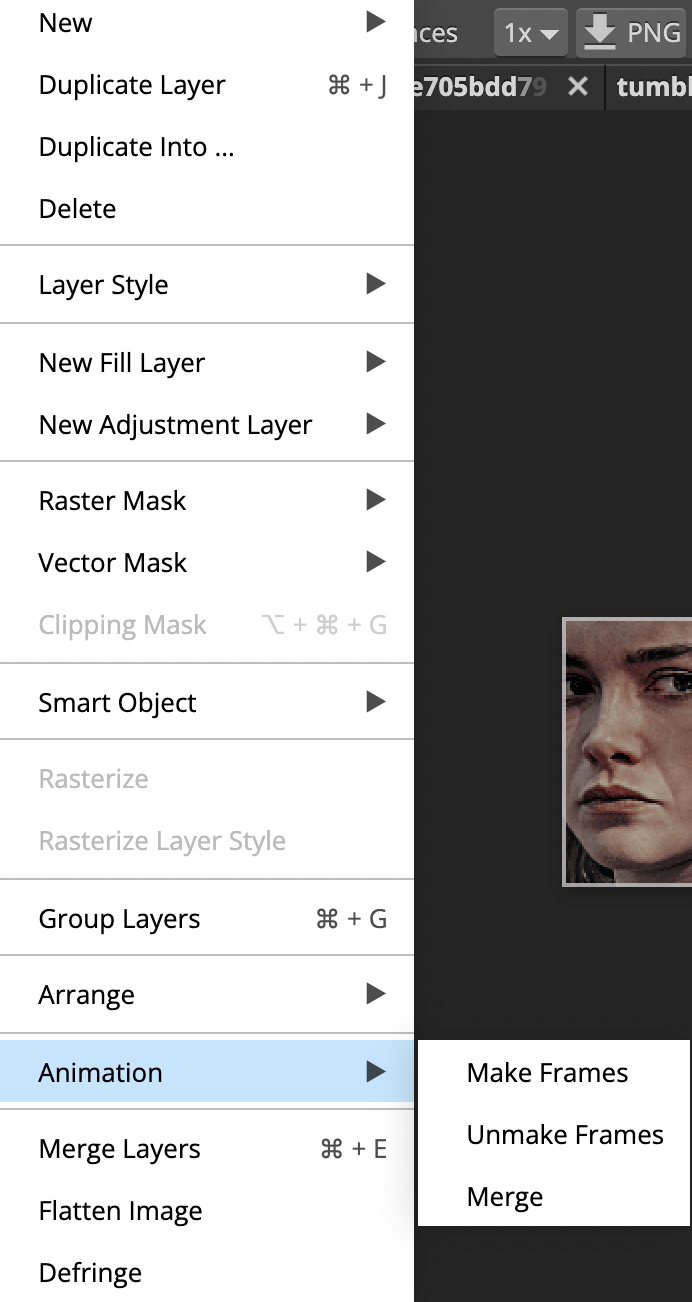
𝟎𝟎𝟗. Now that my frames are all matched, we want to merge the gifs together. So click up to the toolbar where it says layer and go to animation. You will see an option that says merge. Click on that.
𝟎𝟏𝟎. now to the wavy text part, i discovered today! so when you have your text displayed with your chosen font and positioned where you want, go to this part right here. Above at the toolbar, there should be an option called WARP, (make sure your text is highlighted shown below otherwise, it won't work.

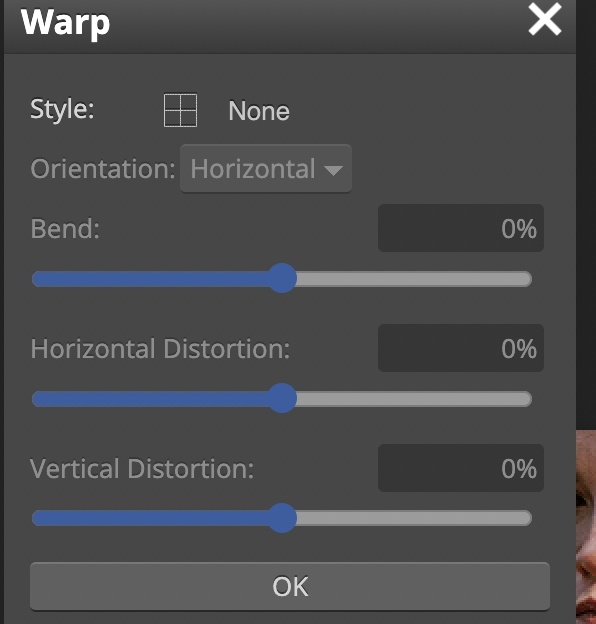
𝟏𝟏. now click on STYLE and there are various styles to choose but I'll be going for the wavy effect for this tutorial.

𝟏𝟐. You can change it to your liking through these options of bend, vertical, horizontal to your liking. Now that's done, add the PSD of your choice and you're done! Make sure to save it as a gif!

Bạn đang đọc truyện trên: Truyen247.Pro