[8] Colour Pallet
In this tutorial I will be showing you how to make a simple yet awesome Colour Pallet cover.
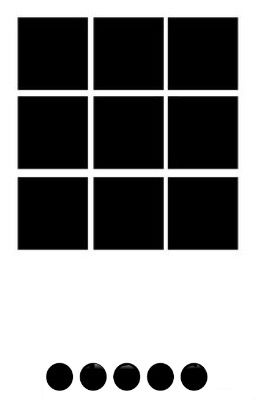
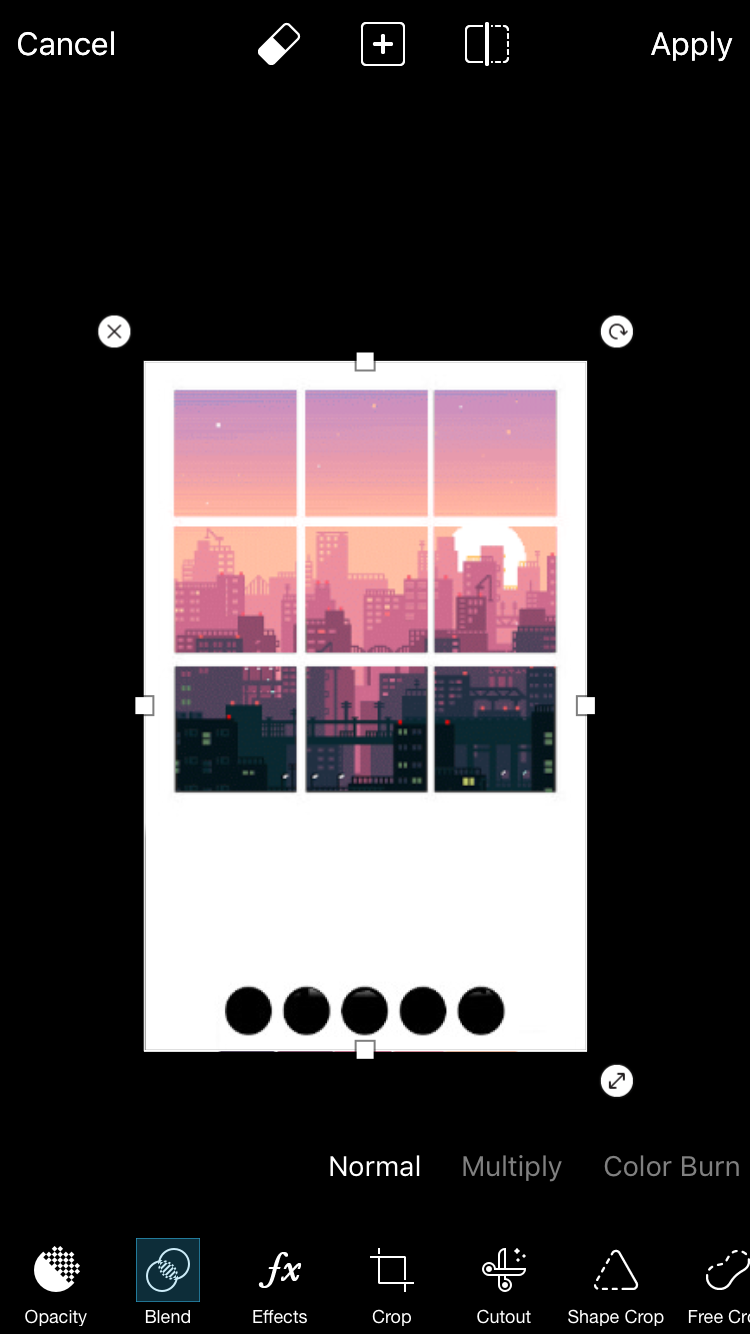
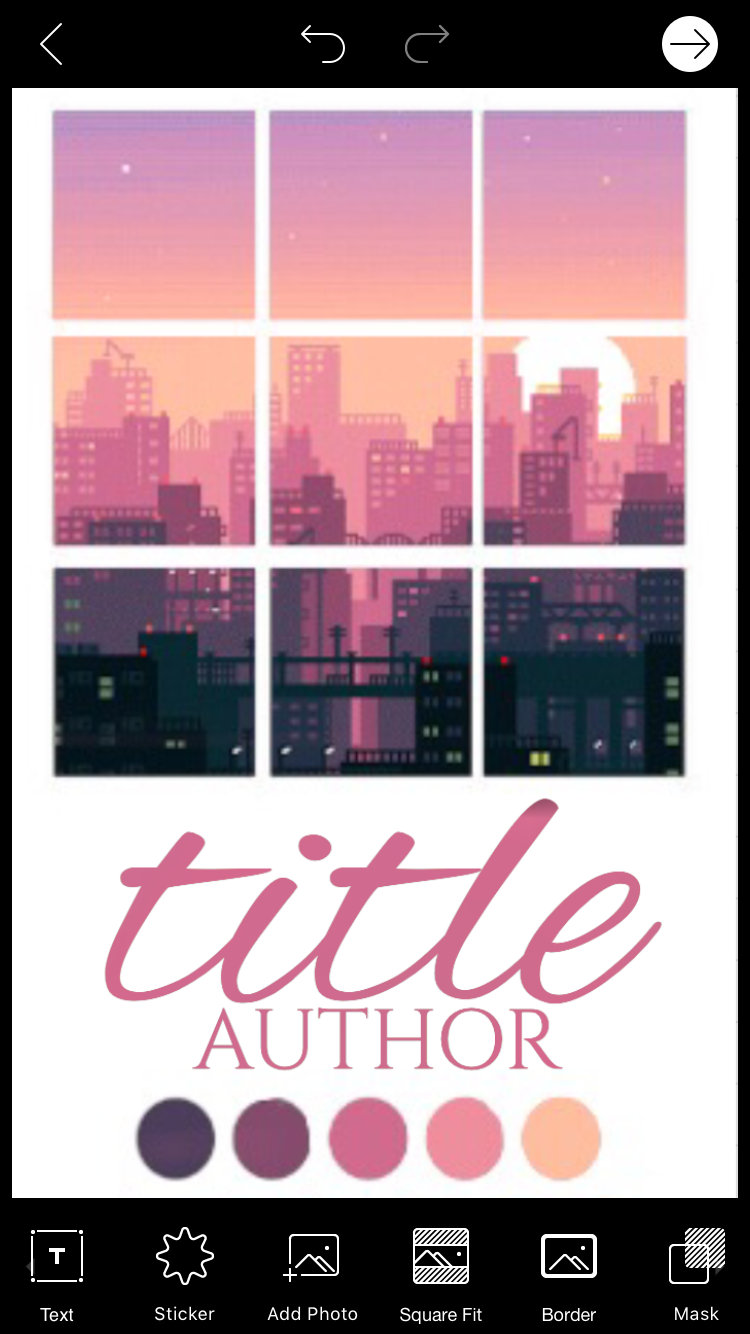
1. Open this template in PicsArt. I did make the template so please give me credit.
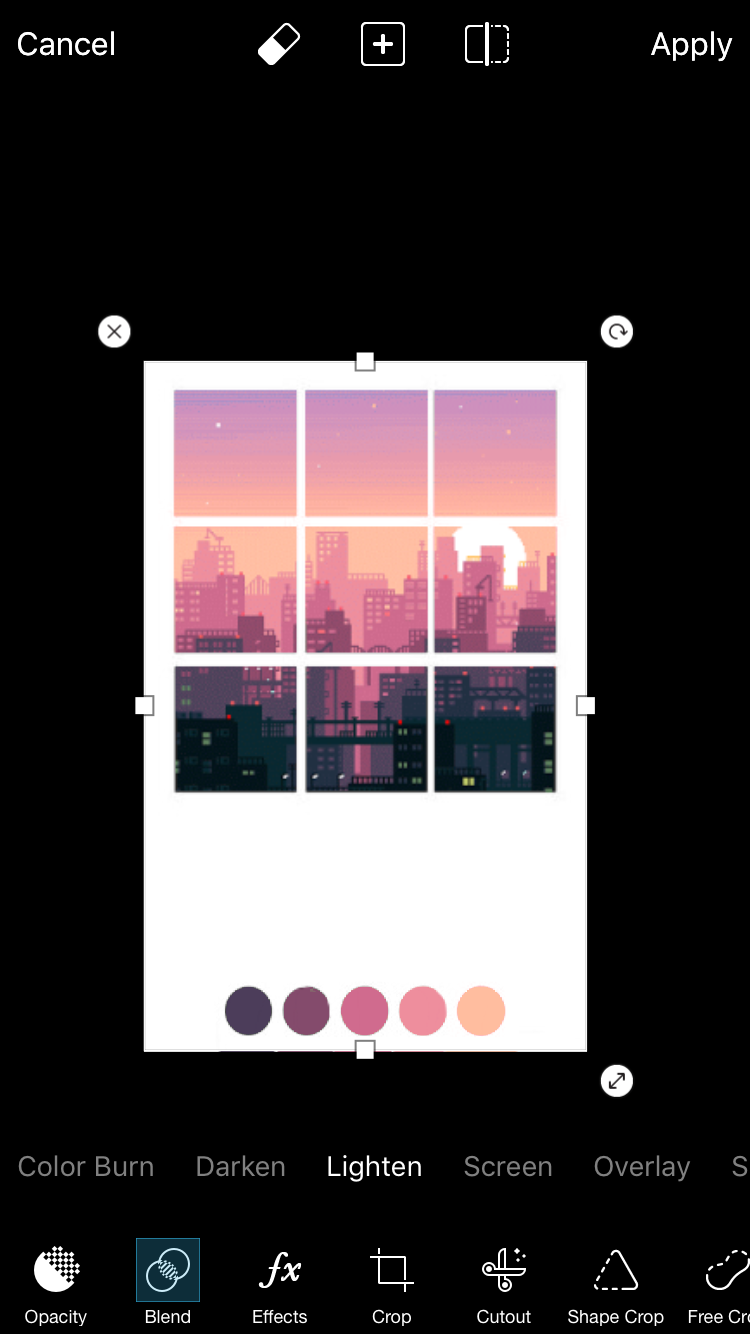
2. Add the image you want to use and change the blend to "Lighten" so the collage comes through.
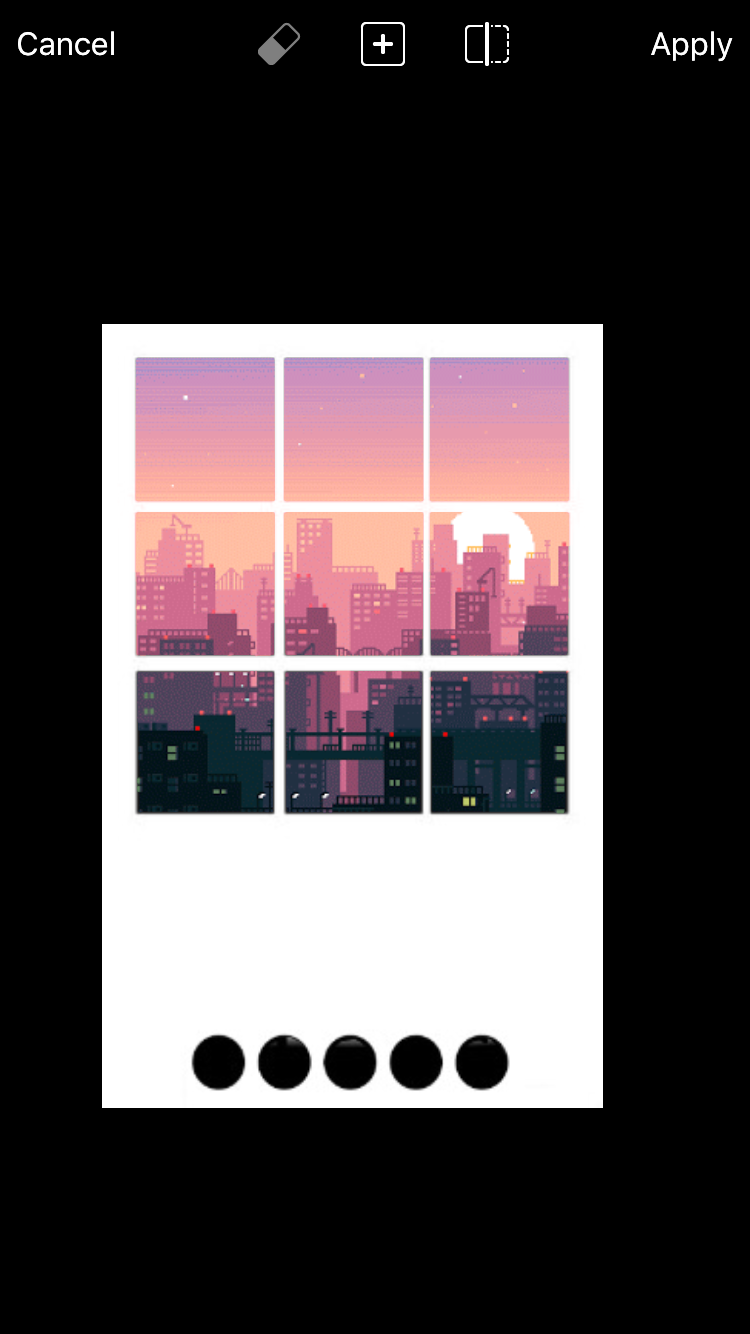
Click apply and save to your gallery, but don't get out of PicsArt.
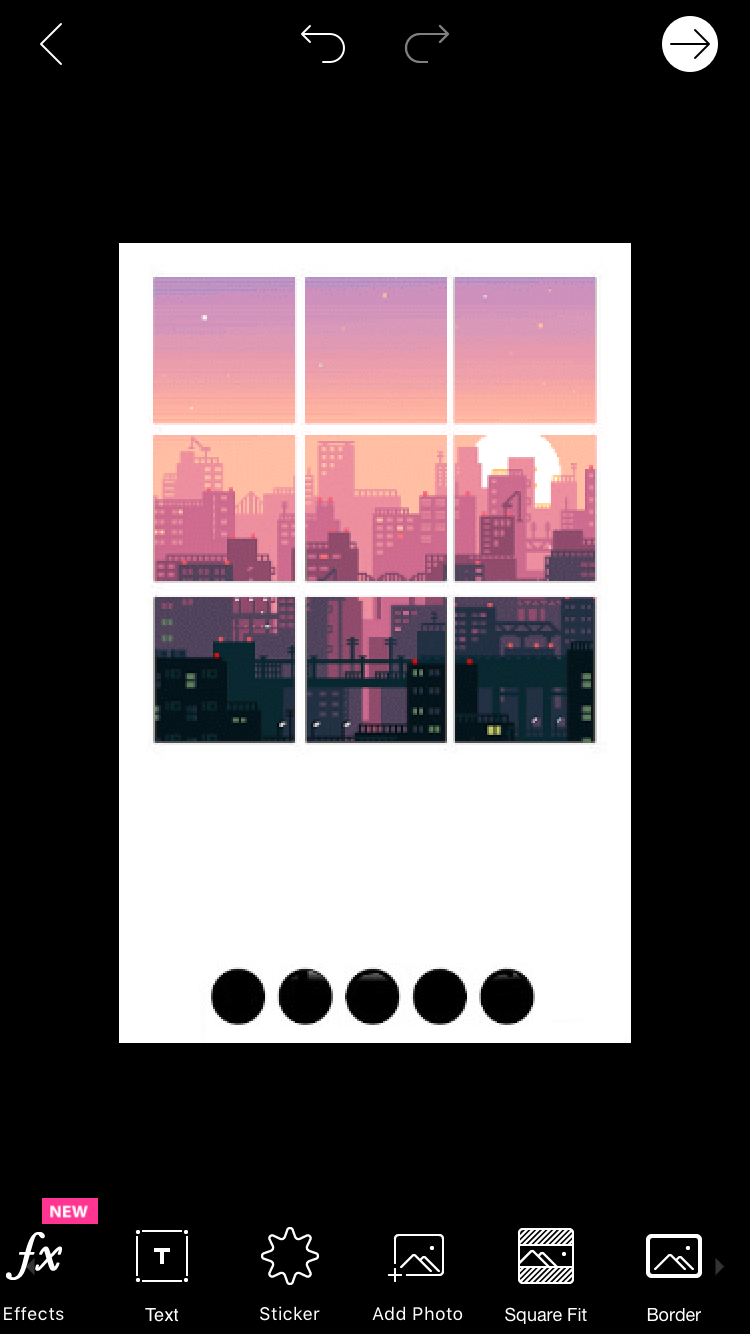
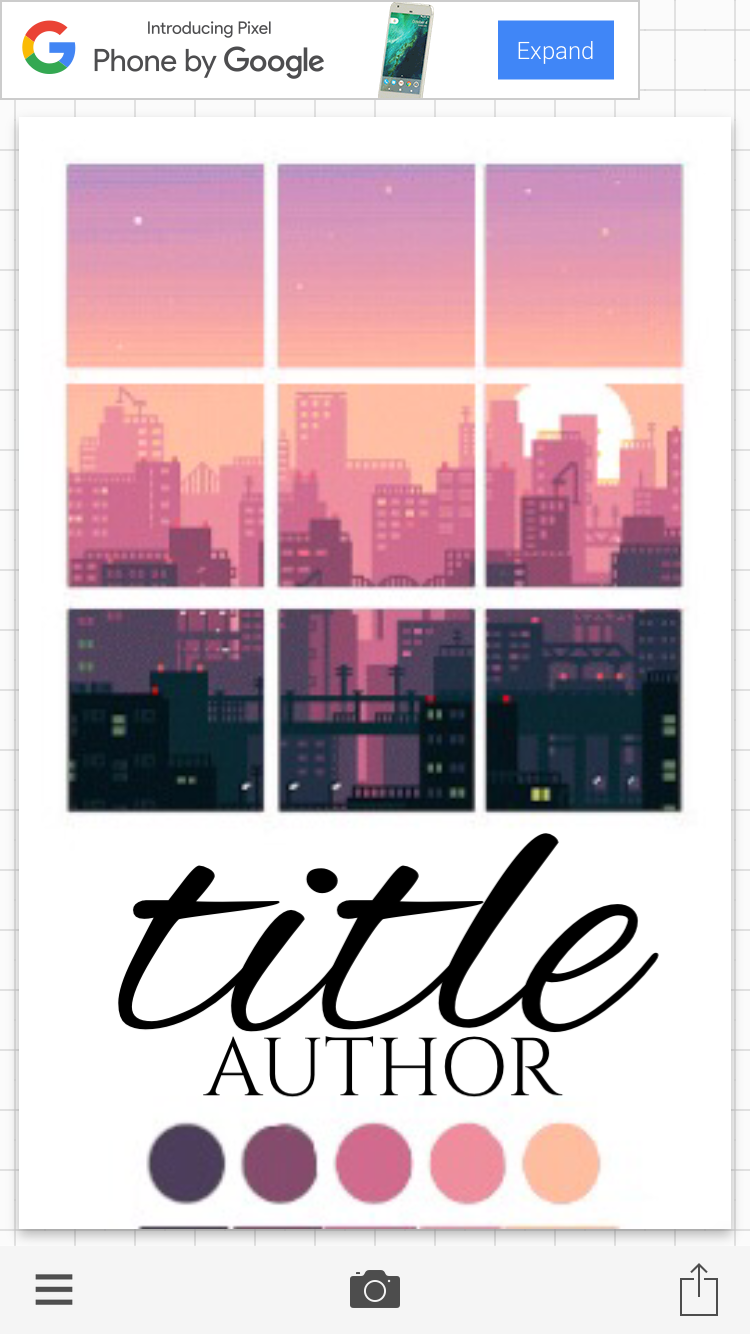
3. After saving your cover to your gallery, click the back button, which is just a simple little button in the top left hand corner that looks like this; <
It will take you back to your cover, to this screen;
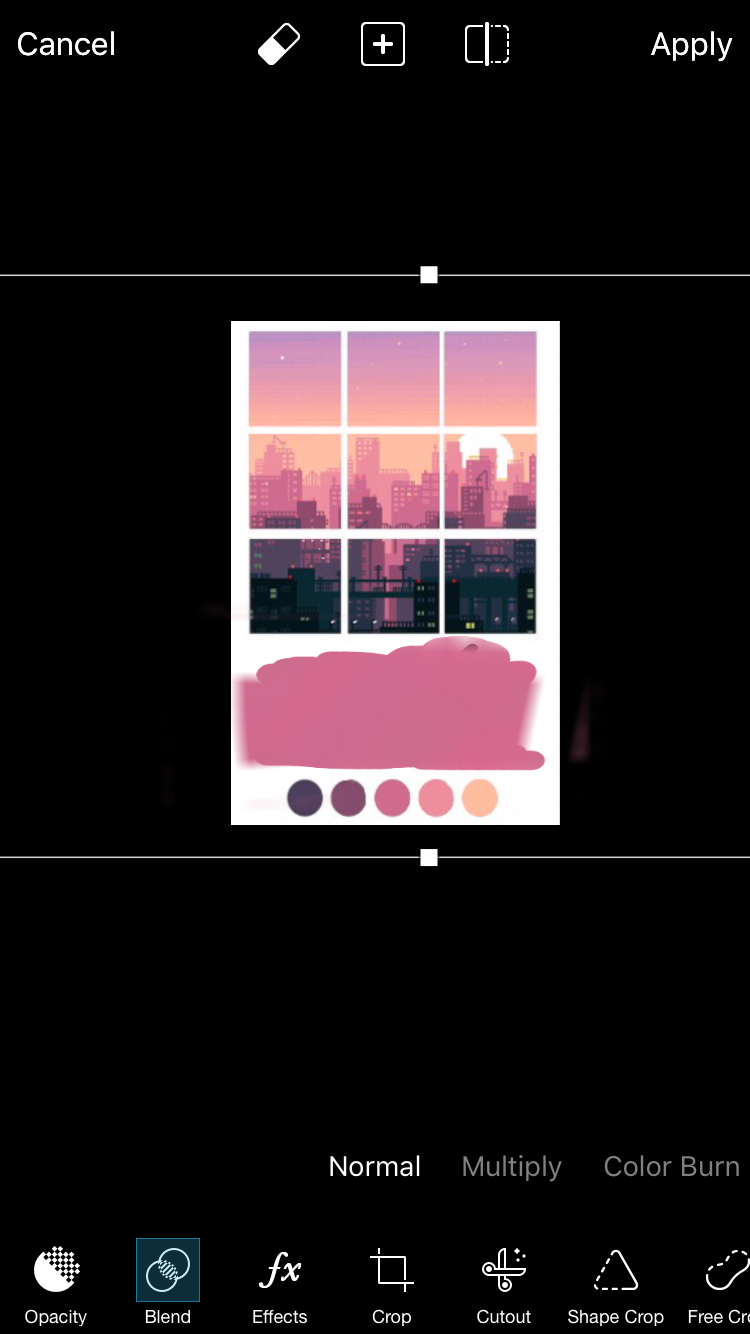
4. Drag across the bottom tab until you find "Draw". The icon is a simple paint brush. Click on it. You should now come to screen like this;
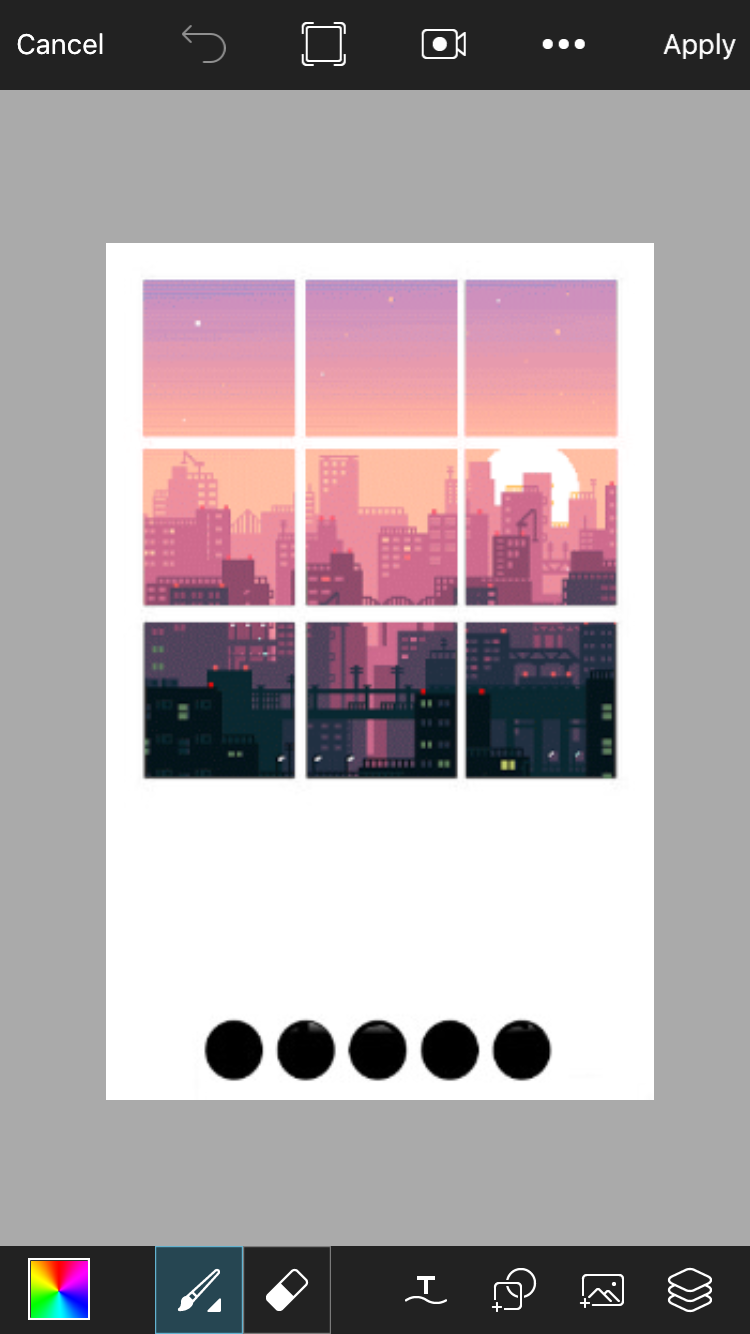
5. Hold down on one of the darkest colours, but make sure it's not black. The screen should come up with a circle like this;
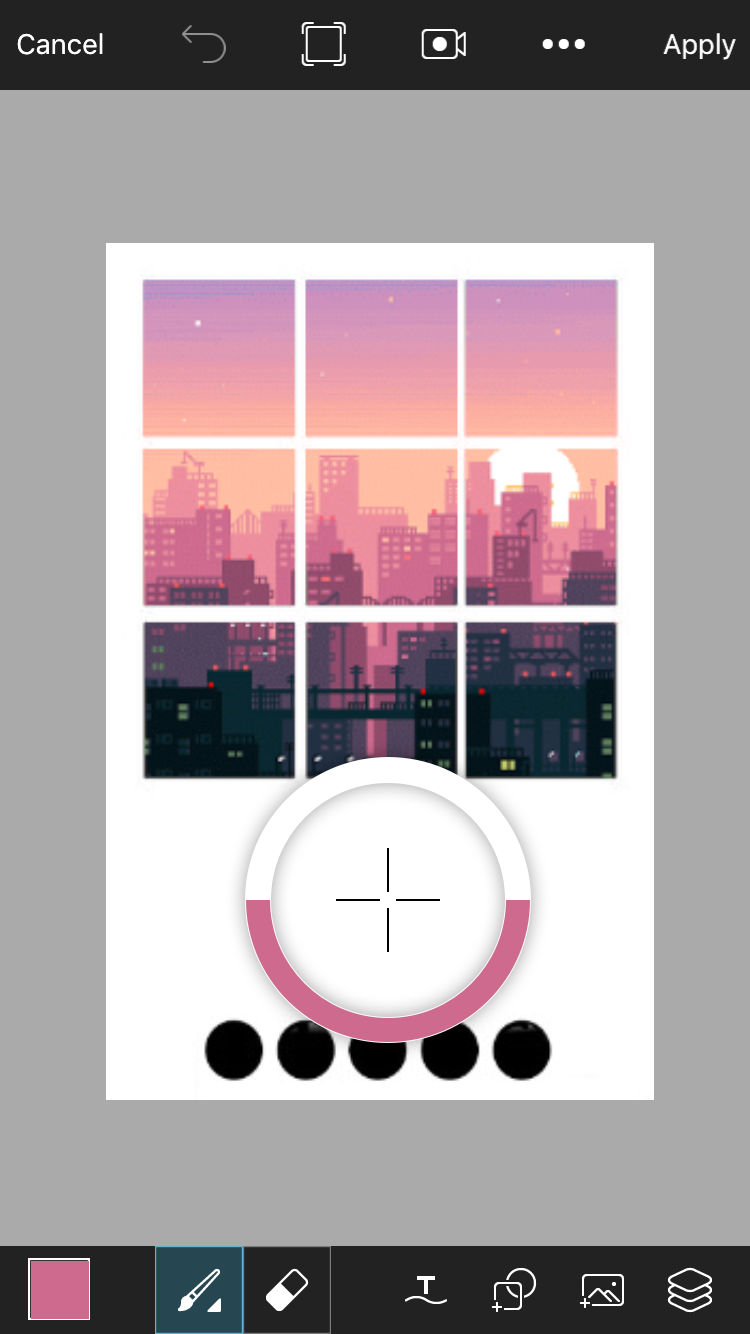
Drag it to the darkest colour and release.
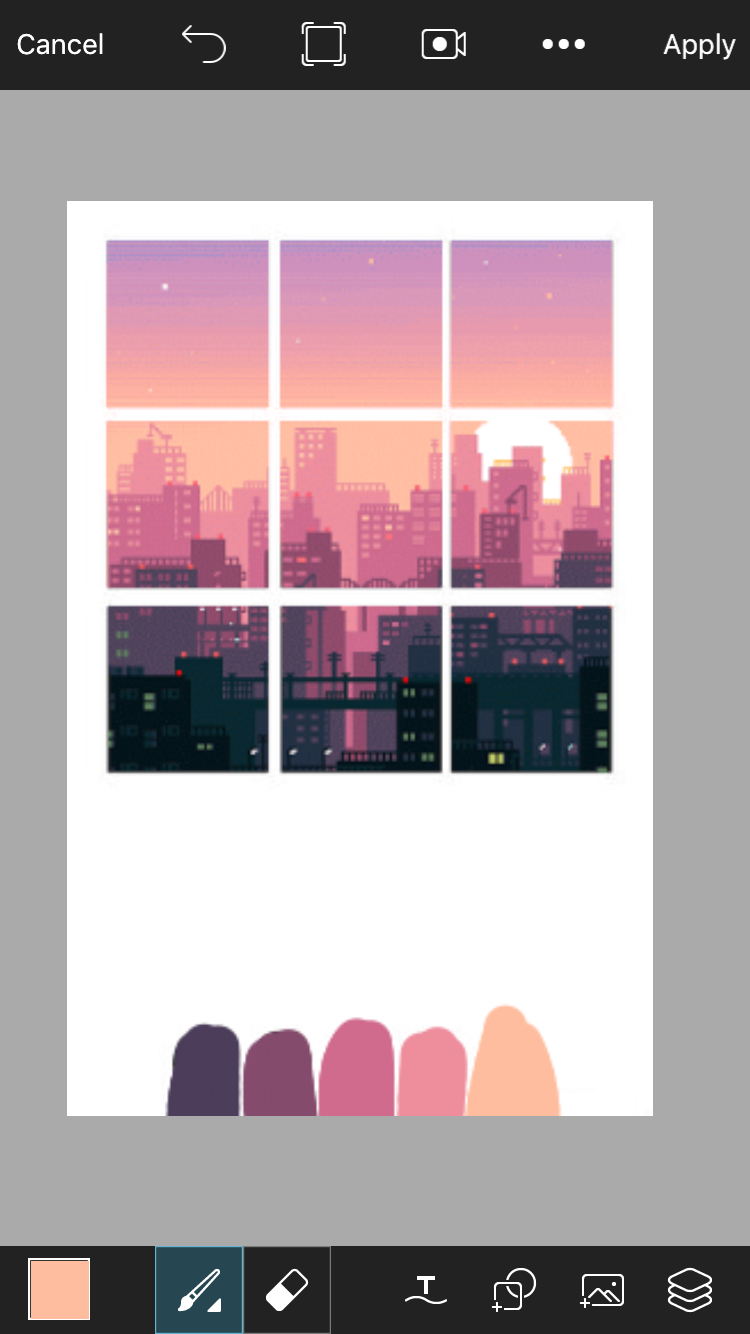
7. Draw a line from the first dot to the end of the cover, like this.

8. Repeat steps 6 and 7, but make the colour shade lighter every time. By the end of it, your picture should look like this.
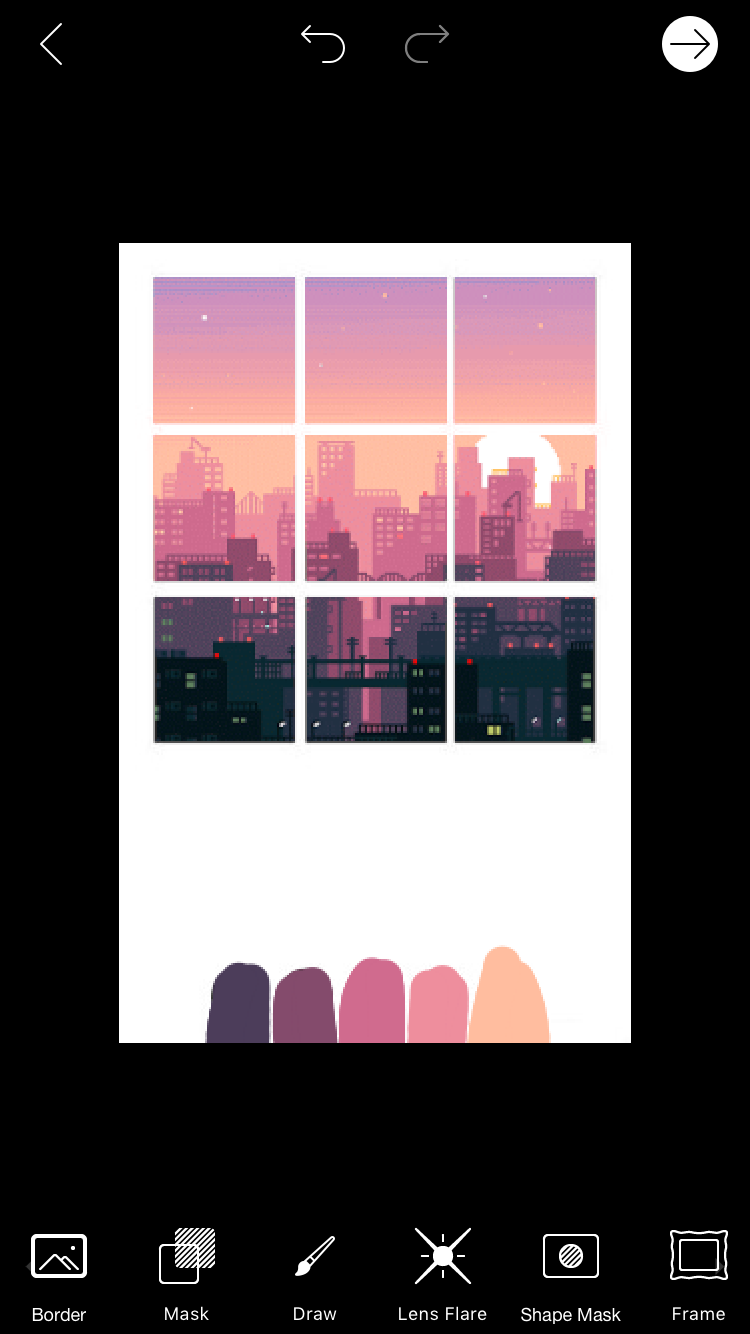
9. Click "Apply" and and it will take you to this screen;
10. Click "Add Photo" and add the photo you saved to your gallery before. Enlarge it so it covers your cover. Erase the collage at the top.
11. Change the blend to "Lighten", so it looks like this;
12. Click apply and save to gallery. Then open in Phonto. Add your text and make sure it's black.
13. Save to your gallery and open in PicsArt. Add the photo without the text.

14. Enlarge the image and erase everything except for the middle dot. Enlarge it so it covers the text.
15. Change the blend to "lighten", the Apply and save to your gallery. You're done!

Hope this was helpful!
He next tutorial will be a semi-vector, so stay tuned.
Bạn đang đọc truyện trên: Truyen247.Pro