X - UNSPOKEN RULES AND PROCESSES OF GRAPHIC DESIGN
duh, I'm gonna tell you what the unspoken rules and processes of Graphic design are.
(I'm supposed to be on a hiatus due to a thing, but a decided to do the thing when I'm of legal age instead so i guess I'm back like the indecisive fuck i am lmao)
: :
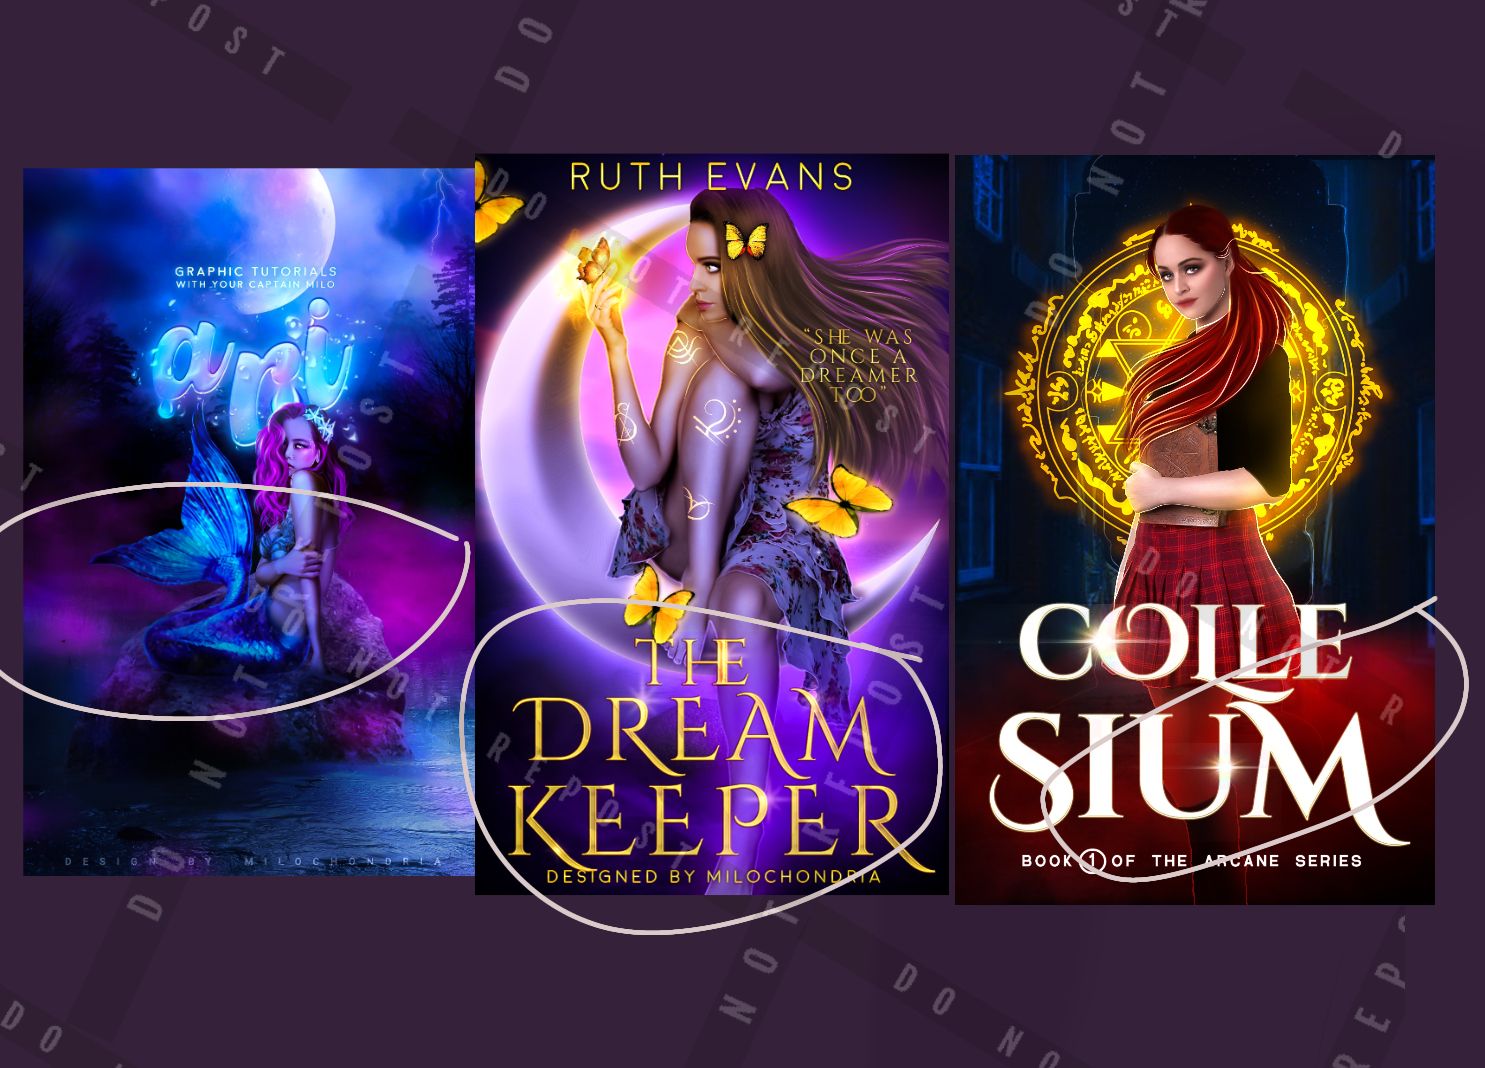
1. Trying to centre titles
It's pretty much an unspoken rule NOT TO put titles so close to the top or bottom of your graphic bc it always looks off.
It's always best, whether your title is at the top or the bottom of the cover, to make sure that the title is closer to the centre, to give it a more balanced look.
Eg :

2. Avoiding bland smoke
When I say bland smoke, I mean the type of smoke you search up on google saying "smoke pngs"
Avoid smoke, and only use it when necessary. I'll get to how to use smoke appropriately in a sec.
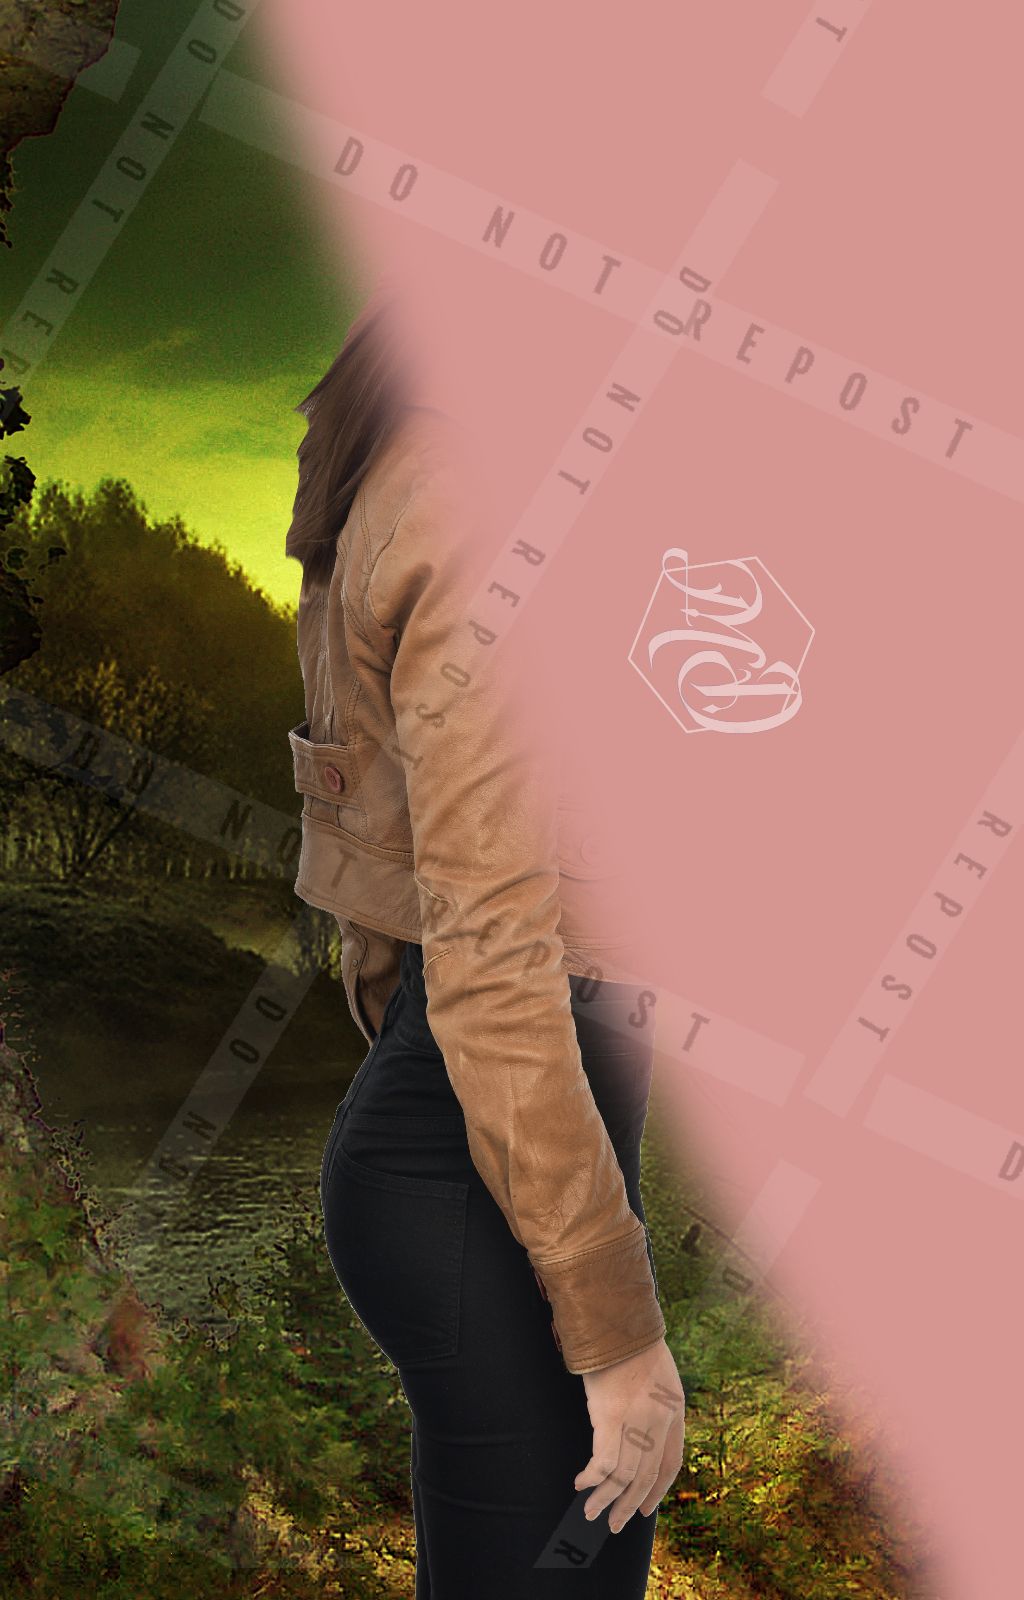
3. Using good "smoke"
I'm not talking about fire smoke, I'm talking about random smoke that you can add anyway you like.

An example of what I mean. I use this in a majority of my covers, especially my fantasy manips.
Good "smoke" is usually a nice overlay that makes your cover stand out more. You put it over the bottom of your model or behind them depending, using a colour that matches or complements the colour scheme of your book, and voila!
Eg :
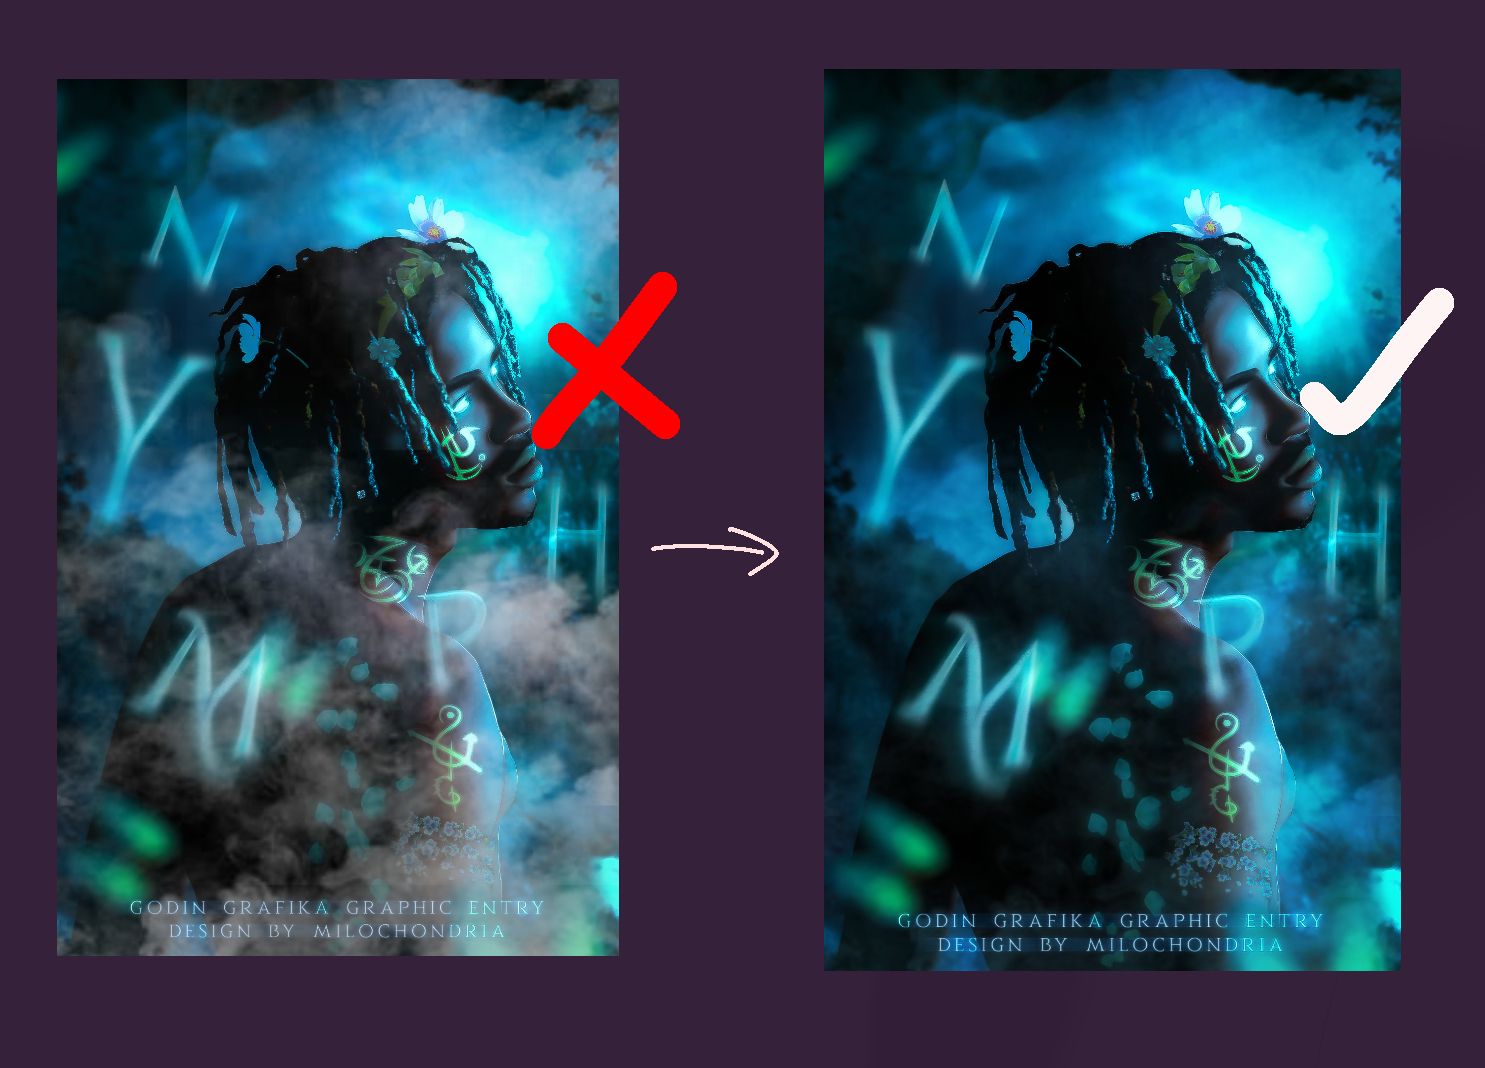
4. Using white smoke appropriately
Change the colour scheme of the smoke to fit the cover, and don't overdo the smoke to the point where it overshadows your model- unless it's the look you're going for.
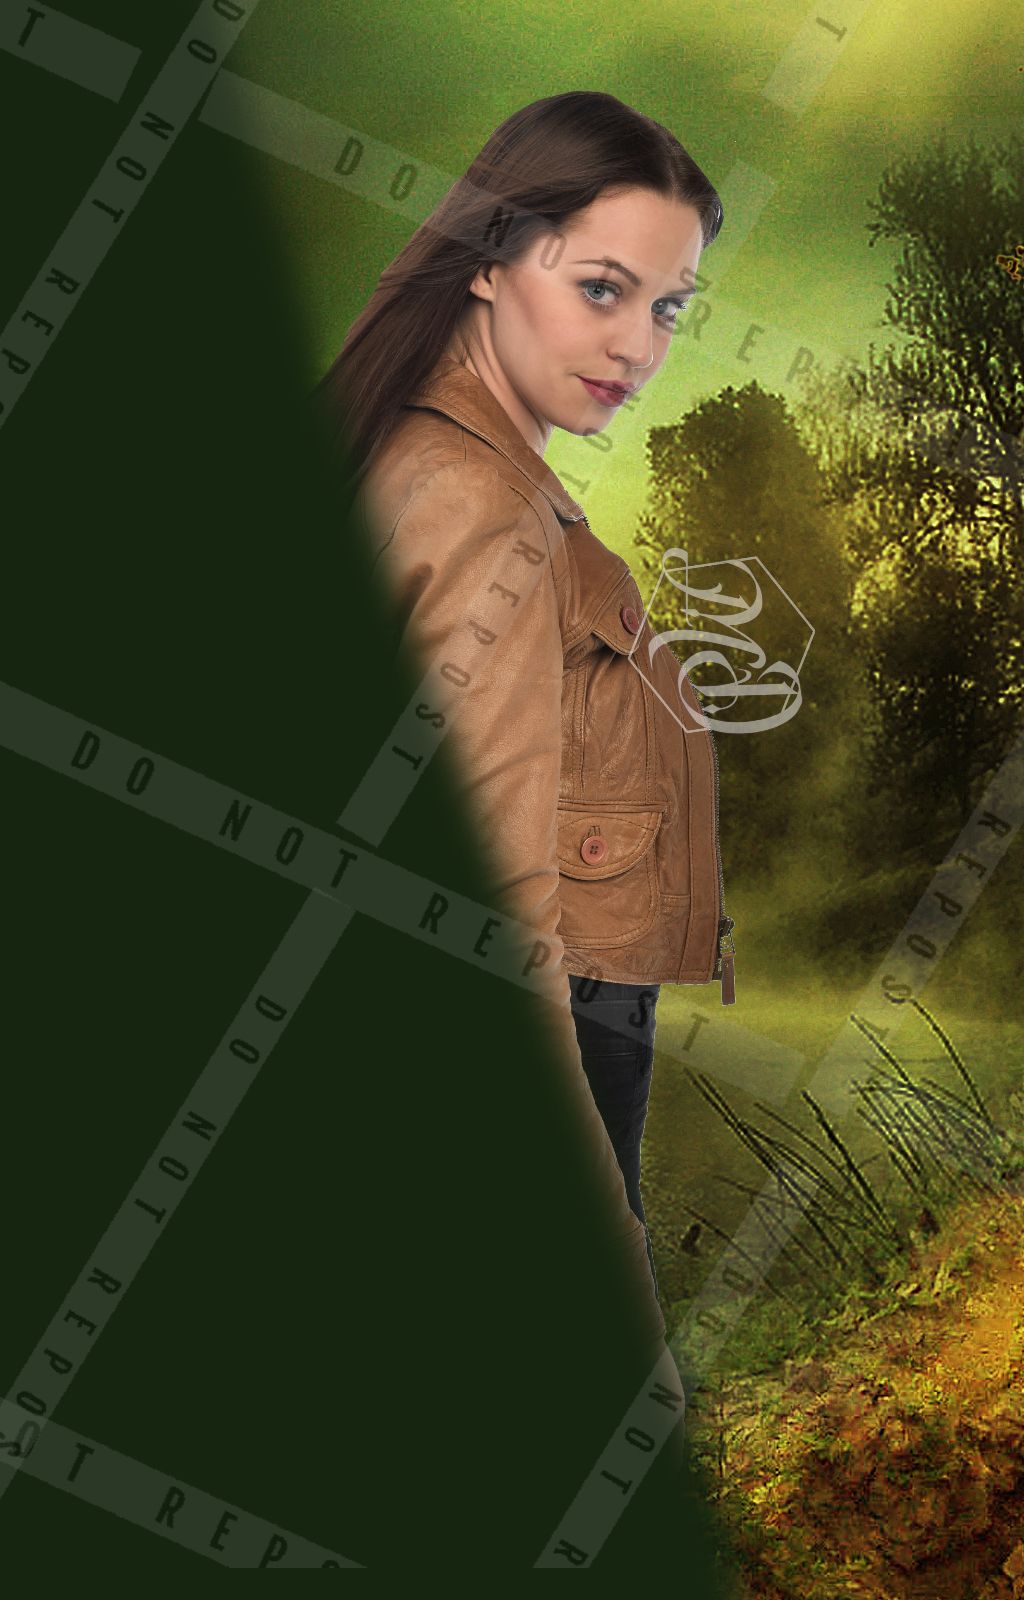
5. Avoiding stiff models
Notice how in a lot of my covers
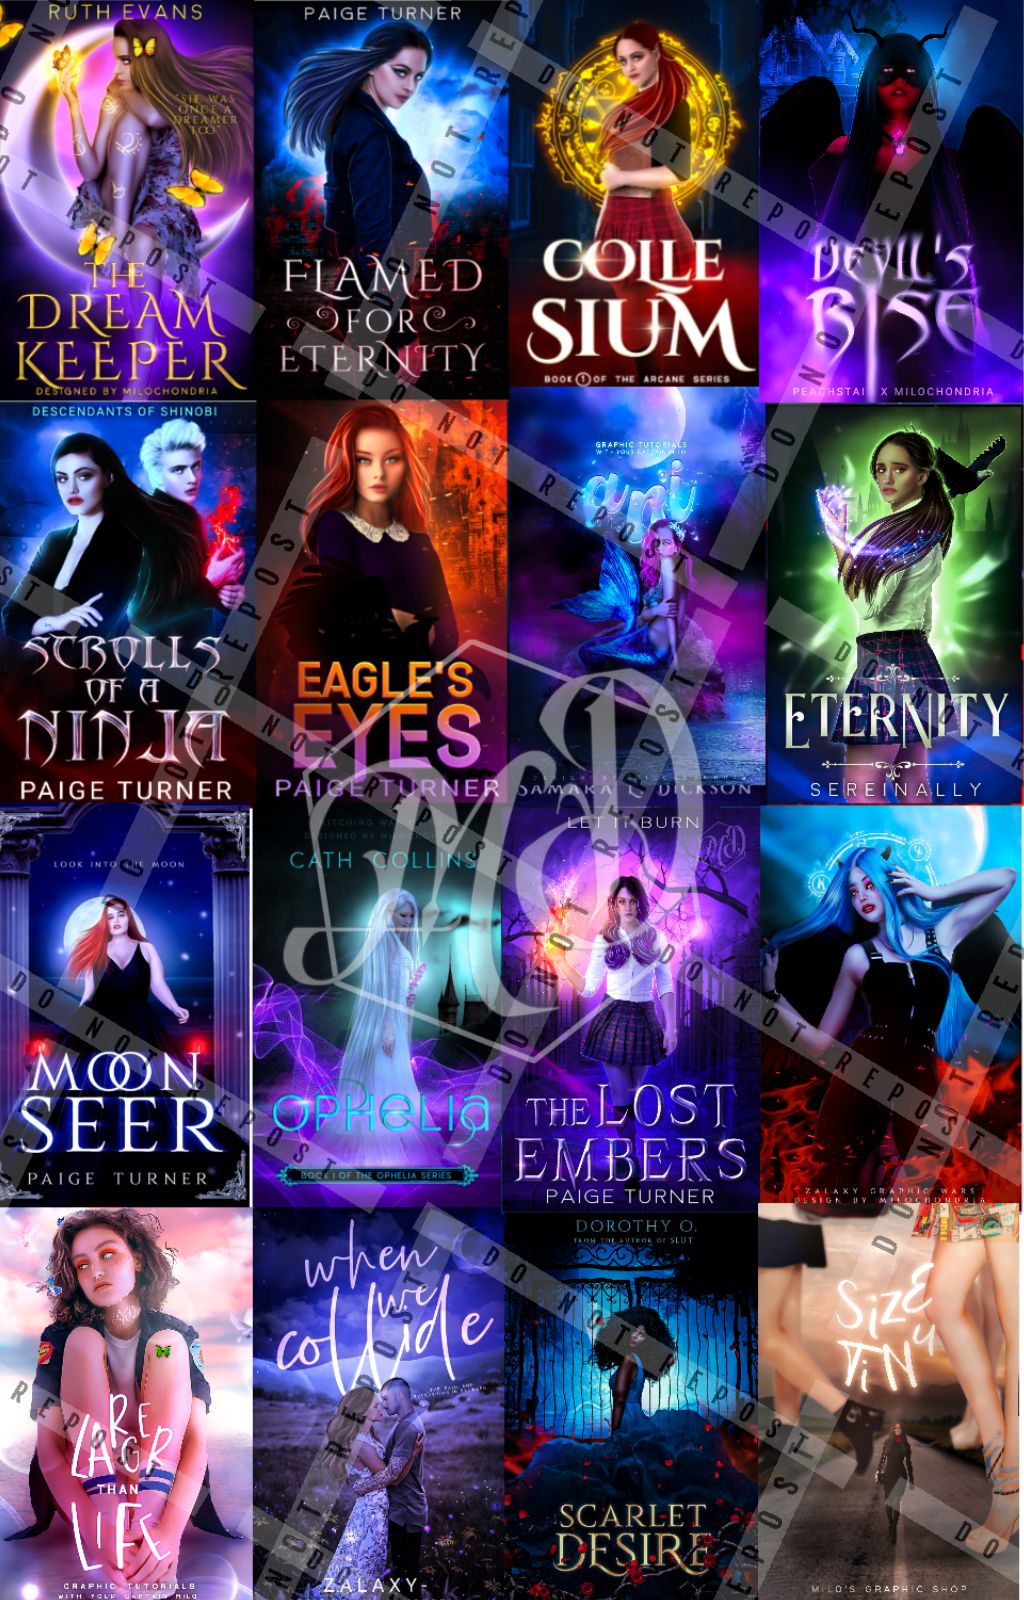
There is a dynamic pose, angle, or some kind of movement (whether the person is walking or the hair is flowing) in it.
This is because while this

Is fine and everything, the truth of it is
1. It's not professional at all
2. The model's position makes the whole cover look basic.
3. Her front view, basic pose, angle and body ratio makes the cover look flat as heck.
Try to avoid these kind of pictures especially for professional book covers. It's fine with icons and edits, but in book covers it just makes the cover look very boring, and I'm speaking from experience.
And to get that dynamic :
1. Try to pick models with movement in their body, like a girl walking.
2. Pick models in a dynamic pose, maybe sitting or posing.
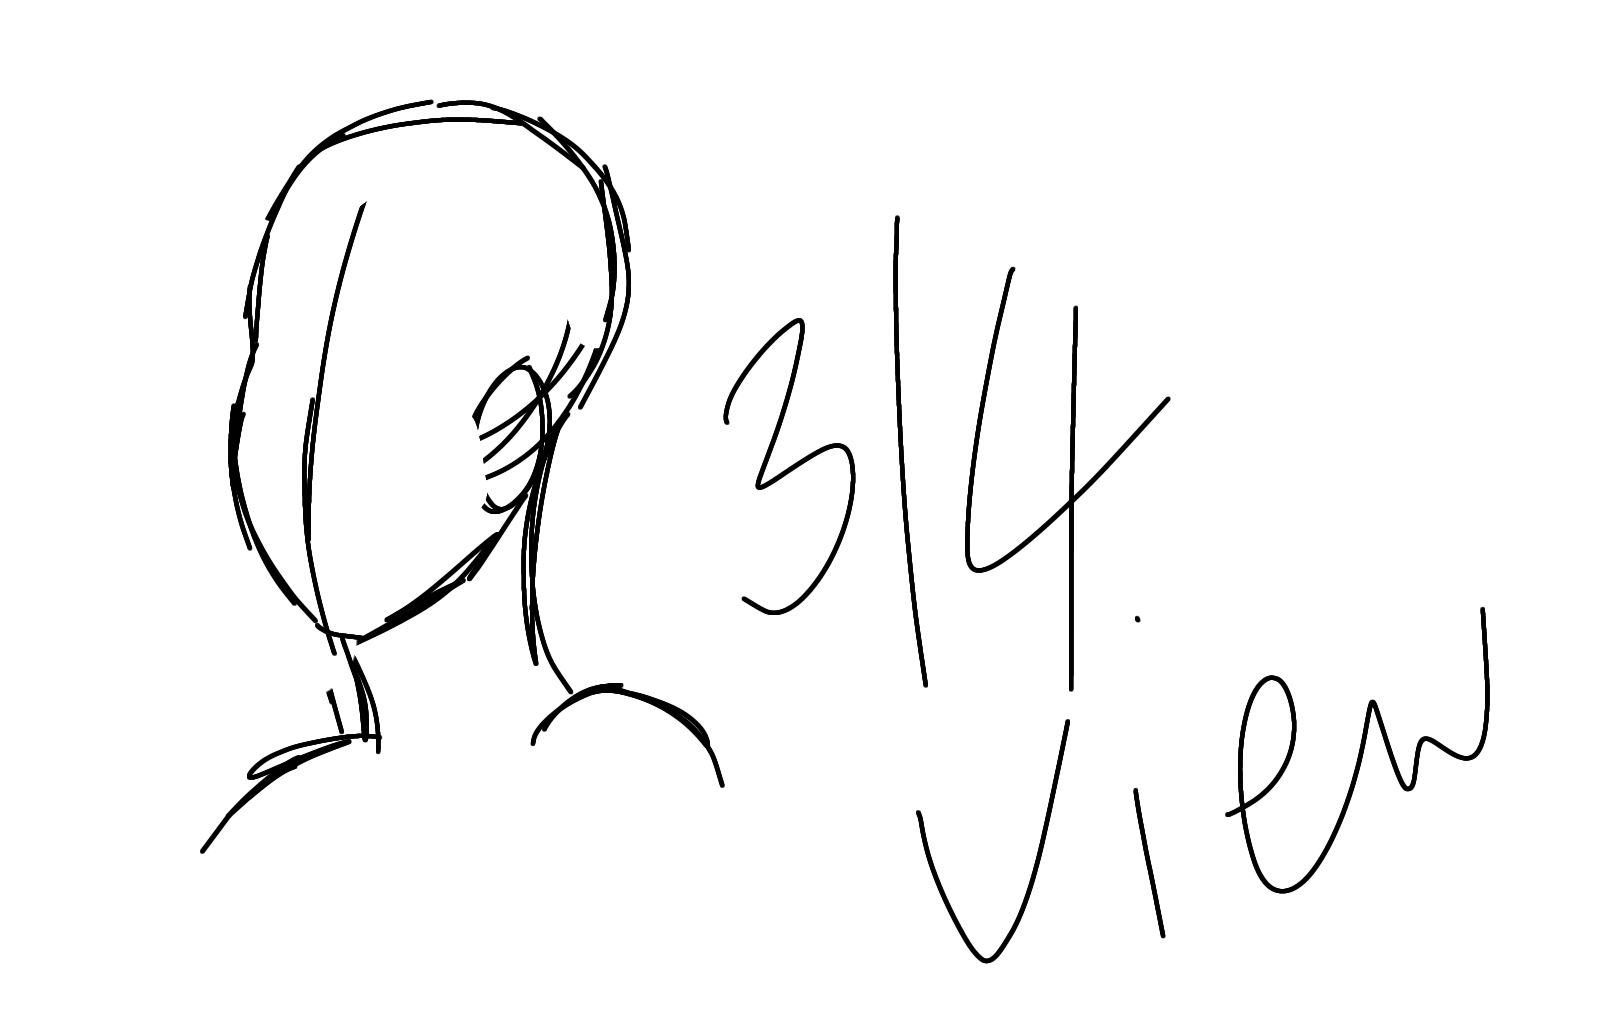
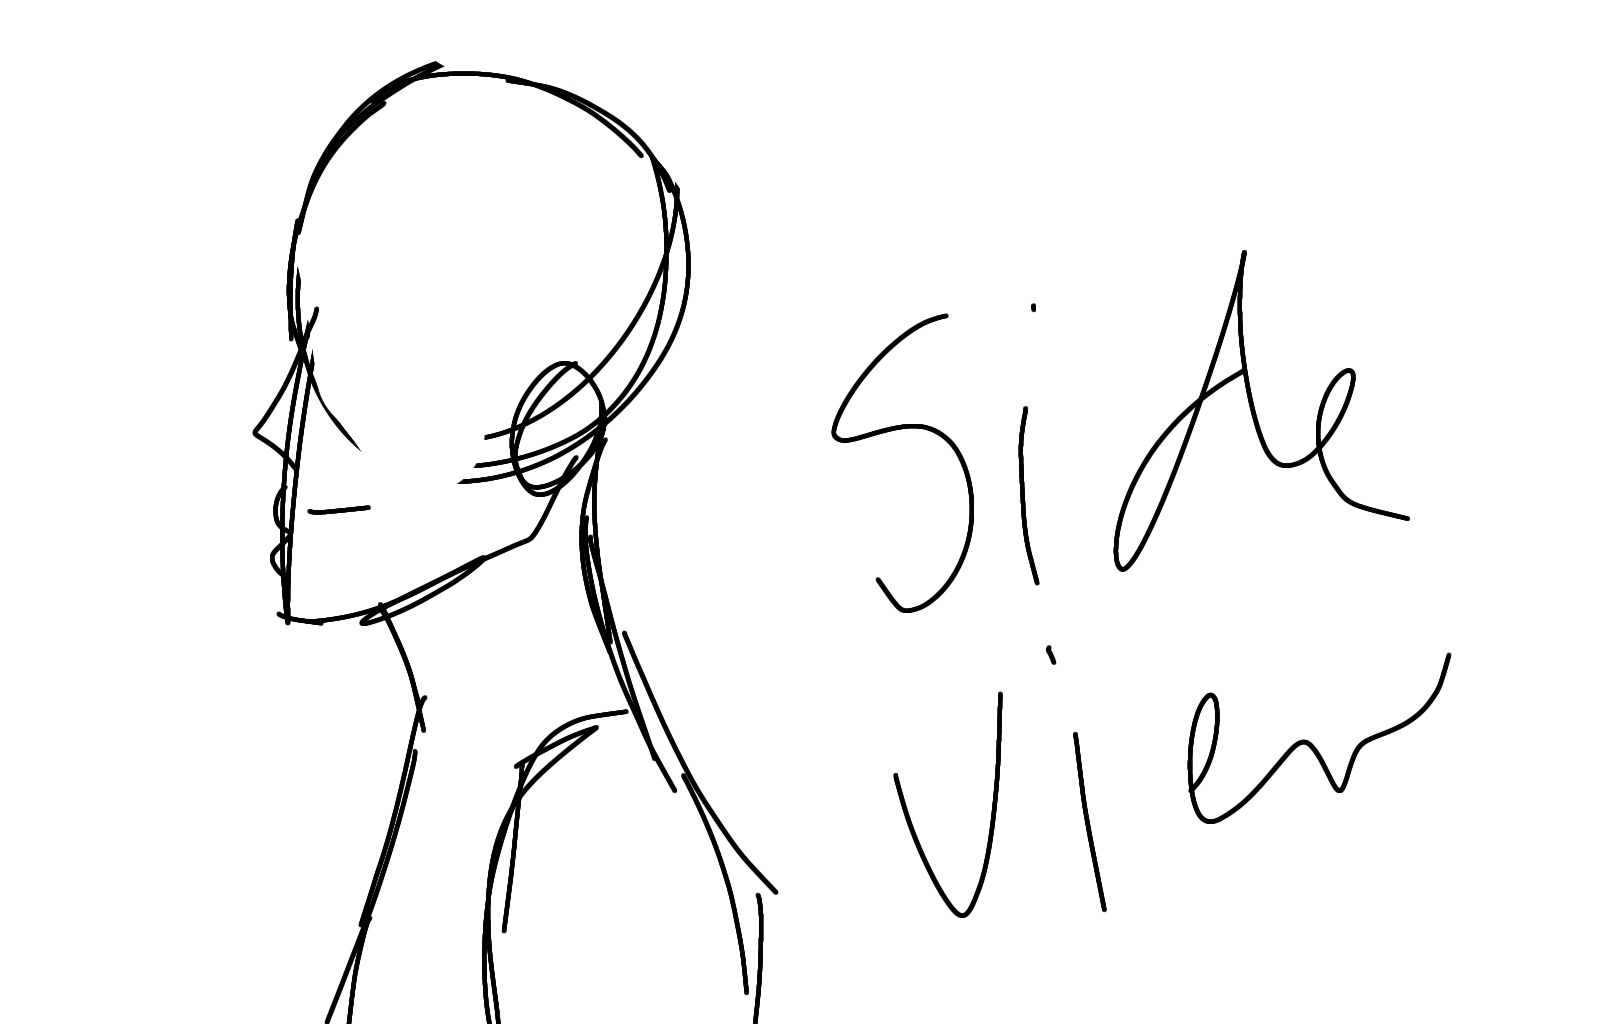
3. Opt for models in the 3/4 view or side view instead, and avoid front view models.
And for y'all who may not know what that means :

4. Give the models some movement, like draw flowing hair and use the mesh tool to make their clothes more flowy (flowing capes, dresses, etc)
5. Put perspective in your covers.
6. Be more creative!
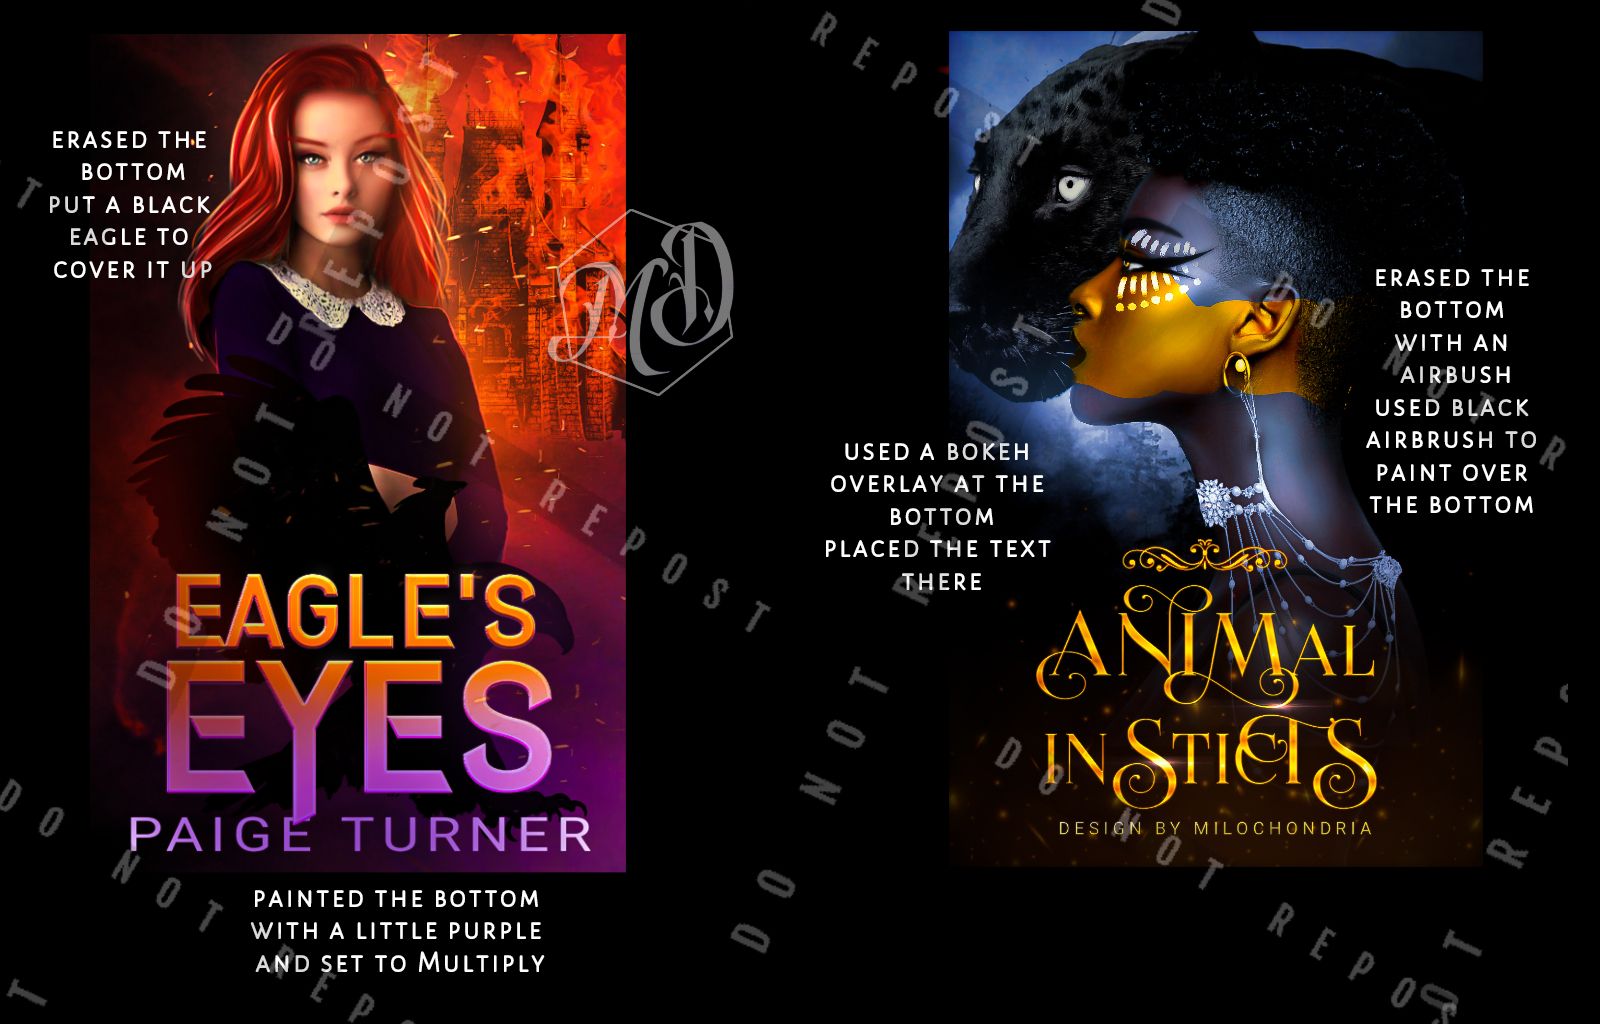
6. Erasing the bottom of the model with sense.
So when using a half body model in a basic ass pose I like to erase the bottom of the model and put the text there like everyone else lol.
When erasing the bottom of whatever model you're using, it is important to use an airbrush to brush over the bottom area, or use a "good smoke" overlay to cover it up.
7. Paying attention to colour scheme ratio
What is colour scheme ratio?
Colour scheme ratio is the ratio of the colours used in your book cover.

My rule is that when there is one colour, the colour behind or against it should be the next colour. Either that, or there should be a splash of the "complementary" colour throughout the graphic.
For example, in "scarlet desire", her lips are red, so the next thing is that her dress should be blue. Her dress is blue, so next up the "good smoke" should be red. The good smoke is red, so the background is blue. And to tie it all together, the roses should obviously be red.
In "hoe mode", if any addition were to be against the blue, then it would be yellow.
It's qualitative reasoning and it saves you from having horrific colour clashes and keeps your cover from blending in too much.
8. Adding the shadows and light
I'm not talking about a glowing light source or shadows below models (but it's pretty obvious from all I've been saying since this book began that yes you should do that). I'm talking about defining an area in your cover to be DARKER and another LIGHTER
Step 1. Colour one part of the cover with a felt tip pen with a dark colour and gaussian blur
Step 2 : set to Multiply, then reduce opacity
Step 3 : do it for the other side, this time with a lighter colour. Set to overlay and reduce opacity
Result :

: :
That is all for now. I hope this was helpful.
Do you have any suggestions of what I should talk about in my next tutorial? If so then leave a request!
Bạn đang đọc truyện trên: Truyen247.Pro