[12] partial skull face
Pretty easy. It just takes time to get it exactly how you want it. :)
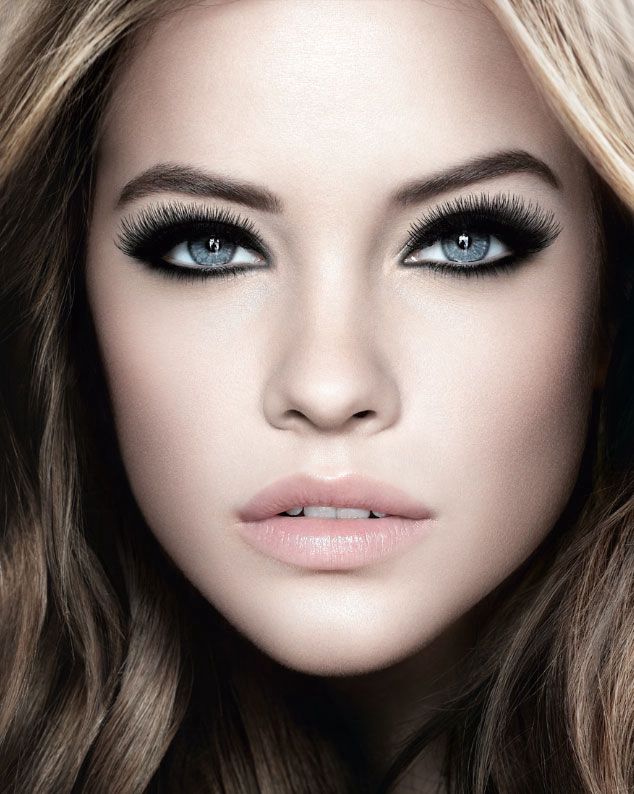
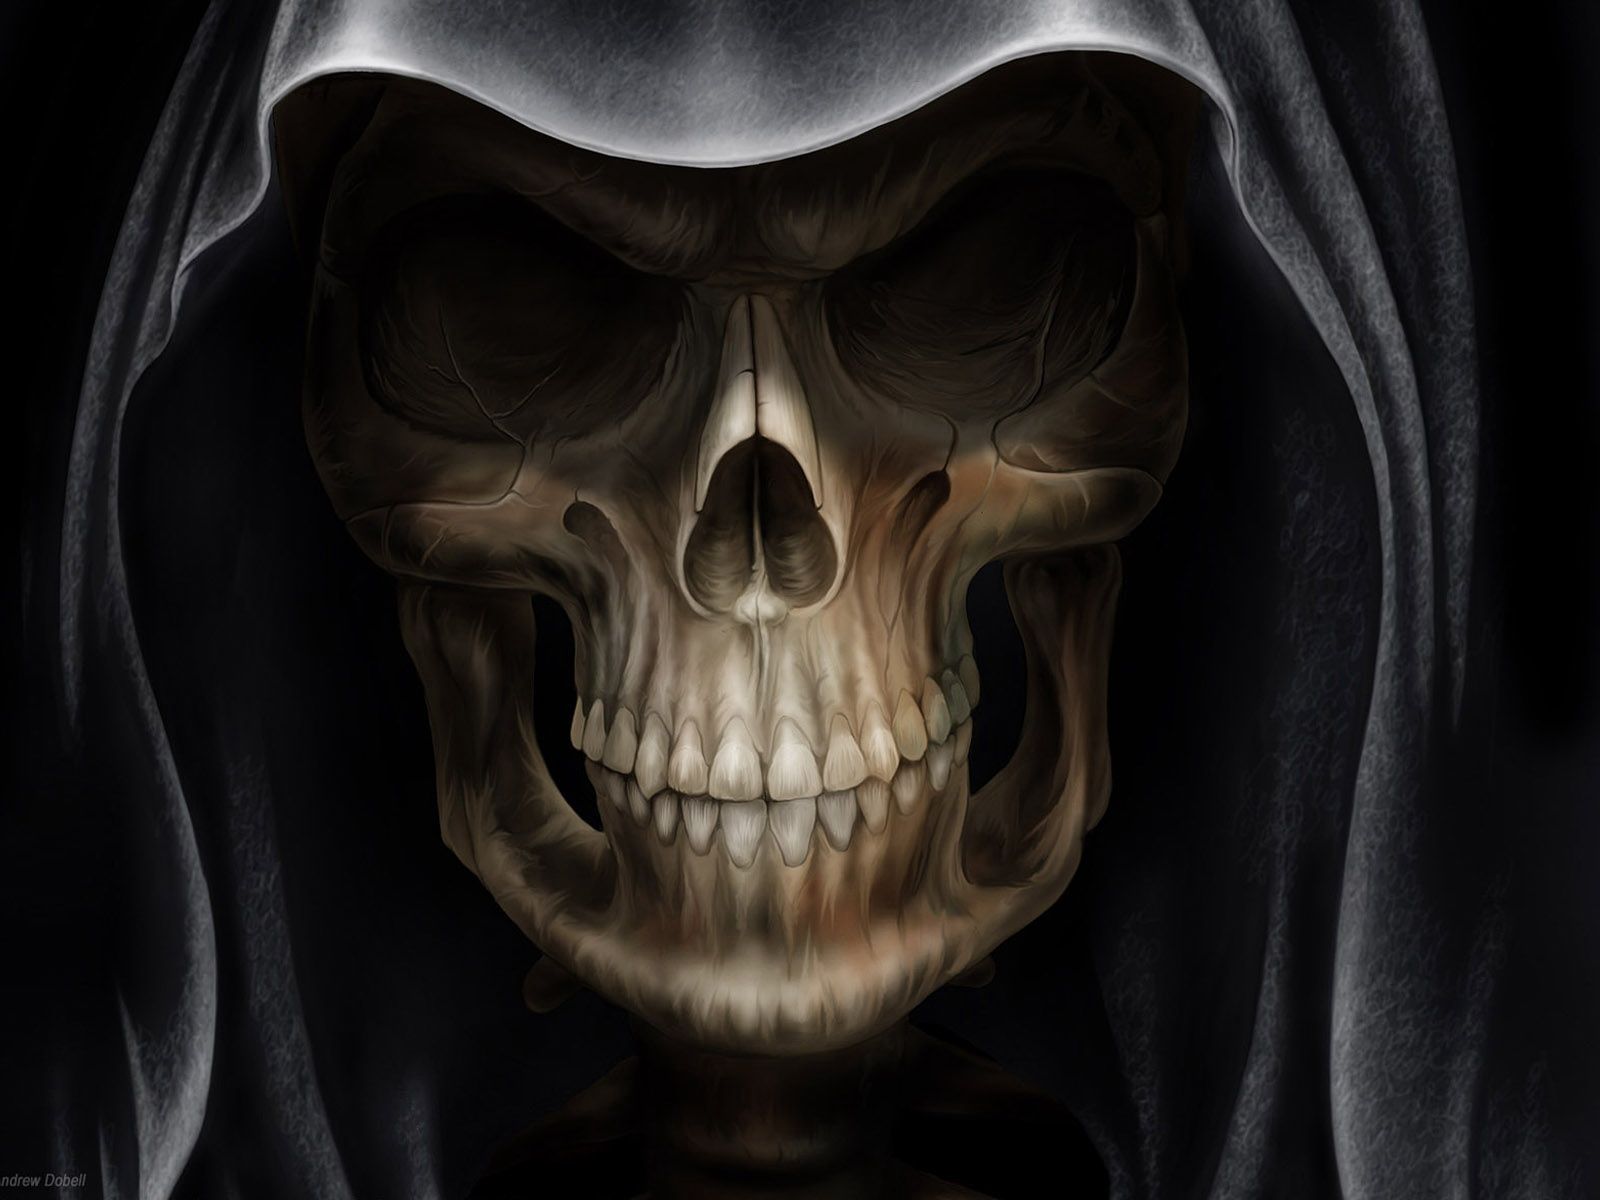
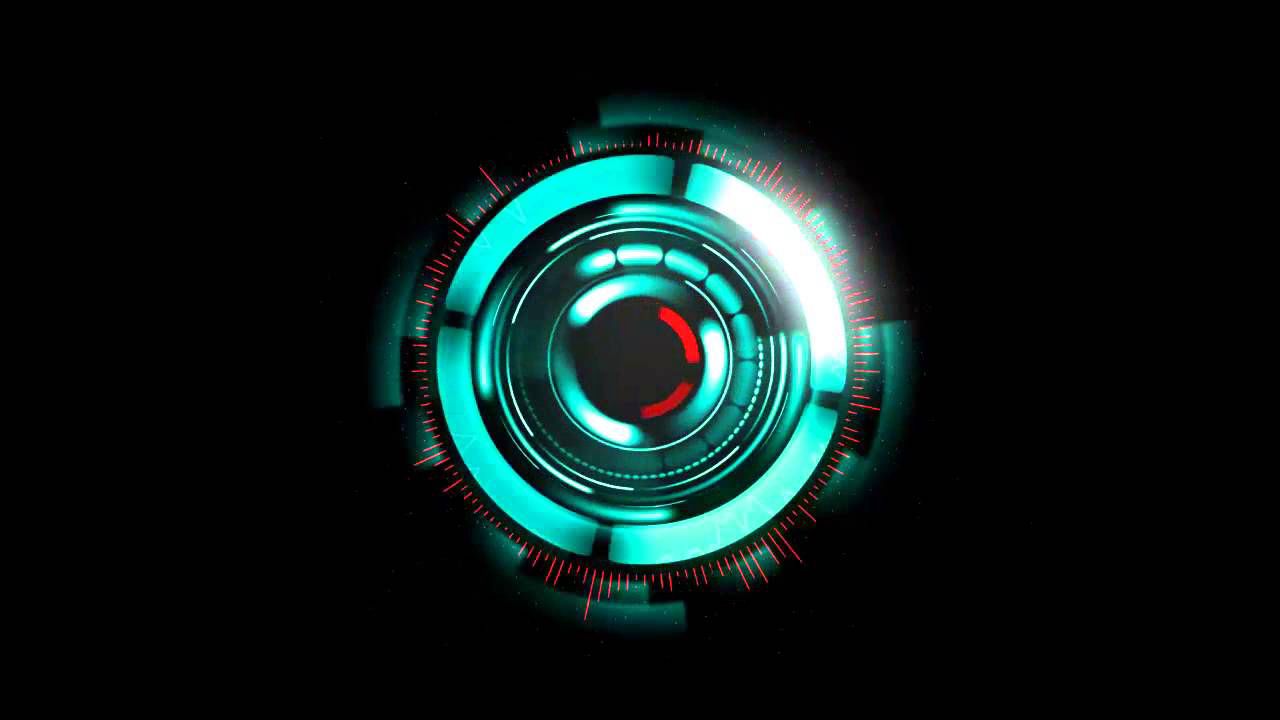
Here are the pictures I will be using :
s t e p - o n e :
Open Pixlr Editor and your picture of a person. You want it to be pretty zoomed in on their face.
s t e p - t w o :
Open a new image as layer. This will be the picture of a skull.
s t e p - t h r e e :
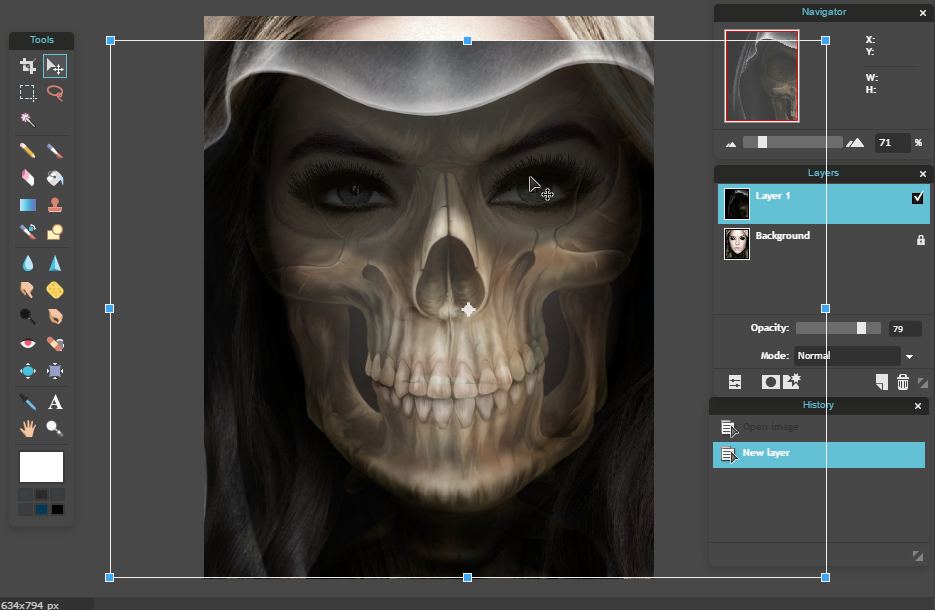
Lower the Opacity of the image so you can see the face below it. Go up to "Edit" then select "Free transform..." Move the skull around until it is placed directly on top of the face. Line up the eyes, nose, mouth, etc.
Change the Opacity back to 100 once you have finished.
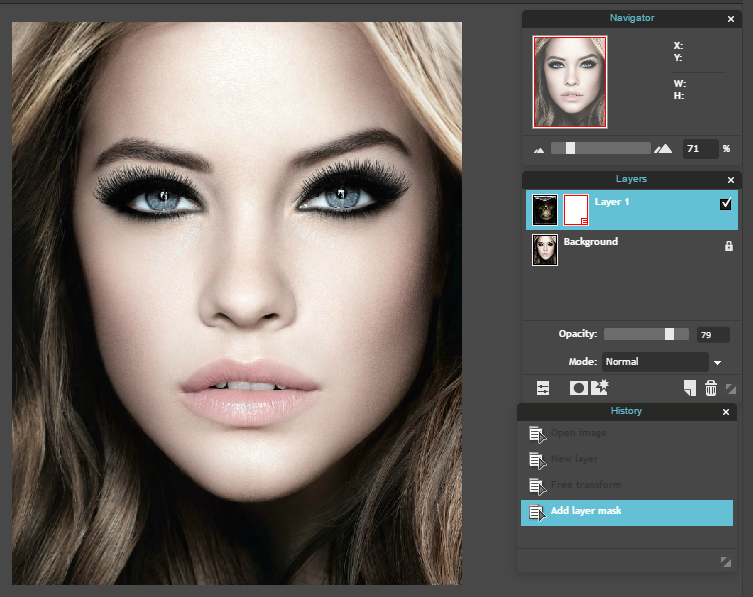
s t e p - f o u r :
Right click on the skull layer. Select "Add layer mask". It will seemingly disappear from the canvas.
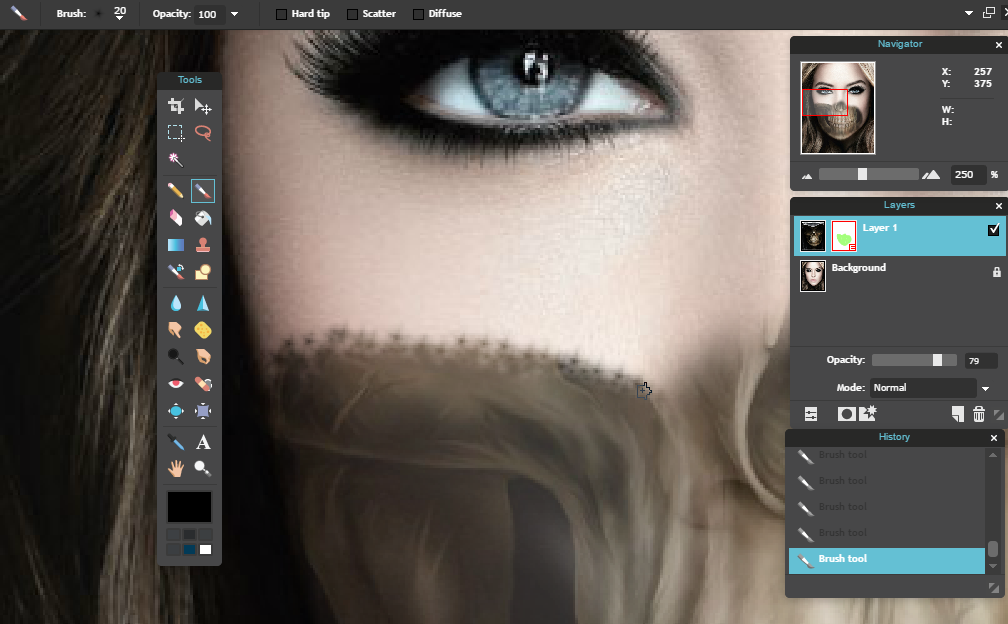
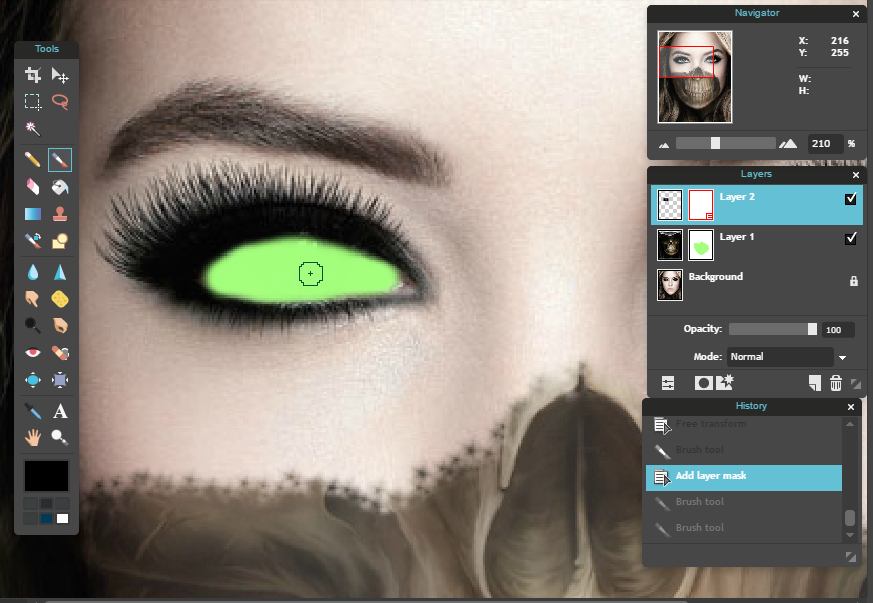
s t e p - f i v e :
Stay on this layer and click on the Brush tool. Change the size to 100+. Opacity should be at 100.
Begin to color in the part of the face where you want the skull to show through. While you drag the brush it will color on green, but when you release you will see the skull show through where you have just colored.
If you accidentally color a place you do not want, select the Eraser tool and go over that area to get rid of it.

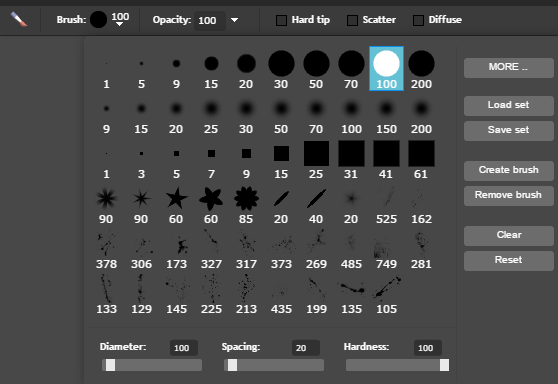
s t e p - s i x :
This is the part that may take a while to get it looking exactly how you want it. Go to the Brush tool again and go up to the size. Press the drop down. Look on the right side of the panel and locate the word "MORE .." Click on it and when a new window opens up, make sure it is on the Artistic drop down and click "Splatter 164kb". This will load a new set of brush types.
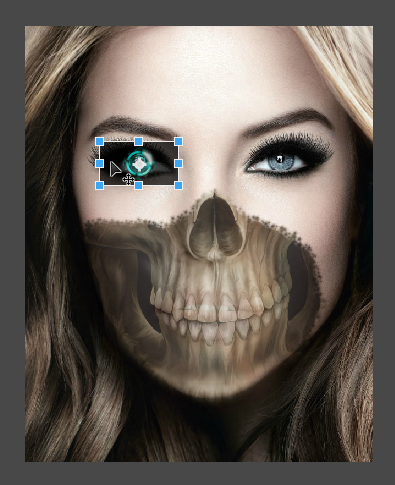
s t e p - s e v e n :
Select the size 20 brush from the new set that looks like a little star. It should be right in between numbers 40 and 525.
Click around the edges of the skull to make it look like its disintegrating into the original face. Use the eraser as much as needed. Go around every edge.
s t e p - e i g h t :
Open a new image as layer. This will be the picture of the robotic eye. Lower the Opacity of the layer so you can see the face below it.
Go up to "Edit" and "Free transform..." Move it around until it is directly above and sized with one of the eyes.
Change the Opacity back to 100 when finished.
s t e p - n i n e :
Right click on the layer and select "Add layer mask".
s t e p - t e n :
Click on the Brush tool and change it to about size 20. Color in the eye. You'll start to see the robotic eye show through. Use the eraser tool to get rid of any mistakes.

s t e p - e l e v e n :
Go up to "Adjustments" and make any changes you need in the filter of the background layer (the face) so that it overall blends well.
And you're done!
Bạn đang đọc truyện trên: Truyen247.Pro