[01] cracked face
This is one I'm sure a lot of people are aware of as it's pretty popular. If you don't know how to do it on pixlr, here you go! Stay with me.
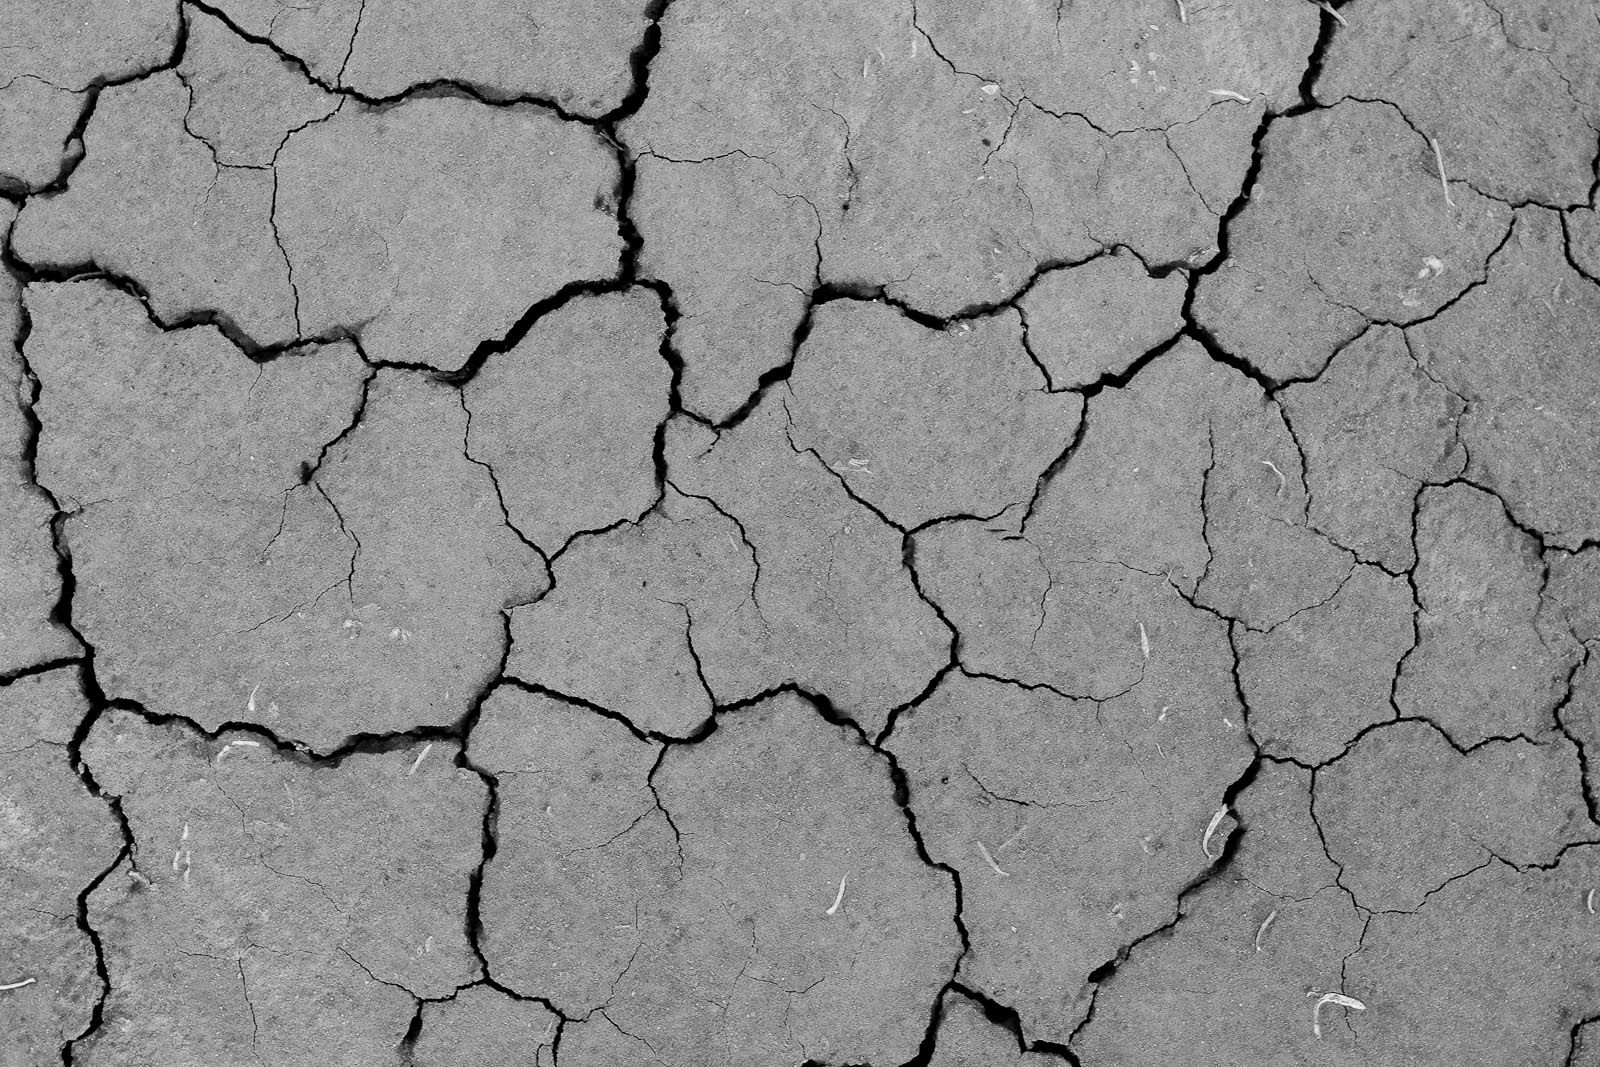
*I looked up a couple cracked textures that will work. These are the more popular ones - you do not have to use them :


s t e p - o n e :
Open Pixlr. You can choose whatever background you want. If you're going to use a PNG of a person and layer it on the background, do that now and place the person where you want it. If you're going to start with just a picture of a person, open that up. Make sure the face is pretty visible.
s t e p - t w o :
Open image as a layer. This will be the cracked picture. Use whichever one you want - make sure it is above the person layer.
s t e p - t h r e e :
Lower the opacity of the cracks. This will make it easier for you to position them to where you want them.
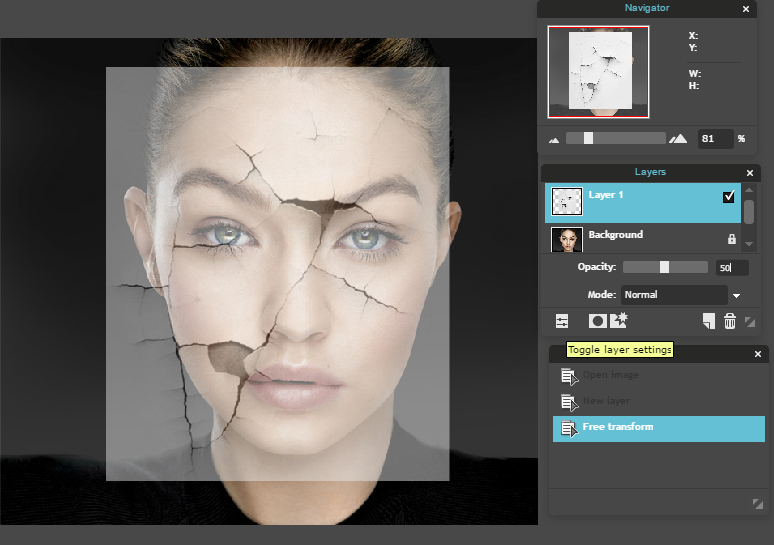
s t e p - f o u r :
Go to "Edit" then "Free Transform..." to position them on the face where you want them. Hold down SHIFT to keep the shape. I flipped mine.
s t e p - f i v e :
Change the Opacity back to 100.
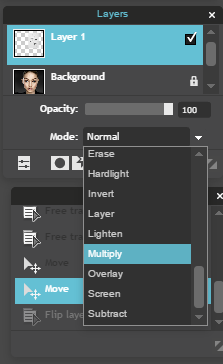
s t e p - s i x :
Go to "Mode" and change it to "Multiply". This option can be found on the right side of your screen in the Layers Panel. If it's not already there, click the icon on the bottom left of the Layers Panel that looks like two lines with two little squares on them.

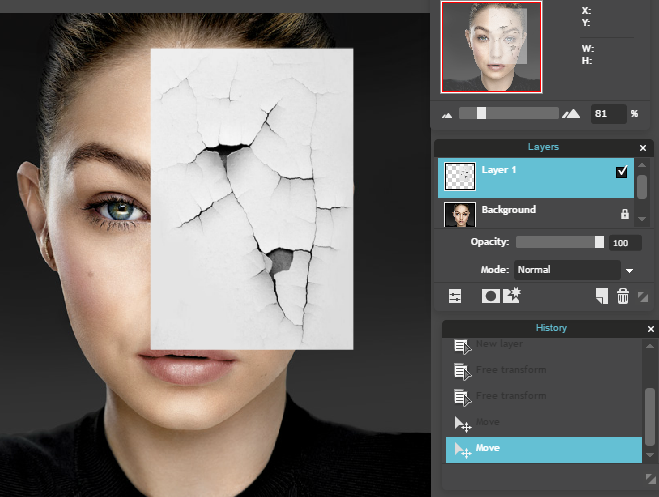
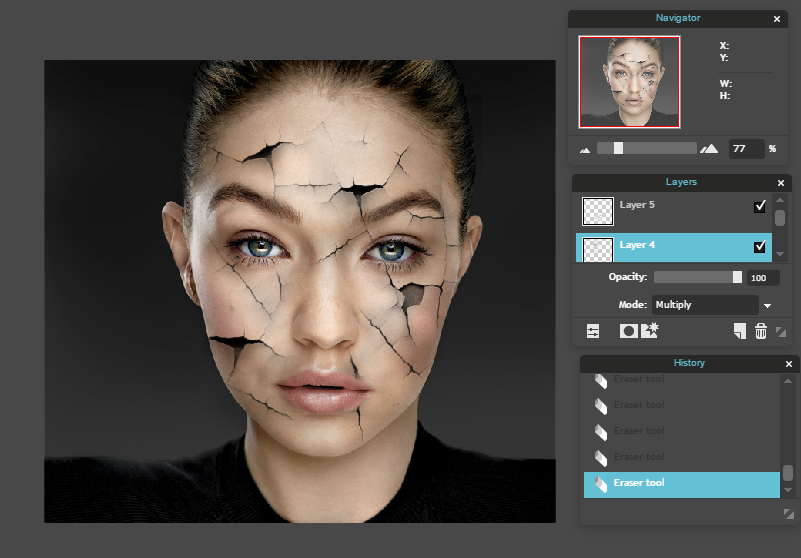
s t e p - s e v e n :
Notice how you can still see parts of the background on this image. Click on the eraser tool and carefully erase those unwanted parts while keeping the cracks.

s t e p - e i g h t :
If you're content with just one layer of cracks, then you're done! I'm going to keep going.
Right click on the layer and press "Duplicate layer" if you want the same thing, or open a new image as layer with the same cracked picture.
s t e p - n i n e :
Repeat steps three - eight until you have all the cracks you want!
It took me a while to figure this out. I tried so many things before I found this. Now it's so easy!
Hope you didn't get lost. :) x
Bạn đang đọc truyện trên: Truyen247.Pro