
p a p i l l o n ~ tutorial
I'm fairly certain you've at least heard of bevelled text- pretty, metallic, and mostly saved for fancy photoshop users (shh, I know I'm a fancy photoshop user too sometimes-). However, there are plenty of alternate ways to get a bevel and I'll show you one today, with Pixlr E.
Ƹ̵̡Ӝ̵̨̄Ʒ
Open up Pexels (or any other stock site) and download a photo. You could also do a stock search straight from Pixlr.
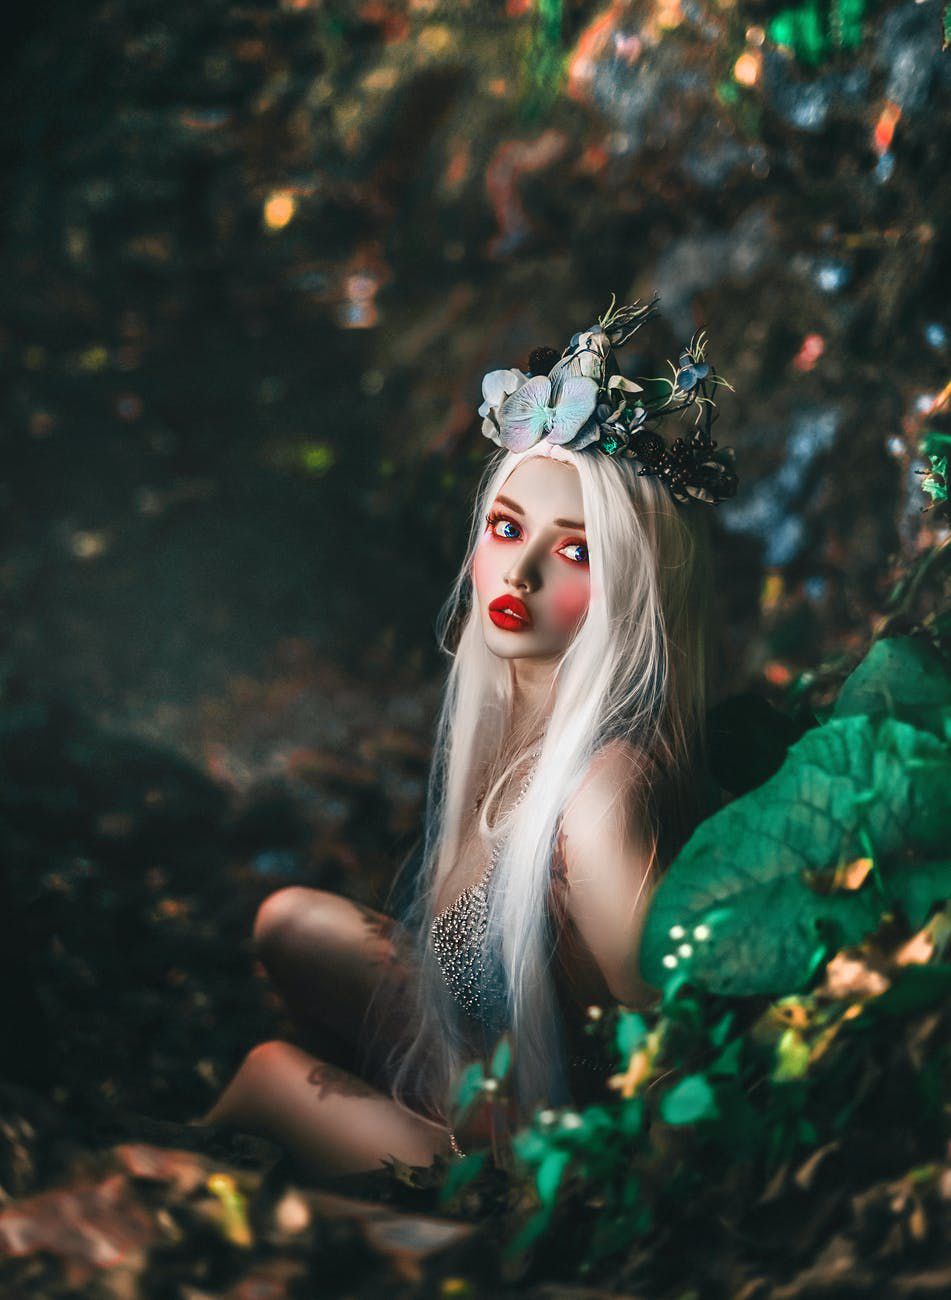
Ƹ̵̡Ӝ̵̨̄Ʒ
Then go to Pixlr E (by the way, this will be on my Chromebook browser).
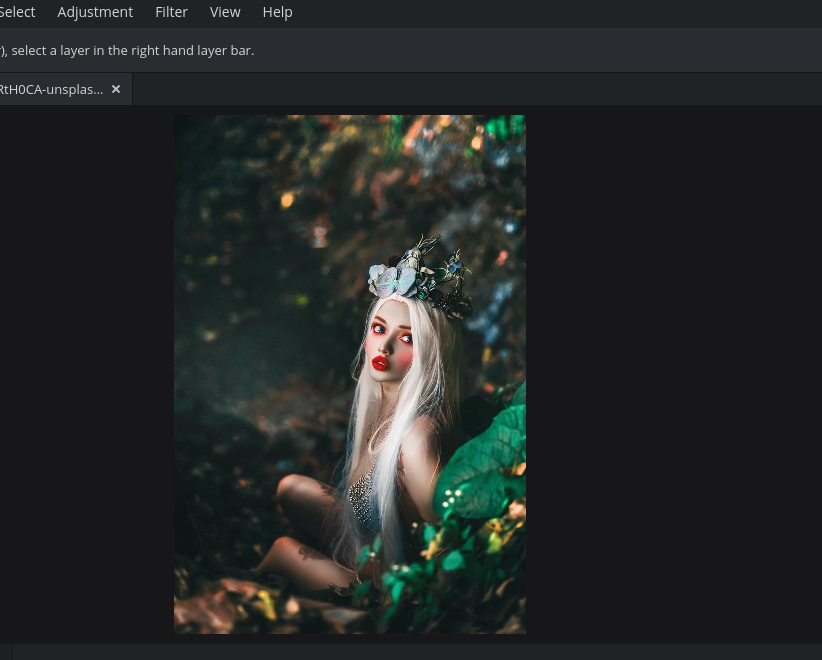
Once you're on the editor, click file, then 'open image'
Click on that image layer and click ctrl c. You can click off that 'tab' (with the little x) and be returned to your main one. Now Click ctrl V.
now's your time to play with the image, adding effects, filters, overlays, e.t.c.
Ƹ̵̡Ӝ̵̨̄Ʒ
For the text, you can simply use one of the already given fonts or upload your own onto Pixlr. I'm going to upload Mason Regular.

once you're completely finished typing your text and choosing the font, go to 'layer' (along the top) and click 'rasterize layer'. Make sure to rasterize the text layer.
Ƹ̵̡Ӝ̵̨̄Ʒ
Click filter then bevel. Adjust it however you like, then ta-da! You have some bevelled text (no photoshop needed)

Ƹ̵̡Ӝ̵̨̄Ʒ
Final Product:

Bạn đang đọc truyện trên: Truyen247.Pro