
Easy-step cover tutorial #1
Okay! So from the last chapter, you already have that blank cover page saved & ready to use!
For this easy tutorial, I'll be using these pictures:


Apps I used for this:
•PicsArt
•Phonto
First, click on PicsArt. Press "Edit," and load that blank white background on.
There's a bar at the bottom with tons of ways to edit, and one in particular says "Add photo."
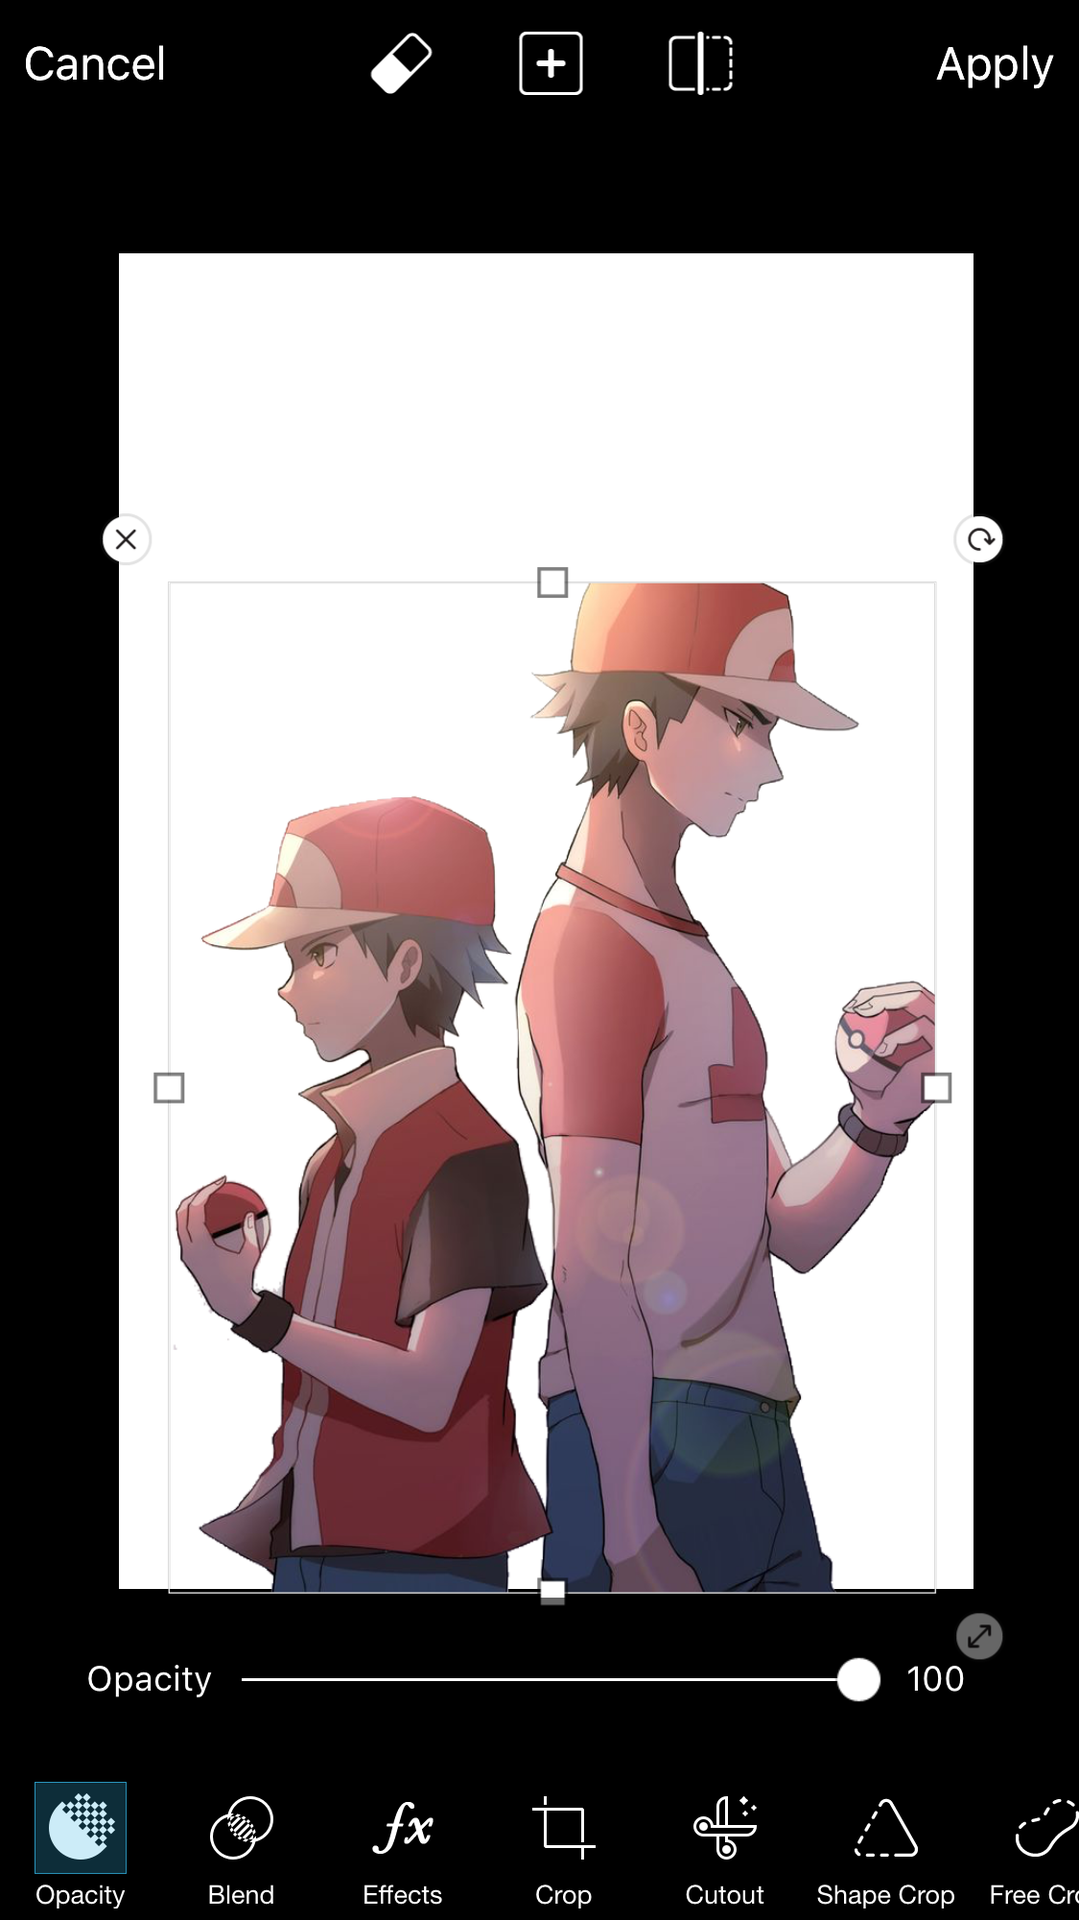
Once you have this on your screen, enlarge it to your size of liking! At the top of your screen, you can see the left option that has the shape of an eraser. Click that lil' button.

Now it looks like this. For me, it works BEST when you set the size of your eraser to the maximum size, so the little ball should be on the very right bar. Now, the hardness of your eraser should be at the MINIMUM. Drag the little ball so it's on the very left of the bar.
Now you're ready to make the tiniest touches! Very softly tap & drag your finger SLIGHTLY just around the edges of your picture to have it nicely face away.
If you make a mistake, don't worry! See that opacity bar? Drag the little ball to the very left, then refill in the erased mark to fix it again.
It'll take a few tries to do this, but you'll definitely get that fade-away feature just nicely. It'll be a piece of cake after doing it a few times!
So if you're wondering about the features to fade, this is what I did: I make sure that there's no weird harsh awkward lines, and that's it! A very simple affect that'll change the entire look.
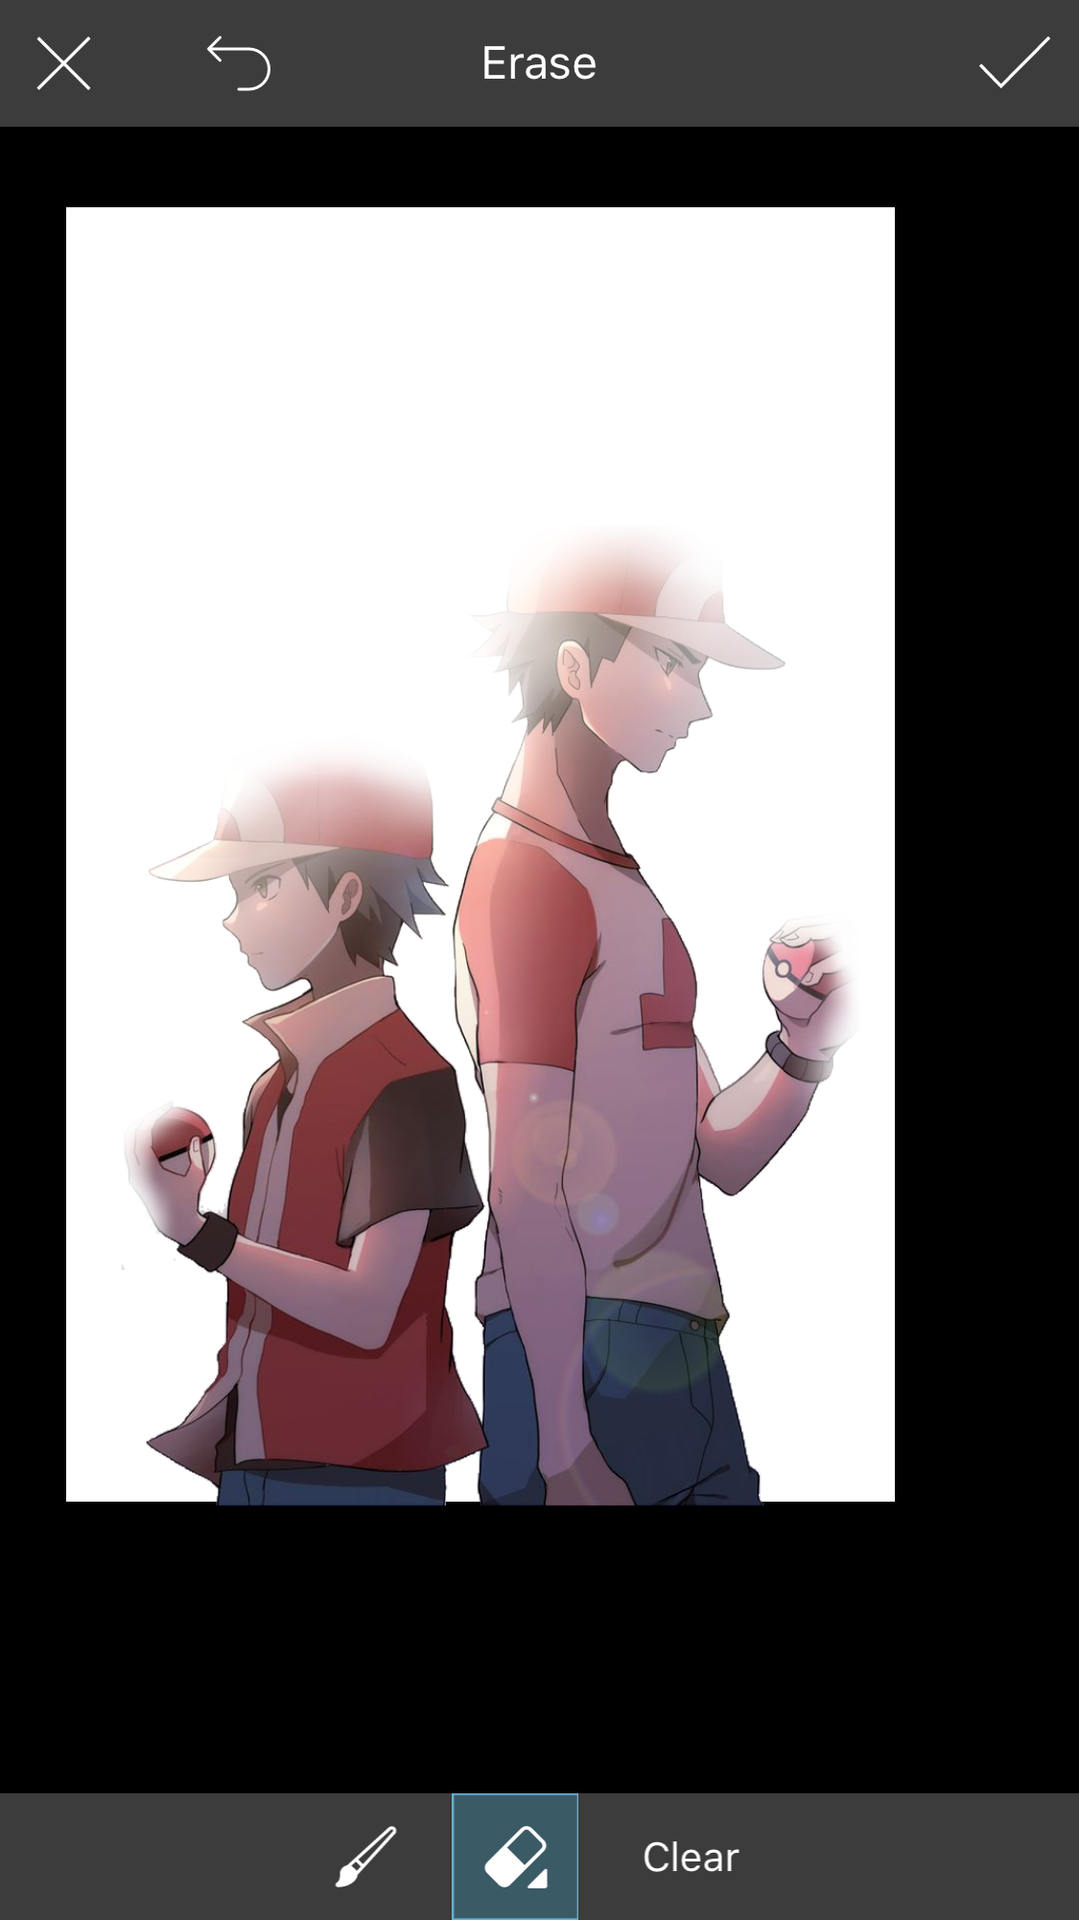
Now click that little check mark button at the top right of your screen to make it final.
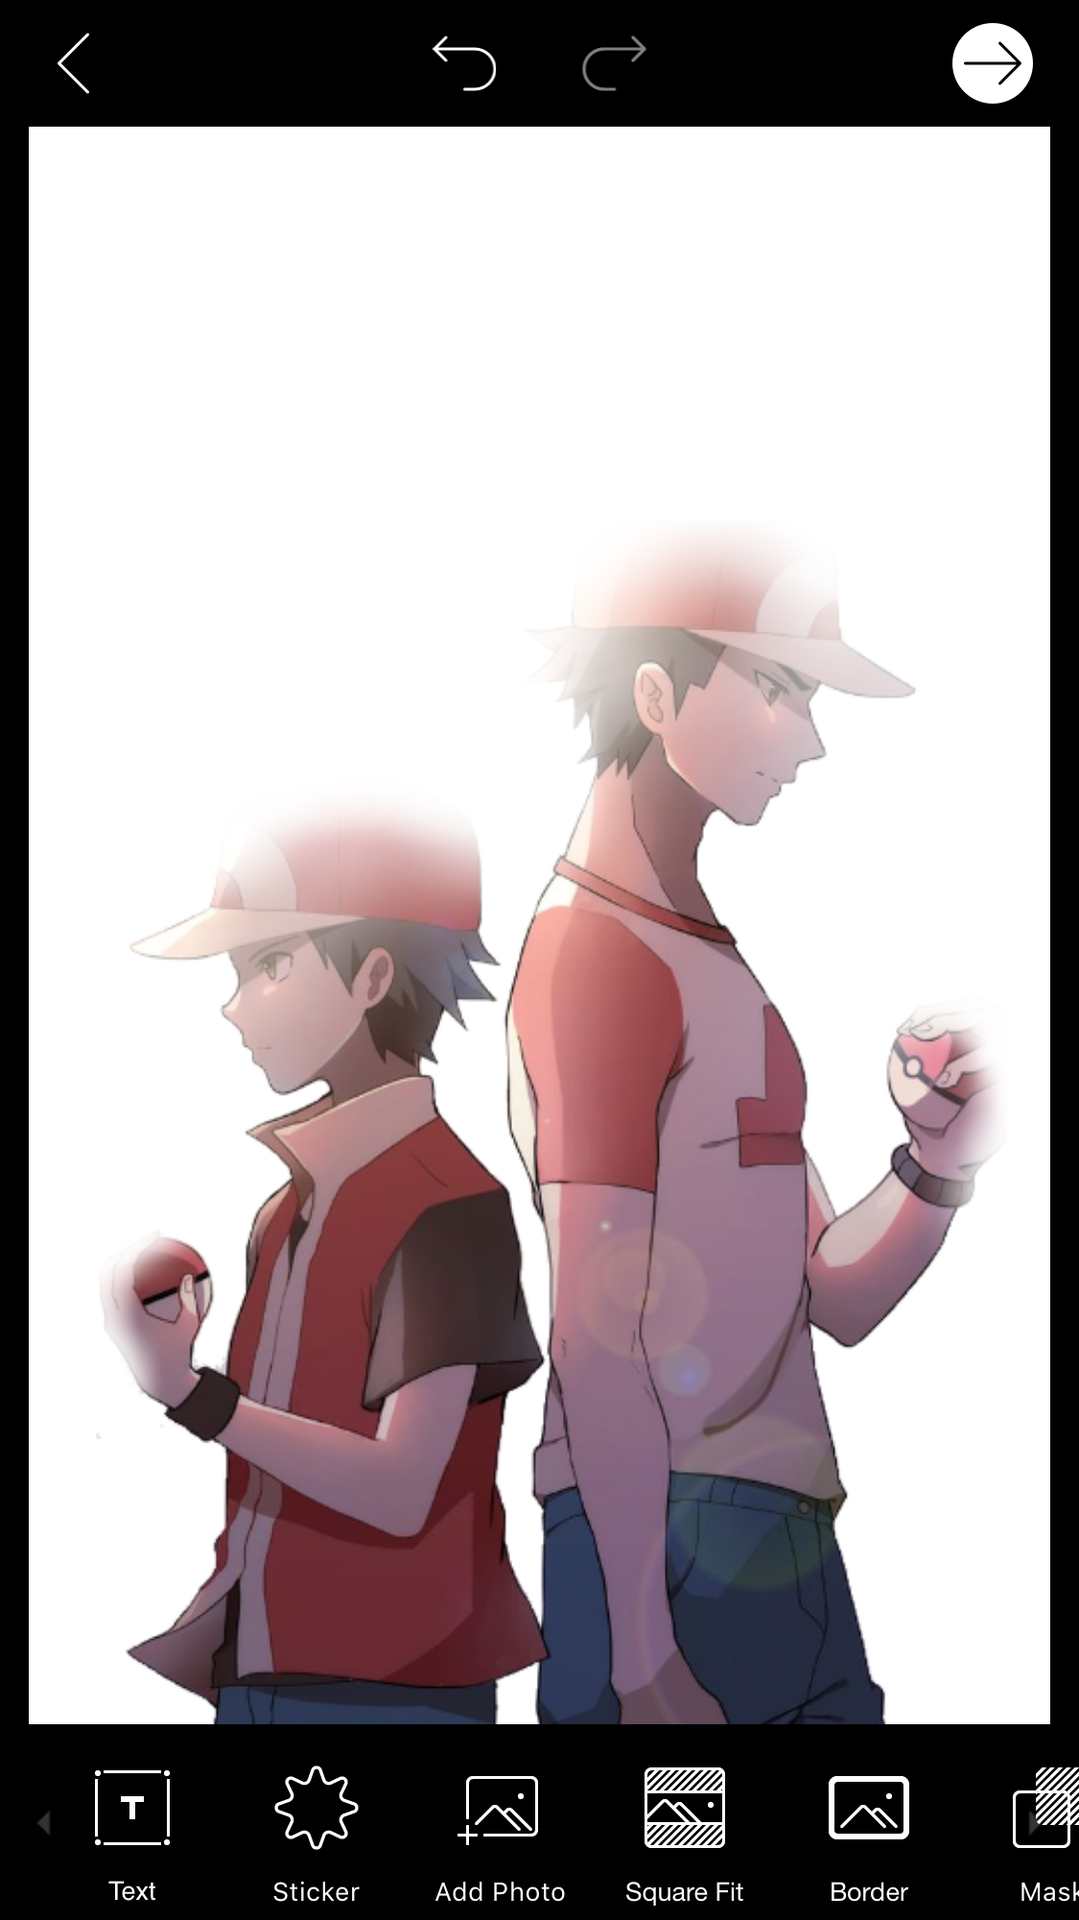
There's a circular white button in the top right corner with a black arrow. Click that to the next screen, then click "save" at the bottom!
BOO-YAH! You did the first part! Now, exit out of PicsArt, then go into Phonto.
Do the same first step, except now you click "Photo Albums" instead of "Plain Image."
Pull up that nicely edited picture you just created.
Now, Click anywhere on the screen, and it'll say "Add Text."
Add any title or words you'd like!

For this affect on your text, click on any text, then click the box that says "style."
Your bar at the top will automatically be set on "color." Click on the white box at the bottom to make your text white, if it isn't already. Then Click the box at the top next to "Color," it says "Style" right next to it. That'll get you to this feature:
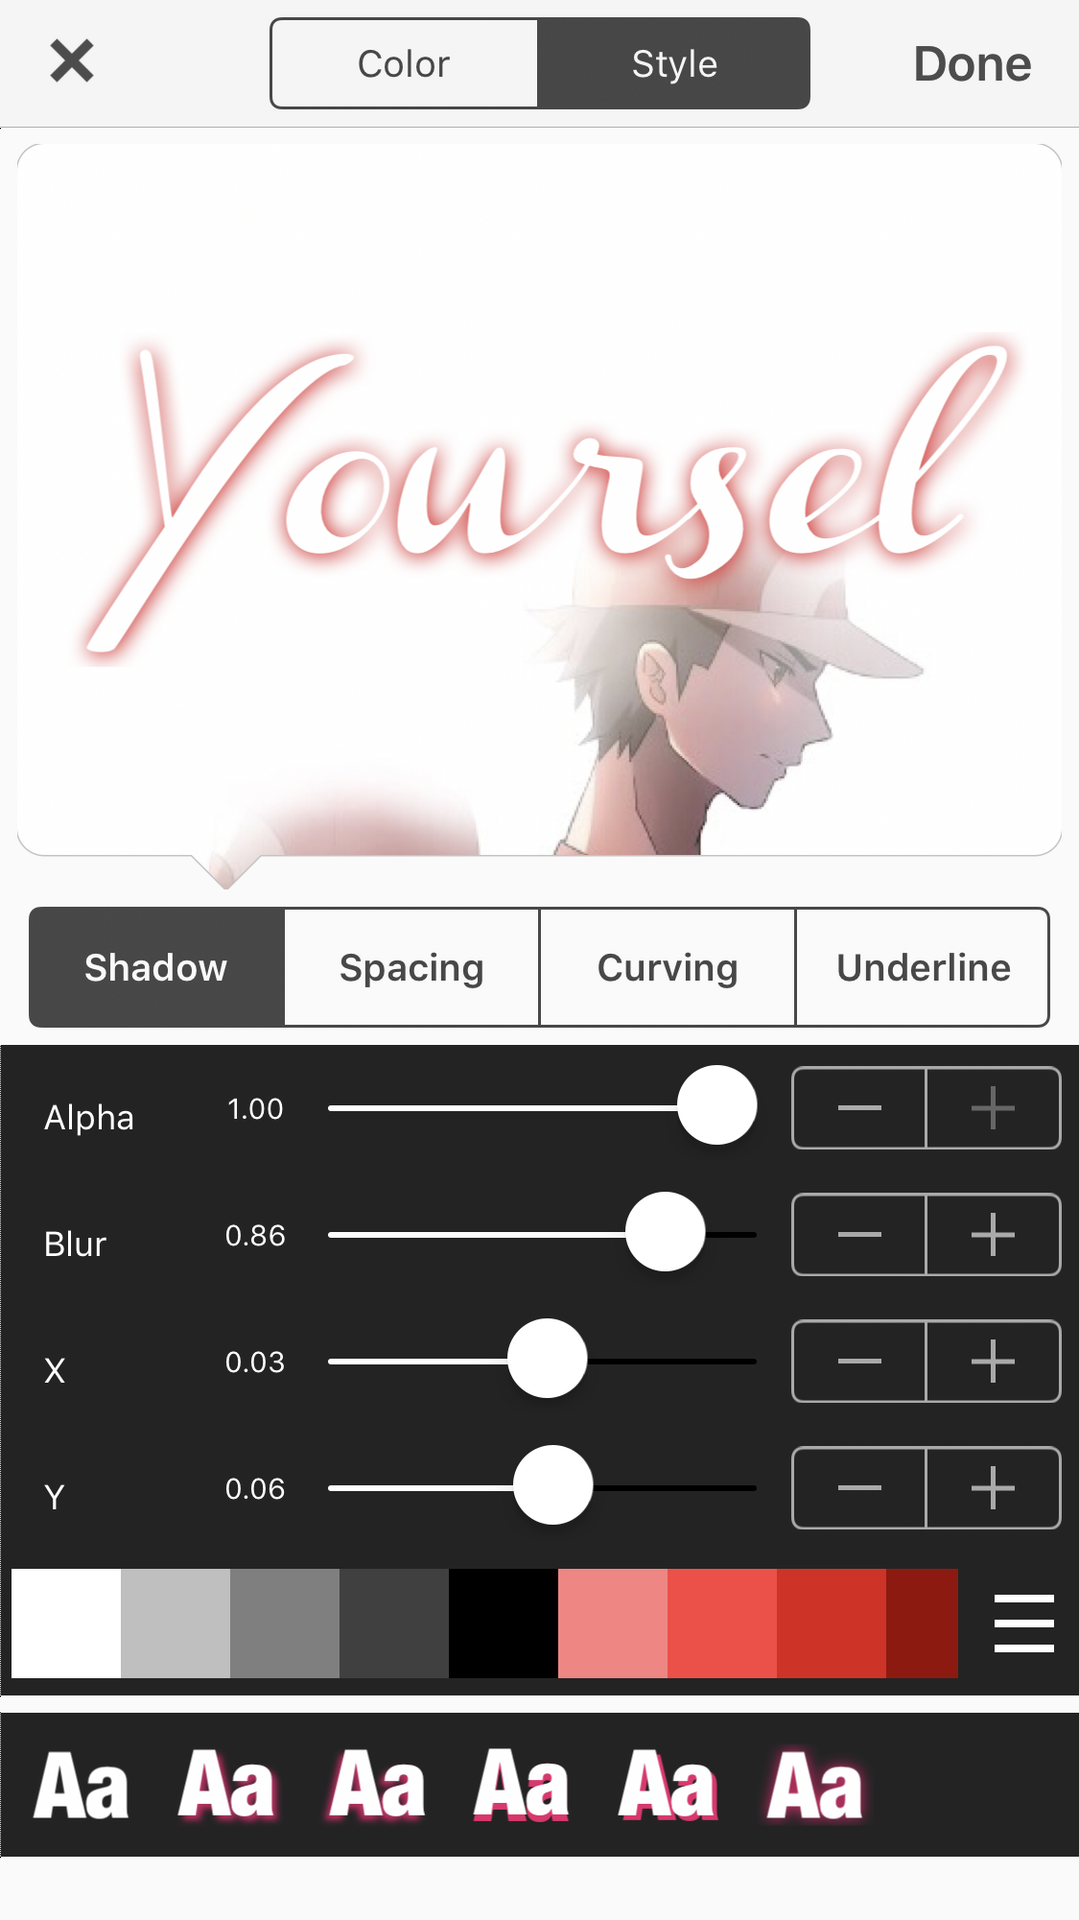
Drag the "alpha" ball on the bar all the way to the right to have the strongest fade color setting. At the bottom, you can see the bar with different squares of colors. Scroll through that and pick a random color to your preferred liking.
The settings X & Y (No, not the Pokémon anime XD ) Set where your shadow is placed. I like mine to usually be placed right under the text for that nice fade of color.
Those are the settings I used to create that nice colored background, so you can just copy those exact settings!
Click "Done" to exit out of the text settings.
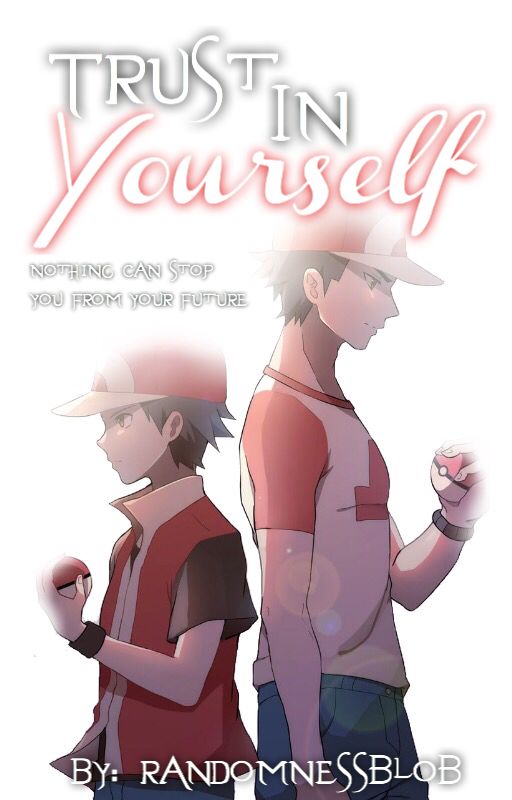
Here's a full example of my finished product.
Some of the fonts I used won't be available to you UNLESS...
Yes, I said UNLESS..
You go on your internet browser & go to da font.com
You can download any font they have for free! I'll most likely explain how to easily do that in the next tutorial :)
Bạn đang đọc truyện trên: Truyen247.Pro