How to Make Buttons/Pins/Badges in 13 Steps!!!!
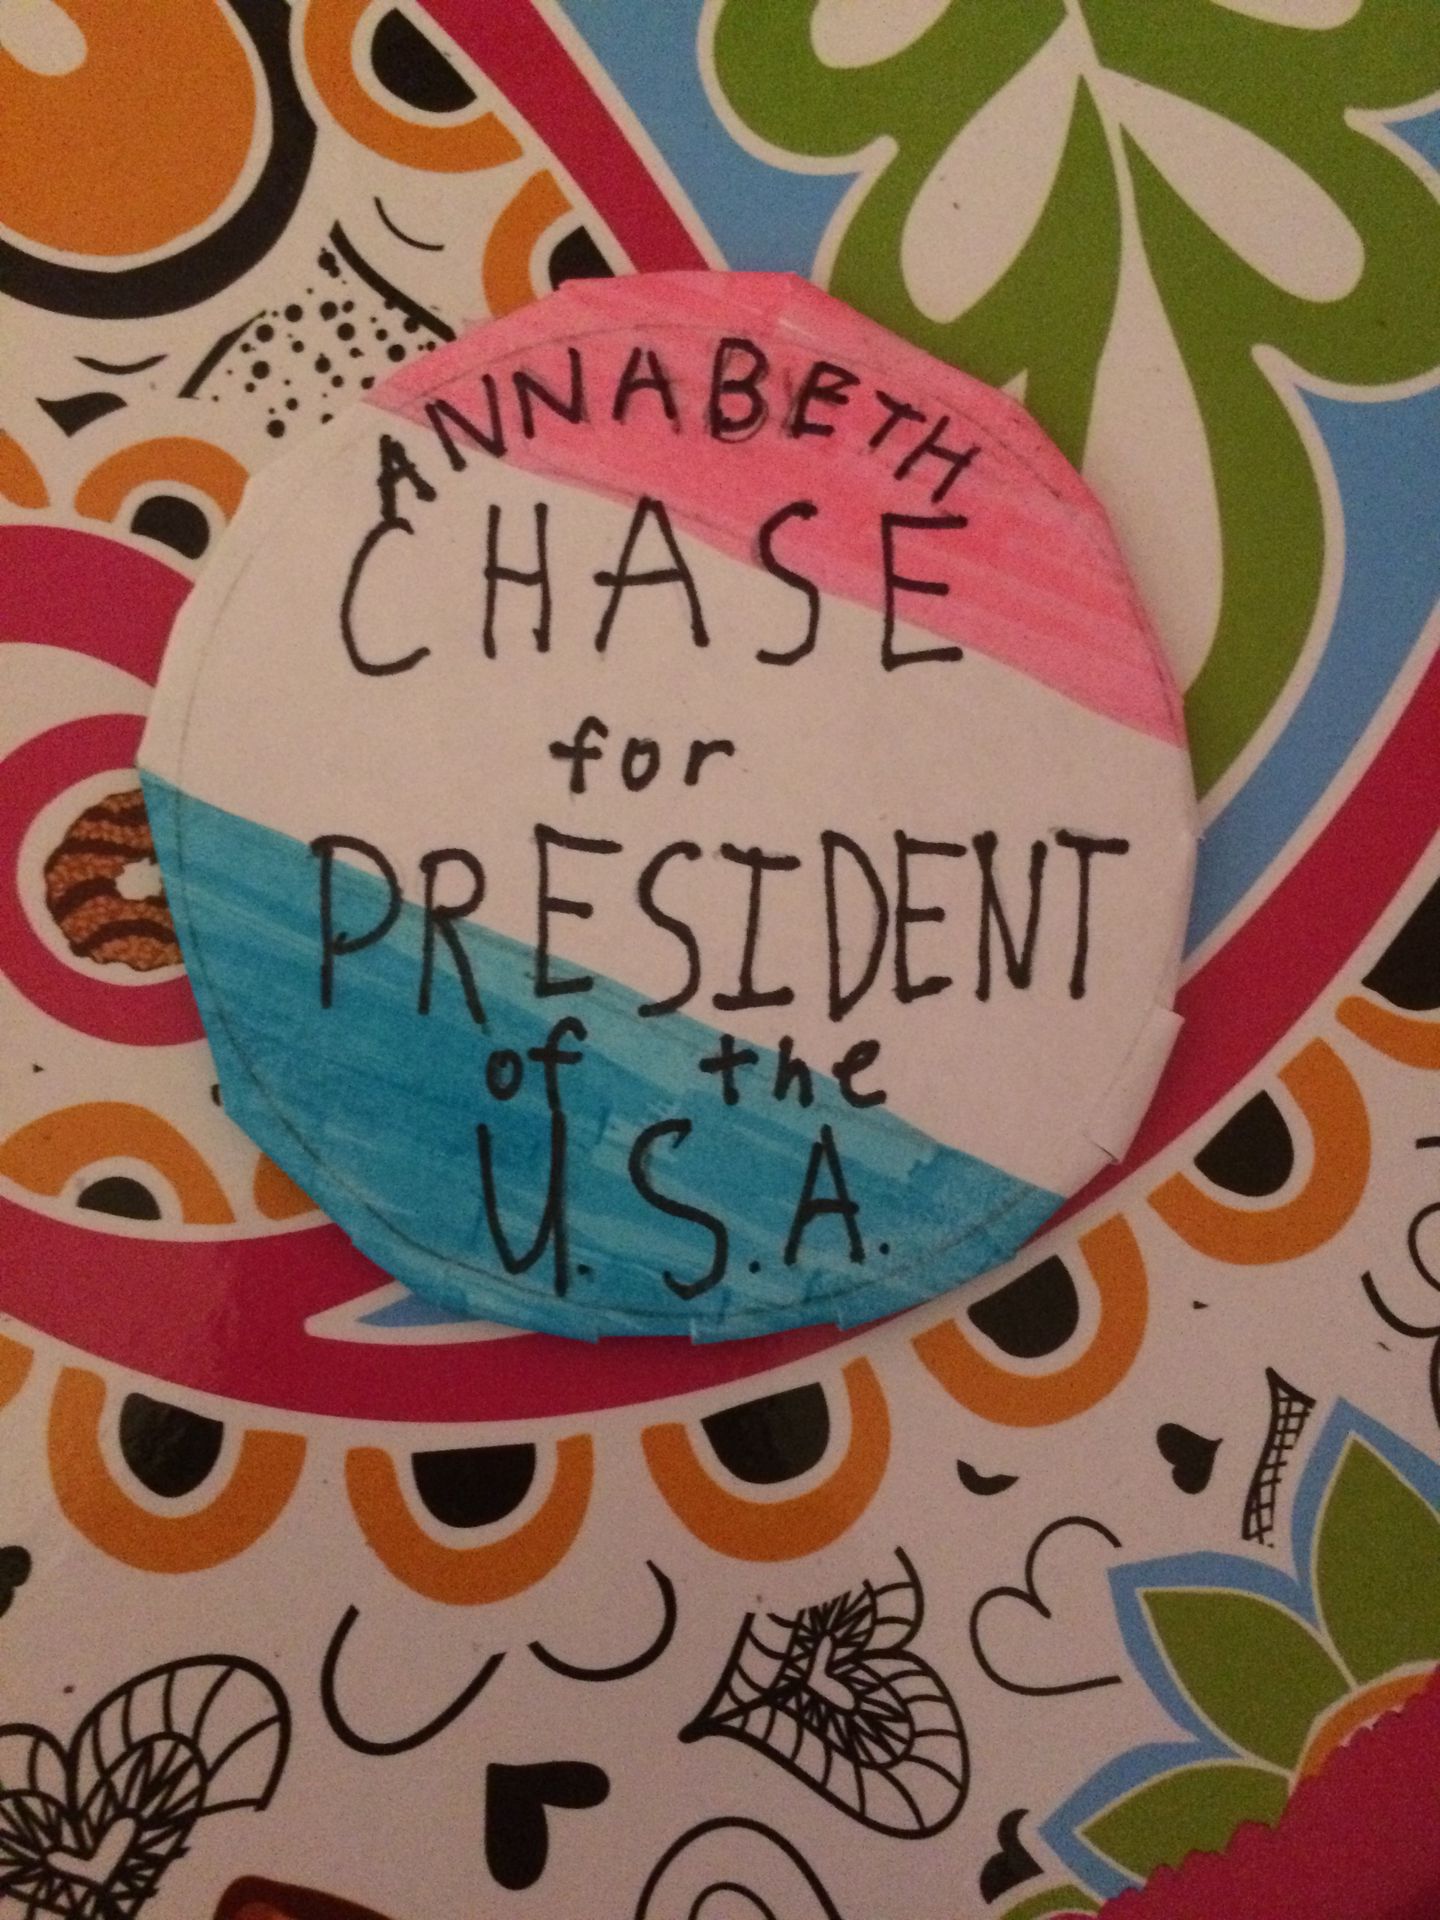
Alright, so I'm going to show you how to make pins. I'm calling them pins but whatever. This is because last night, my friends and I were talking about Hillary vs. Trump and who was better and I said the Annabeth Chase would be a good president so I decided to make pins. So if you are interested in learning how to make them but not interested in marking Annabeth president, then you can make different pins using the same method. I would recommend reading all the steps before doing it.
You'll need:
Cardboard
Regular computer paper
Scissors
Clear (or clear-ish) tape
A pencil
Sharpie
Coloring supplies
An eraser
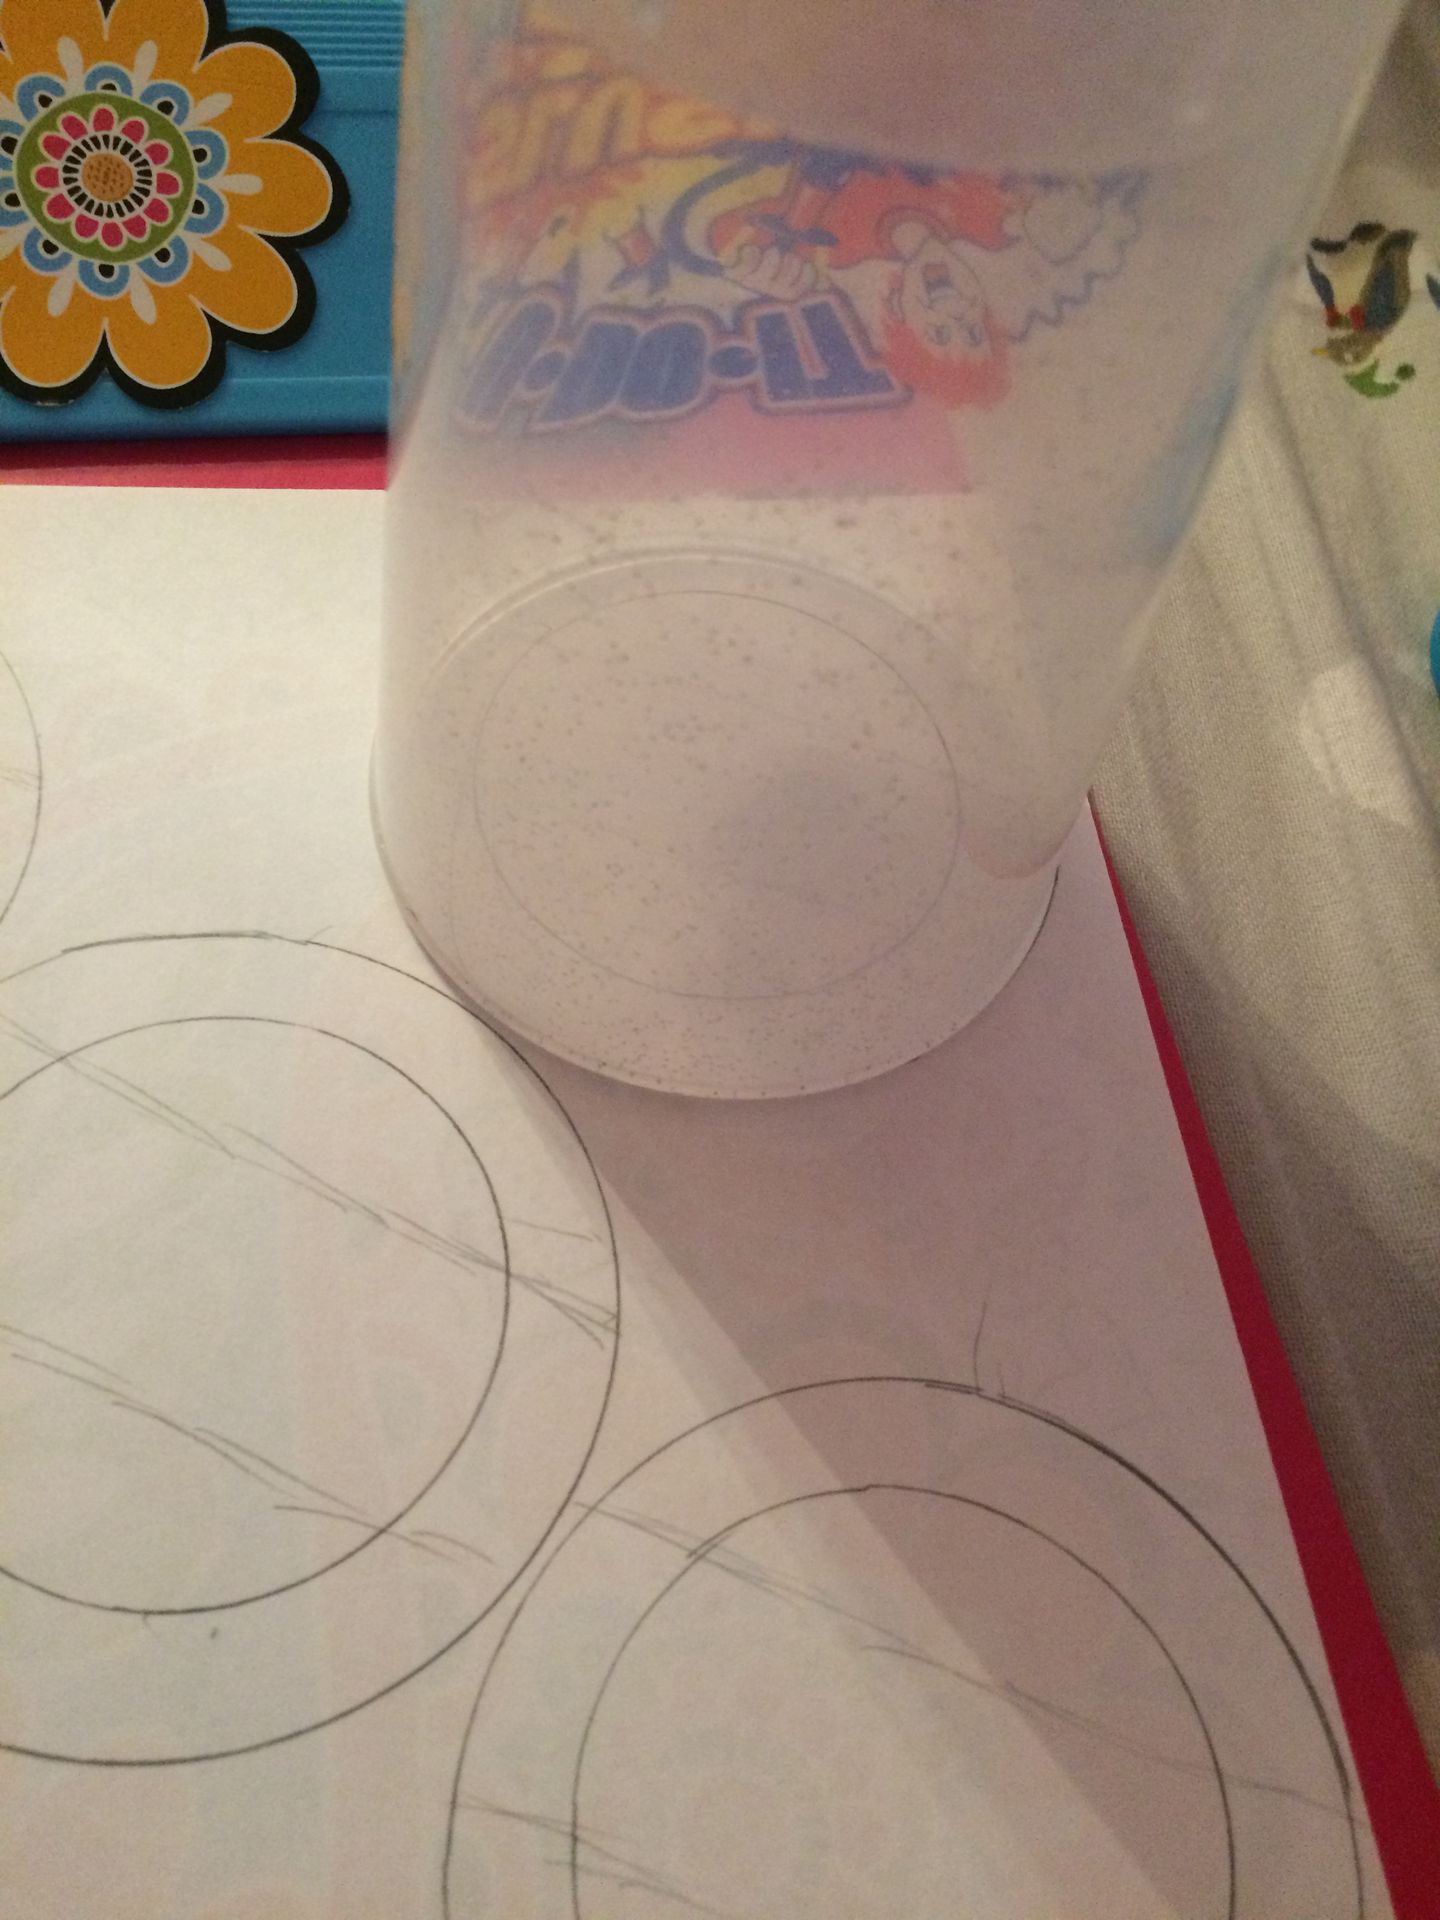
1. Take a cup and make a circle bigger than you want your pin to be on paper.
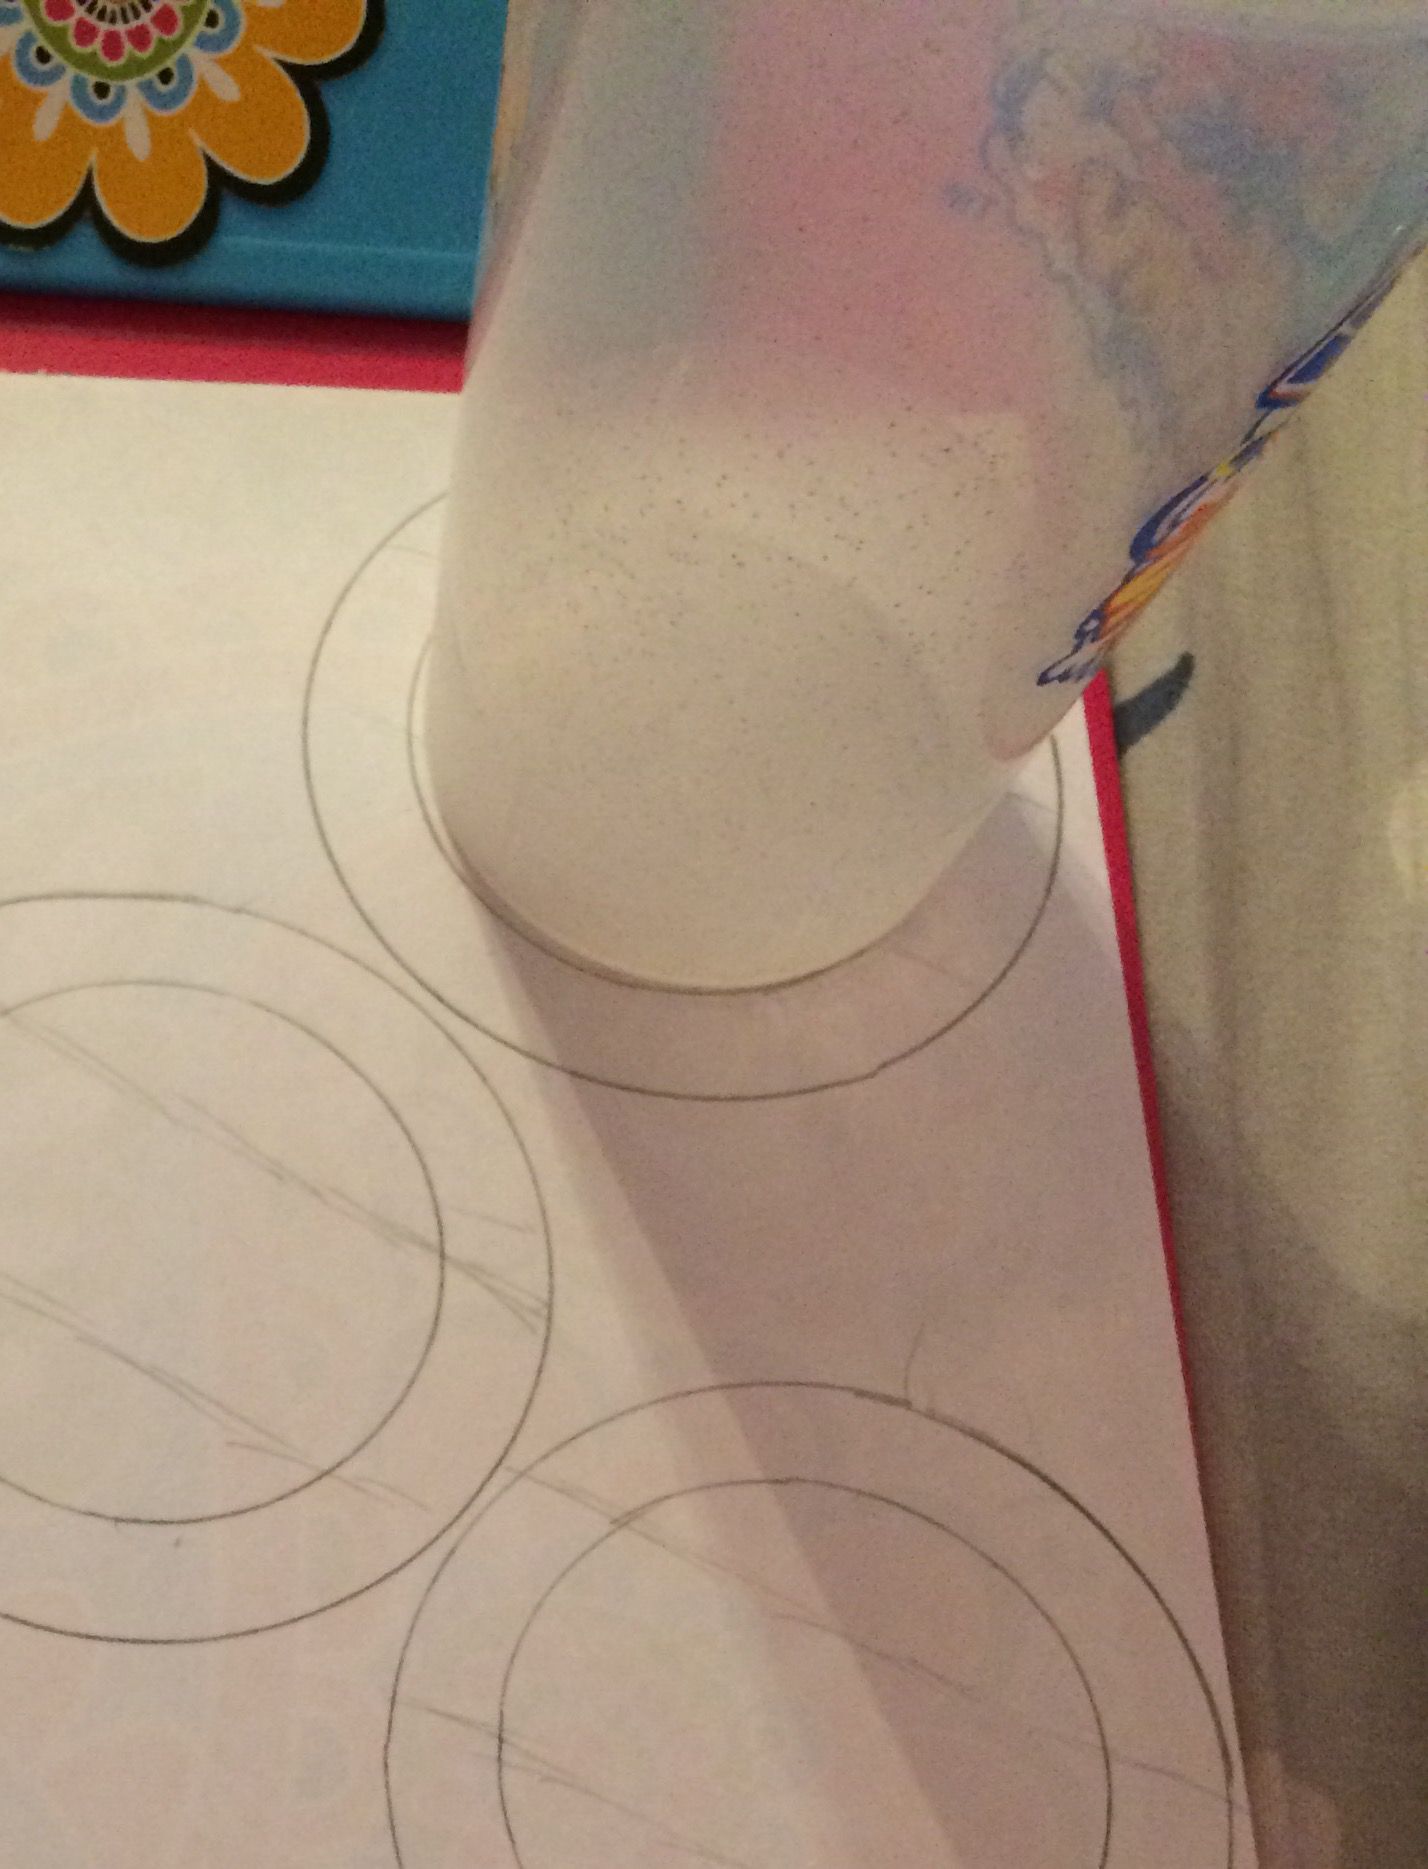
2. Make a smaller circle inside the bigger one. This will be the size of your pin.
*tip: use the top rim of a cup for the outer circle and the bottom of the same cup for the inner circle.
*tip: MAKE THE CIRCLES LIGHTLY. YOU WILL BE ERASING THEM LATER.
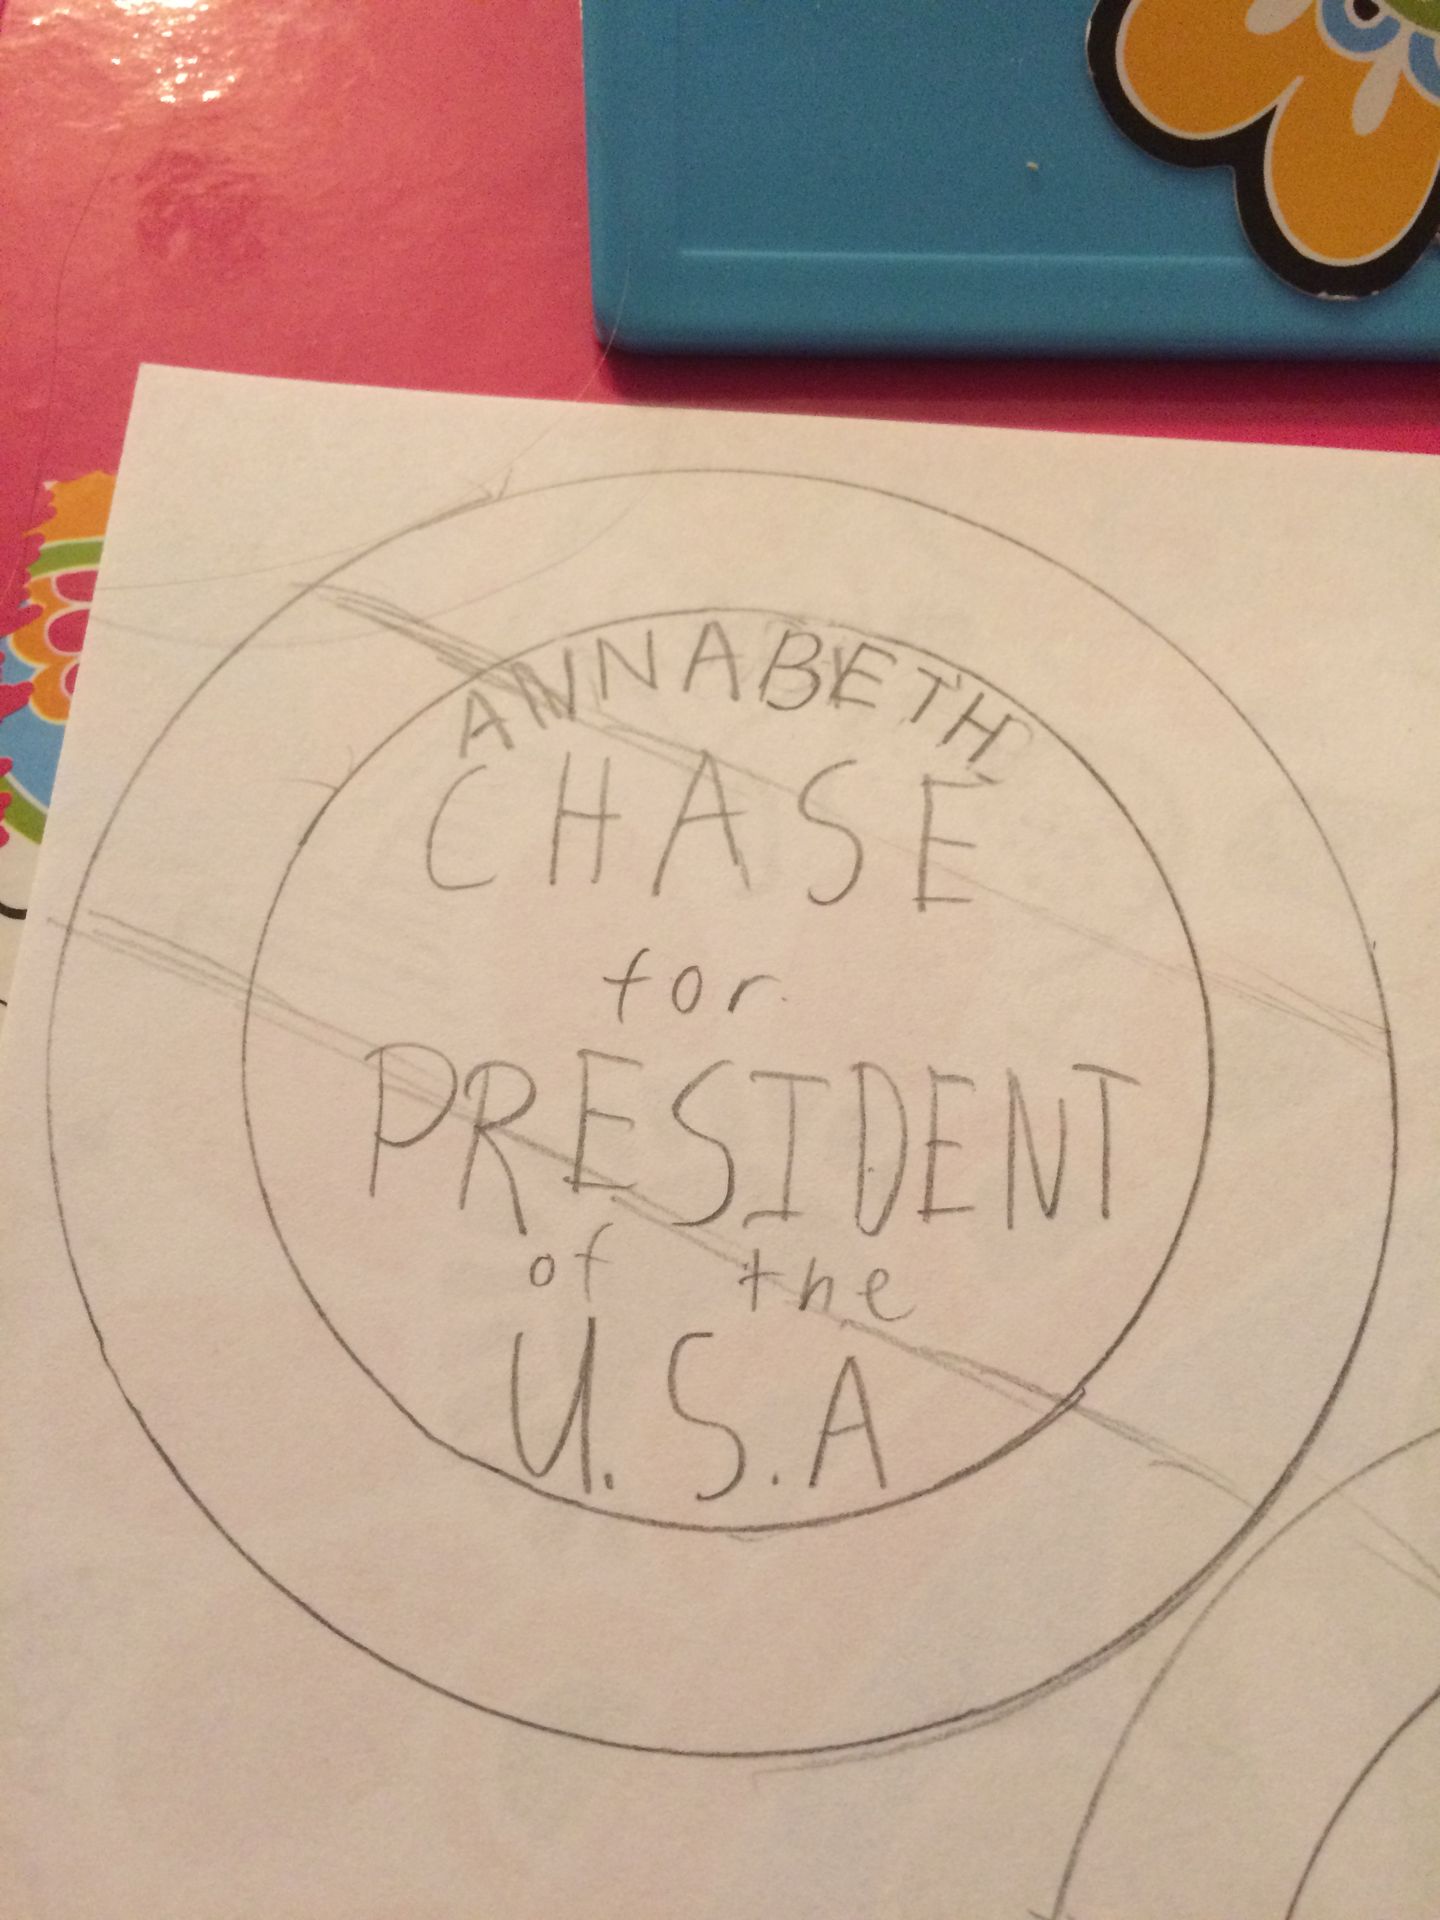
3. Sketch your design in pencil. ALL WORDS MUST BE INSIDE THE INNER CIRCLE ONLY.
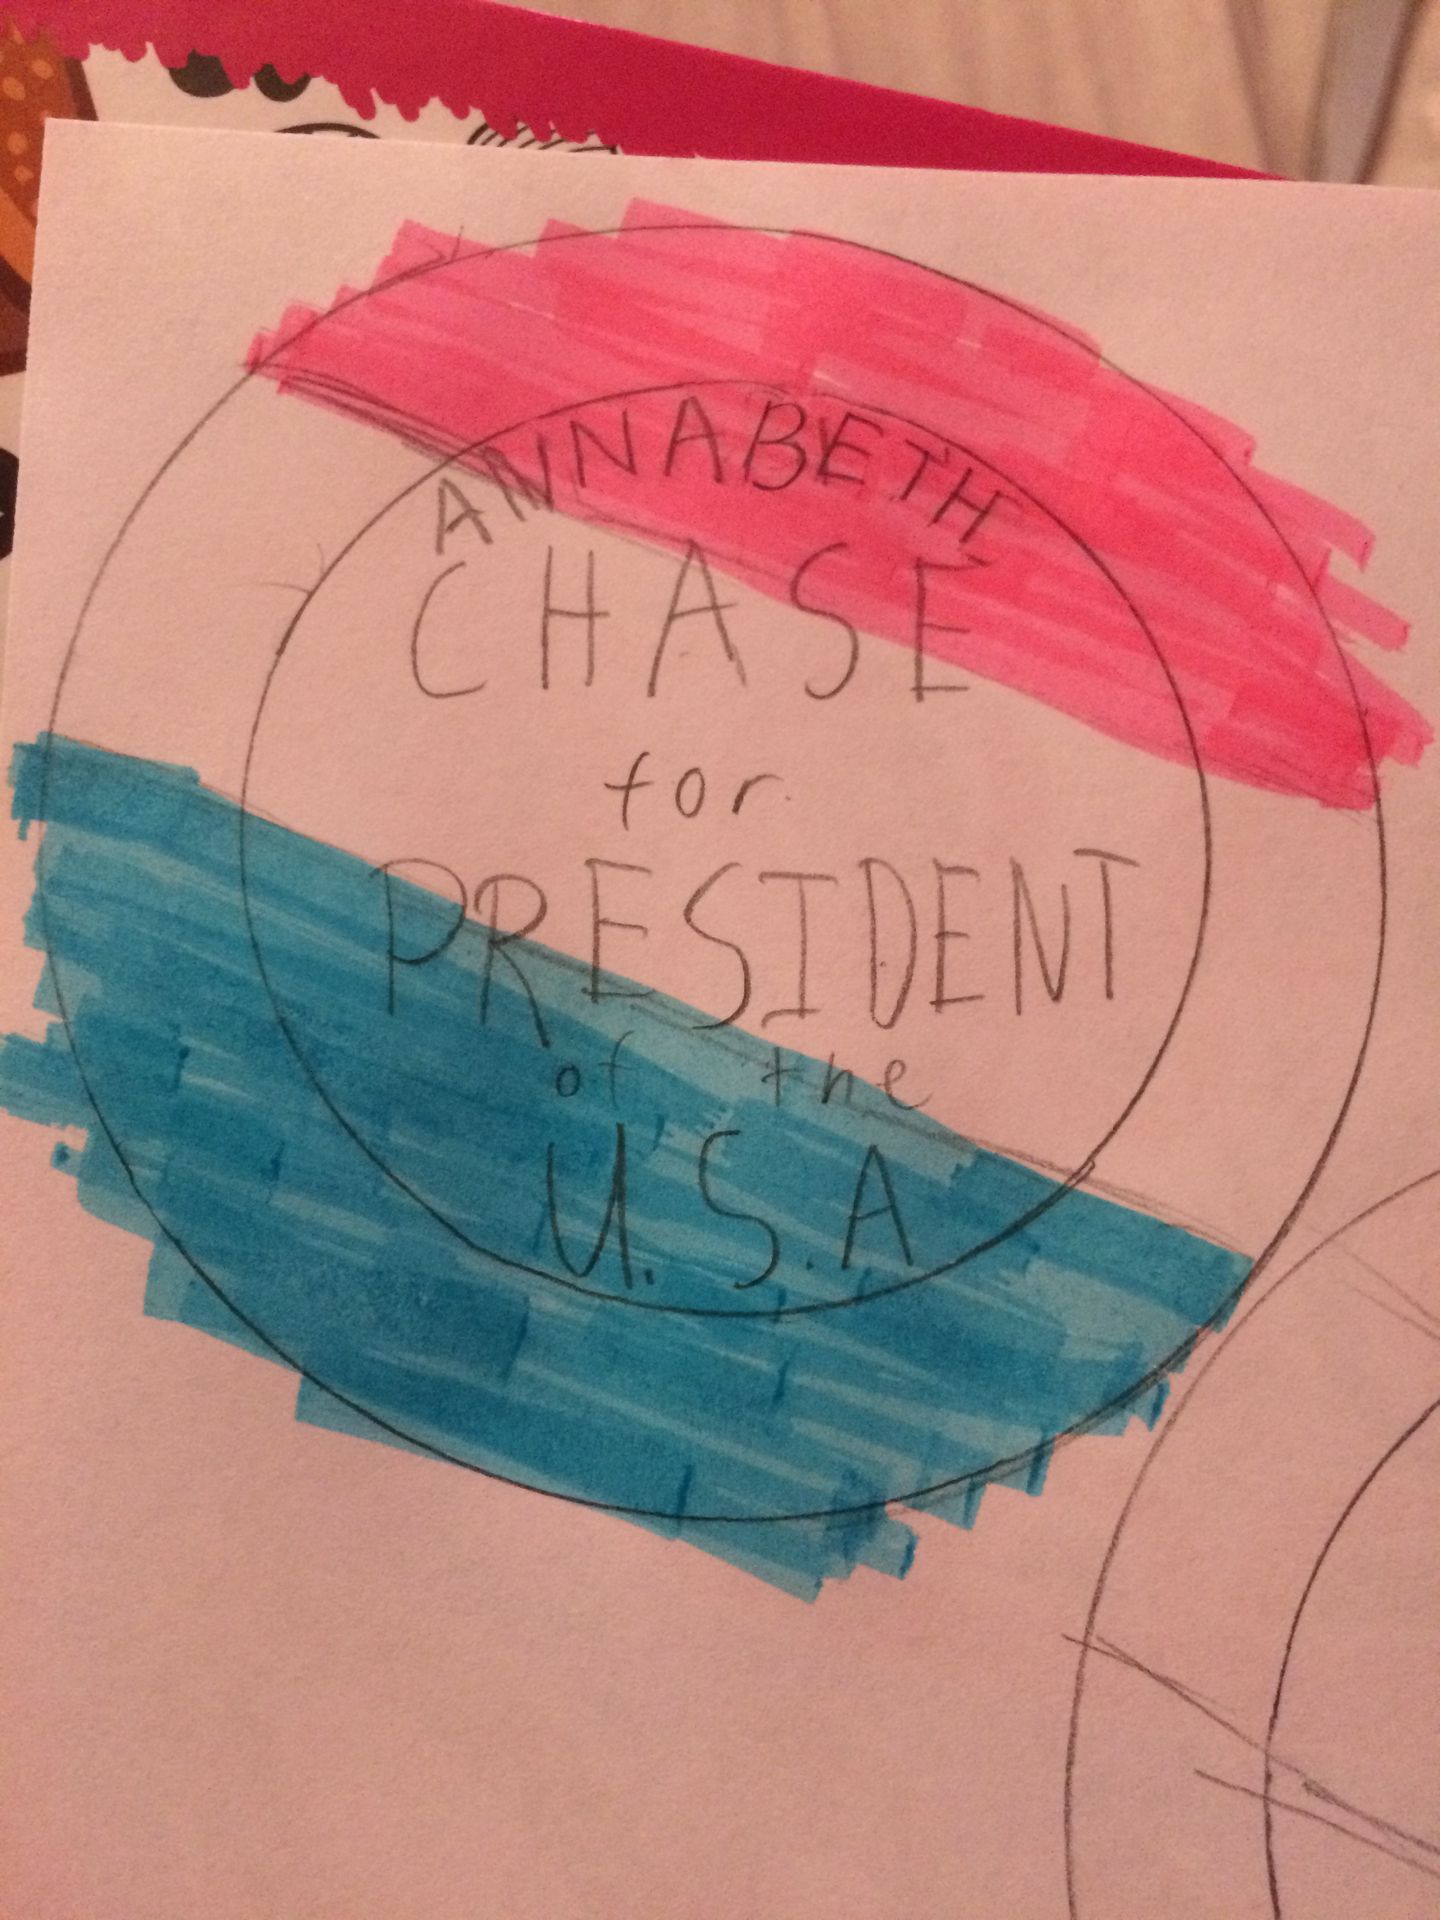
4. Color the background/picture. YOU MUST COLOR THE OUTER CORCLE TOO OR IT WONT LOOK RIGHT.
*tip: use highlighter, crayon, or colored pencil for the background and use sharpie or marker for the words.
5. Trace the words/lines (sorry, no picture 😕)

6. Cut it out around the outer circle.

7. Erase the pencil markings.
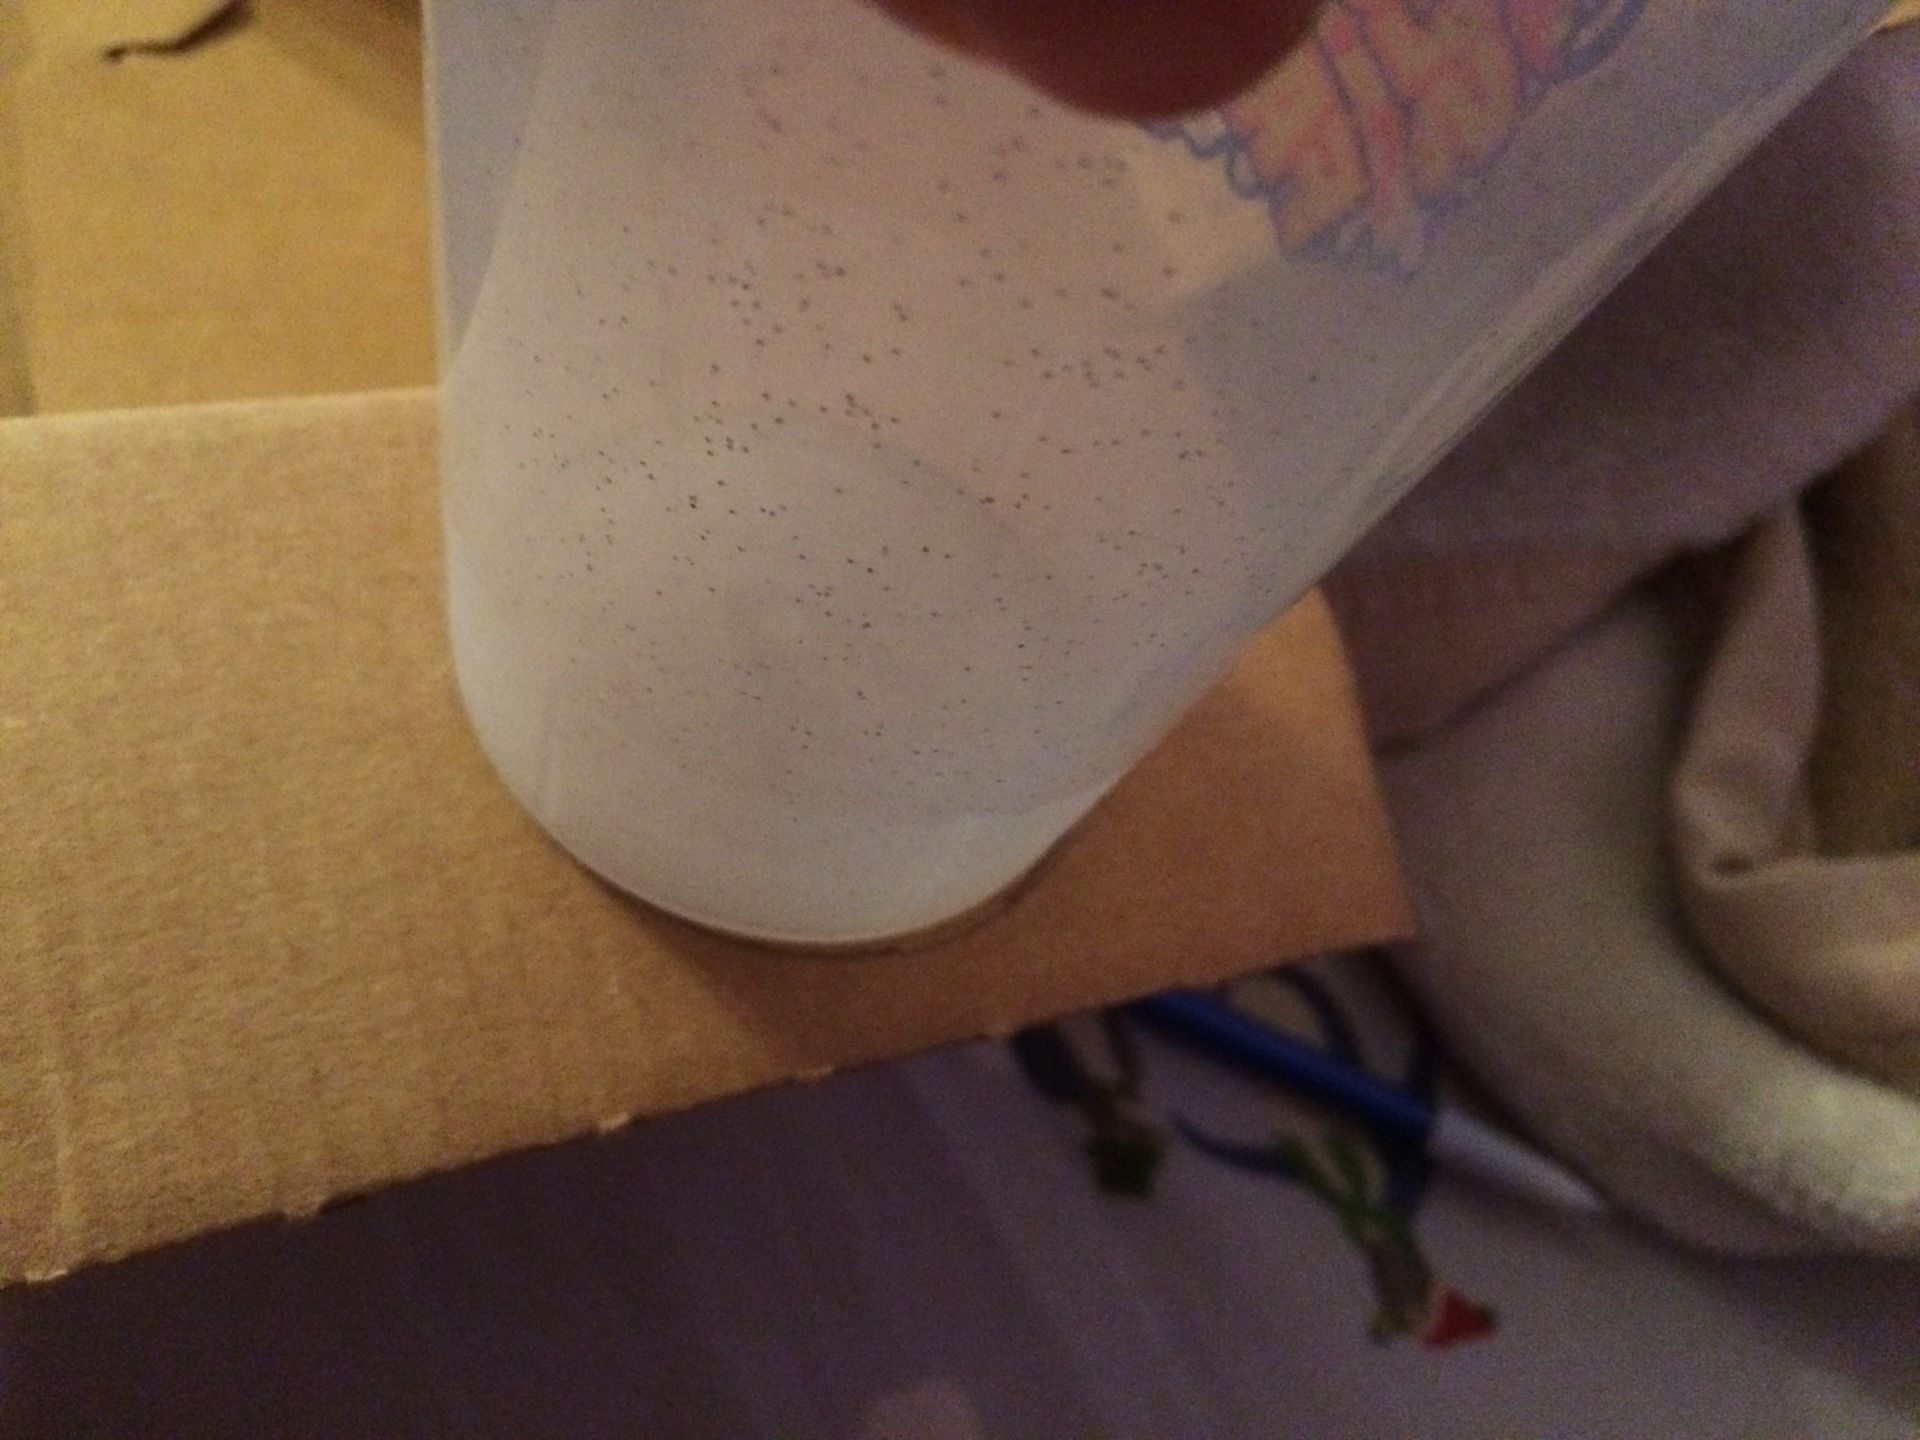
8. Make a cardboard circle slightly bigger than the INNER circle.
*tip: don't use a box where the other side is rainbow. It doesn't look as professional that way. I am using a white cardboard box.
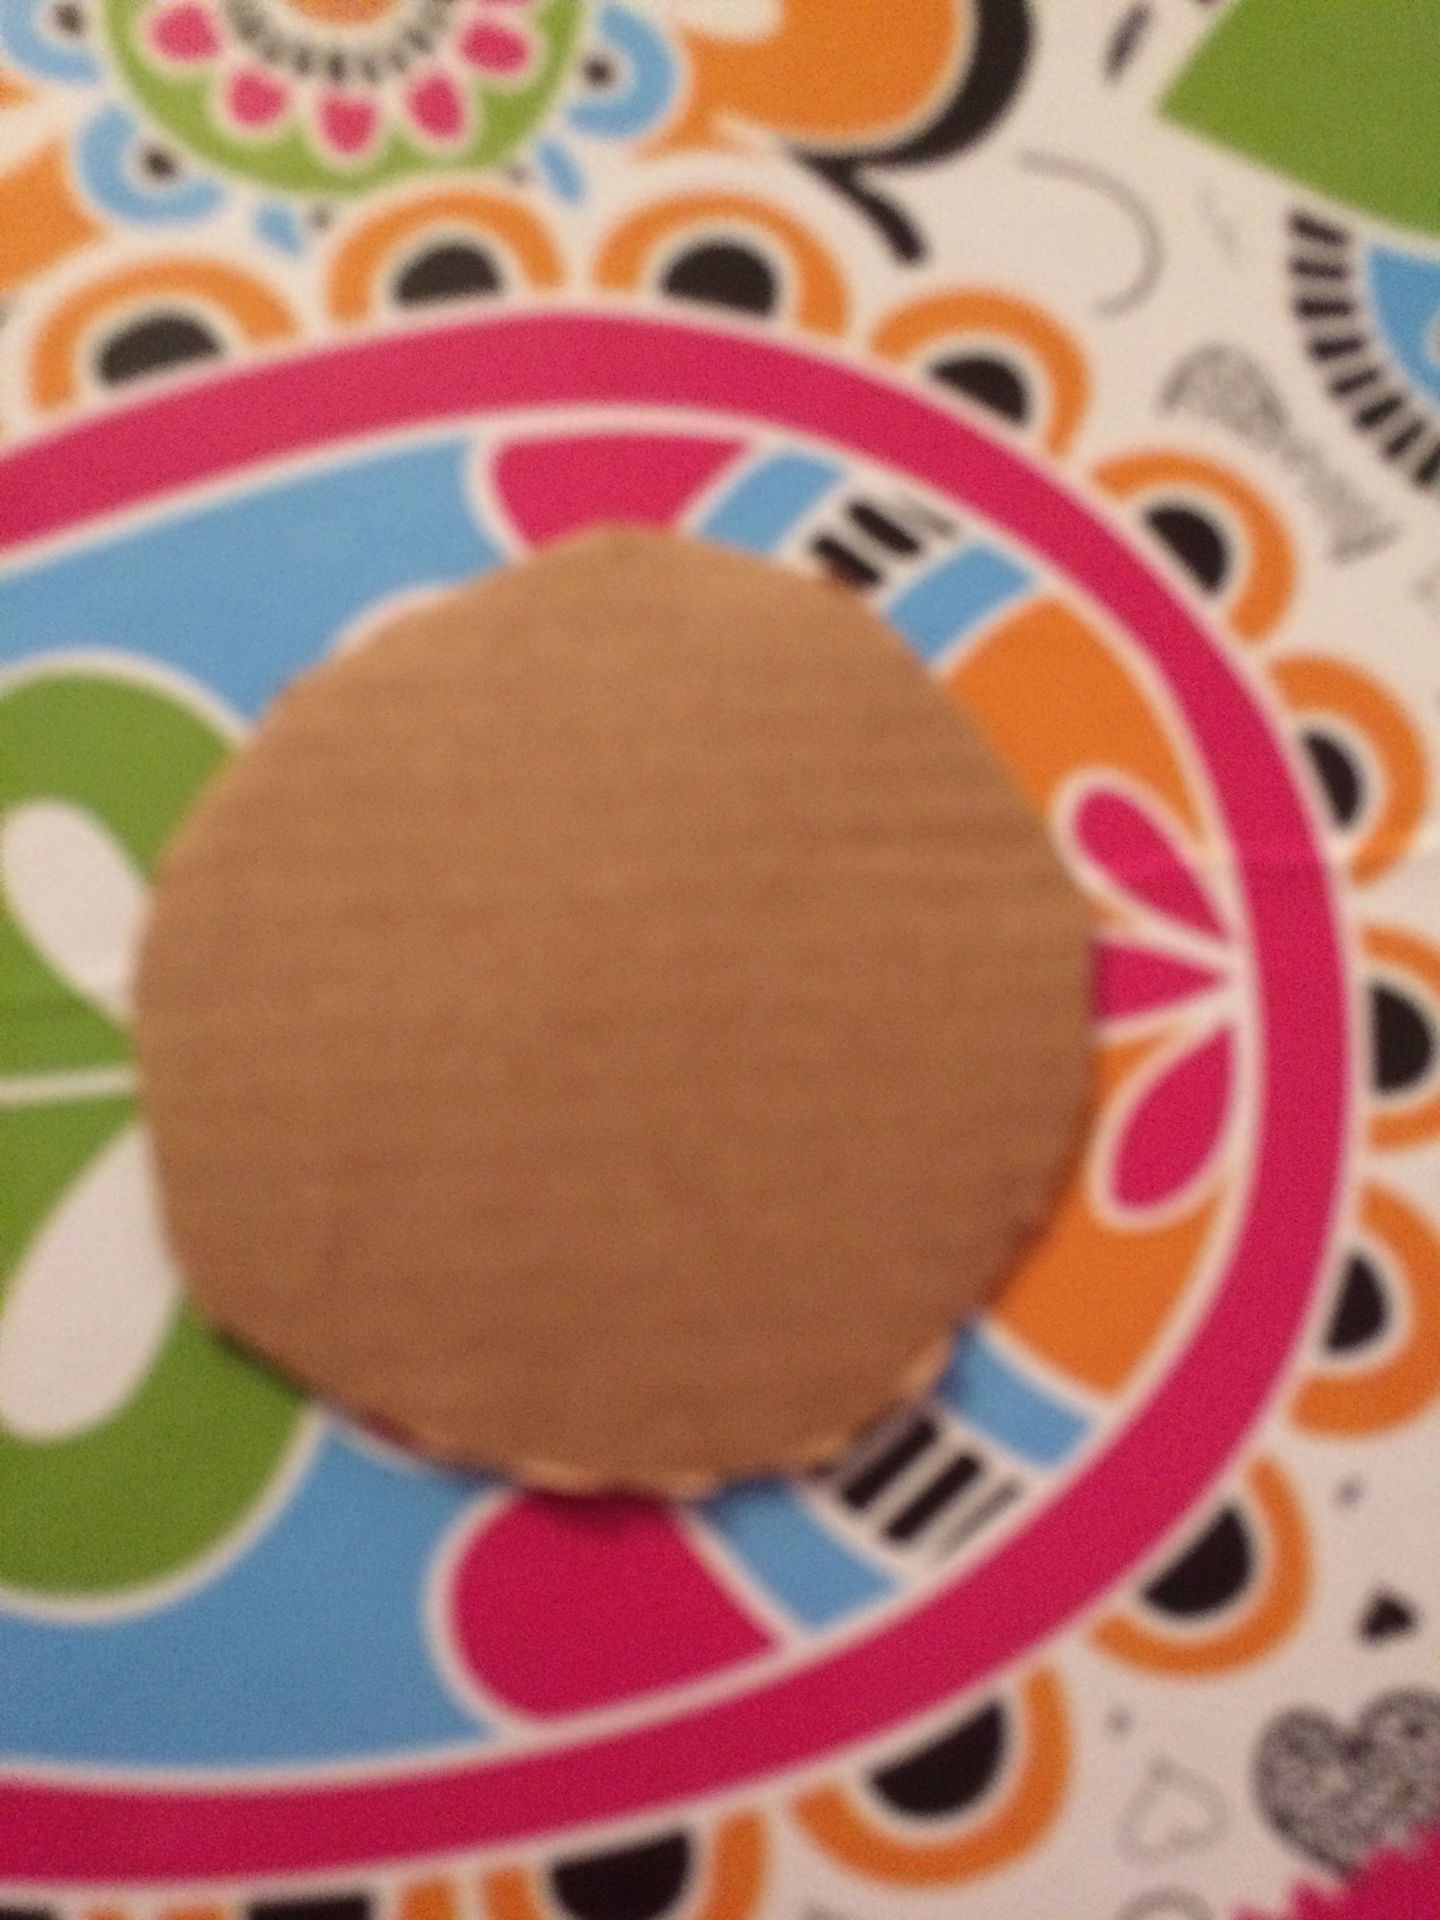
9. Cut it out.
10. Glue it onto the back of the paper in the middle. (No picture again)
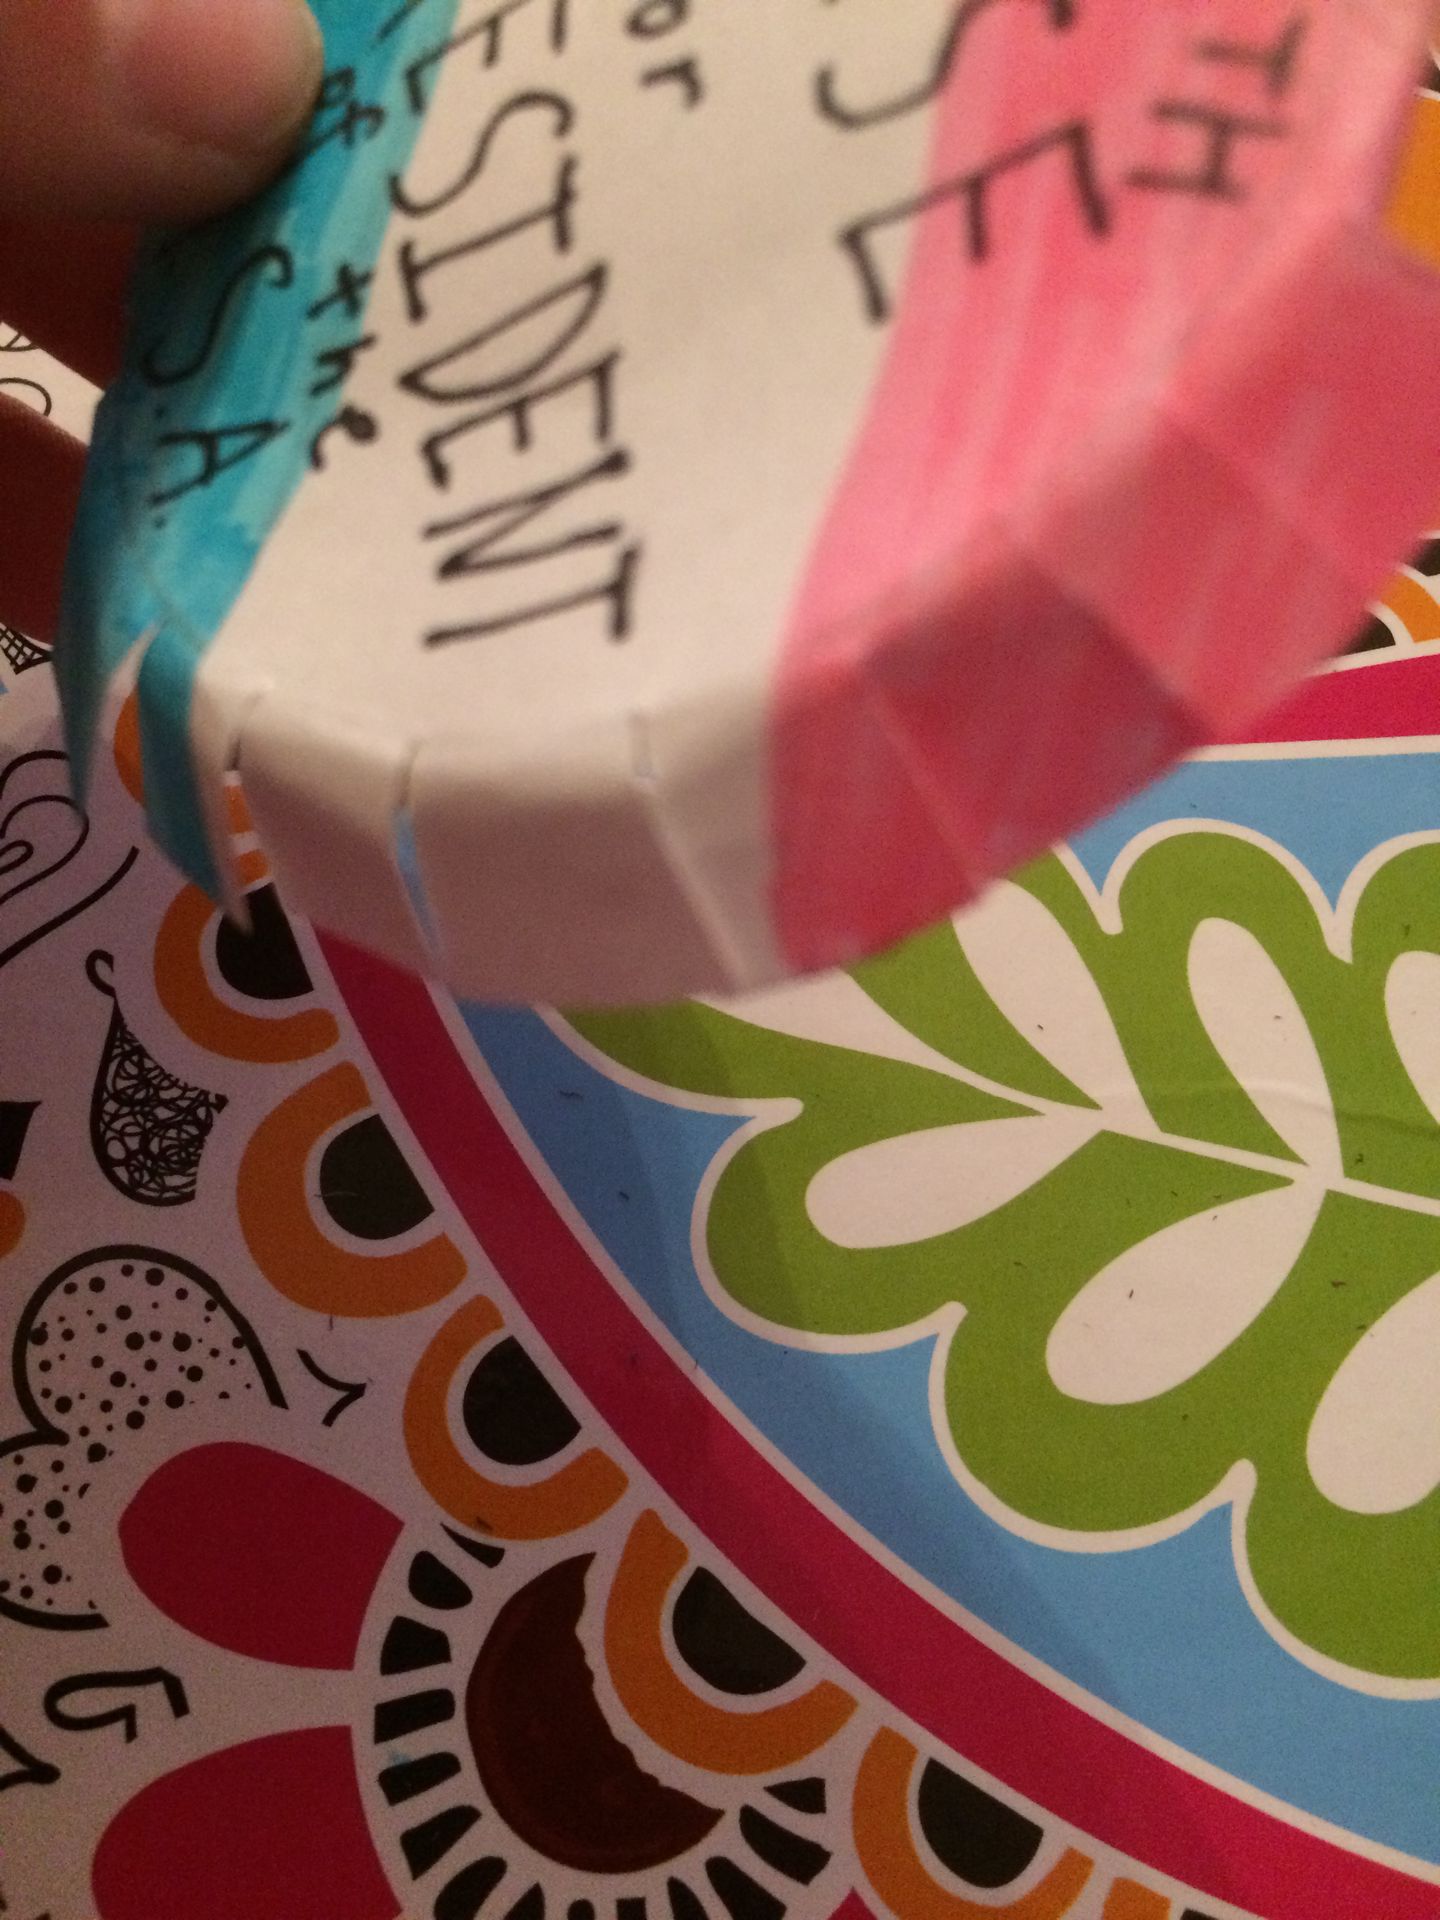
11. Cut the overhanging paper into flaps and fold the downward.
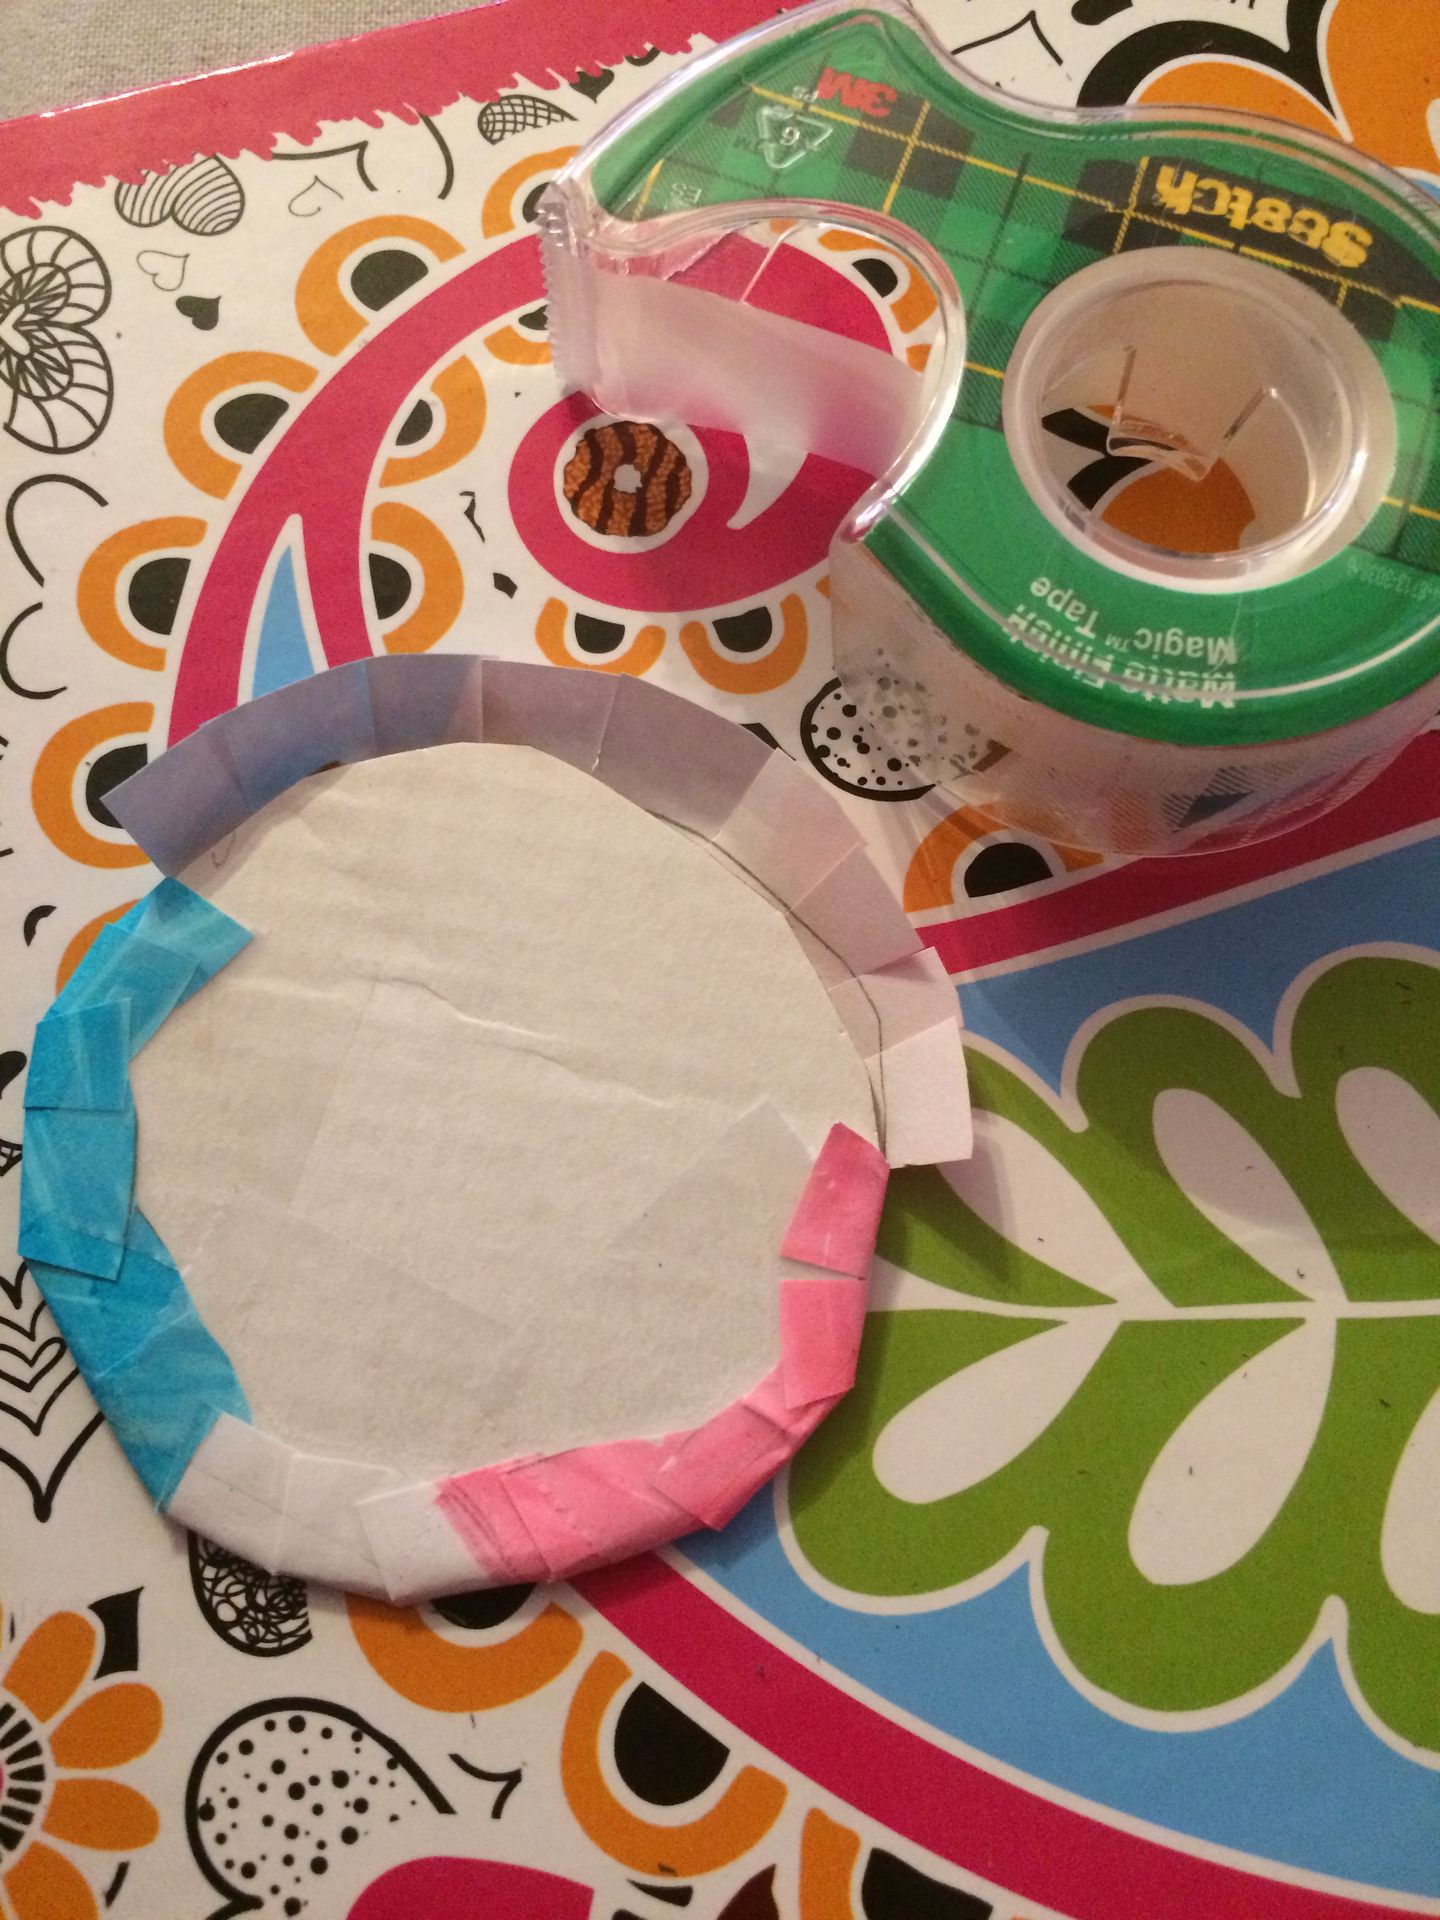
12. Tape the flaps to the bottom.
13. Glue a safety pin on the back. You can also just tape it on you if you do not have access to safety pins.
And your pin is complete. Enjoy.
Bạn đang đọc truyện trên: Truyen247.Pro