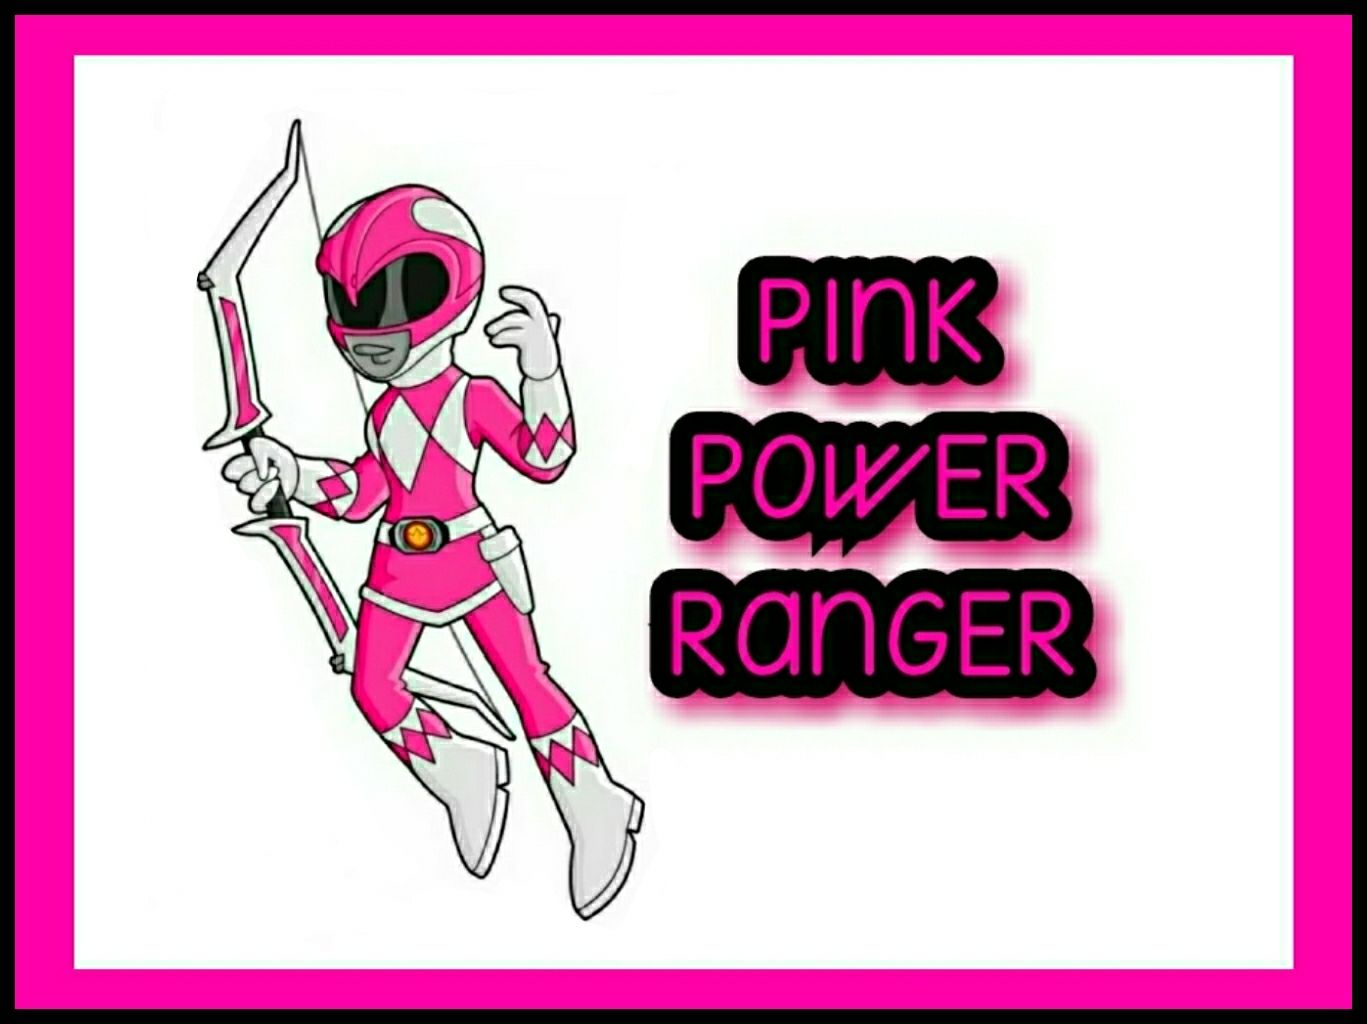
♀️ PINK POWER RANGER ♀️
.
My niece Isabella had a 6th birthday recently
And her birthday theme was Power Rangers.
.
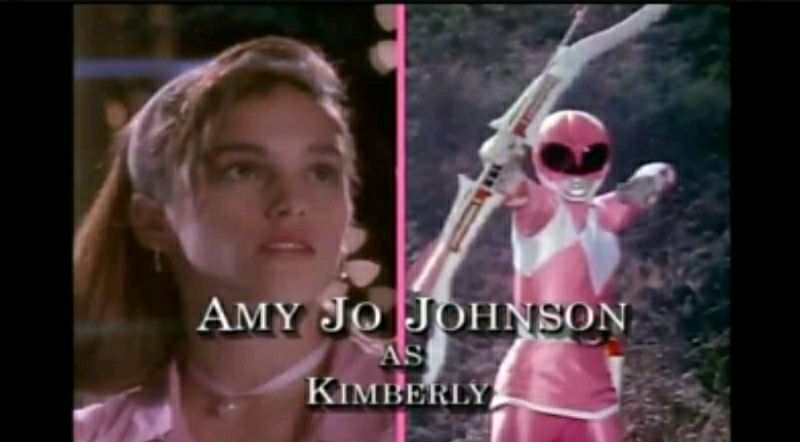
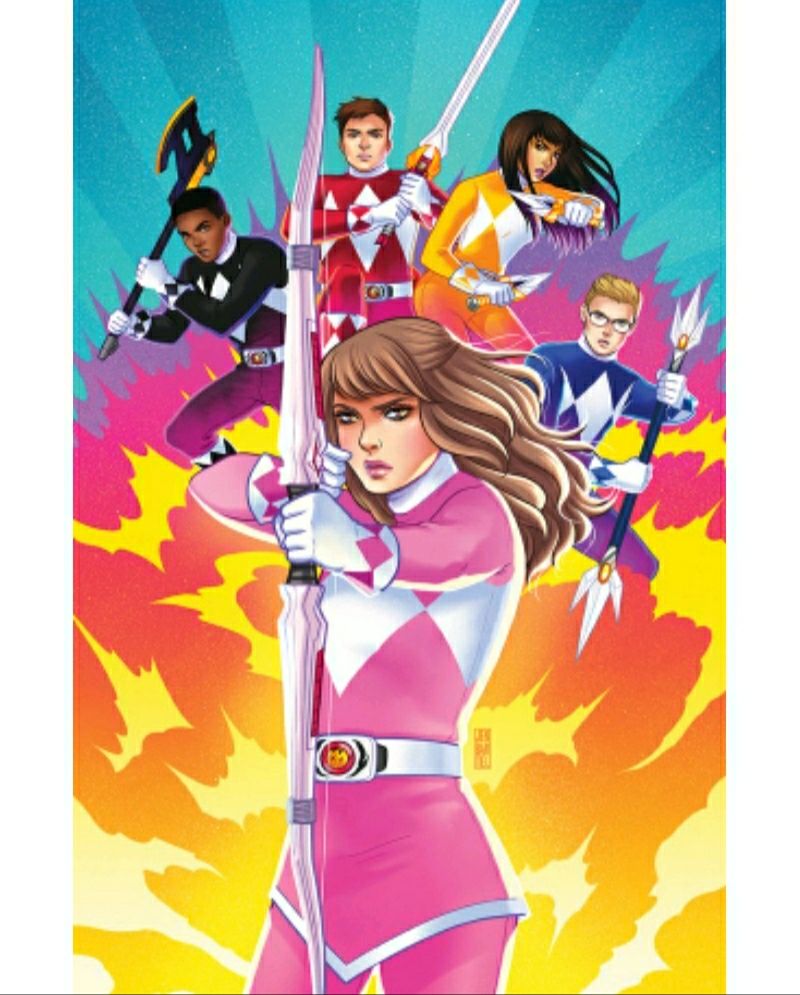
Being a fan of the original rangers
I picked the Pink Ranger Kimperly
as my source of inspiration.
.
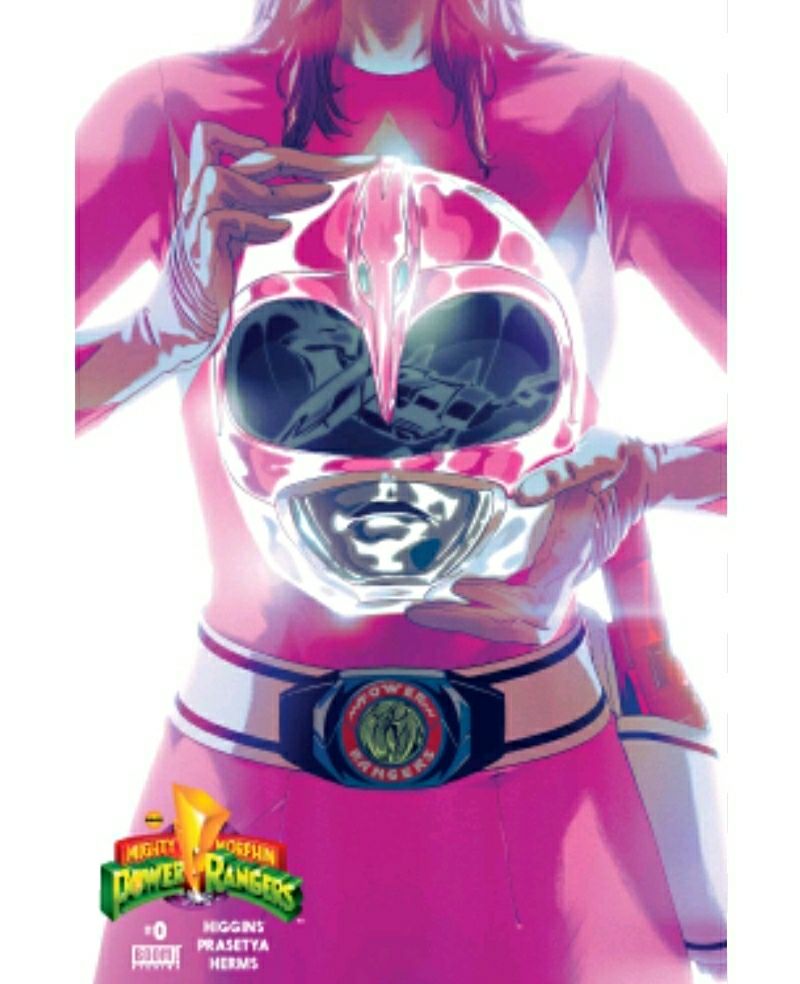
There are approximately
14 Pink Rangers
all with different styles
and with more planned in the future.
.


.
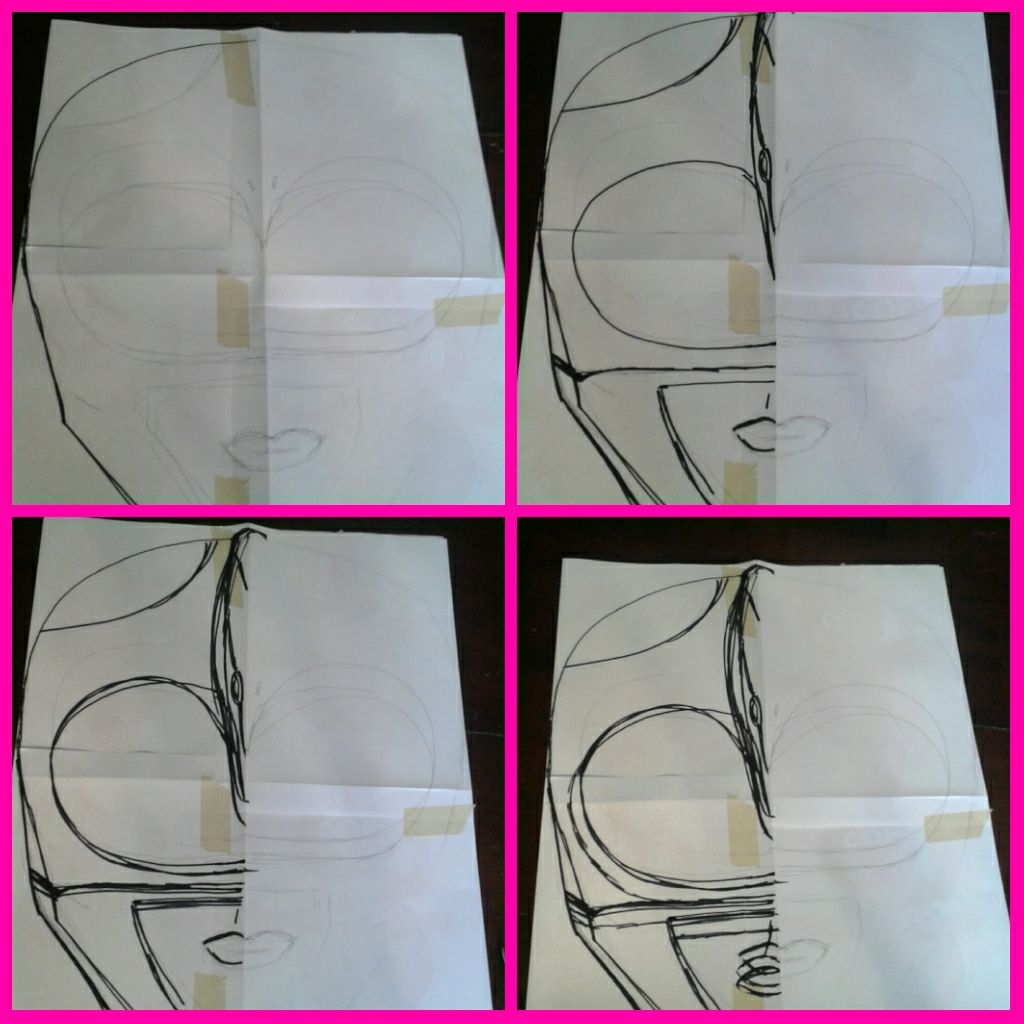
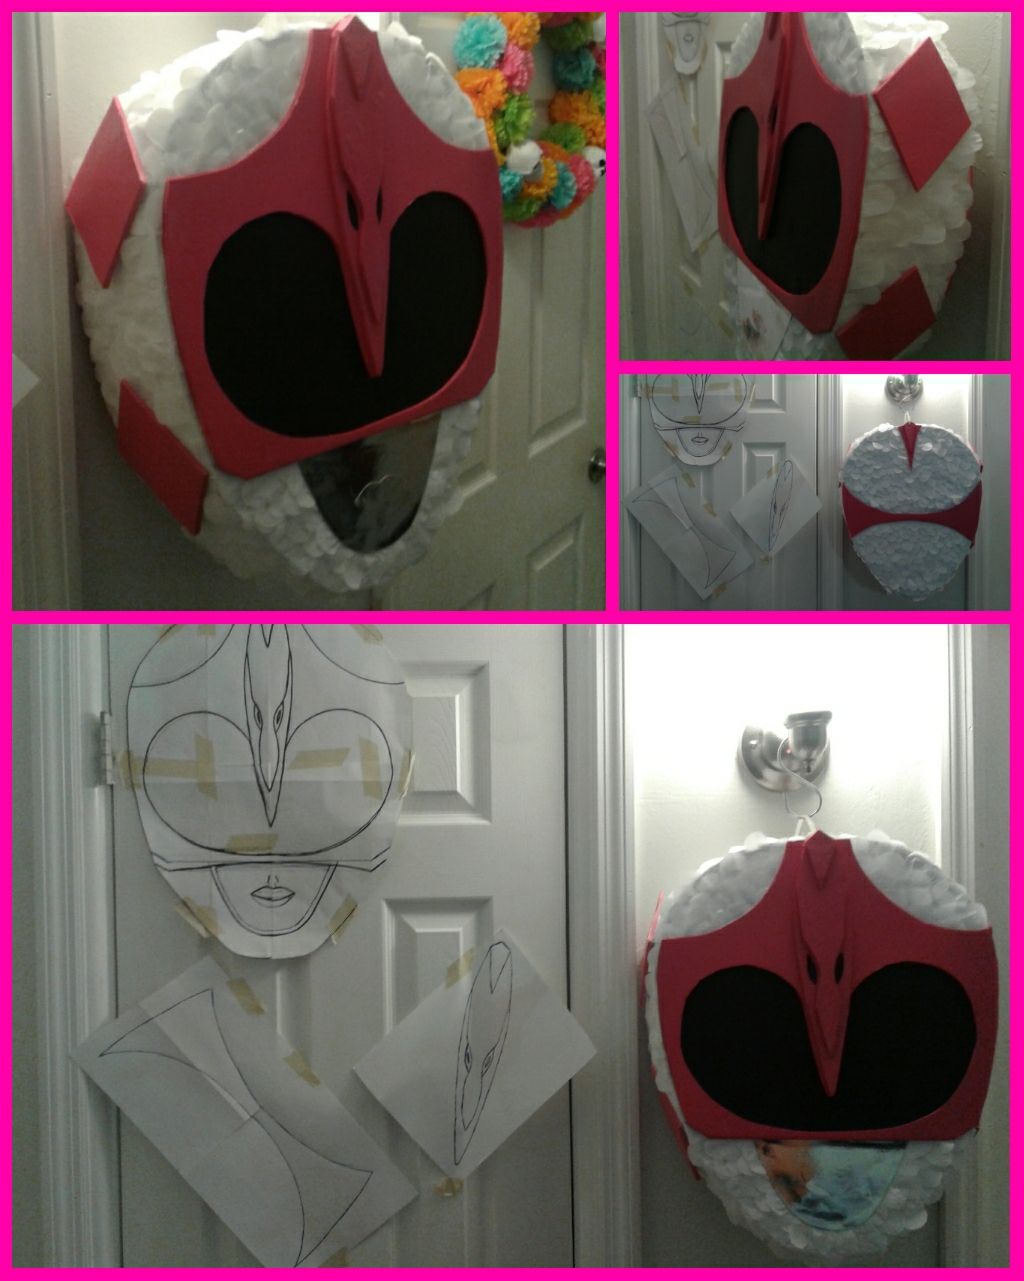
After searching the internet for references, I taped four sheets of paper together, since I didn't have a bigger sheet of paper. Then by hand I drew the helmet. I recommend folding the paper down the middle to get a more symetical shape
What I mean by this, is that if you draw a line then fold the paper, you can trace the indentation of that line and some of the pencil led will transfer to the other half of you paper. Once you open the paper back up, you can darken the imprint.
Don't forget to use rulers or compasses if need be.
.
.
I suggest always starting with pencil and then switching to pen or marker, that way you can move things around or erase them. When I had a design I was happy with, I transferred it to a clean sheet.
[It was hard to get the angles, curves and distances just right.]
Layer one sheet on top of the other and trace the lines. Using a marker should make the lines from the bottom page visible. If it isn't very visible, I suggest taping the papers to a window so the light shines through, or putting a lighsource under a glass table.
Hopefully, you have a printer and can avoid all these steps and just enlarge an image, divide it in four and print it.
.

.
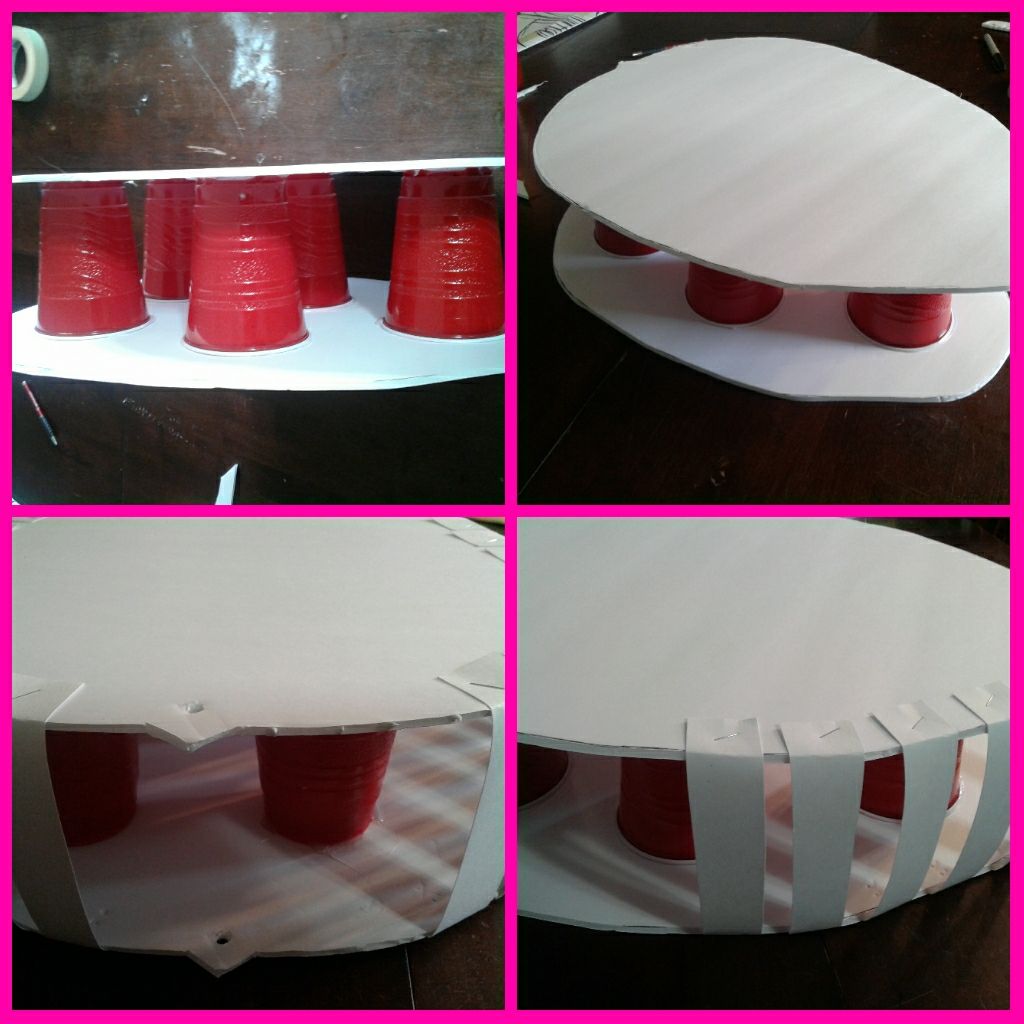
Once I had my whole image, I made templates of different sections of the helmet. I used the templates to cut out shapes from poster board.
As before, I glue gunned cups in between the 2 biggest pieces.
I suggest having an assistant for this part. It's easy to glue one side, but hard to do the other. The 1st side you glue down, lay it on top of the 2nd piece of poster board. Line up the top and bottom boards using rulers and your assistant. Make sure it's perfectly symmetrical, then have your assistant press down firmly with both hands to keep any of it from moving. Then with the glue gun, add a few drops here and there to secure the cups to the board. You don't need a lot of glue.
Reminder, do not glue cups too close to the edges, or else they will block your stapler later.
.
.
Before you cut out your strips of cardboard, make sure to measure the right length. You don't wanna cut dozens of strips and then later find out they're all too short. Also, to make it easier and faster, cut the strips a bit thick, but not too think. Bigger than a staple, unless you have a tight section in which you'll turn the stapler. If you cut strips too big, it can affect the look of areas that have curves, so make sure to take a second to plan.
.

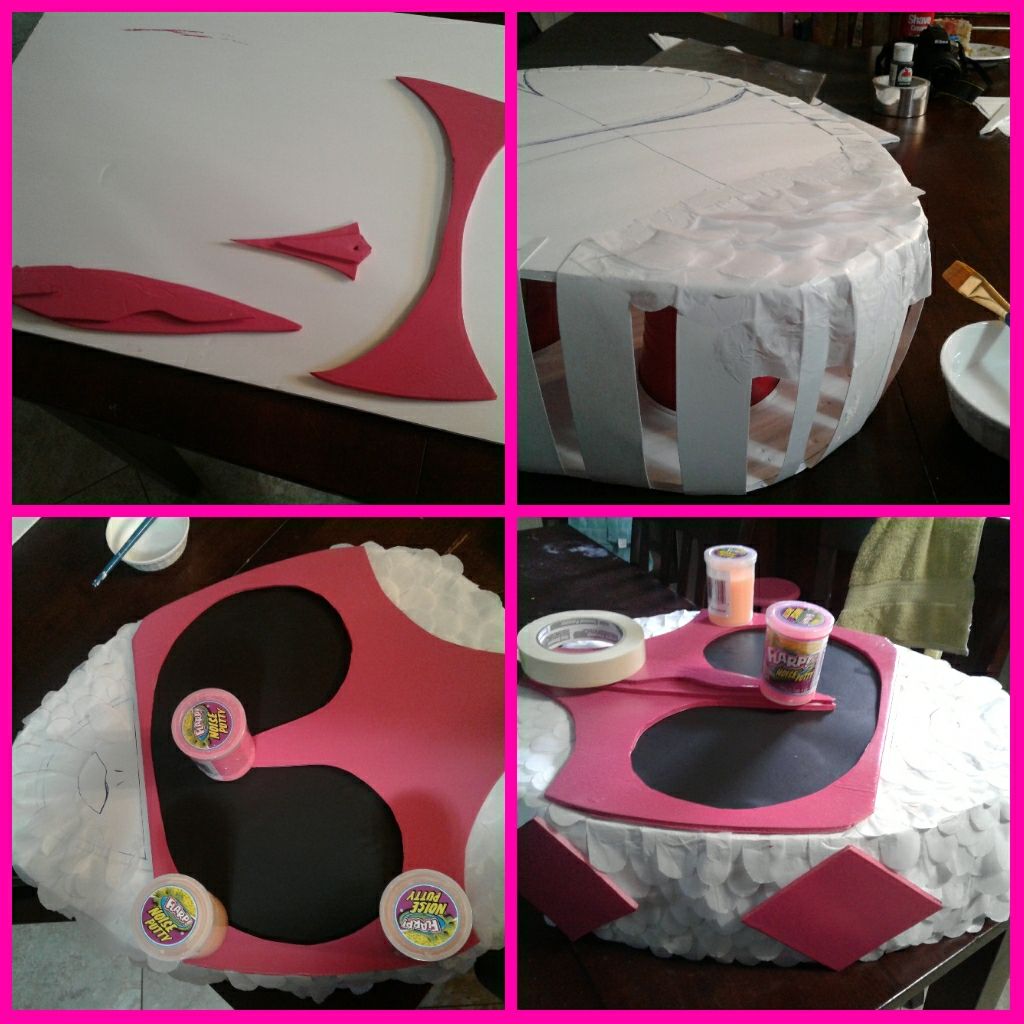
Poster board is easy to paint.
In this instance I used a glossy spray paint,
but you can use acrylics, or just cover these sections
with tissue paper or colored paper.
Make sure to give yourself extra time for drying,
especially since you might have to put more than one layer.
Same goes with the glue, it's easy.
Regular Elmers glue, glue gun, or even double sided tape.
Make sure to weight the pieces down a little
or clip it together with clothe pins until it dries.
Make sure as always to plan carefully
the direction of where you start
and stop your tissue, and in which direction you will go.
In this case, I did the back of the helmet first.
Starting from the bottoms edge
and working my way up and outward.
When I did the sides, I played down a layer
of tissue that covered the gaps of the strips, first.
Then, as always, I glued only one side of the petals.
Depending on the color of tissue and poster board,
you might have to make the petals clustered
closer to hide the color of the board,
or make the color of the tissue brighter/stronger.
As for the mouth, I thankfully had a silver piece
of cardboard that came from a toy's box.
I cut it into the proper shape
and then lightly scored the lips onto it.
[It's always good to recycle what you can.]
If you don't have silver cardboard lying around, lol,
check out the scrapbook section
of your craft store, or look for wrapping paper.

I'm not sure if I'm happy with the diamonds
on the side or if I should have
just wrapped the helmet around.
My niece Izzy loved it though,
so that's what matters.


.
🎵Song: Mighty Morphing Power Rangers theme song🎵
Bạn đang đọc truyện trên: Truyen247.Pro