
[72] TUTORIAL
dedicated to stickitstilinski
hey guys! i wanted to make a tutorial on one of the tricks i use when I make covers!
can you spot it?

that's right! today i'm going to talk about eyes!
the program i'm going to use is called befunky.
it's an online editing software, but unfortunately, alot of the things that are available are for premium users, but the tool I'm using today, it's not premium!
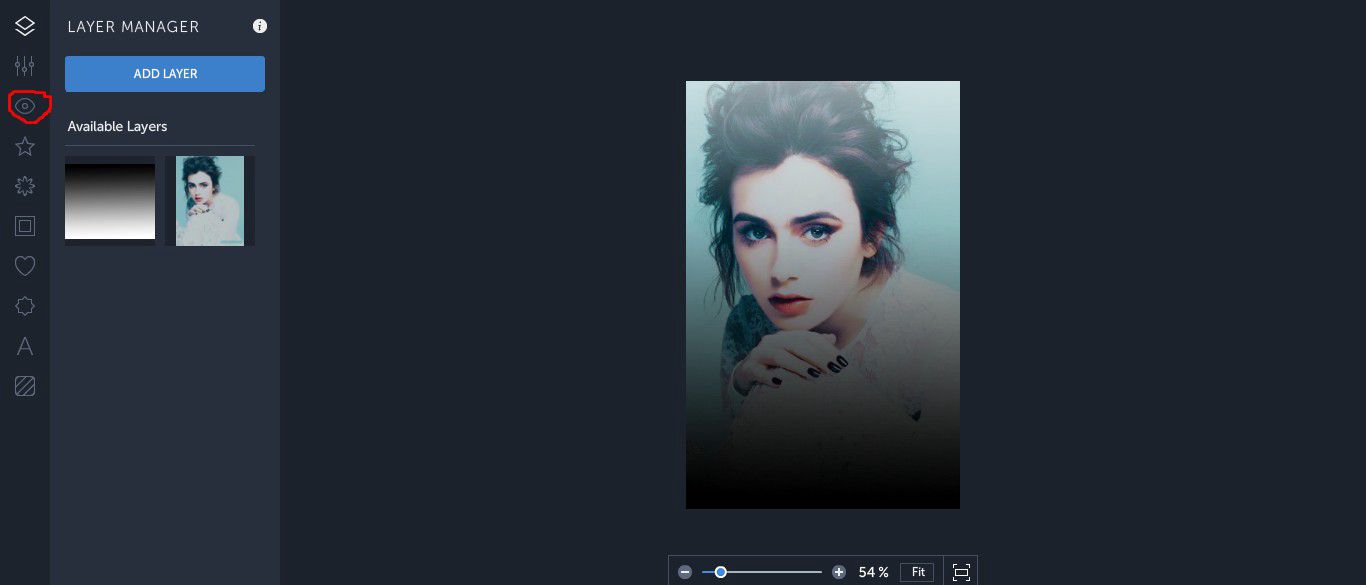
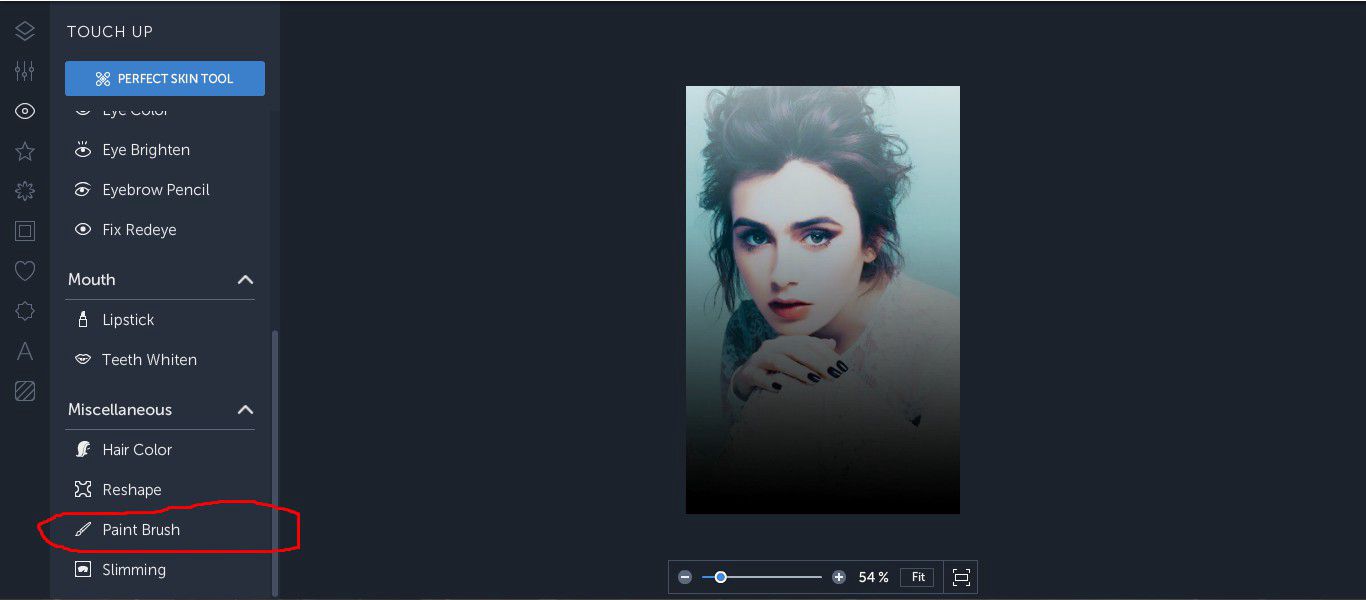
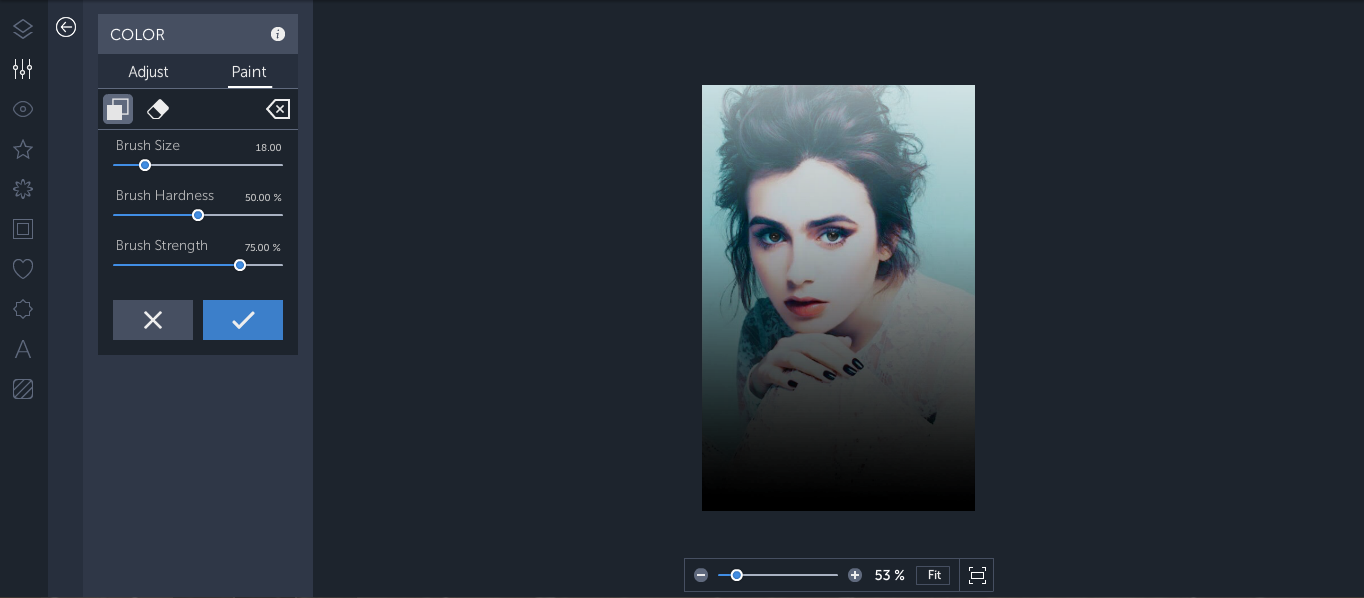
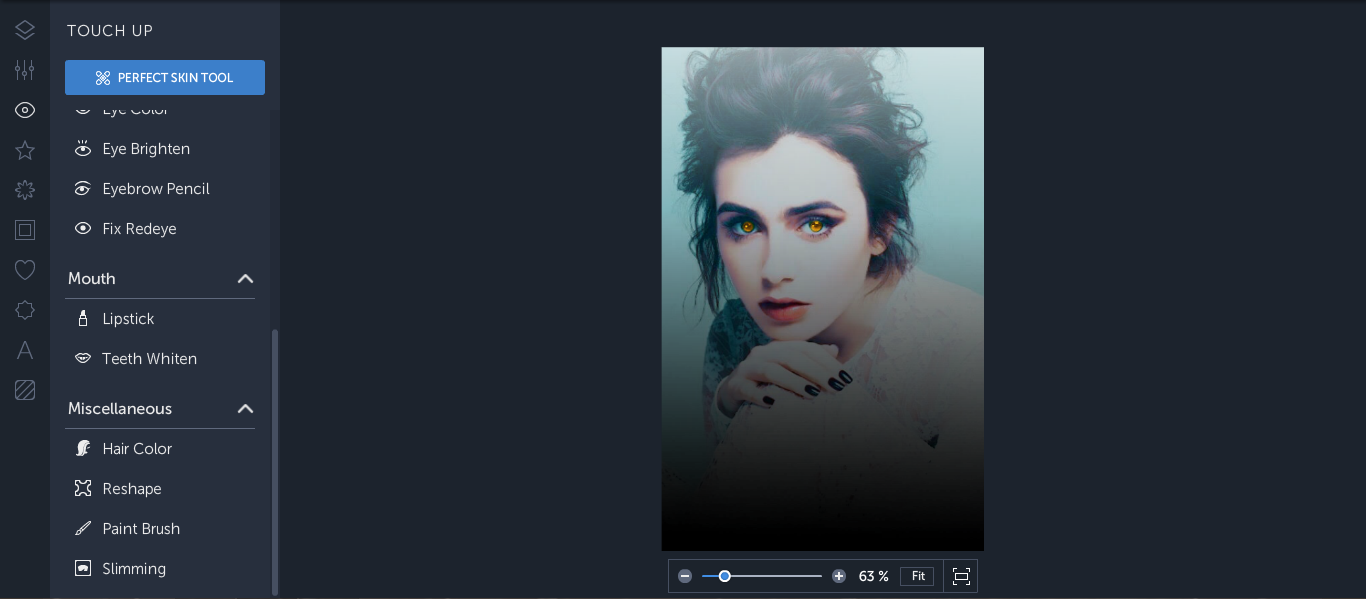
so first of all, you'll want to open the program and your picture. On the toolbar on the side, you'll want to click the little eye tool on the side. Scroll down, and you will find a paintbrush tool.
(excuse the ugly coloring I honestly didn't care how it looked lmao)
once you've opened the paint brush tool, you will see this:
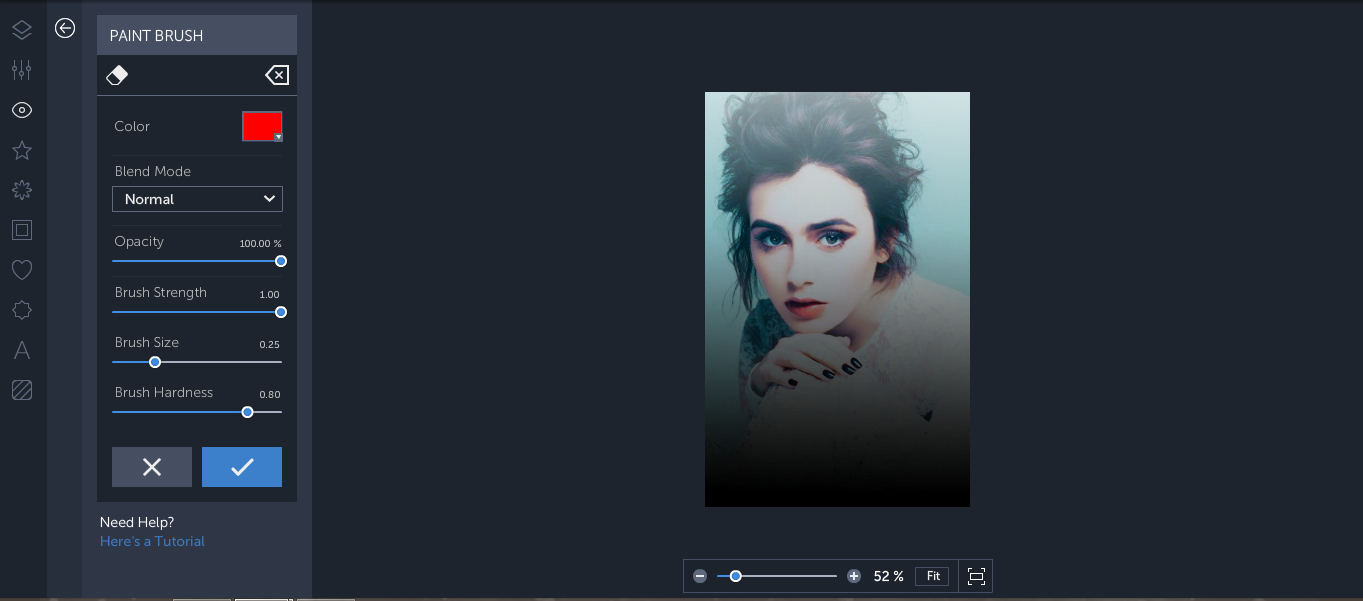
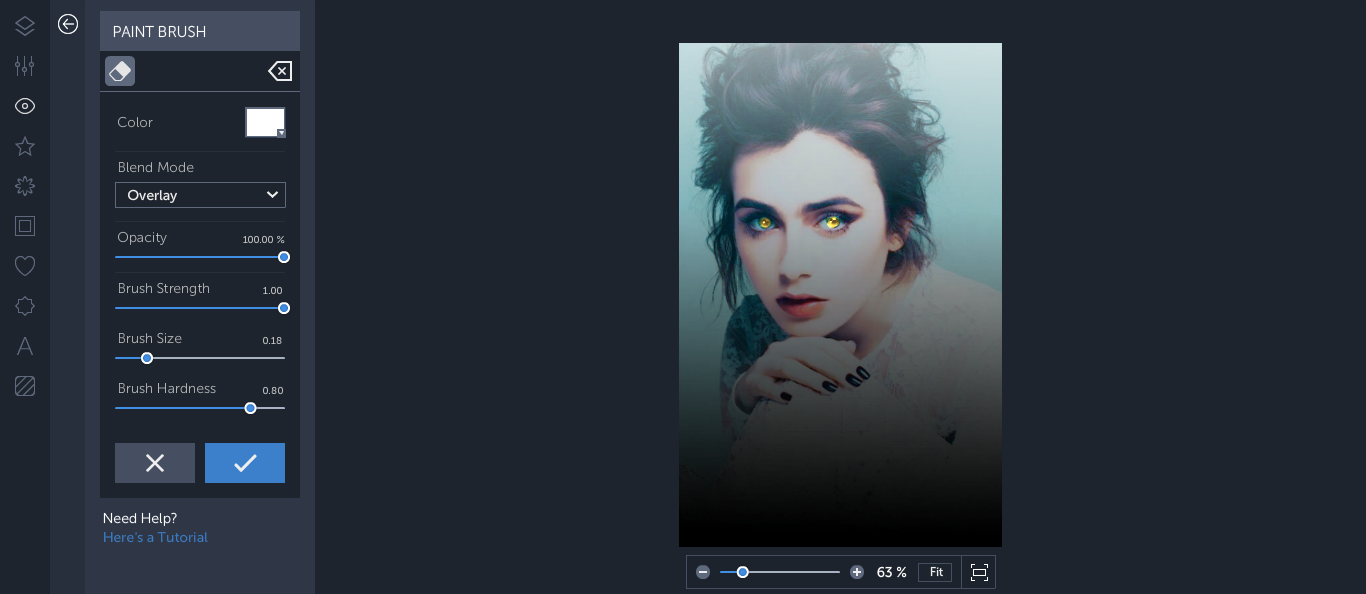
for the bright eye look, you will want to change the color to white and change the blend mode to overlay
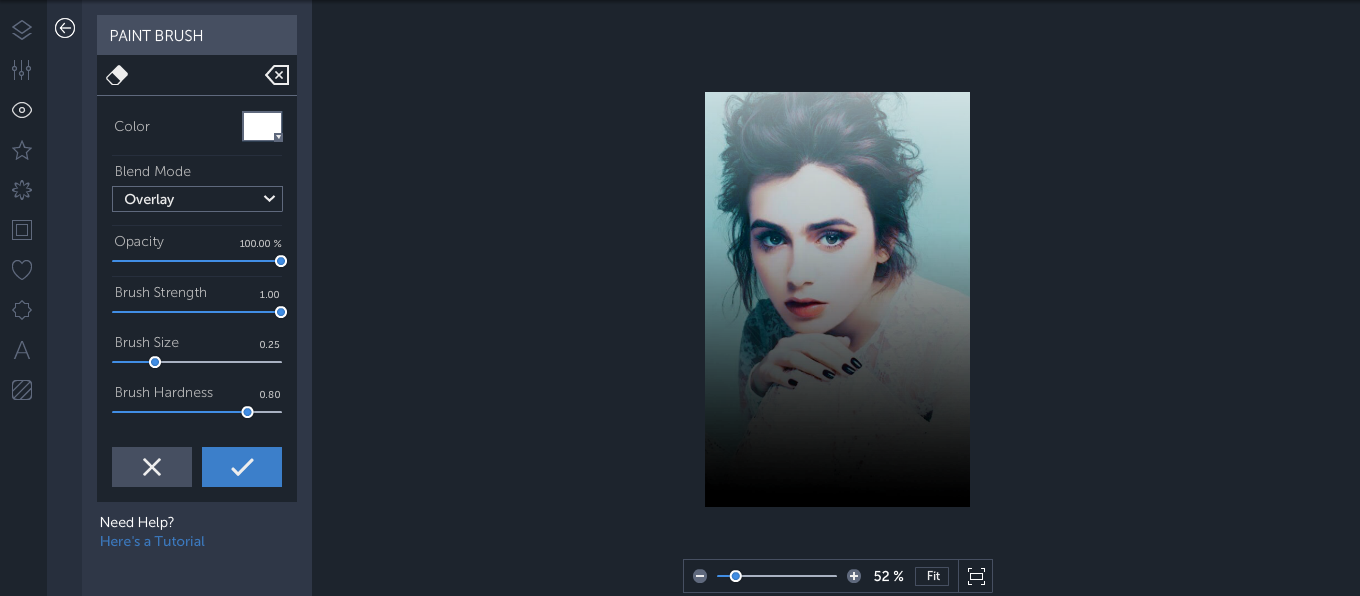
then you will want to put the brush over the models eyes, and click. You should get something like this:
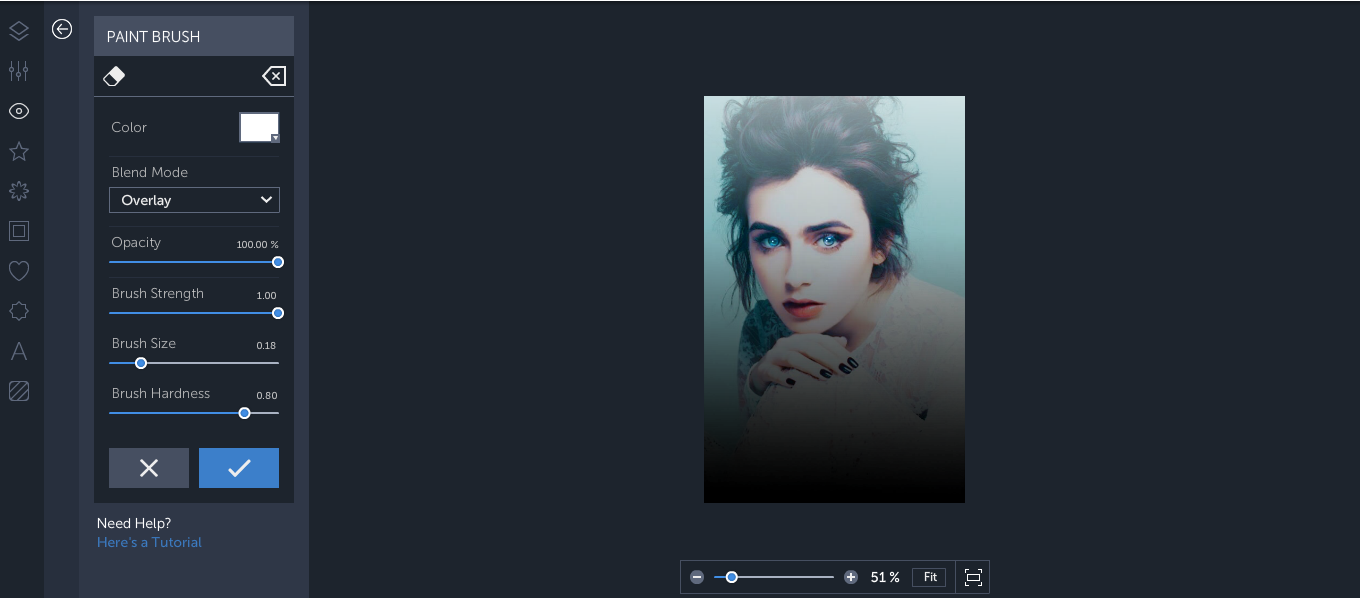
can you see the difference? If you don't want to enhance the model's original eye color, you can do this but with the desired color! for example, let's say she's a werewolf and her eyes are yellow. you'll want to do the same process as before, but change the white to your desired color.
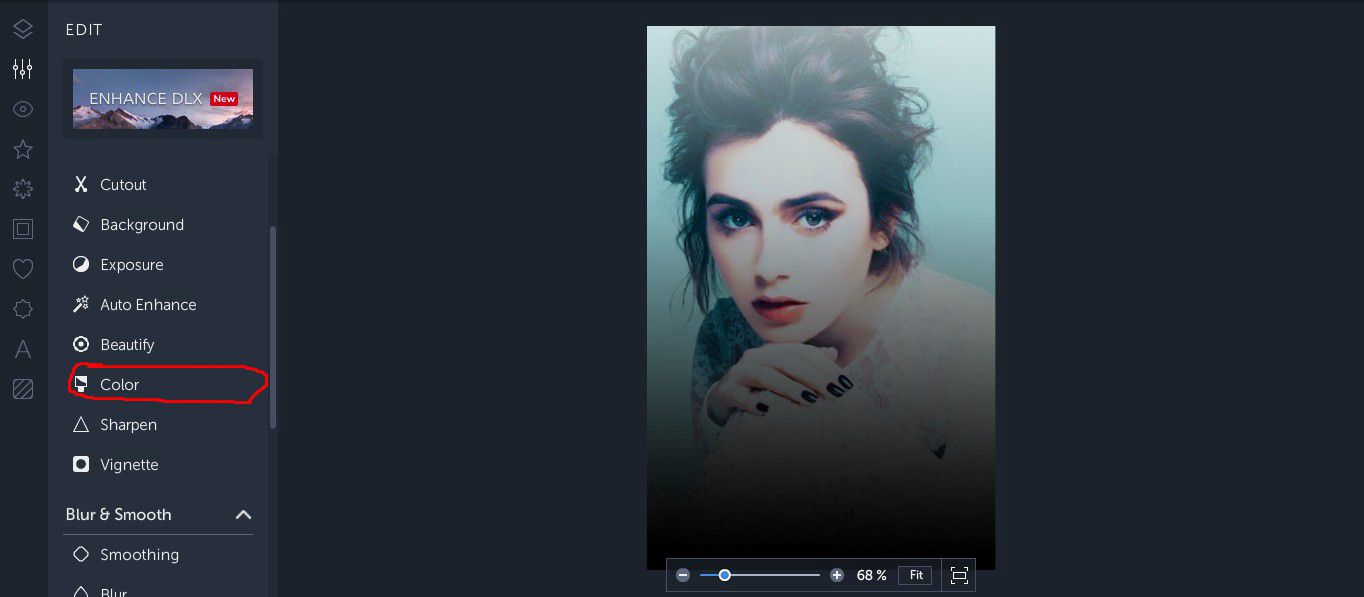
to do this, you must make her eyes black and white and then add on the color. go to the tab with the lines are circles. It will be the second tab on your tool screen! once you are there, click the on the color tab.
then, you will want to completely lower the saturation until the image is black and white:

see the second tab beside adjust? You'll want to click that. You will then see an icon that looks like this:
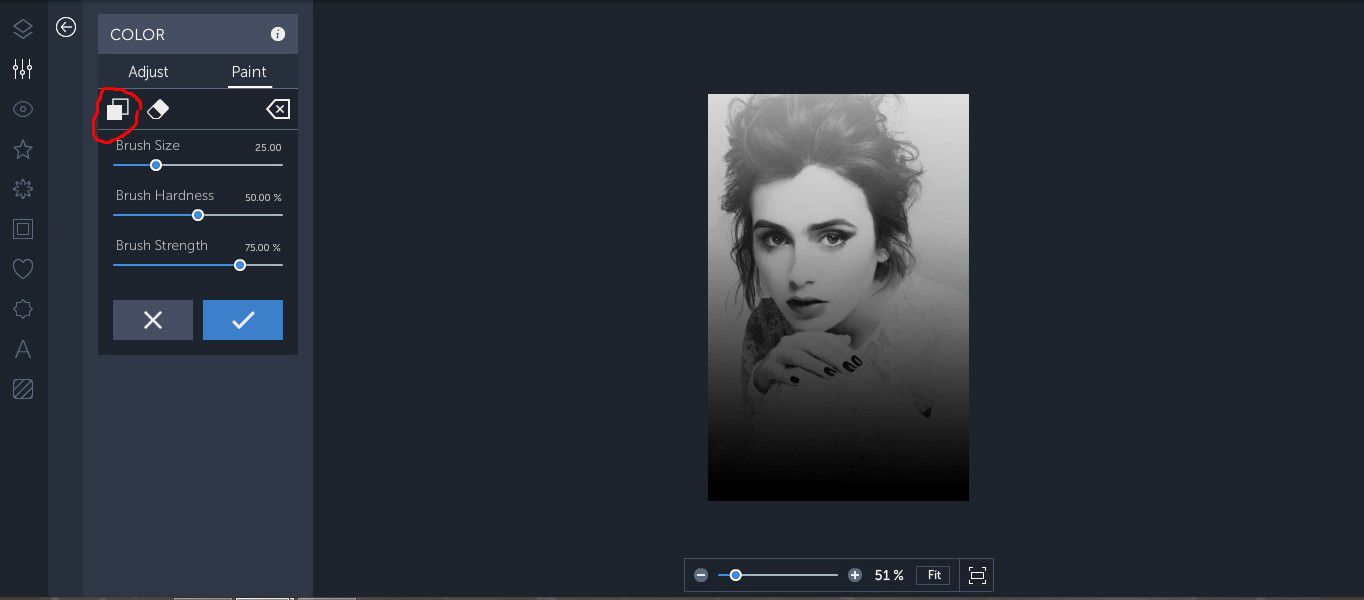
click the icon and your image will turn back to color, and when you paint it, the picture will turn black and white! then you will want to paint your model's eyes, so it looks like this:
after the model's eyes have no color, you will want to go back to your paint brush tool ( make sure the blend effect is still on overlay) and change the color to your desired color!
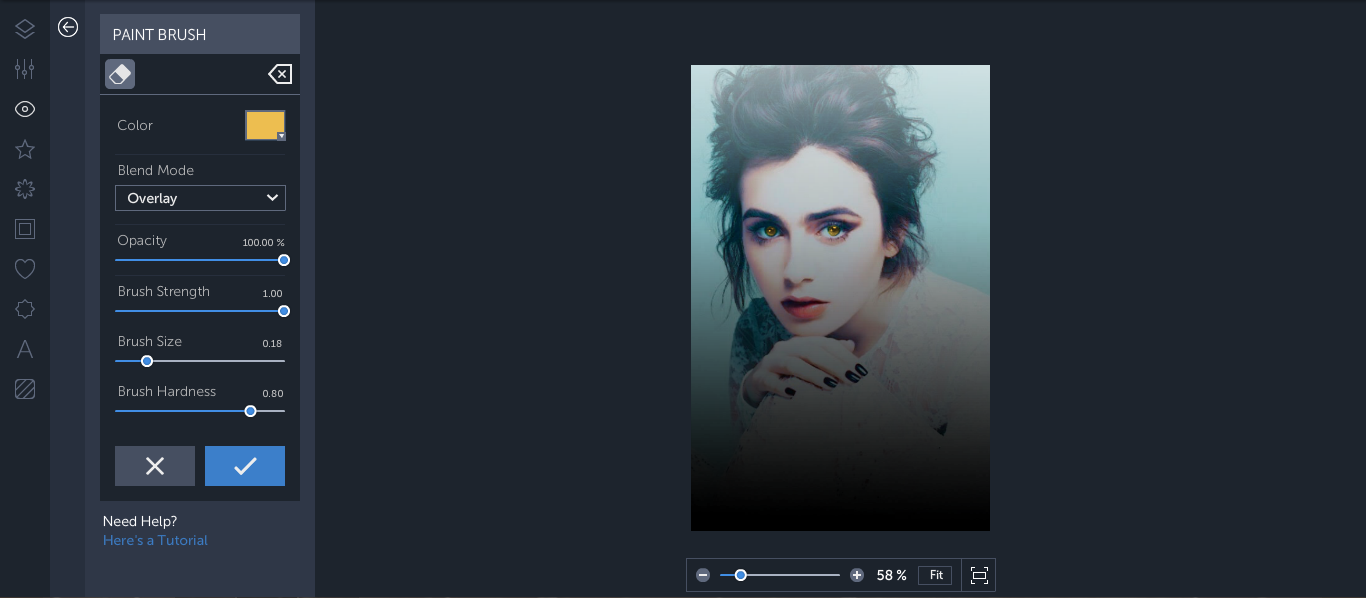
as you can see, you can change the opacity, so if you're not happy with how bright it is, you can change it! If you want yours eyes brighter, with a little bit of color, change the color to white again (after pressing the check mark button) and brush it over the eyes. Or, if you want a more saturated color, click the check mark and repeat the process.
Here's what happens if you do white again:
and here's what happens if you do the yellow again:
don't be afraid to experiment! one thing i like to do is to make the part around the eyes darker, so the eyes pop out more. If you want to do this, go back to the second tab and click exposure. Lower the exposure to your liking and then click on the adjust tab (just like you did for the black and white), flip the coloring and then paint around her eyes! here's what it looks like:

can you see the difference?
anyways, I really hoped this help!
Please let me know if you guys liked this tutorial and if it helped you at all!
I'm sure this can also be done on other programs!
also, please let me know if you want me to do tutorials in the future and what on!!
like, i could remake a cover, give you the basics on this editing program etc...
don't be afraid to ask any questions if you have some!!
Bạn đang đọc truyện trên: Truyen247.Pro