🍁PSD IN PHOTOPEA [UPDATED]🍁
So the last tutorial I posted about applying psd in photopea was so vague. Some of you experienced problems because the steps I did was not working with you which is dragging the psd [but it's workingly fine with me tho.] So that's why I decided to post again about this to show another steps that might work with you than the previous steps I posted.
Some of you also experienced this annoying gradient that keeps on popping on the left upper side of the canvas, like this:

So I'll be teaching you how to remove it.
××××
1. Upload your photo and psd. I already taught you how to do it on my previous post.
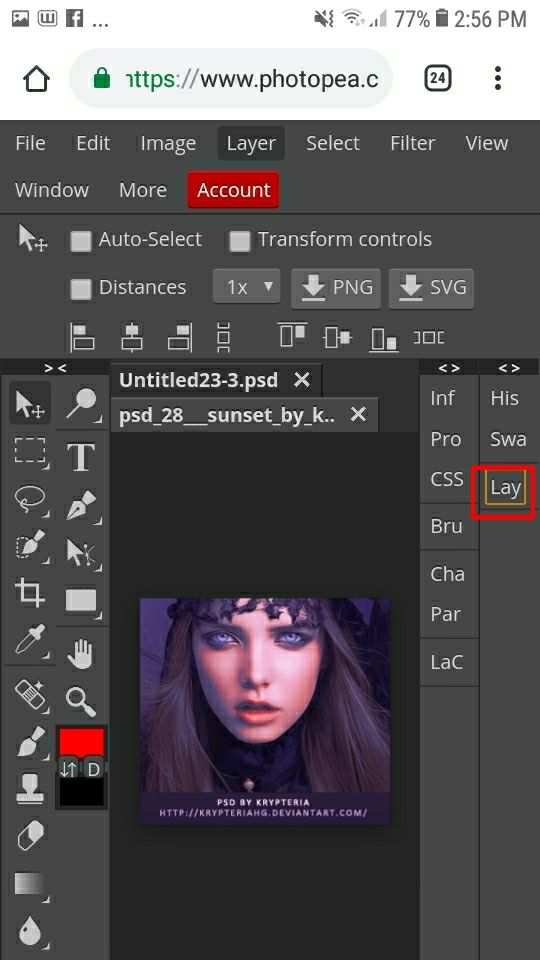
2. Once you're done uploading your psd, Go to Layer which is on the right side.
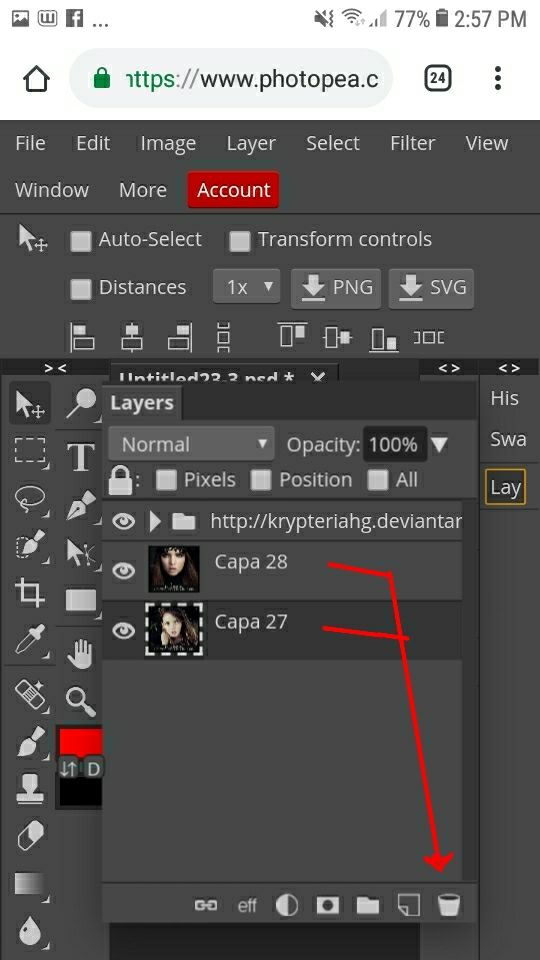
3. Delete those sample photos.
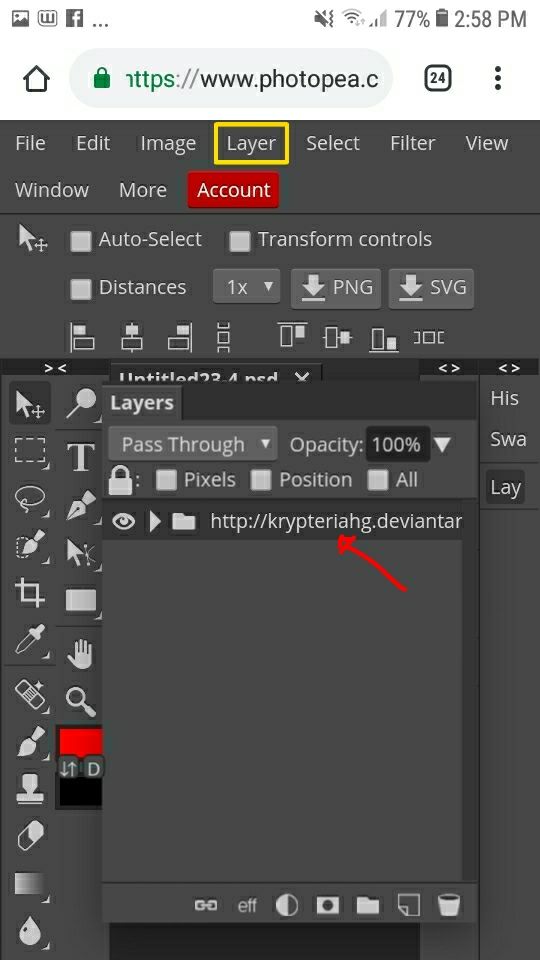
4. Click the psd link and go to Layer that is located above.
5. Press Duplicate into..

6. Change the destination to Untitled..

7. Go back to your photo and the psd was applied to it. But before you lower the opacity of the psd, you can see that there's a gradient so we need to remove it.

8. Click the hand tool, and select the sign which is in the yellow outline.

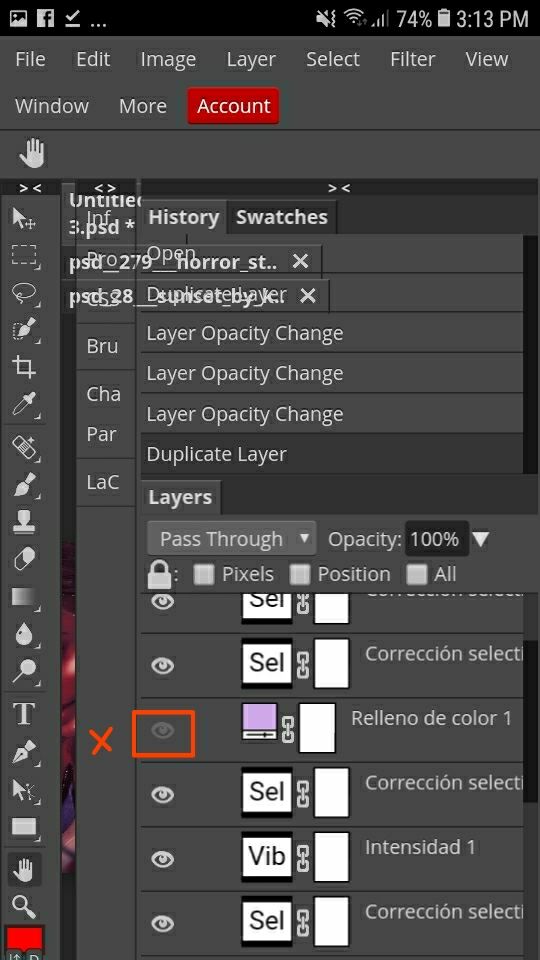
9. Click the psd link, and it will show you its layers.
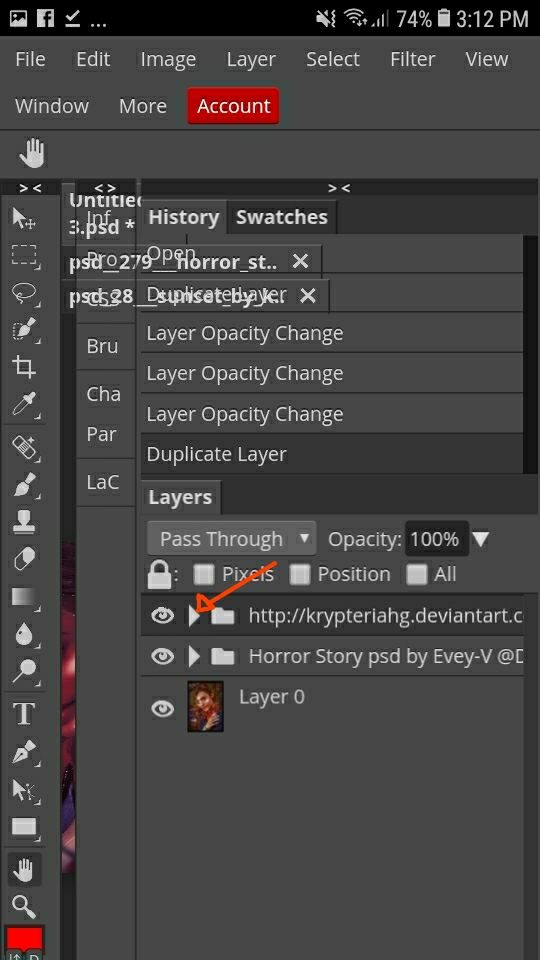
10. Find the layer who has the gradient that keeps appearing on your canvas. You need to disabled it. [The eye icon should fade.]
11. Go back to the canvas by clicking the bracket sign and you can see that the gradient was gone. You can now lower the opacity of the psd.

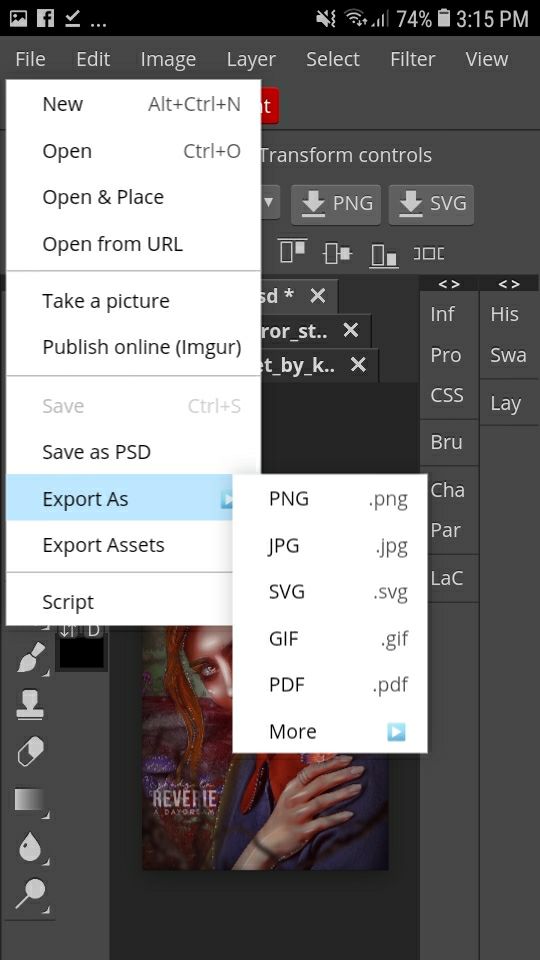
12. After adjusting the opacity, your photo is now ready to save.
©Credits to krypteria for the psd used©
××××
Hope this is somewhat helpful♥
Sorry for the slow update guys, I'm currently obsessed on watching vlives. I feel like I'm having a video call with Mark whenever I'm watching his vlive hihi. Skl😂 I'll try posting some of your requested tutorials soon♡
⇨ZHEDGELA
--

Bạn đang đọc truyện trên: Truyen247.Pro