🍁HOW TO MAKE A PAPERCUT IN PNG🍁
HOW TO MAKE A PAPERCUT IN IBISPAINTX:
Thanks @ArkitekNikowl for the requested tutorial. I don't know if this was the tutorial that you want to learn tho, and sorry if I posted it late😂

1. Upload your background and png.
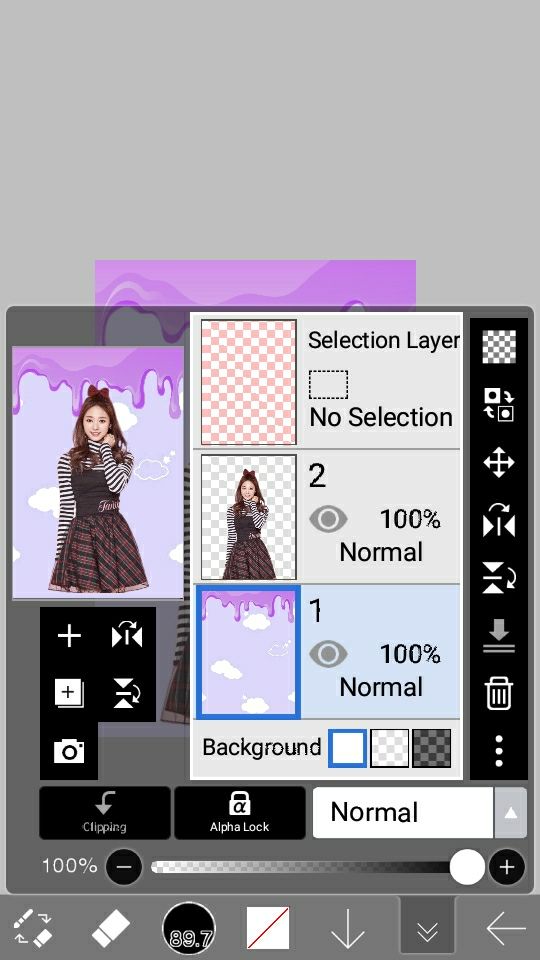
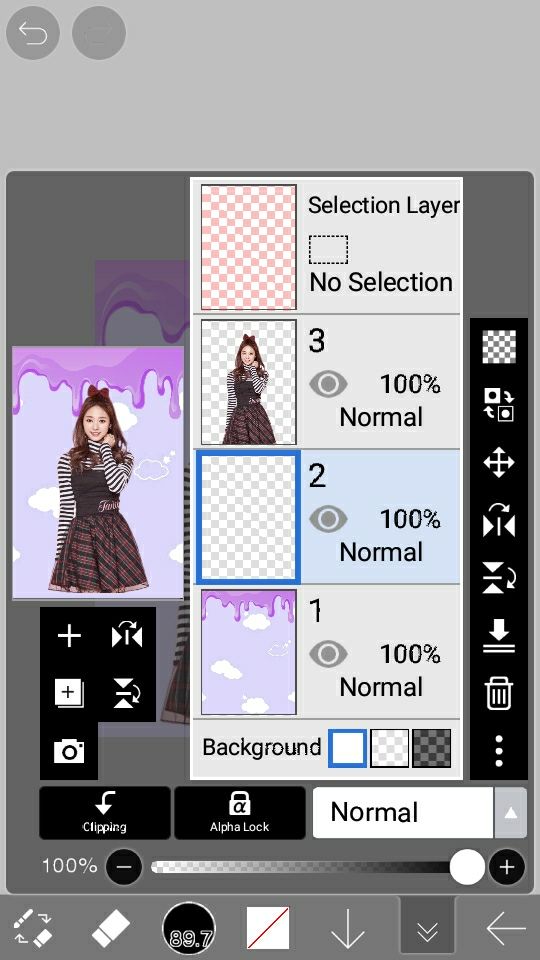
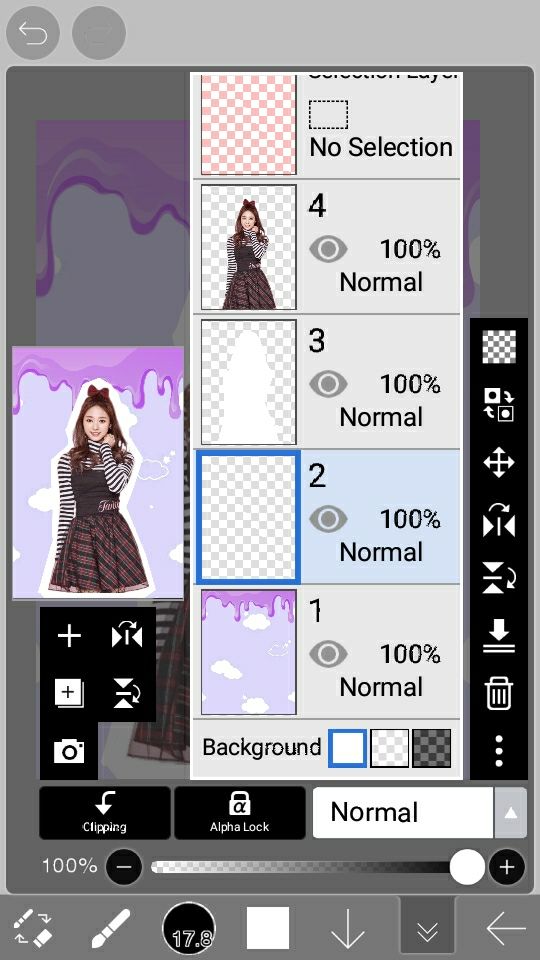
2. Add a new layer between the background and the png.
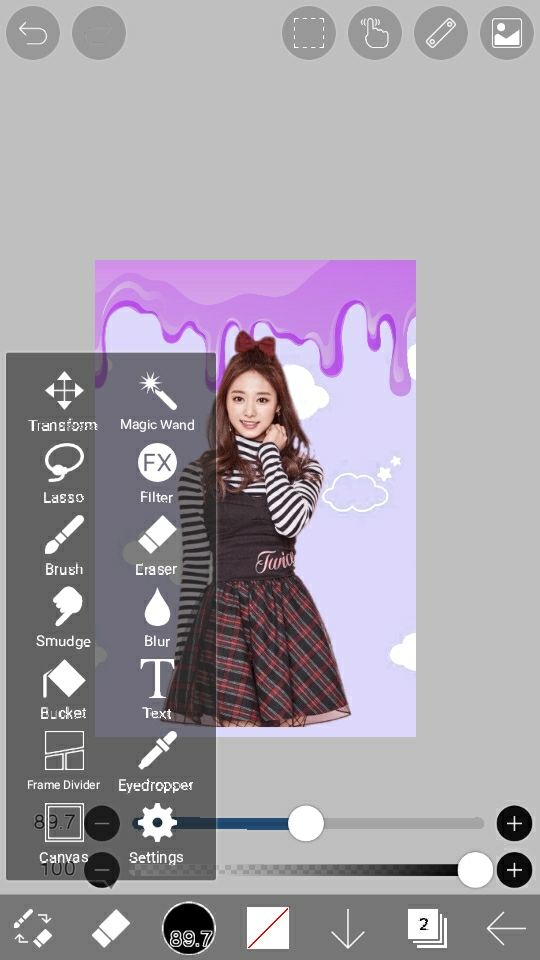
3. Go to brush and choose felt tip pen. Use color white or any color that you want for the paper cut.
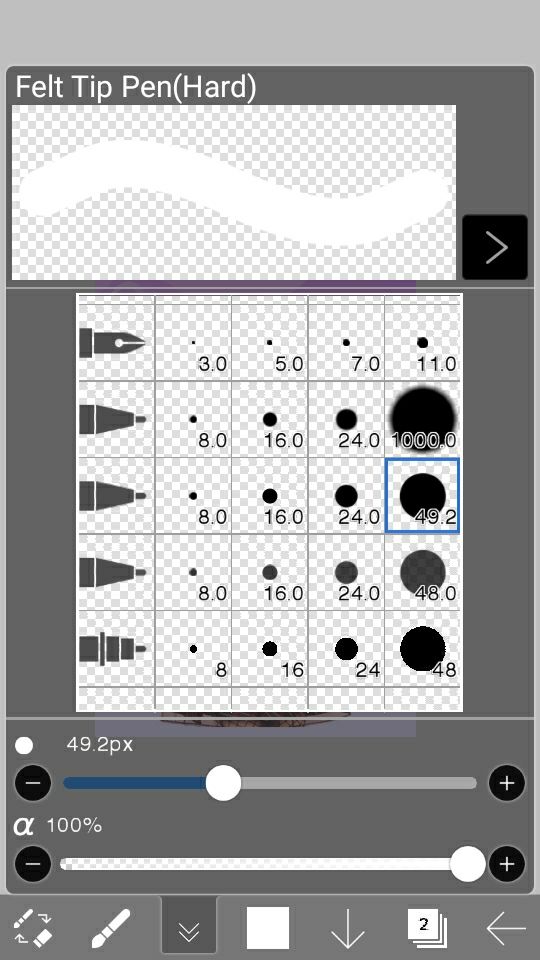
4. Apply the white brush on the whole canvas. Make sure that you applied it on the empty layer.

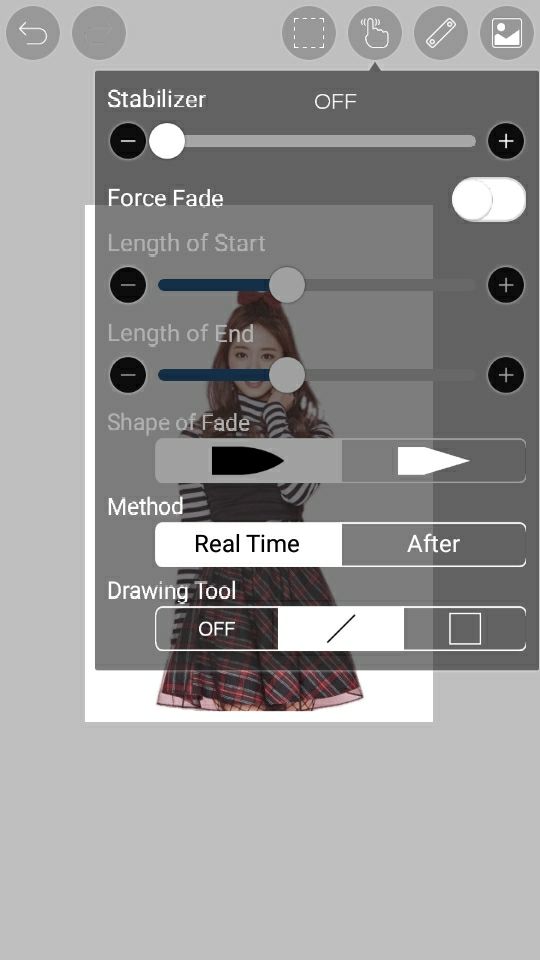
5. Go to the pen tool and change it to eraser.

6. Go to the tool where the stabilizer is located, and you will see the Drawing tool. Choose the line.
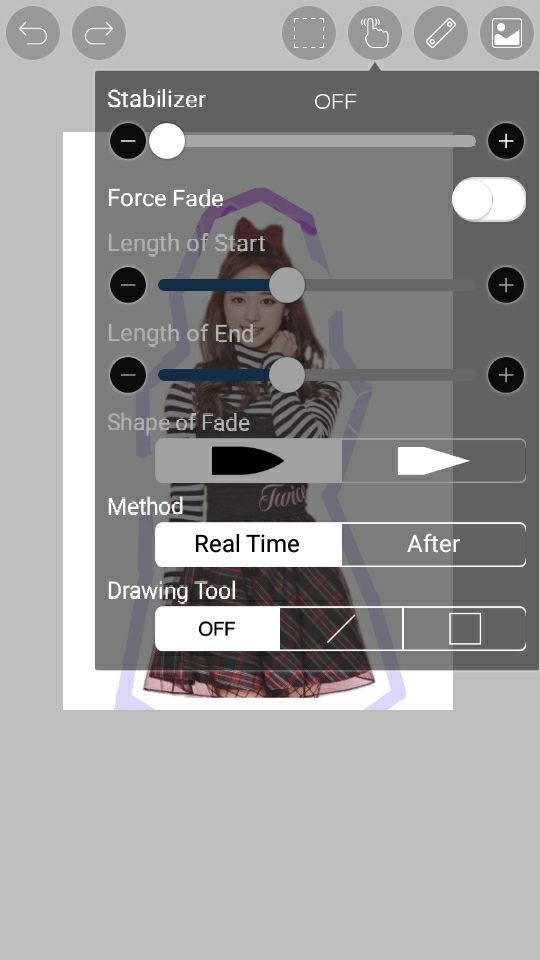
7. Start erasing the sides of the png with the pattern that you want.

8. Go back to drawing tool and change it to OFF.
9. Start erasing all the excess white color on the side of the png.
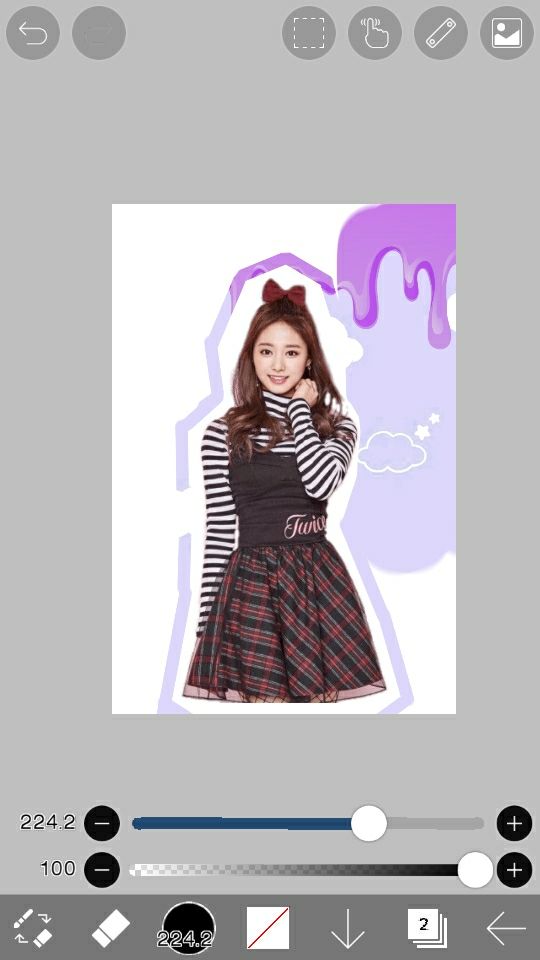
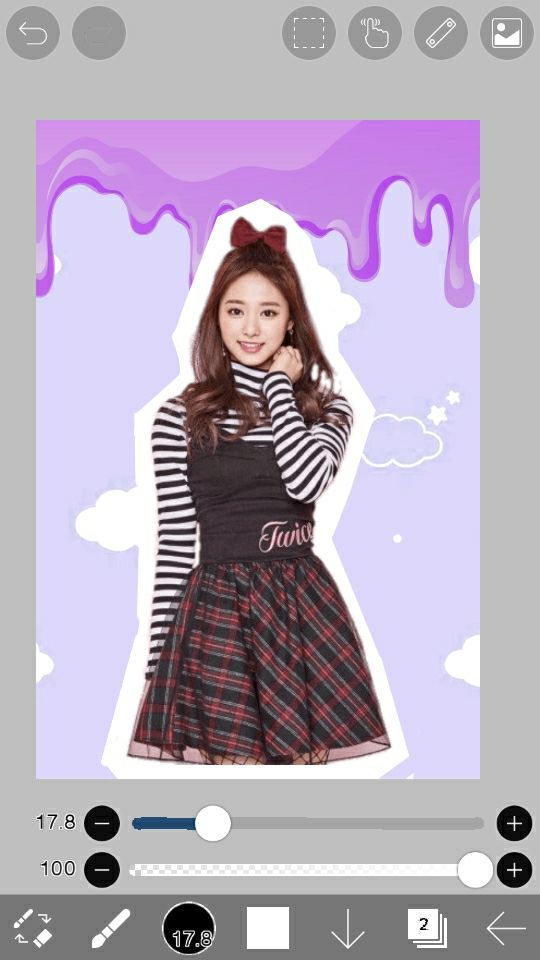
And you now have your papercut.
10. Add another layer on top of the background.
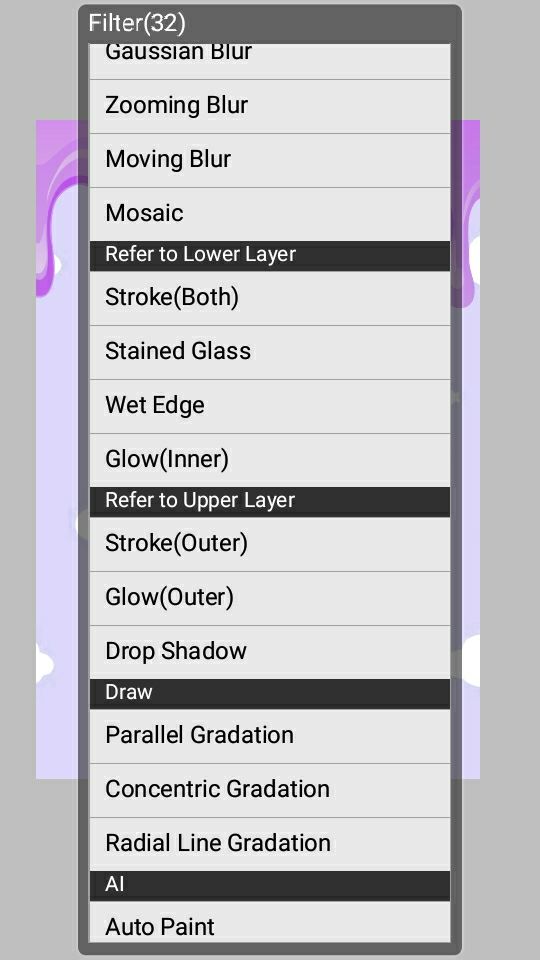
11. Go to the pen tool and choose filter FX.

12. Look for Refer to Upper Layer and choose Drop Shadow.
13. Adjust and press check when you're done.

Add your finishing touch and you're done♥

~
Hope you learned something♥ Don't hesitate to ask if it's vague😂
--

Bạn đang đọc truyện trên: Truyen247.Pro