🍁HOW TO ADD FAKE TEARS🍁
I'm so sorry if I'm not that updating this tutorial book😥 Anyway, I usually don't add tears on my graphic so my sample might be a lil' bit epic✌ This is dedicated to my unnie Suhoberrie♥ Hope this is somewhat helpful hihi.
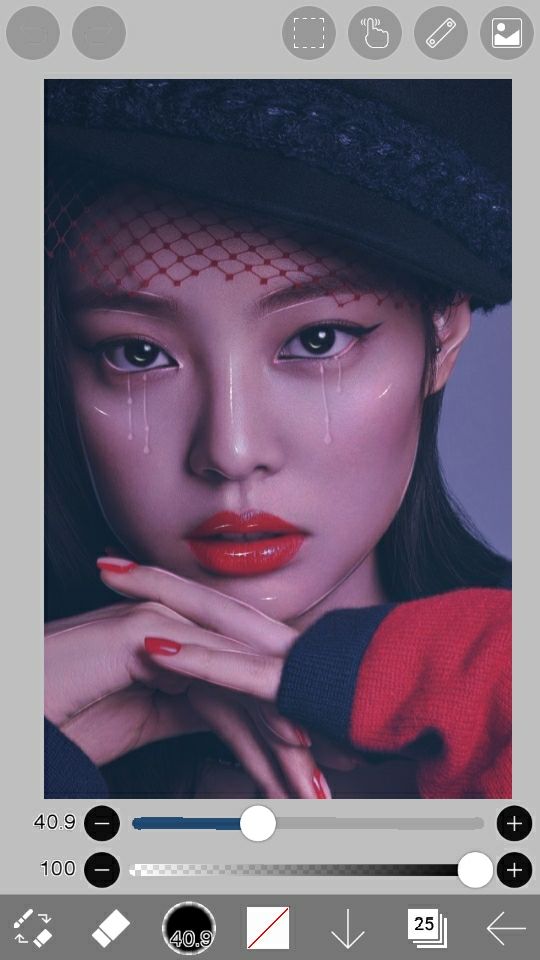
HOW TO ADD FAKE TEARS IN IBISPAINTX.

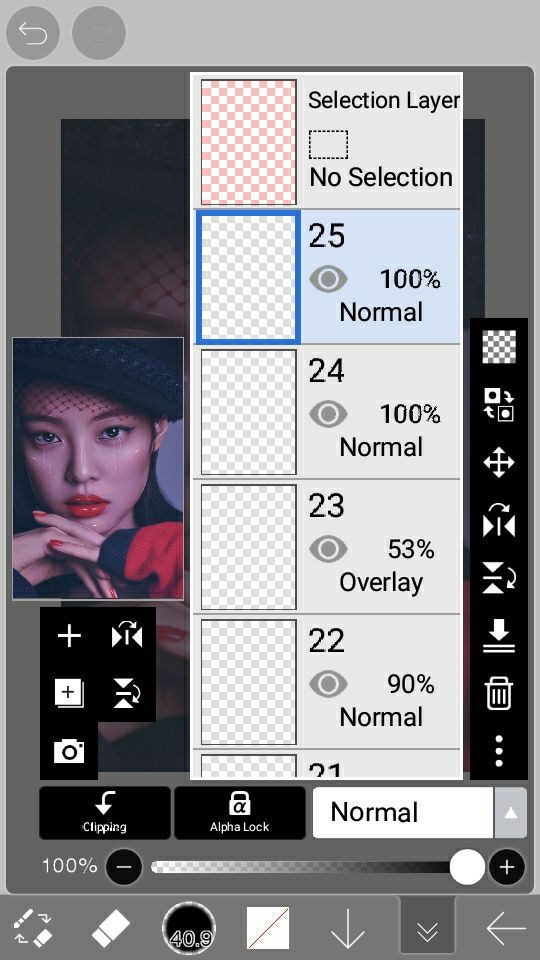
1. After contouring and putting highlights on your faceclaim, add a new layer to apply your fake tears.

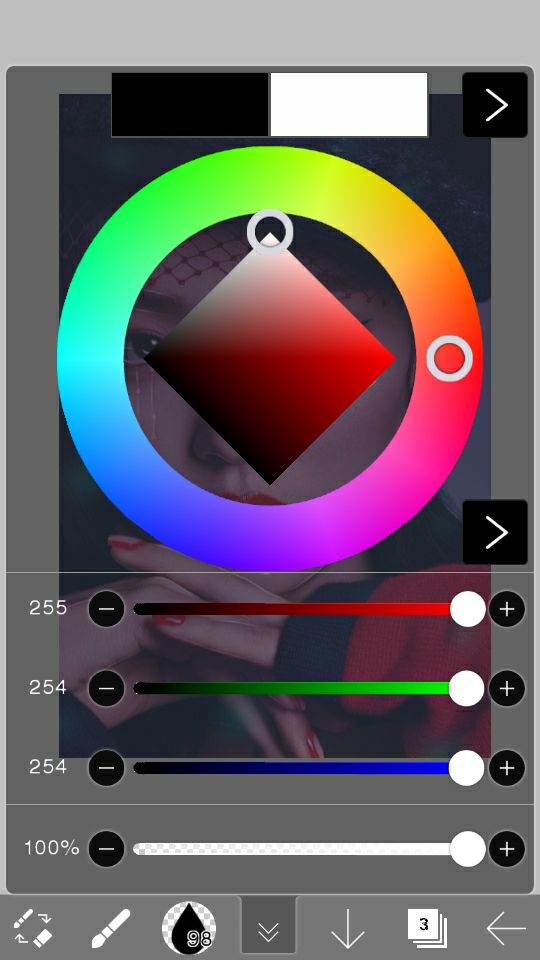
2. Go to brush tool and chose "DROP" brush. Choose the vertical drop not the horizontal drop. Change the color of the brush to white.
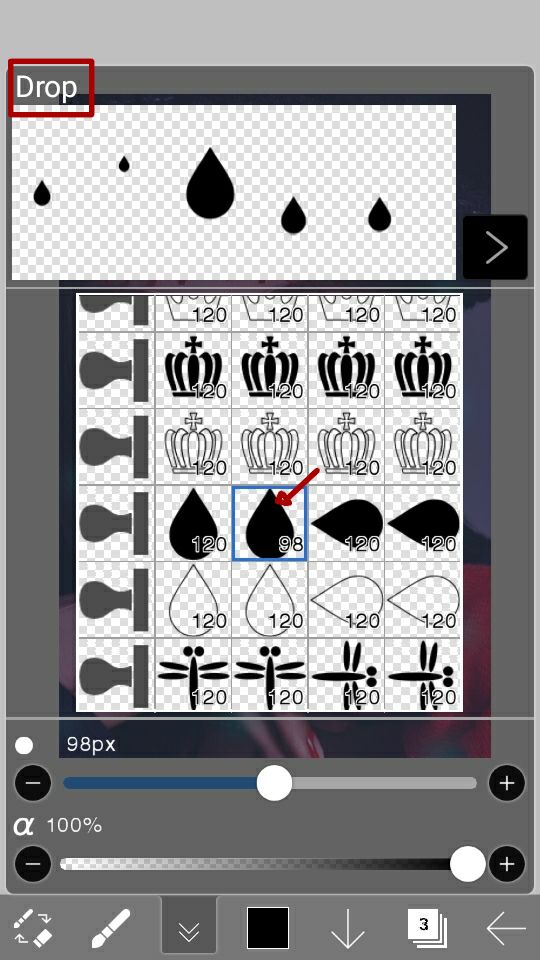
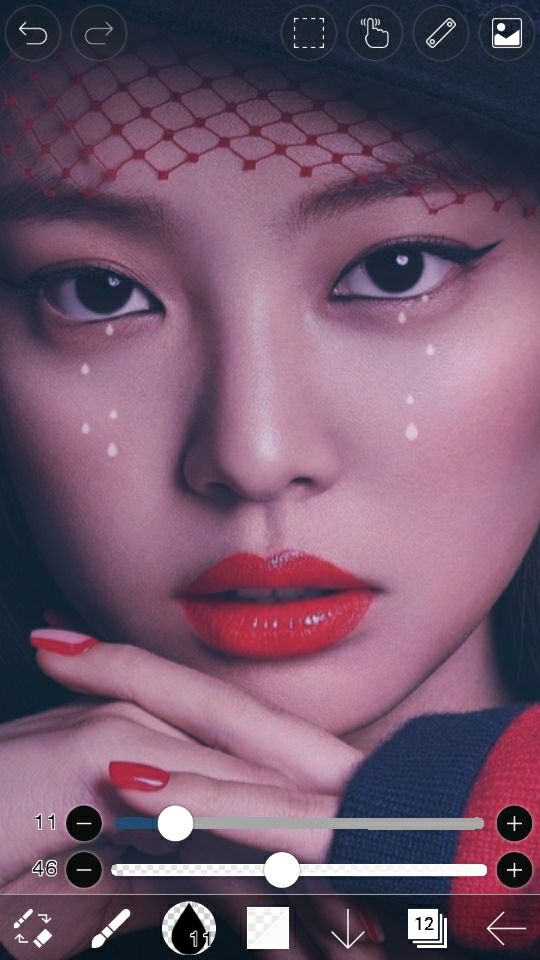
3. Put drops below the eyes. Adjust the size. Make sure that the last drop will be the bigger one. [You can do your own pattern in putting the drops.]
4. Add another layer. Change your brush to dip pen soft and make sure that the stabilizer was ON.
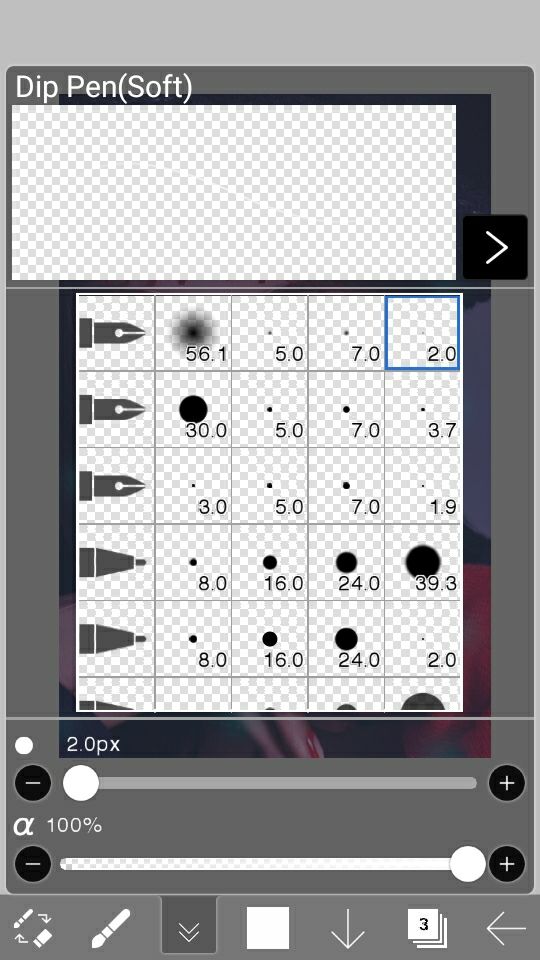
5. Draw lines that connects all the drops to make them look like flowing.

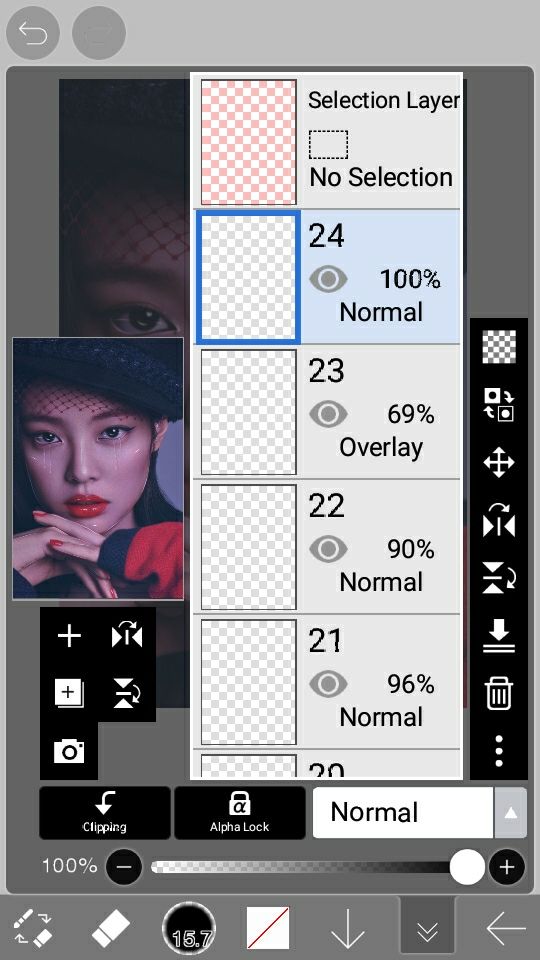
6. Merge the layer containing the lines that you draw and the layer with the drops.
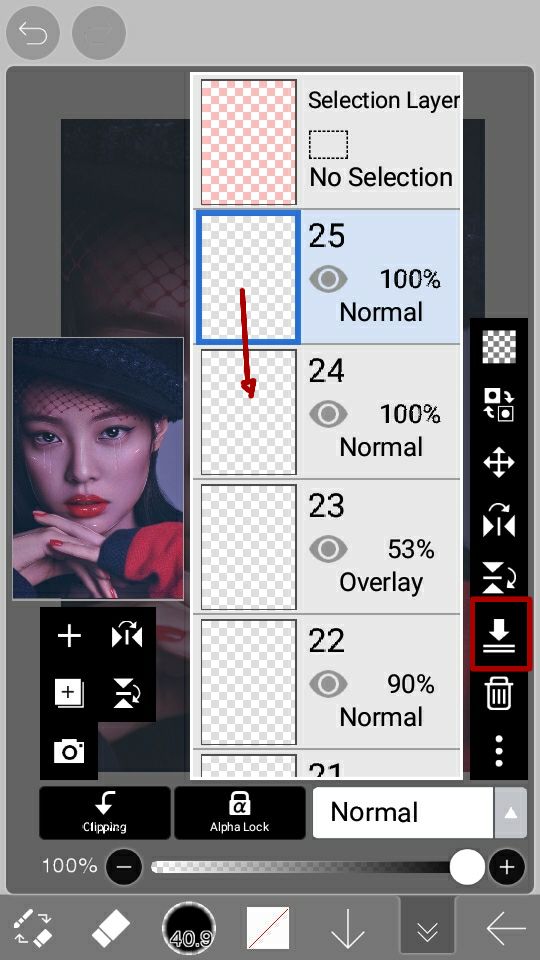
7. After you merge them, adjust the opacity.
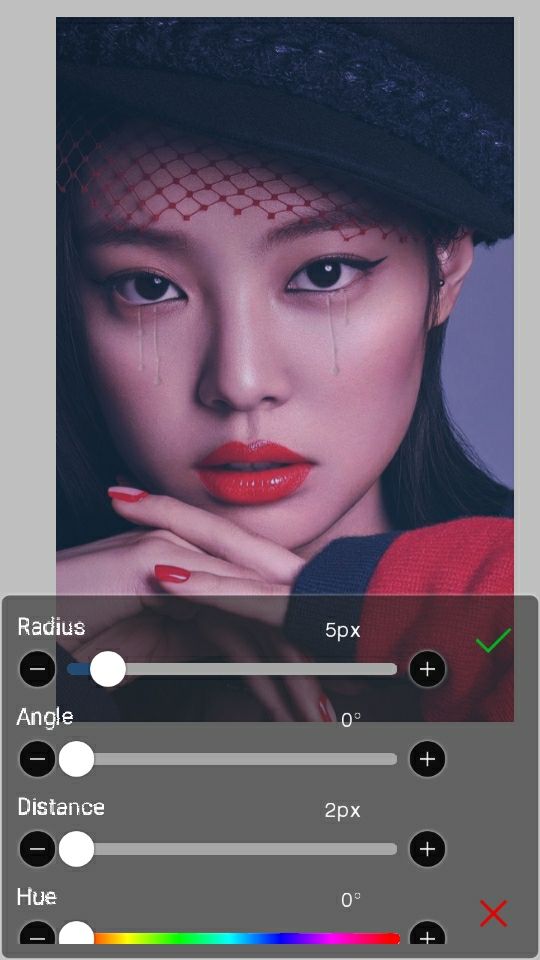
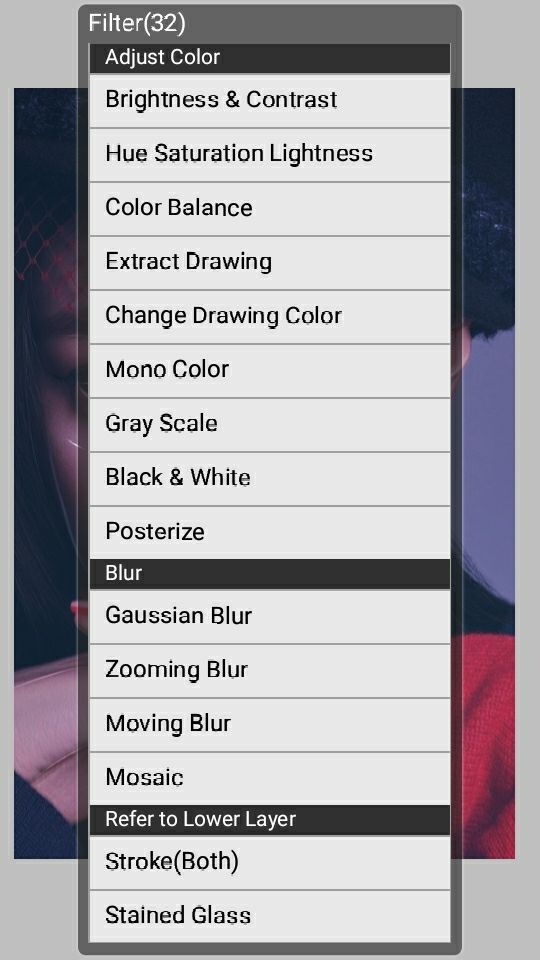
8. Add another layer. Go to brush tool and choose filter. Scroll down and choose drop shadow.

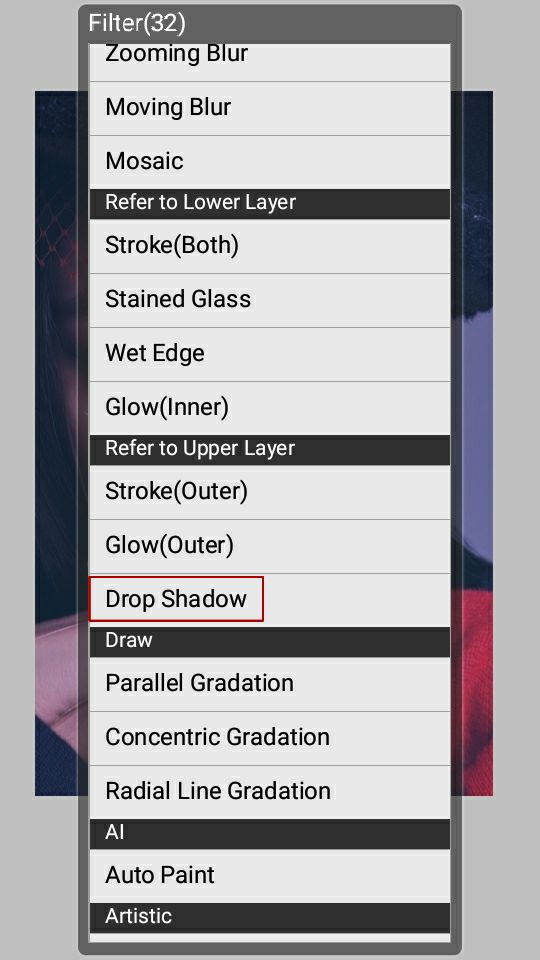
9. Adjust the radius, angle and distance. Make sure that the drop shadow was offset to the right. Tap the green check if done.
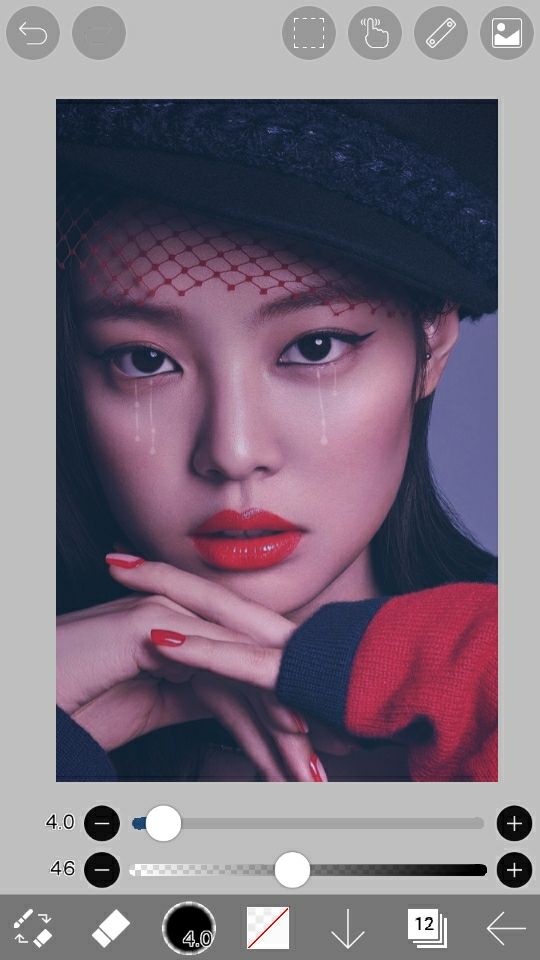
10. Go back and tap the layer where you put the tears.
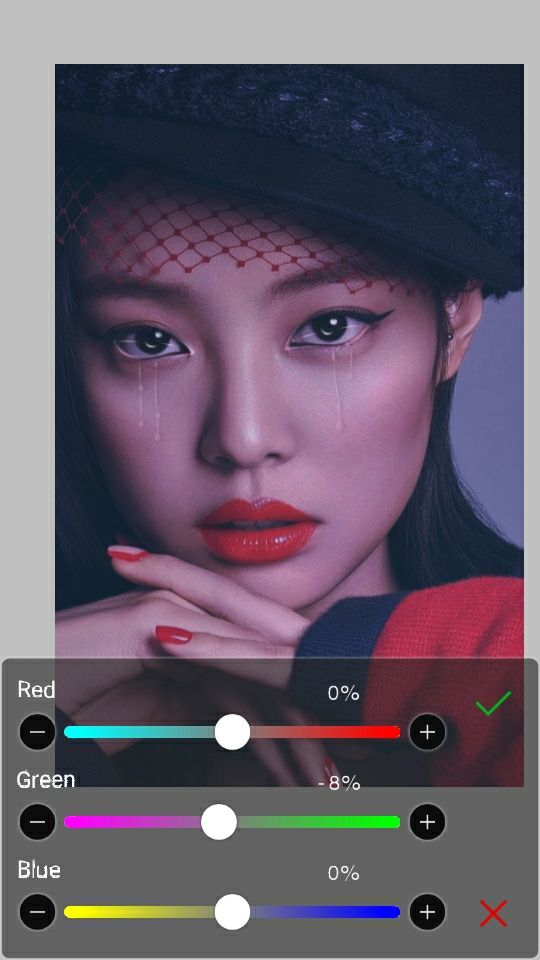
11. Go to filter and choose COLOR BALANCE, adjust and balance the color of the tears with the skintone of your faceclaim. Since Jennie's face was a bit pink. I adjust the color of the tear to pink to make it a bit transparent.

12. You now have your own fake tears. Adjust the opacity to make it visible or if you think it's too much. Apply finishing touch and you're done♥

Hope you learned something guys😂
---

Bạn đang đọc truyện trên: Truyen247.Pro