
28 » Flyin' Cover Tutorial
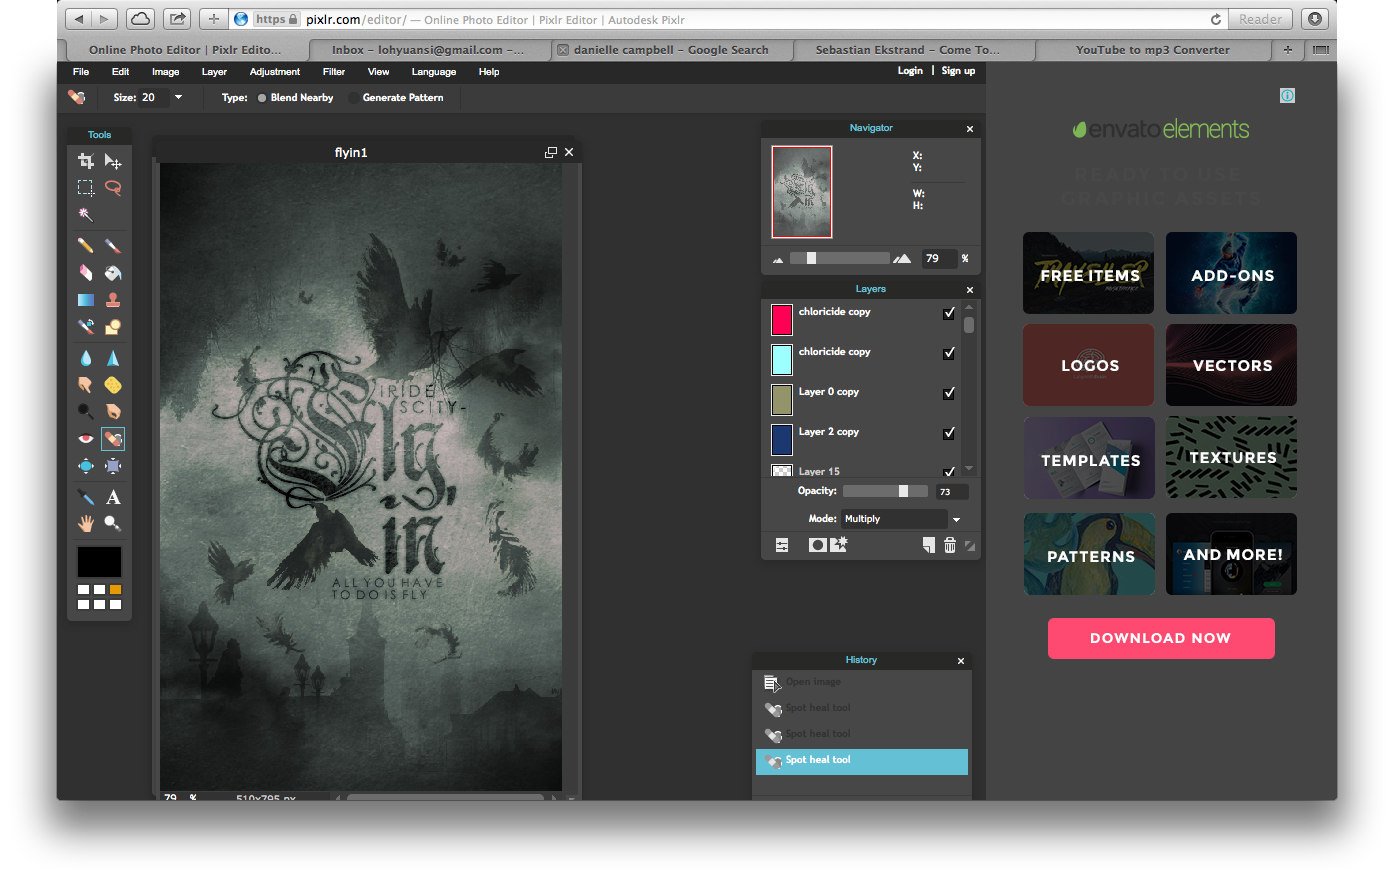
Hello! ^-^ It's Lys here, and I'm going to show you a step-by-step tutorial for this cover right here (that I actually made for a graphic comp. lol). It's a typography style cover made using the web program of Pixlr Editor. (you have to be quite familiar with the controls) If not, comment down below and I will try to answer your questions and help you. I'll put the resources down below (if all of it can fit) and some pxds (not psds) are used.

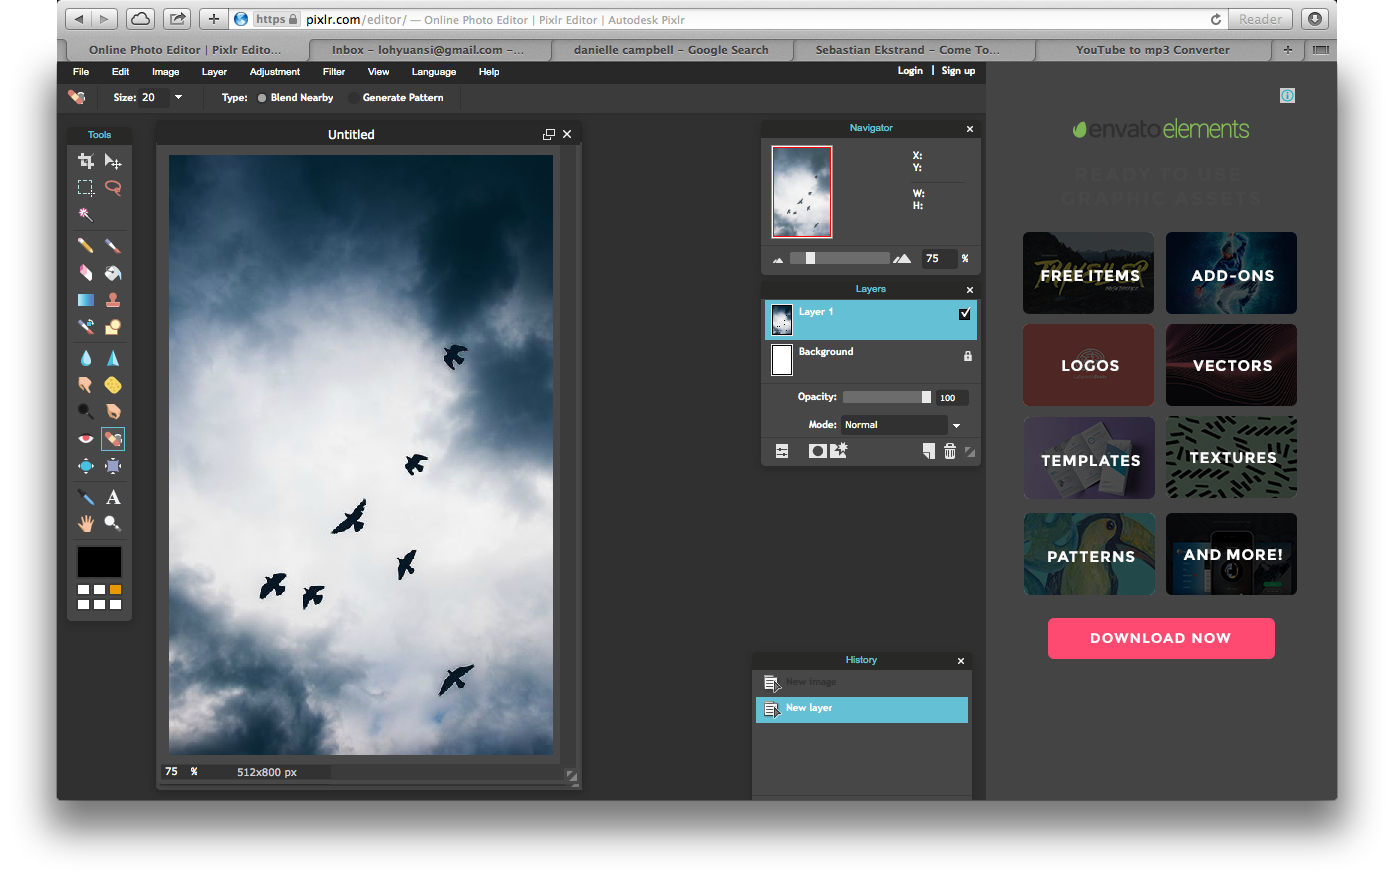
Step 1: Creating the background.
Open up a new image and enter the dimensions for a cover, depending on what dimensions you usually use, of course. I used the dimensions 512 by 800. For the background, I used a photo of some clouds and birds.
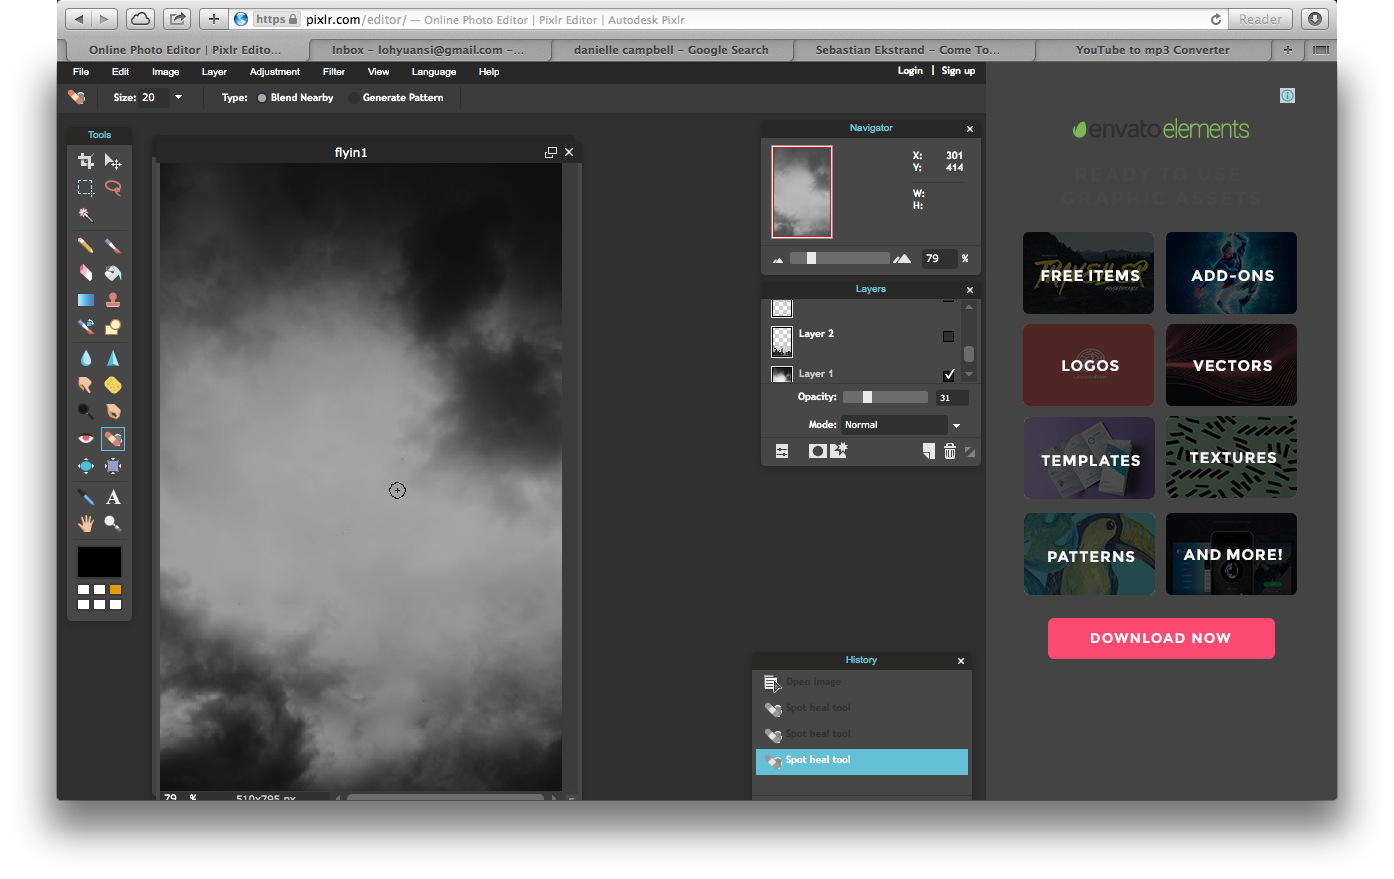
Step 2: Adjustments.
Since I will be using a pxd later on, I changed the hue and saturation all the way to -100, which means everything is either white, grey or black. In this cover, all the pictures have been adjusted to be monochrome. I erased the birds using the spot heal tool and adjusted the brightness slightly.
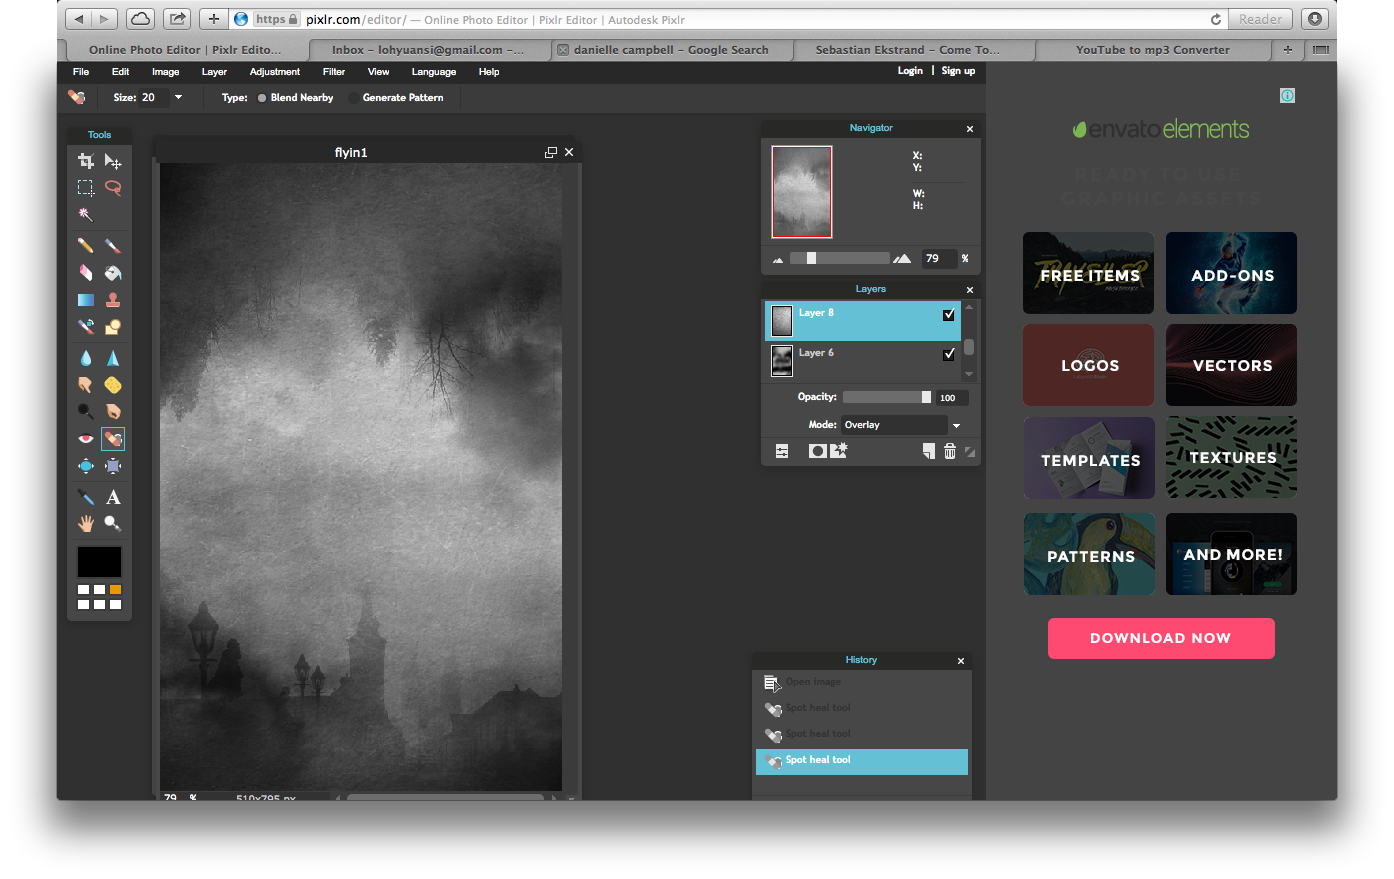
Step 3: Blending.
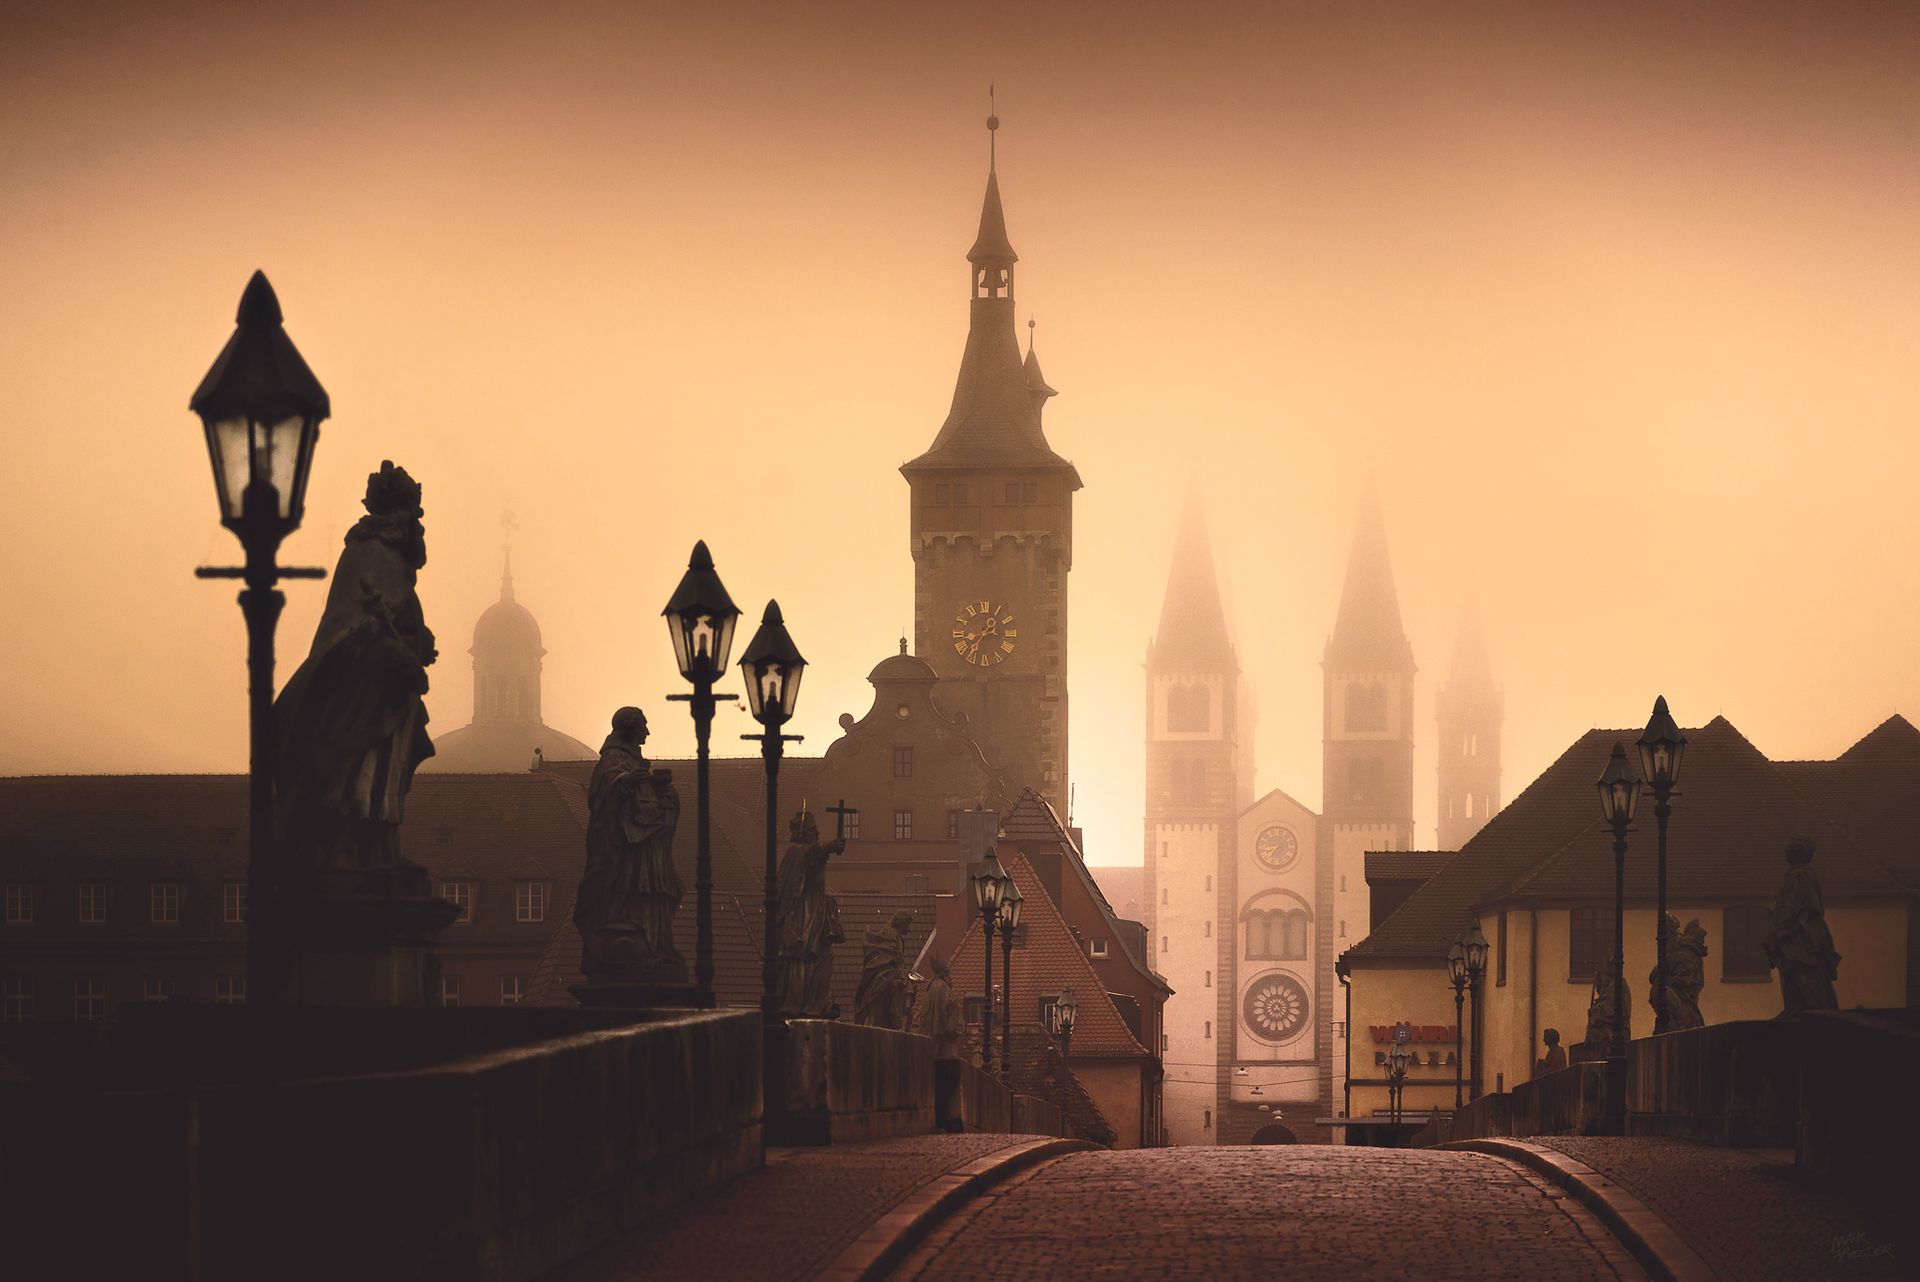
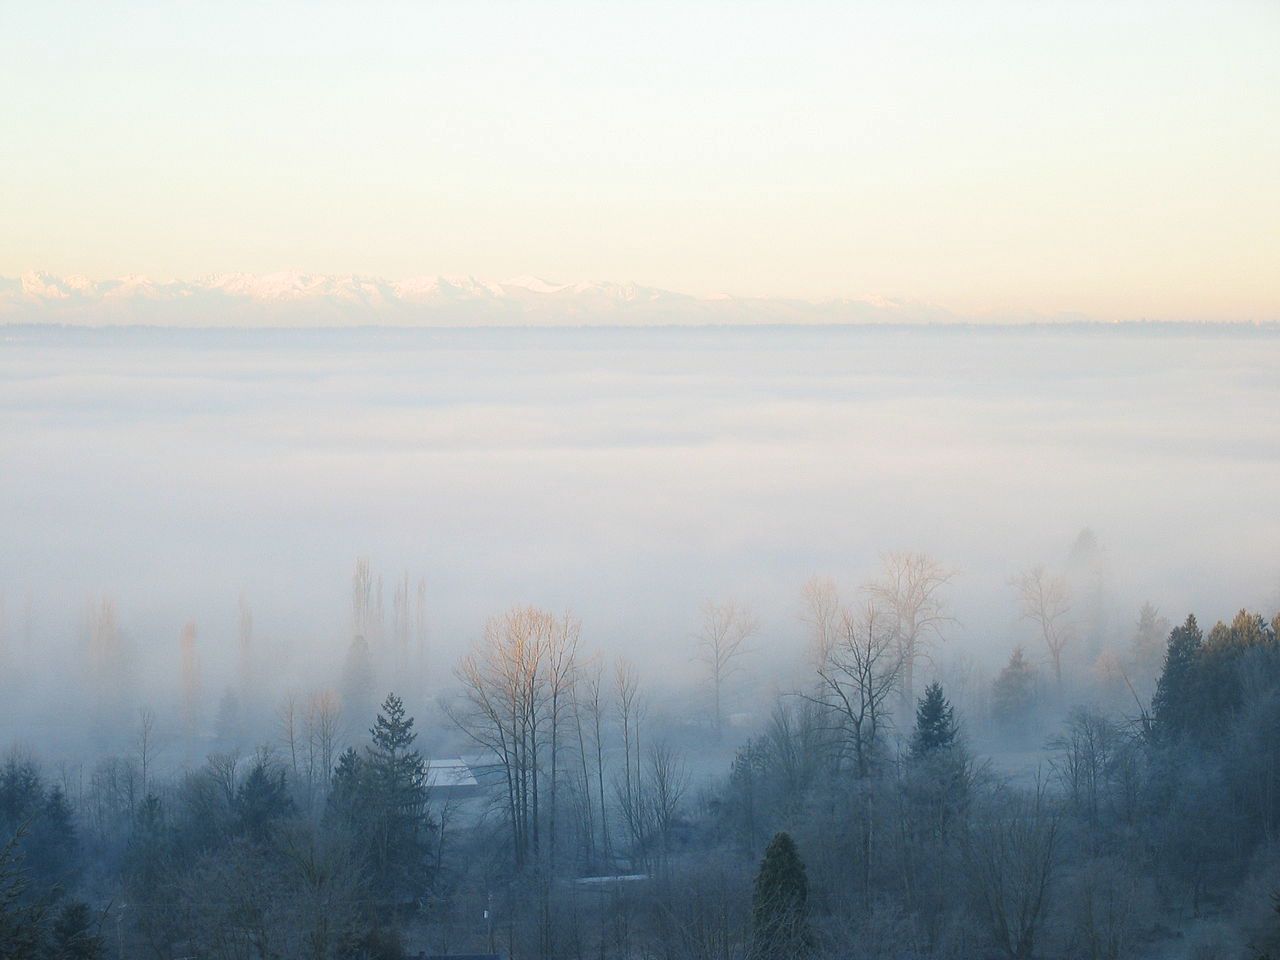
I used a photo of a forest on the top and set it on the blending mode, 'overlay'. As for the town on the bottom, the blending mode used is also, 'overlay'. An optional step is adjusting the opacity of the town image to 62. Then, to make it darker, I added a layer of black and set it its opacity to 31. Finally, adding a layer of a grunge texture.
Step 4: Text.
I added the text. The font 'Ruritania' is used for the title. The subtitles and watermark are done using the font 'STHeiti'. I added some optional text effects for it to look softer. Click on the layer styles box and click on Outer Glow.
Opacity: 34
Hardness: 2
Size: 6
Colour: Black (Code is 000000)

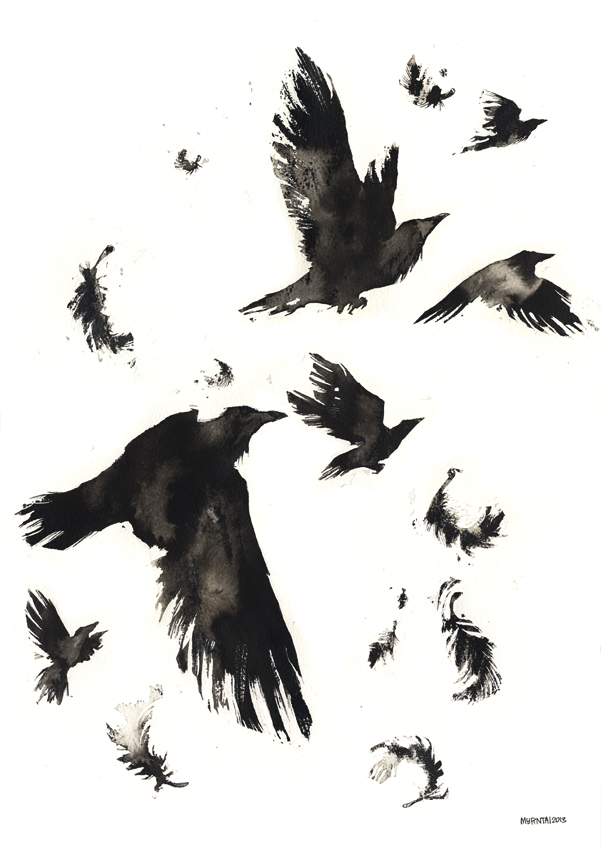
Step 5: Birds.
I used a photo of ravens and scattered them around, playing around with the controls to get it just the way that I want it to be.
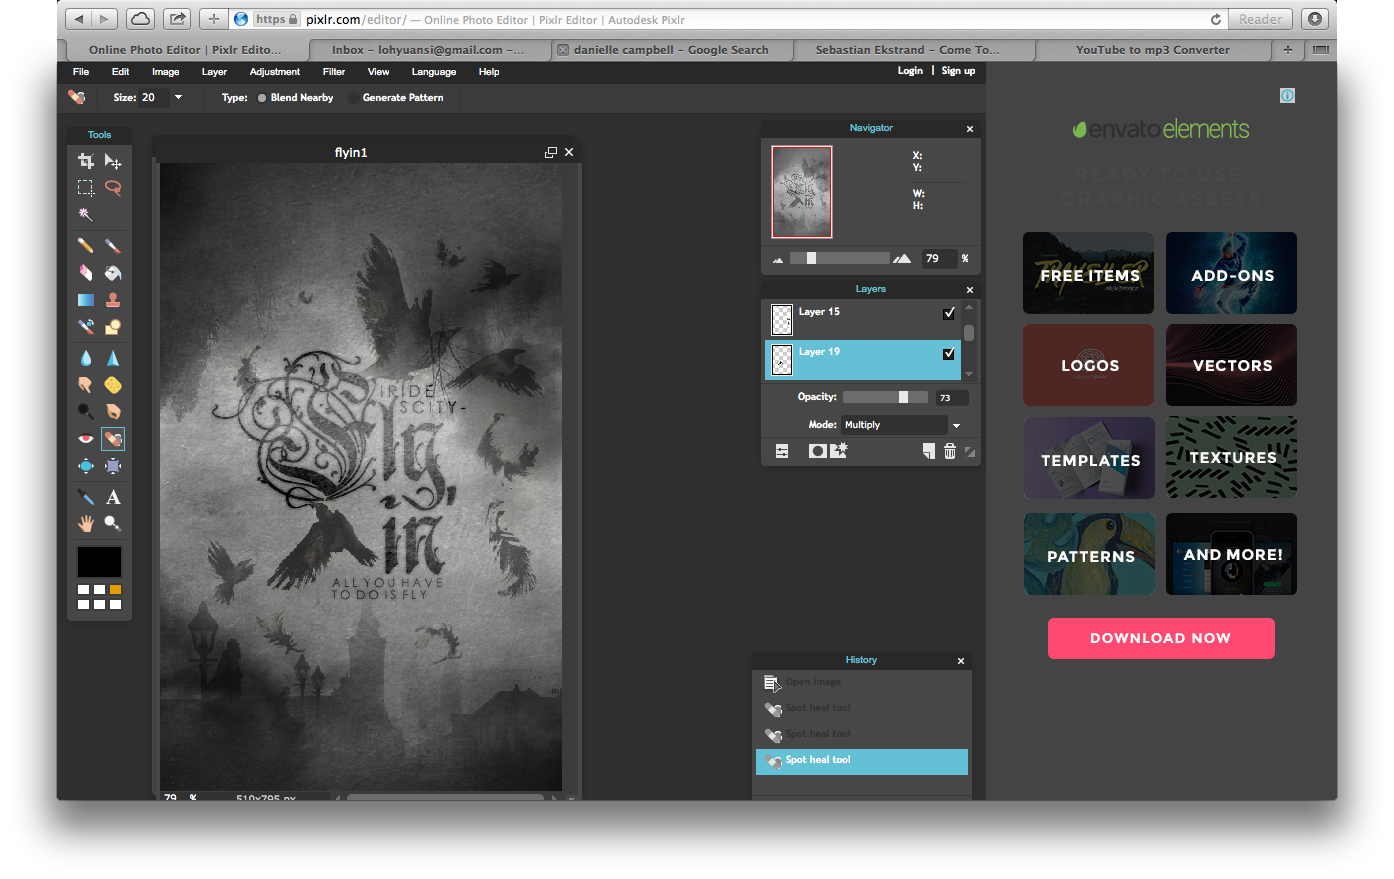
Step 6: Colouring.
The last and final step is for the colouring. I used some pxds that I found on DeviantArt. I used the pxds 'breakup colours' by truants and 'chloricide' by truants as well. I adjusted the opacities and the layer order is like this:
blue layer: 47 (overlay)
green layer: 100 (overlay)
light blue layer: 20 (overlay)
pink layer: 14 (overlay)
And you're done! It's a very simple cover that anyone can make! Here are the resources!


Bạn đang đọc truyện trên: Truyen247.Pro