
04 》A Guide To PicsArt
For those who have just started making graphics, PicsArt may be one of the best apps you can use to create them, especially if you don't have a computer or Photoshop.
This is what your home screen should look like:

Every day, PicsArt members can upload random pictures for the PicsArt community to edit and remix. If you need your daily edit challenge, there you go!
At the bottom of your screen are four icons.

Transport yourself to the home screen

Search for PicsArt users and other graphics

Create a graphic

Take part in challenges against other PicsArt users

View your own profile.
Click on the create icon (the pink plus sign) and you should be brought here:
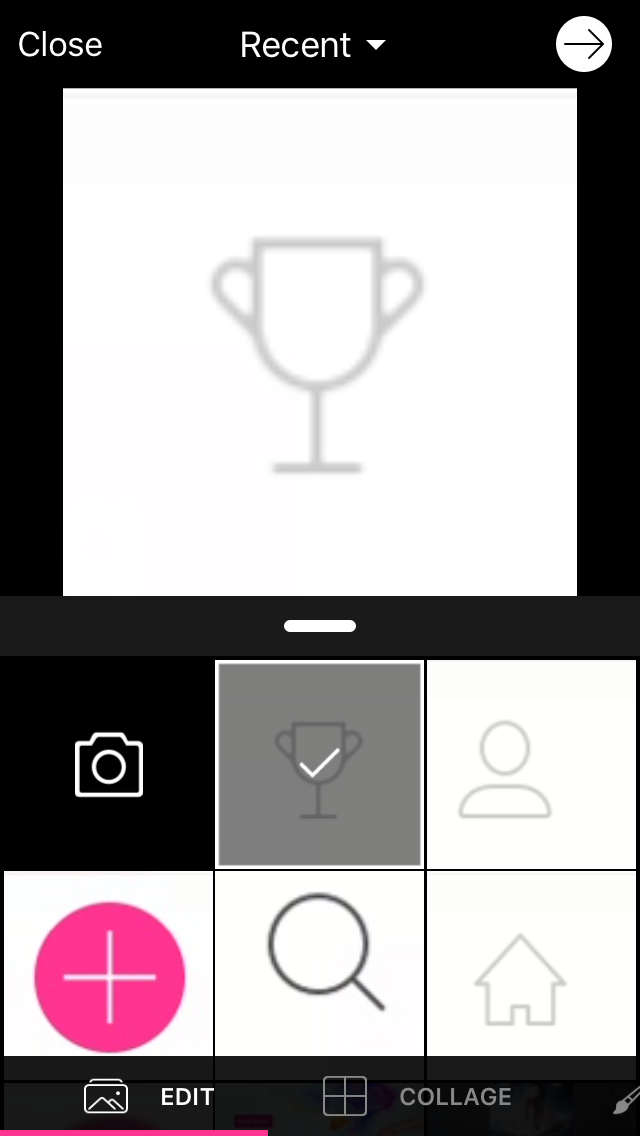
This screen shows you all the pictures in your camera roll; click the camera button if you would like to edit a picture taken on the spot.
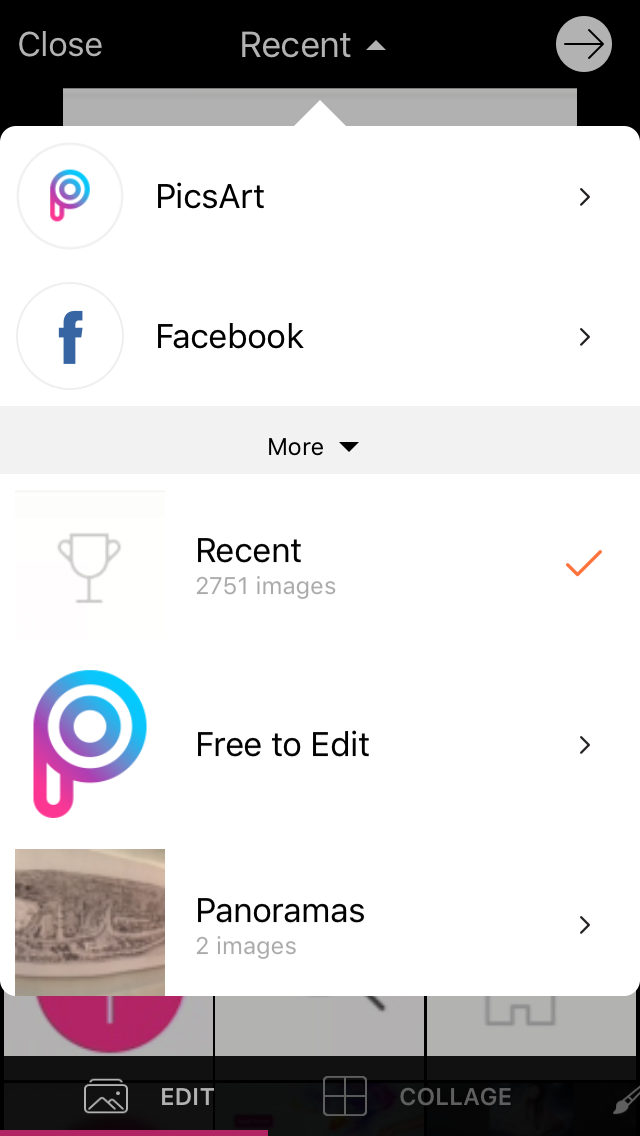
If you click "recent", you can access photos either in PicsArt, your social media and your camera roll.

Clicking the next tab at the bottom of the screen should bring you to this section called "collage". Here you can make collages of all types, so go ahead and try it out!
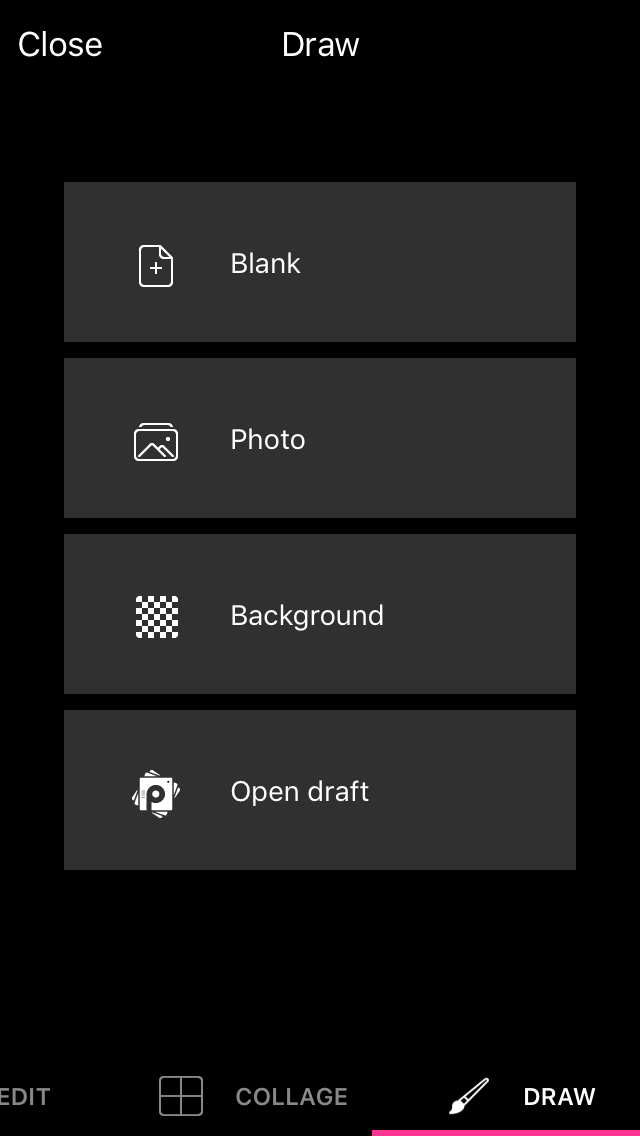
The last tab is "draw". Here, you can try out digital art drawing, which may come in handy especially for vector graphics.
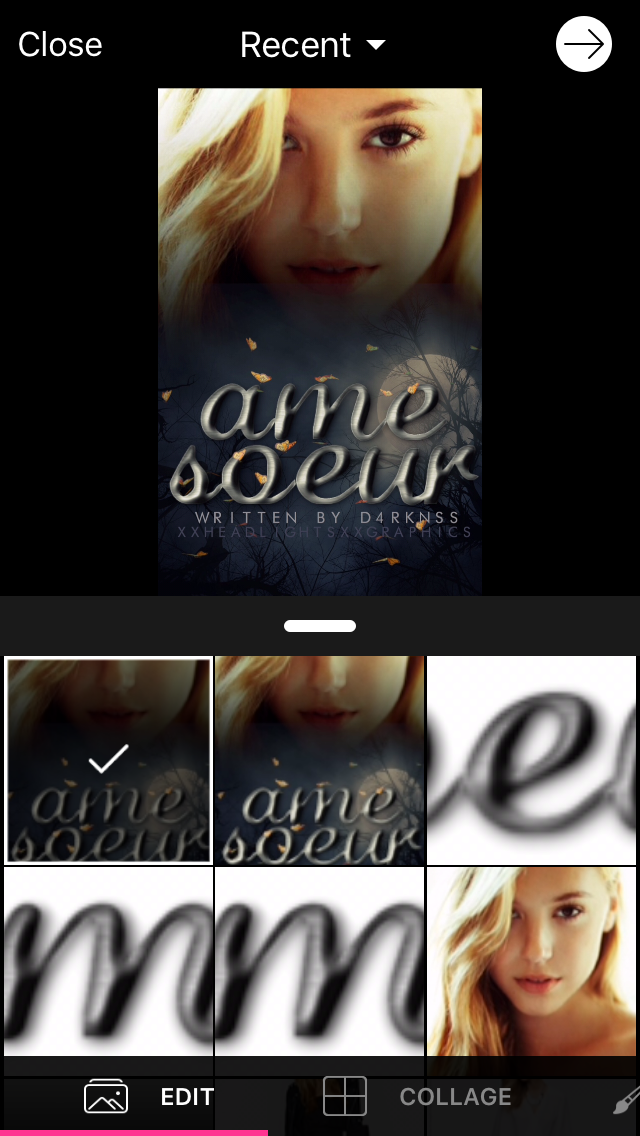
I will be using the first tab for today's tutorial:
Click the top right white button to proceed.
There are many different kinds of tabs in the "edit" section, so here we go!
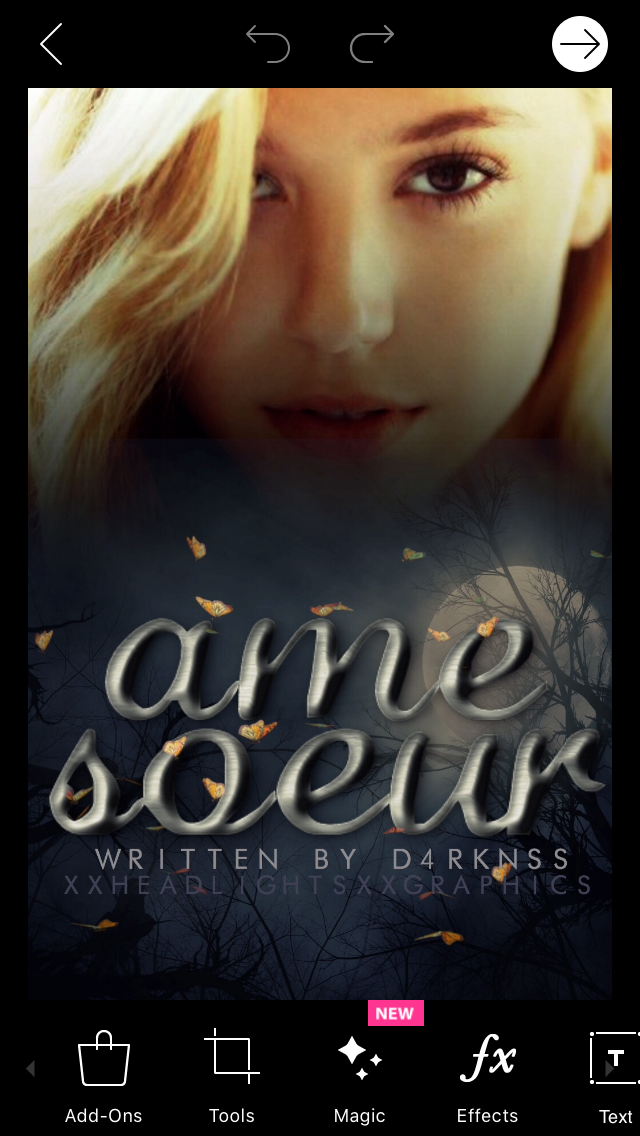
Add-Ons: especially if you're making a cartoon-ish edit, Add-Ons provide many cute little stickers you can add to your edit. However, these cost money.
Tools: the tools include many different kinds of, well, tools, that help you edit your graphic. If you would like me to do a tutorial on a specific kind of tool, ask me down in the comments section, and I'll try to post one as soon as I can.
Magic: Magic helps you change the color scheme, texture and overall feel of the graphic - a must-try.
Effects: these are all your different kinds of filters. You can even change one's eye color under the colors section! Again, comment if you would like an in-depth tutorial about Effects.
Text: it helps you add text to the graphic.
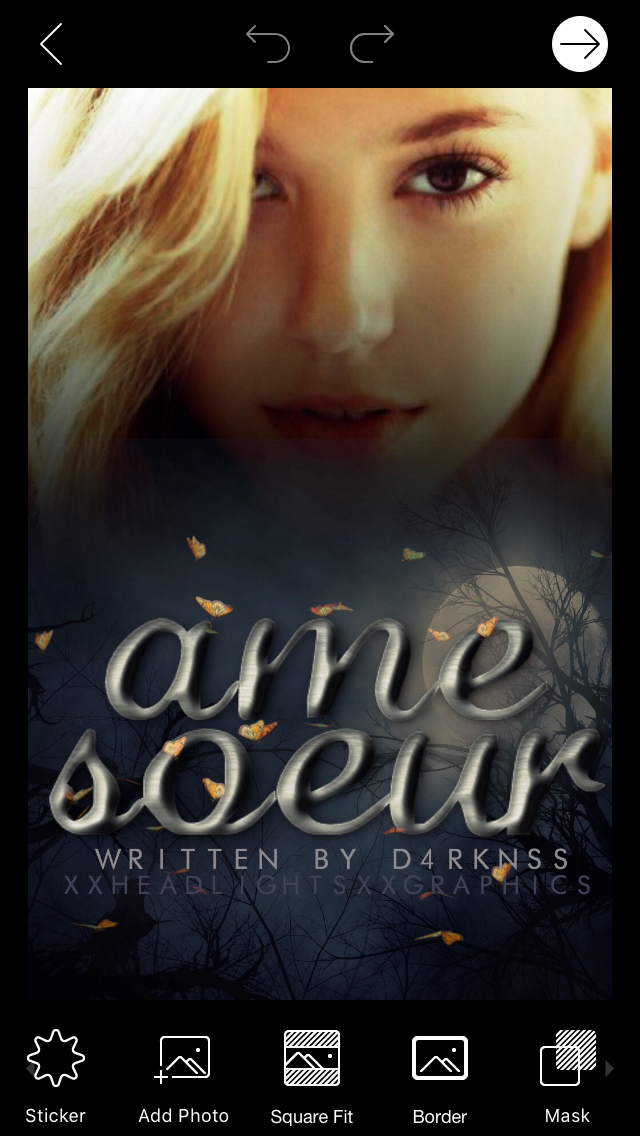
Sticker: something like Add-Ons, there are many stickers here.
Add Photo: when trying to use Double Exposure or texture blending, this helps you add photos to the graphic.
Square Fit: this helps you make something like a profile picture, with your graphic amidst a blurred background of the same graphic.
Border: you can add a border to the graphic
Mask: change the shape of the graphic, somewhat like cropping.

Draw: doodle on the graphic - it helps in recolouring and vectorization.
Lens flare: choose from a selection of lens flares to add onto your graphic.
Shape Mask: change the shape of your graphic into a geometric shape.
Frame: add a frame to your graphic.
Callout: add a call out to your graphic.
And that's it! Again, if any of you need further clarification regarding any part of PicsArt, please do leave me a comment in the comments section, and tag me, xxheadlightsxx so I can get to you as soon as possible.
Signing out,
xxheadlightsxx
Bạn đang đọc truyện trên: Truyen247.Pro