xiv: TEMPLATES + DIY LIGHTING
Today, I've prepared for you a really cool chapter. You'll be learning about how to make your own templates, how to use templates, and how to apply your own DIY lighting textures.
First, let's start on how to make.
1. Open up your canvas (512 x 800) in the draw feature.

2. On the bottom, hit the shapes icon and click a shape (i chose a star). On the bottom, where it asks you to specify ''fill'' or ''stroke'', press ''fill''. Make sure the opacity is 100%

3. Add shapes until you're satisfied with your template. (this really isn't the greatest template, so ignore my horrible five-minute layout :))
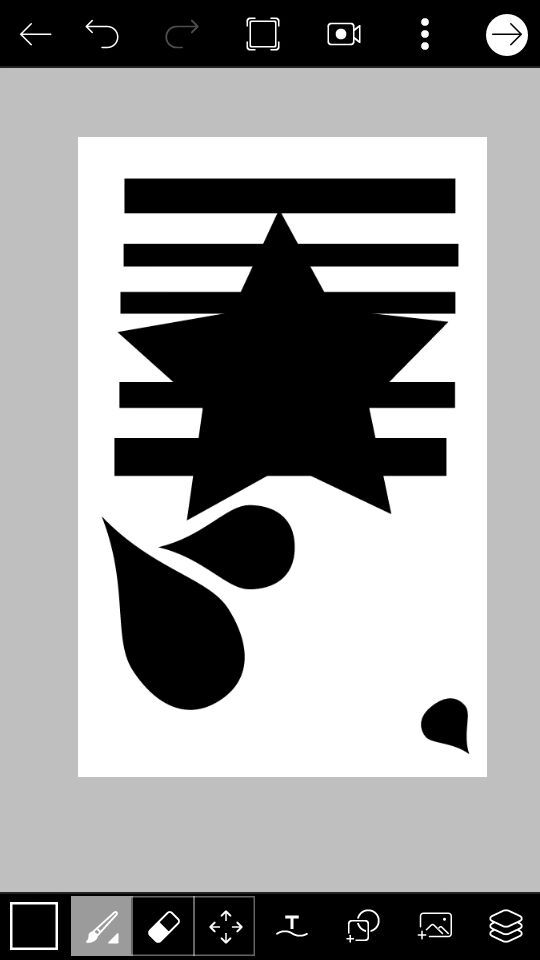
Once you're done adding the shapes, click the continue button, and then hit ''continue editing''
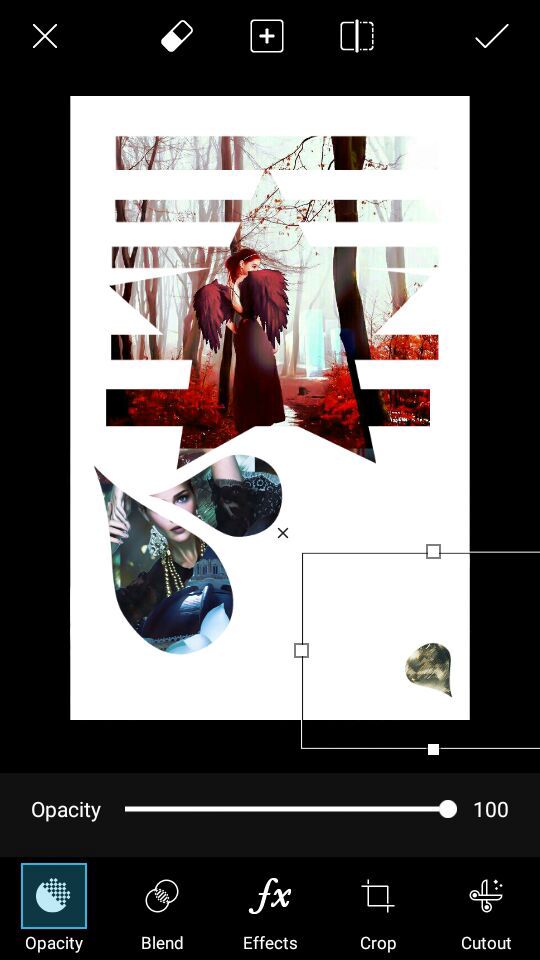
4. Add your pictures! Take the picture you want, and place it over the spot you want to fill. If it overlaps into a space you don't want to fill, simply erase that part. Now switch the blend mode of the picture from ''normal'' tp screen.
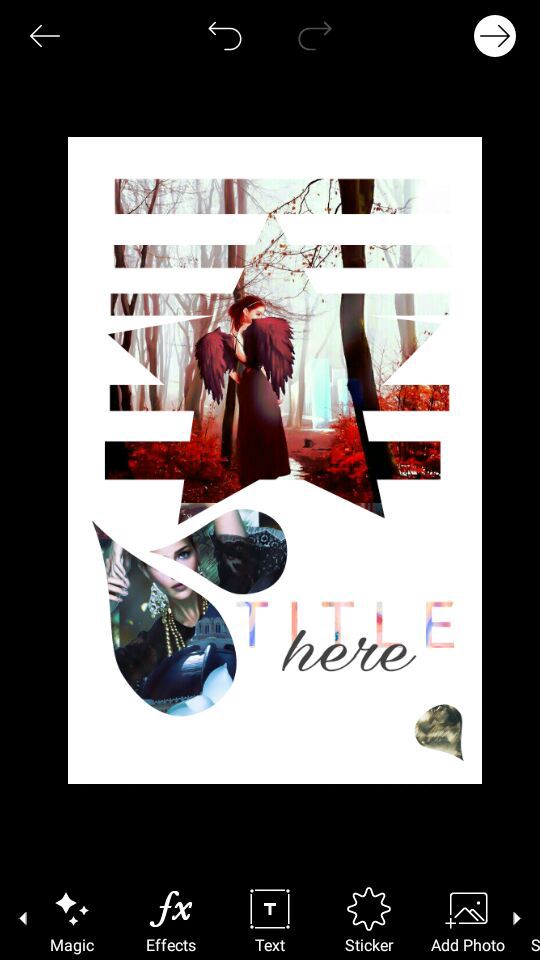
5. Add your typography! I was literally too lazy to open up Phonto and apply text there, so I added text in Picsart. (it's not my best work at all, so don't judge ah)
- the good thing about adding text in Picsart is that they have an automatic add-a-texture onto your text. It's pretty handy.
6. I went to the magic effect, which is optional by the way, and filtered it to ''winter blues'' with a 60% fade.
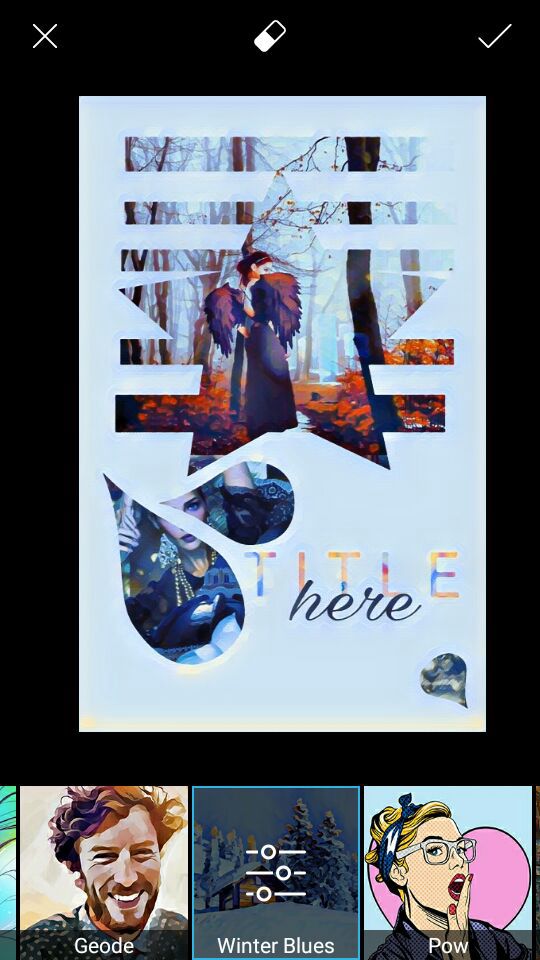
7. I filtered it to dodger, which I lost my screenshot of how it looked but oh well. I'm not sure how much I faded it, or if I even faded it at all, but you can play around with the fade.
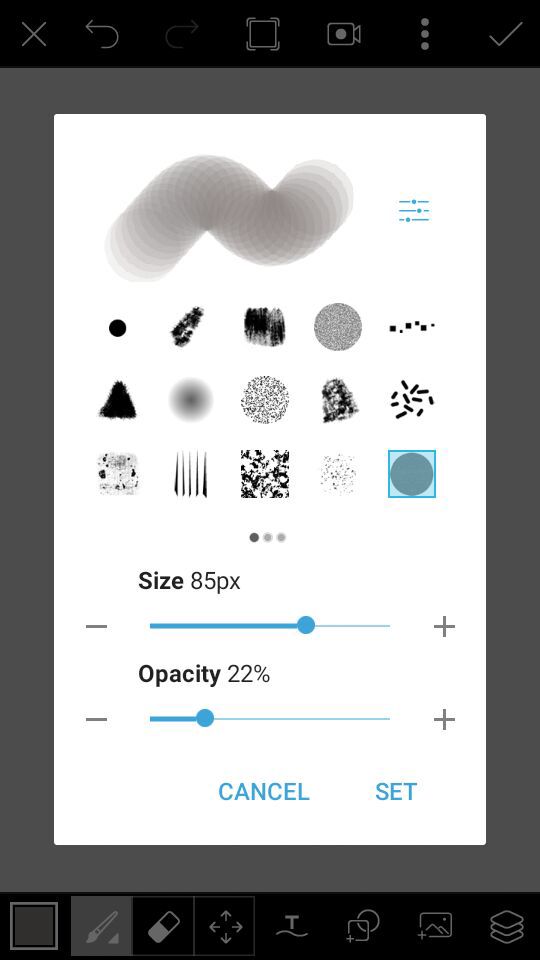
8. Lighting texture time!! Click on the ''draw'' button, which is at the bottom of the edit toolbar. Now click the brush icon, located at the bottom left hand corner. Find the brush that's featured in my screenshot below. I had my opacity to 22%, but I'm pretty sure you can slide it up to 30-40% and still have the same effects. I also suggest you use an 80-90 size brush. 100, at most.
9. On the layer above your previous image, draw black streaks across your cover. You might want to overlap it, but it depends on the concentration of lighting you want. Next, open up another layer and do the same except with grey, and in the spots you didn't draw over the image with black.
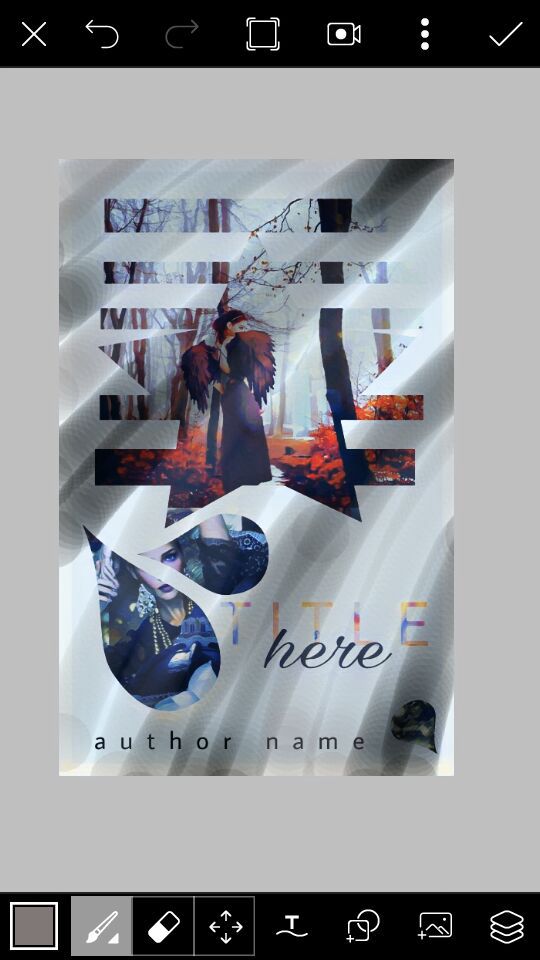
10. Change the blend mode of both layers to overlay. Adjust the opacity of the layers, depending on the concentration you prefer to have.

Voila! I'm done! I think the template would have done better if the star were a different shape, but all's well that ends well!

Please comment what you think about it! Was it too confusing? Questions? What would you like me to do next? I'd love to hear from you!
Remember to vote & comment!
The next chapter may or may be about curve coloring.. ;)
Bạn đang đọc truyện trên: Truyen247.Pro