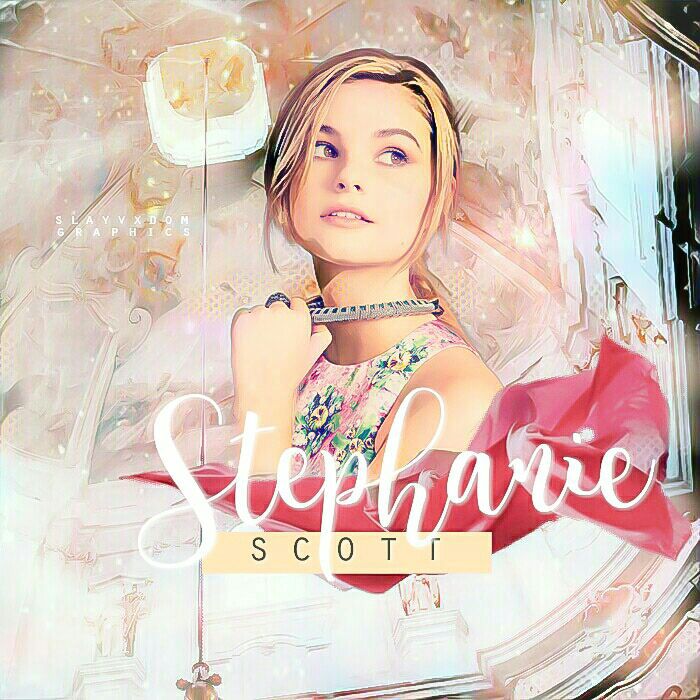
viii: STEPHANIE SCOTT icon (tutorial)
This chapter is another, full-blown step-by-step tutorial! This time, on an icon.
Level if Difficulty: 1-2/5
1. Get your resources. The only texture used in this is MINE, so go to my deviantart profile (@ slayvxdom) and download texture pack 04. You'll unzip it with ES File Explorer and use the last texture in the pack. Now, choose a png you'd like to use. It's best if the person you're using is only exposed down to their elbows. The png can't be taller/longer than that for this tutorial. The last resource needed is a red ribbon png. (If you'd really like to use the exact one I used, pm me)
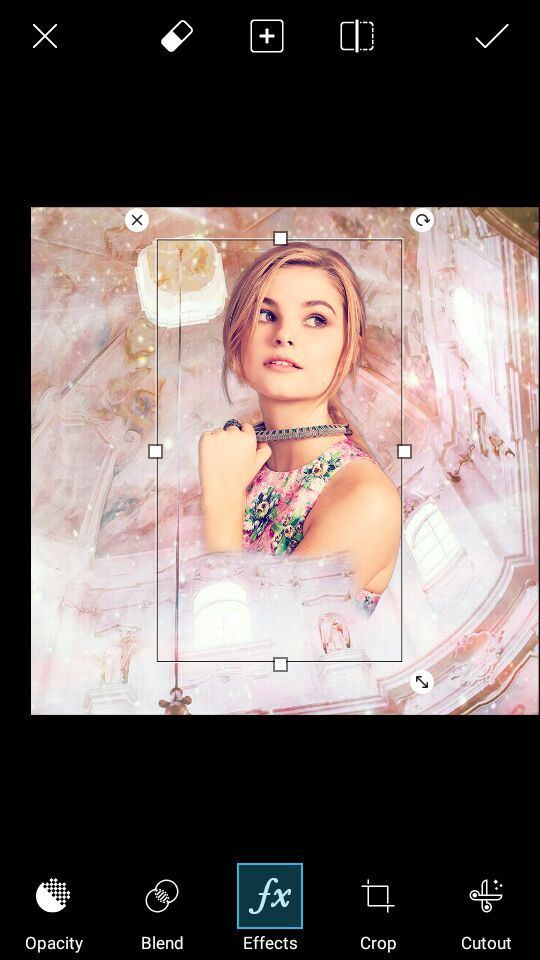
2. Click edit and choose the texture to edit on (it'll already be square)
3. Click add images and add on your png to the center of the texture.

Tips
- If you hit blend and hit lighten, you'll see really, really good belding. However, it's blended the person's face! What to do now? Well, take a look at the body and how lighten has configured the blend for the png, and go back to normal & erase the body the way you saw it in lighten. I also decreased the png opacity to 90%, so that it wasn't see through yet but the colors matched the texture more nicely.

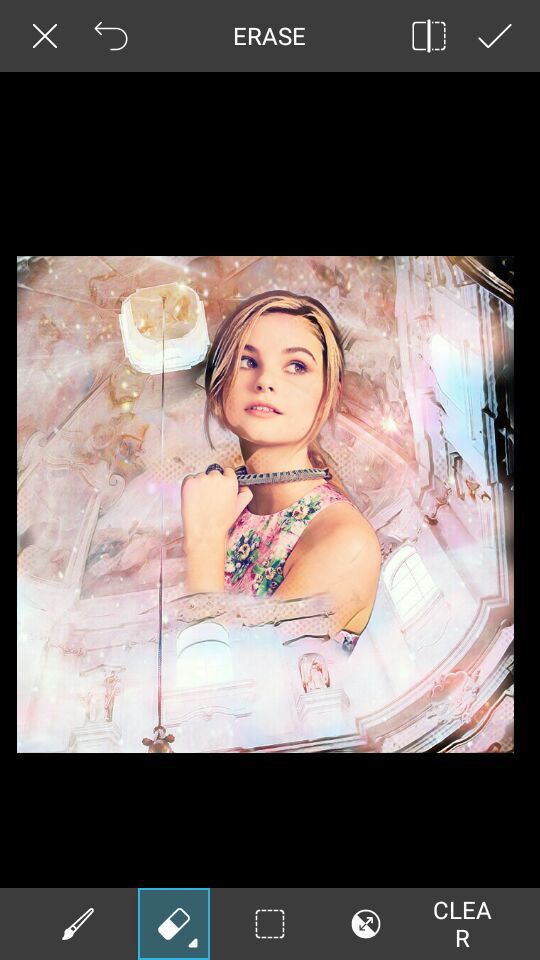
The above is how it should look like! (I erased where the arch is, so it looks a bit like she's behind it)
4. Click effects and filter the png to Light Cross. It'll make the png look more pink, which is what we're going for.
When you're done filtering it, however, the png will have greyish stuff on the outside. Erase those greyish wispies. We don't need them.

↓
5. Go to the ''magic'' feature and click ''Pow''. It's too much, so erase all the black & colors that weren't there before off, but keep some of the yellow and pink. The first image below is when half of it is erased.
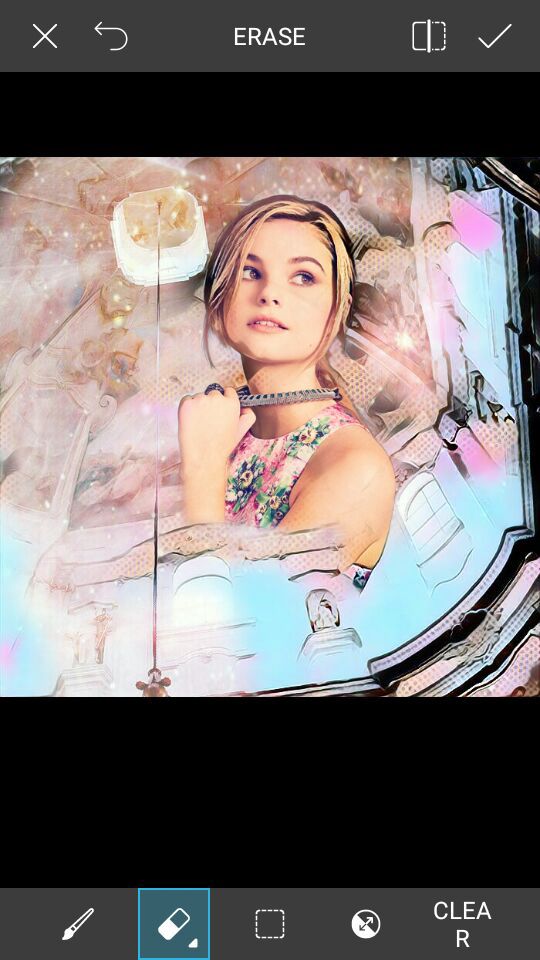
When we're done erasing most the magic pow effect off but still keeping some...
6. Add the ribbon below the girl, pretty much covering the bottom. If your ribbon is like mine, and doesn't cover just a very slight sliver of the bottom of the png, then don't worry. Just pull up another copy of the png and erase most of it, then put the remains on the part where it needs covering.

7. But it doesn't match?! That's what this step here is for. I'm going to click effects of the ribbon, and then hit the left side and the click ''colors'', and then on the toolbar I'll click ''colorize''.

Adjust the colorize knobs until it makes pink, and then press the check mark on the top right hand corner. Still doesn't match, right? Click effects one more time, and then filter the png to ''cinerama''.
8. You're now done with the base. Now head over to Phonto, and apply your font. Mine looks like the image below.
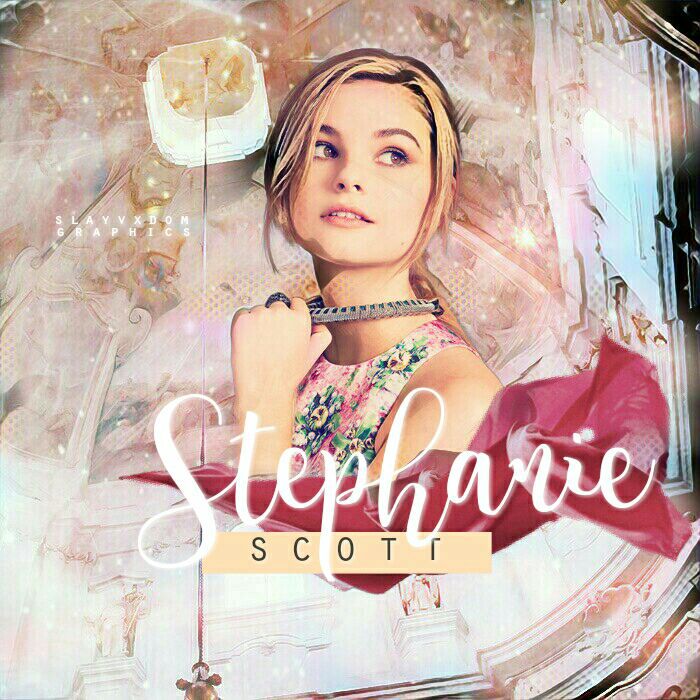
If you don't want to do step 10, (optional) congrats! You're done! I'd love to see your tries in the comments!
10. Open up Photoshop Express, and filter your icon 25% the Spring filter.
Congratulations! You're done! Comment below your tries and of this was helpful, if you were confused, etc.
Don't forget to put ''tut by'' or ''inspired by'' ;)))
Remember to vote & comment!
Bạn đang đọc truyện trên: Truyen247.Pro