PSD 🔓Unlocked🔓
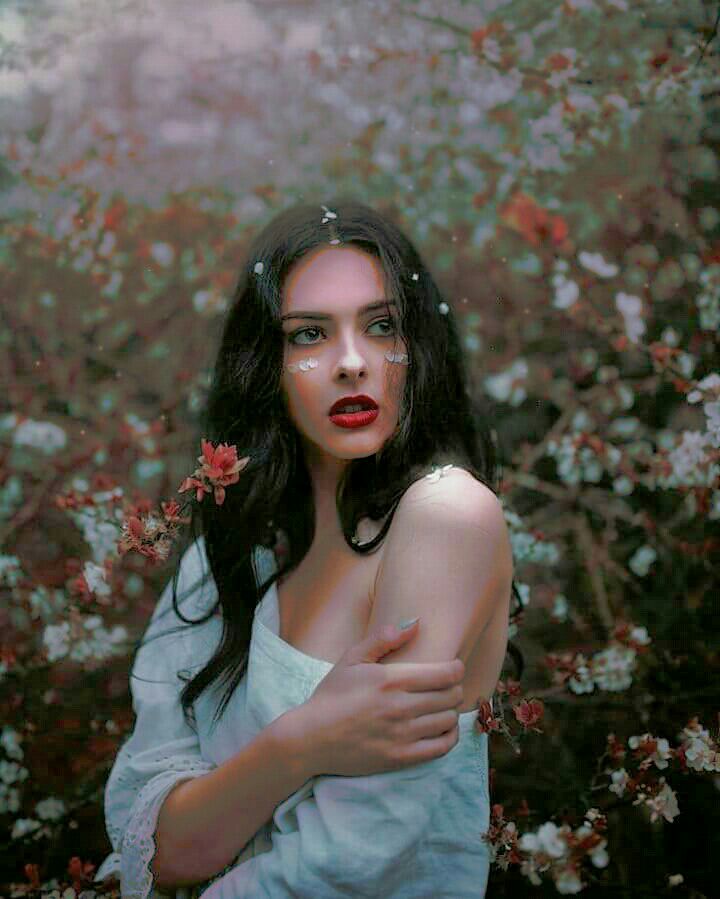
Before

After

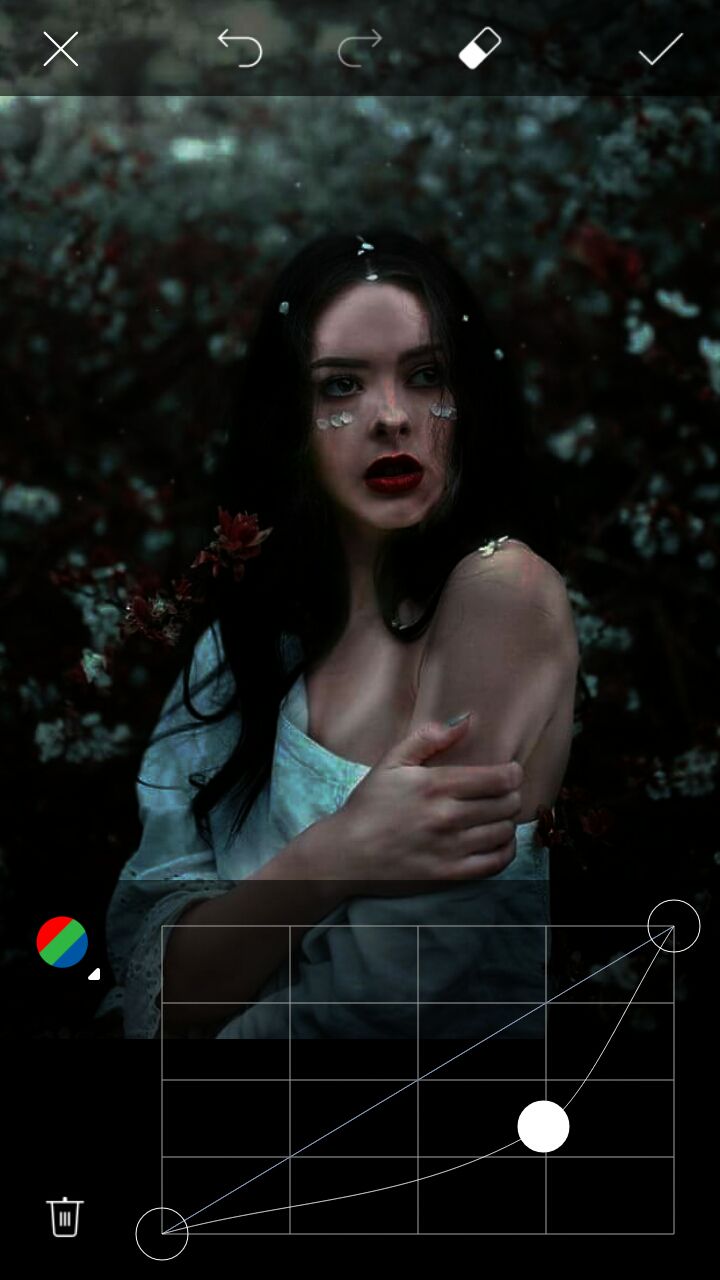
Take a pic or your cover and go to curve.

lower the curve

And then erase the dark places or contoured places.


in case some places aren't too dark, you can lower the opacity of your brush.
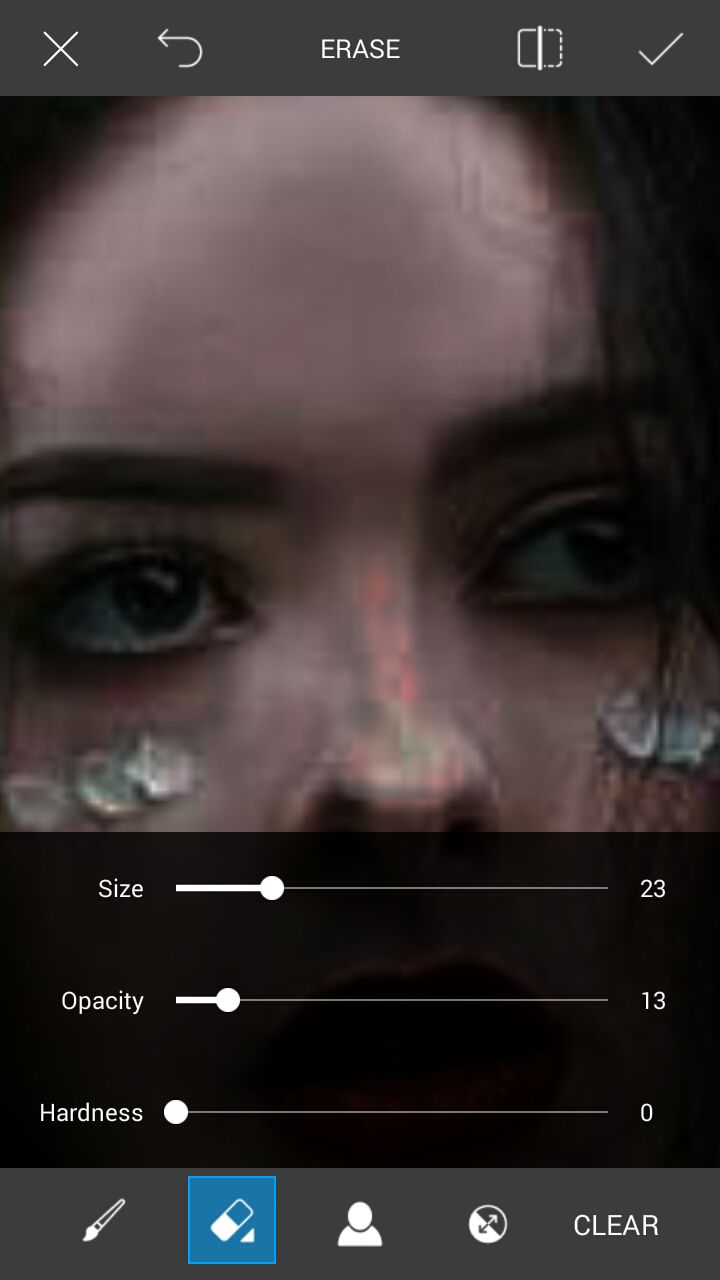
This is how it looks when all dark places (contours) are erased then.
Switch
Adjust the curve.( you notice how I arranged the curve circles. The circle in the middle, pull it up for brighter cover and down for darker cover.) But honestly it's up to you and how it looks on your cover or photo.
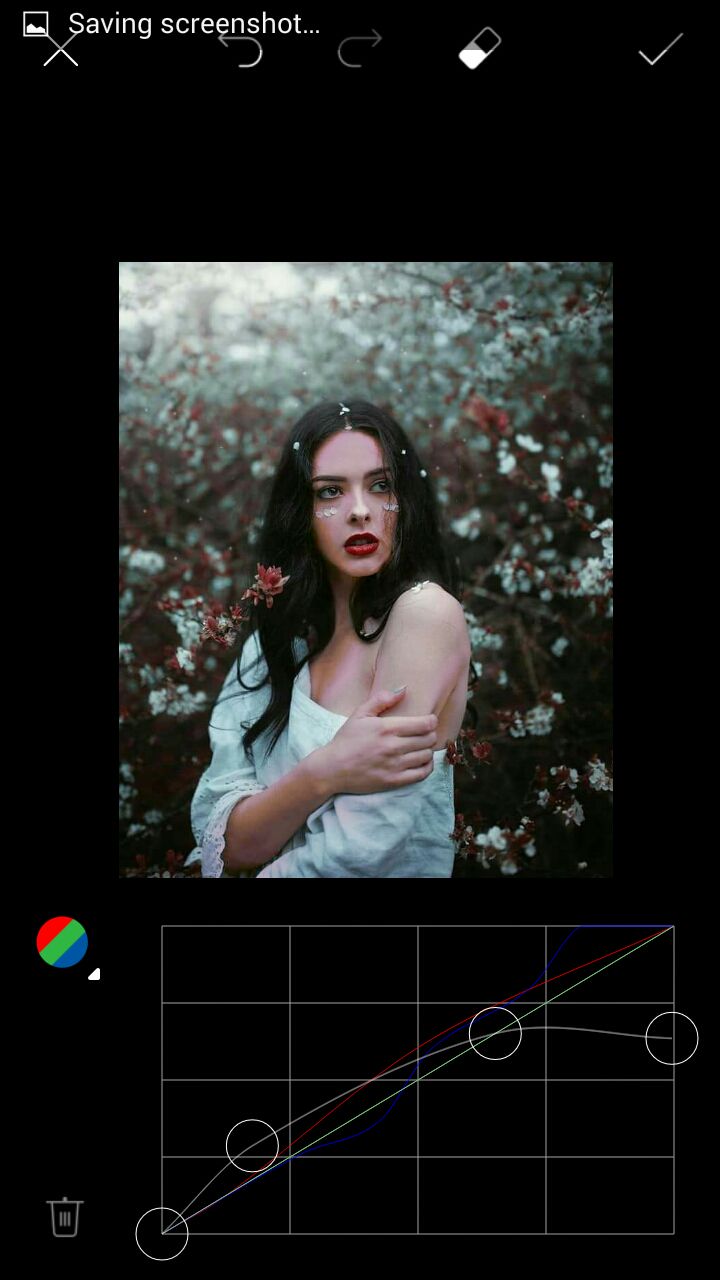
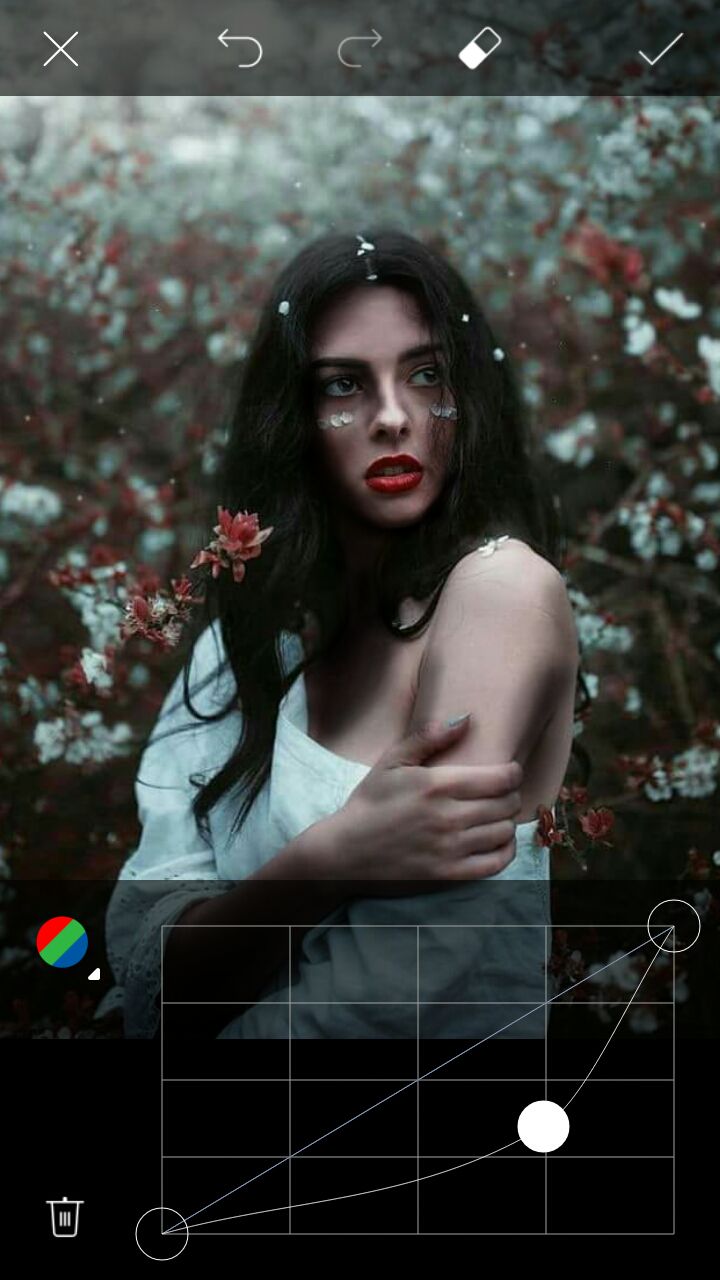
Then you can adjust the colors how you want it.
For 🔵 blue (always pull it down even just a bit.) Cause pulling it down makes the contoured place yellow (red and yellow = orange)

always pull up the red even just a but then you can start adding more adjusted line.

After those. Make your brush big and lower the opacity to 50% then brush around the girl or the background.
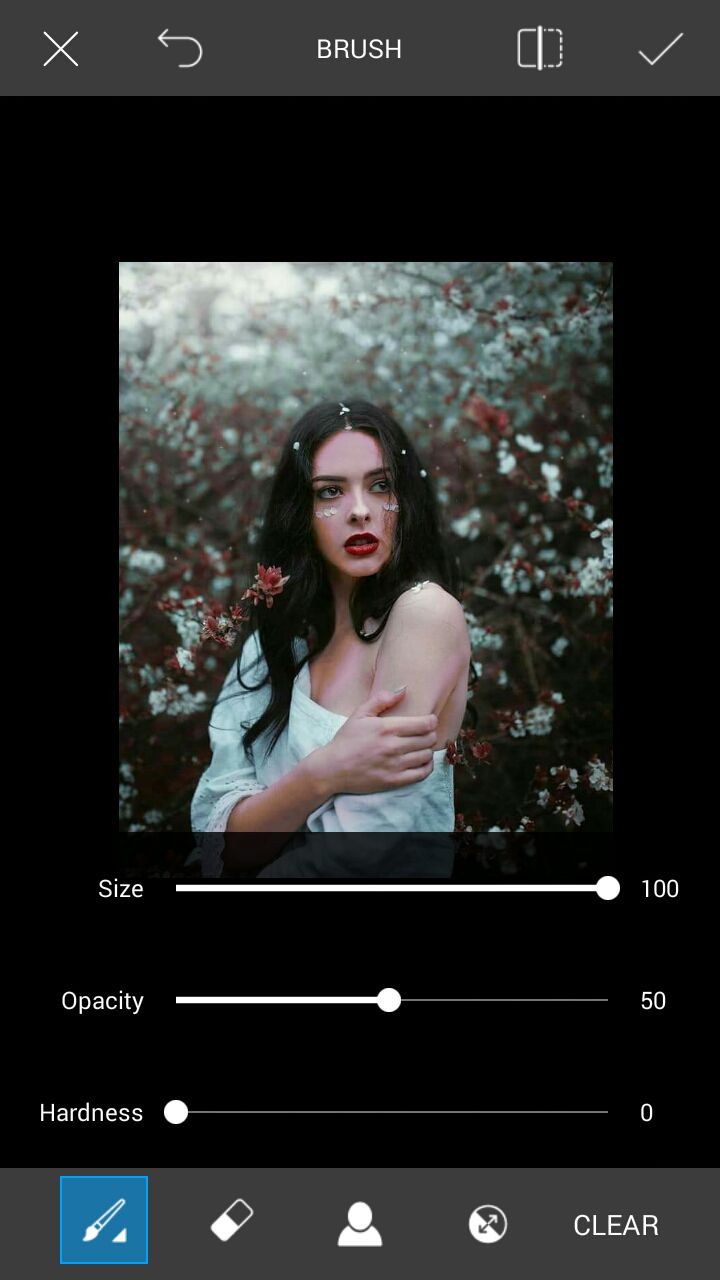
Then lower the opacity to 10 then paint all the girl body.

Go to adjust
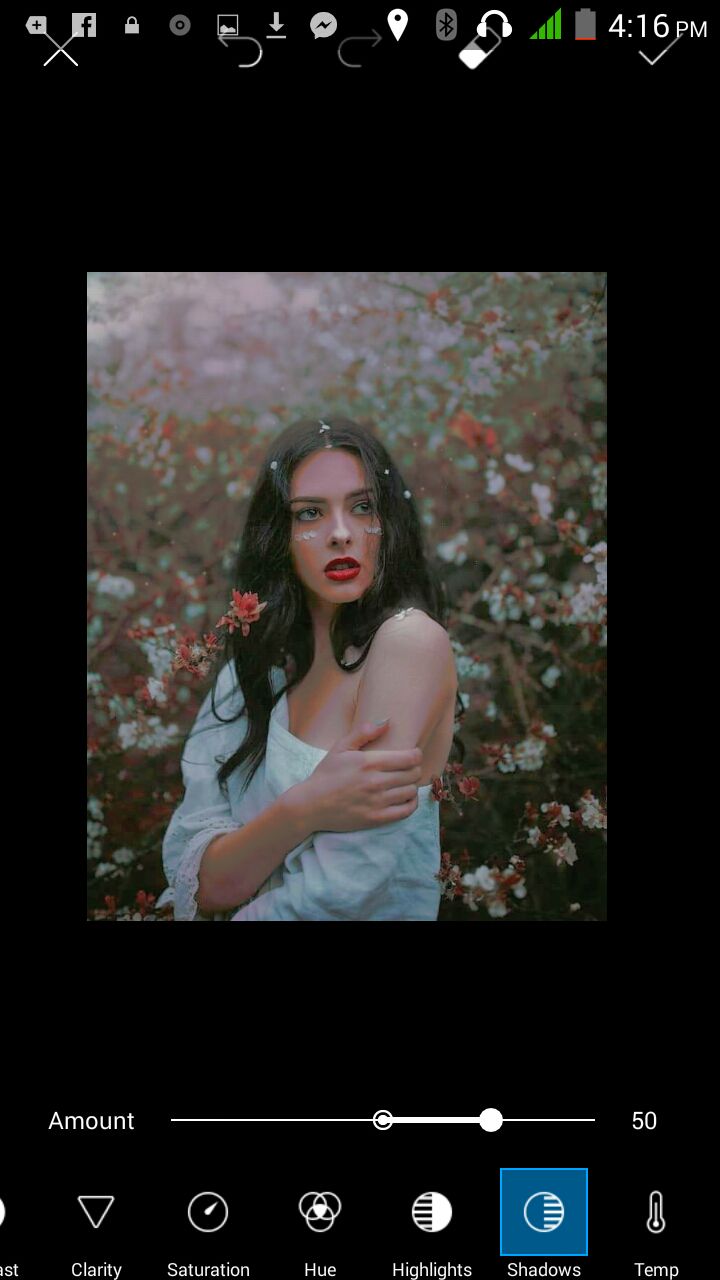
Here are tips:
Contrast: High or low (it depends) but if you put the shadow really high then pulling the contrast high should do.
Shadow: high at least 20+% (more high) depends on you.
Highlight: low ( at least 30-%) lower? Depends on you.
Clarity: 20+ or 10+
Saturate: if there is not much saturate then up to atleast 50+% would do. But 20% is best: well it depends on how your cover or photo changes.
That's it.
Follow my tips, not my tutorial cause you obviously would like different colors and stuff.
But remember my contours, lower the curve first that way, contoured area appears more.
🔴Please vote🔴
Bạn đang đọc truyện trên: Truyen247.Pro