Step 4 Image Editing
So now you have your images scaled and adjusted how you want. It's pretty easy, am I right? Now, this is just a simple image. If you want, you can add stock transparent effects like smoke or fog. However, let's keep this simple. What if you want to darken an image?
This is where you use the doge/burn tool. This will darken your image based on how transparent the effect is. You will want to click on the tool that is highlighted in the tool panel and change it to burn.
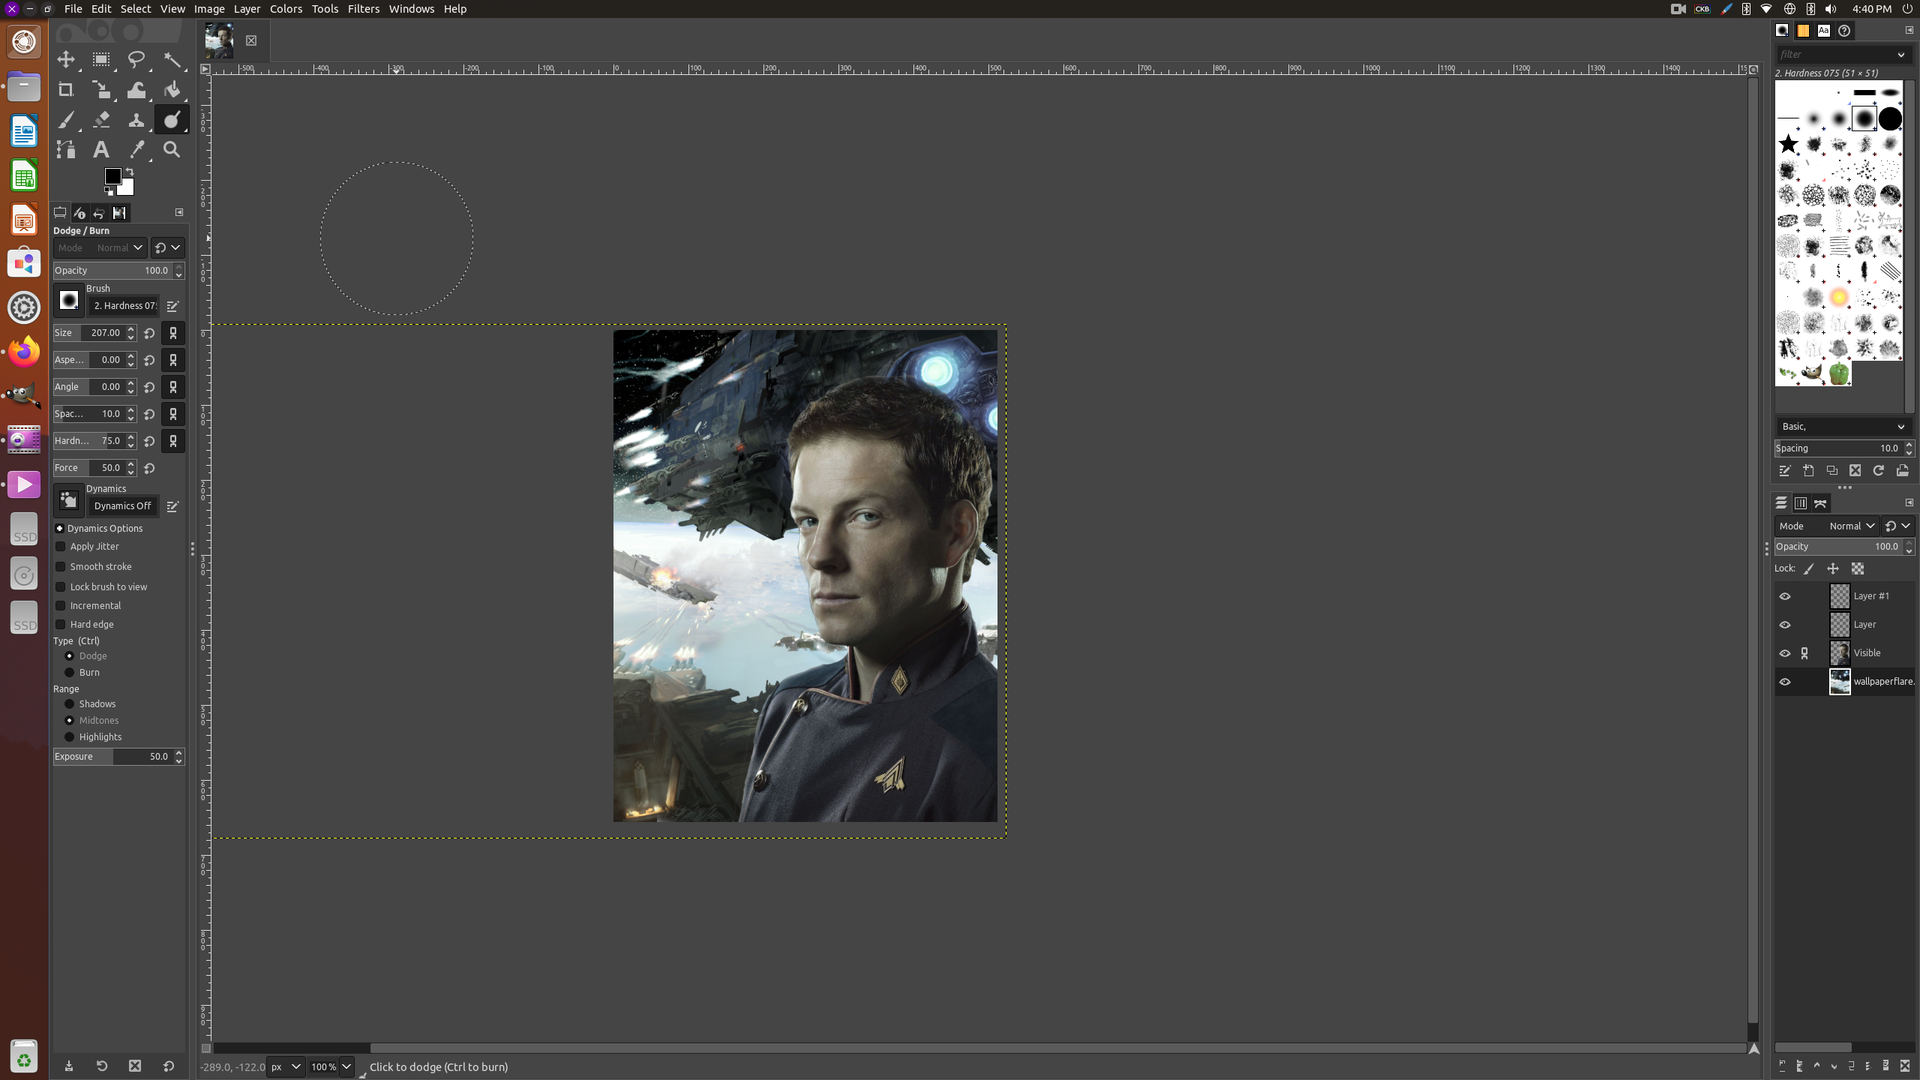
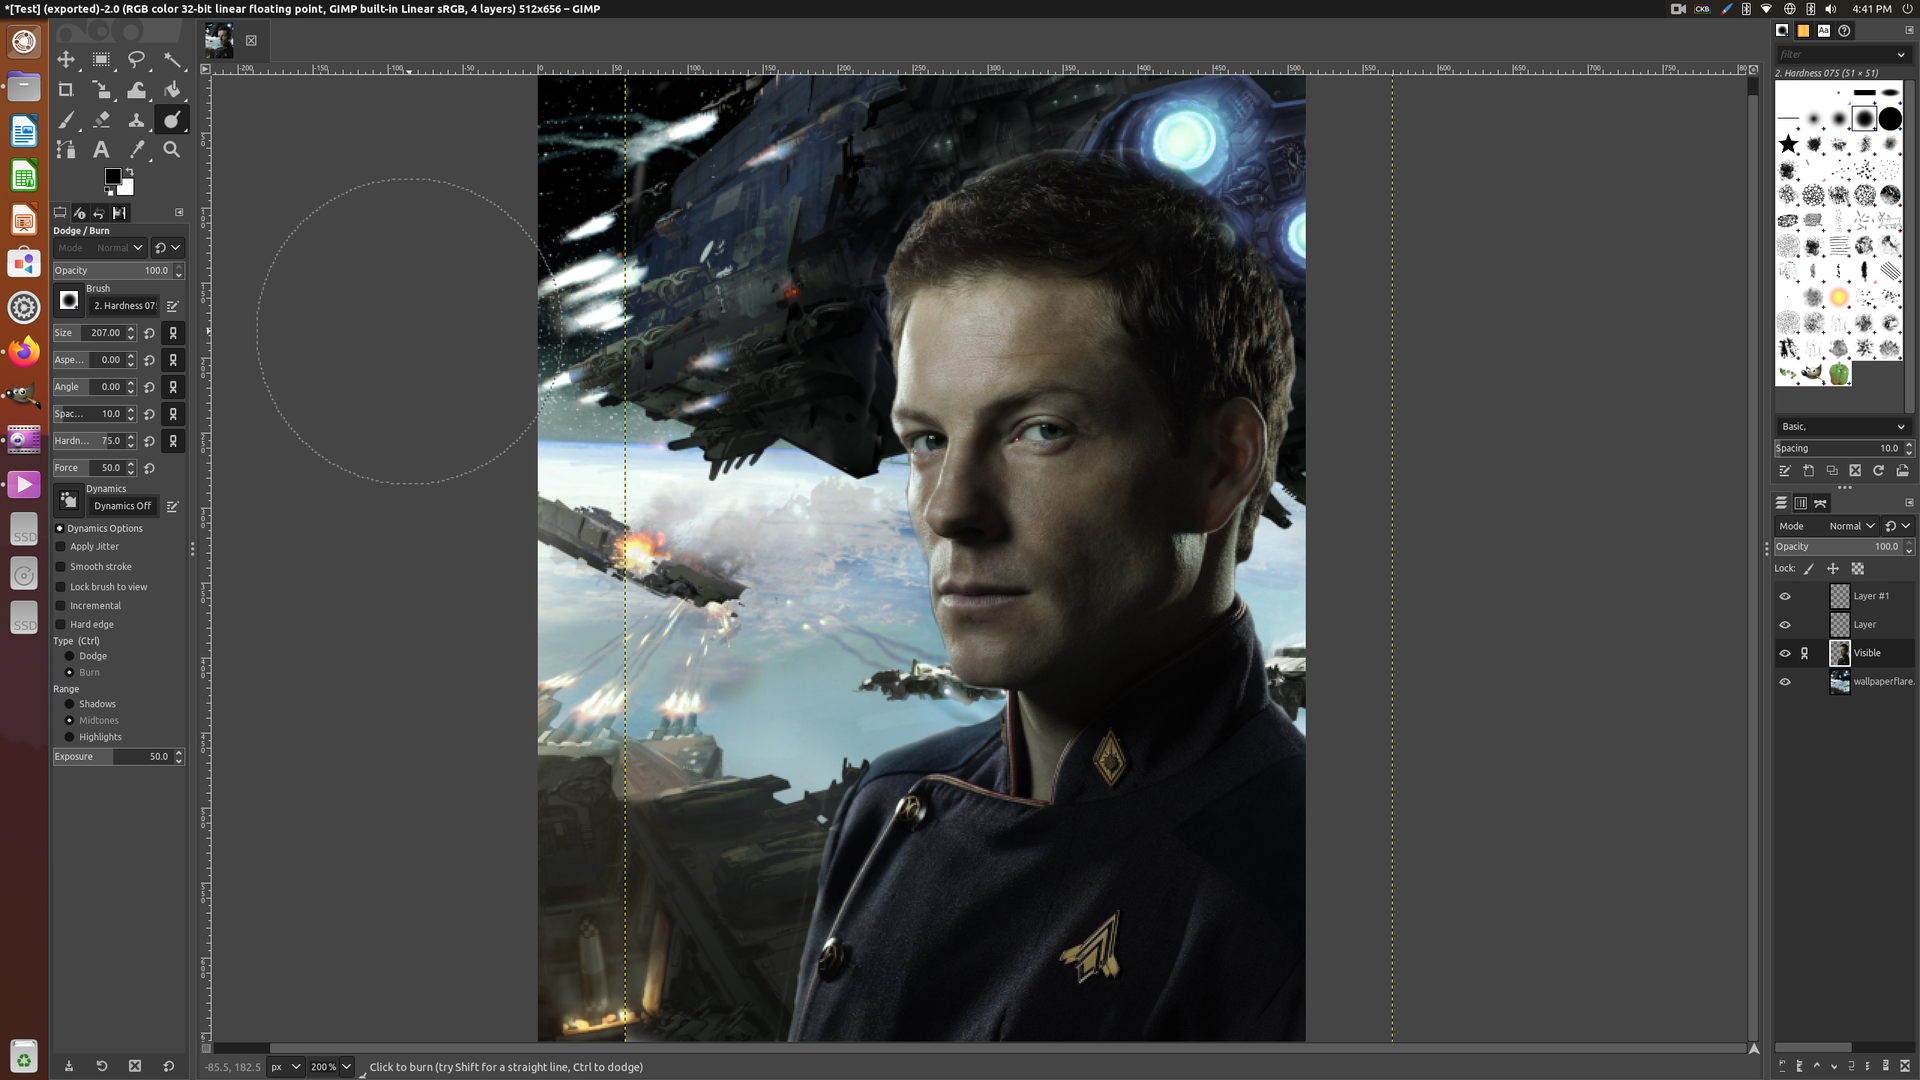
The image now is darker and the colors pop a bit. But you might have noticed an issue with the foreground image. The mans hair is partially transparent. You have two options to fix this. Start a new canvas and just do the image, or smudge it using the smudge/blend tool. In my case, I went back to the beginning. If you do, I highly recommend creating a transparency layer with the foreground and combining the two.
That said, if you want you can edit a photos saturation and hue within the right clicking on the image and selecting color.
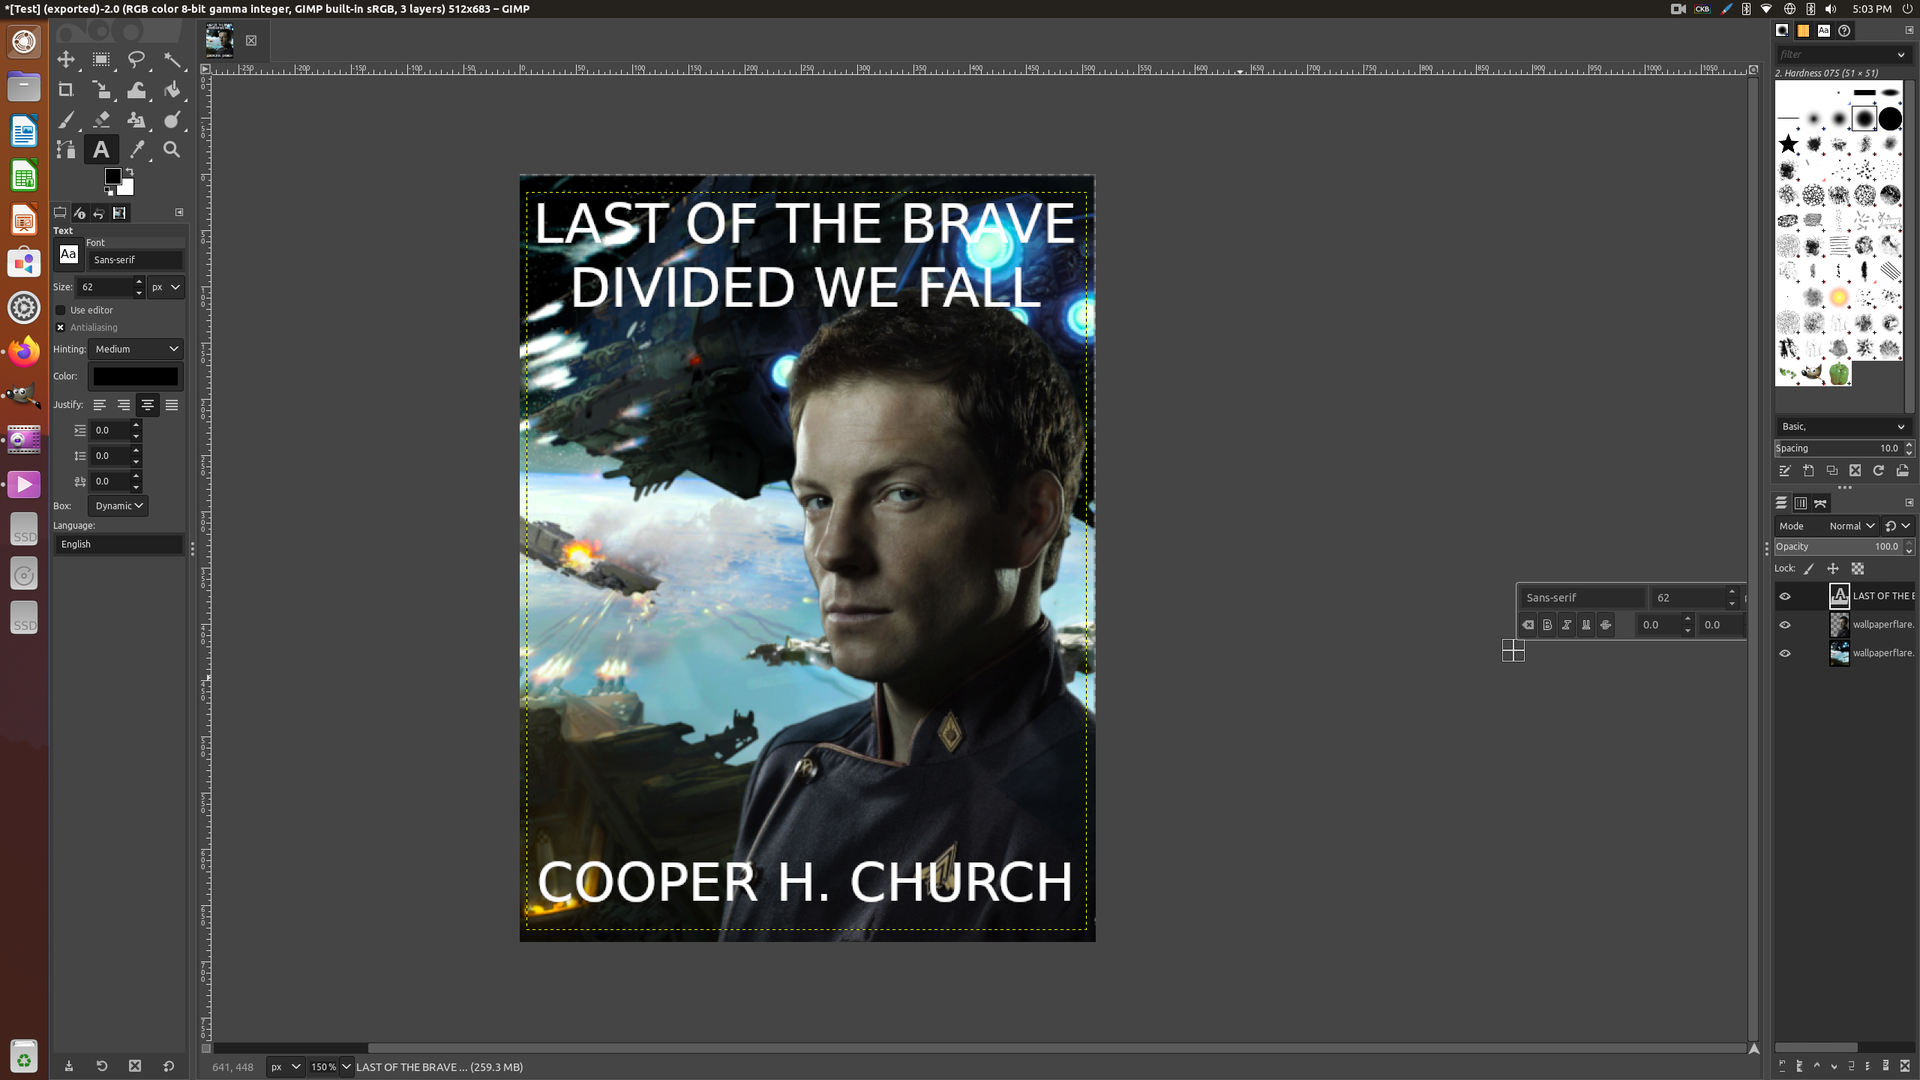
Now that you have the saturation and hue right, let's add text.
When you add text you will want to add it to the top of your layers.
Now for text I highly recommend you get your text from RELIABLE sources. This means you can get text font from Google Font.
And done! Now that the image has been properly scaled, let's export it. But first, you should save a copy now. This will be your master copy file. Just save again this time say "Book_Final" Now you want to go to File and click Export. For Wattpad you will want to save as a PNG.
I don't recommend touching any of the settings, except lower compression to 0.
Drum roll everyone!
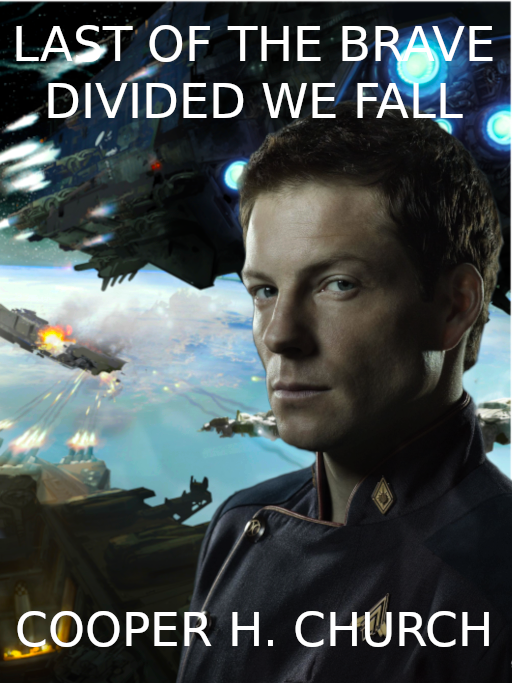
There you go, a full and complete photo-edited cover all in GIMP. You can actually use any image manipulation program to do this except Paint.

Bạn đang đọc truyện trên: Truyen247.Pro