
Photoshop 101- Bevel Text
*note- if you don't know, we are merging Photoshop For Blockheads and Graphics Tips and Tutorials together for connivance. This is a c&p from a previously published chapter
Hey guys, today I'm gonna teach you how to make bevel text using Photoshop CS2! If you don't have this version, it's okay since it's very similar on the other Photoshop versions. Let's get started! BTW sorry for the crooked pics XD I had trouble getting them straight.
1. First, open up a blank document 1000 px by 800px
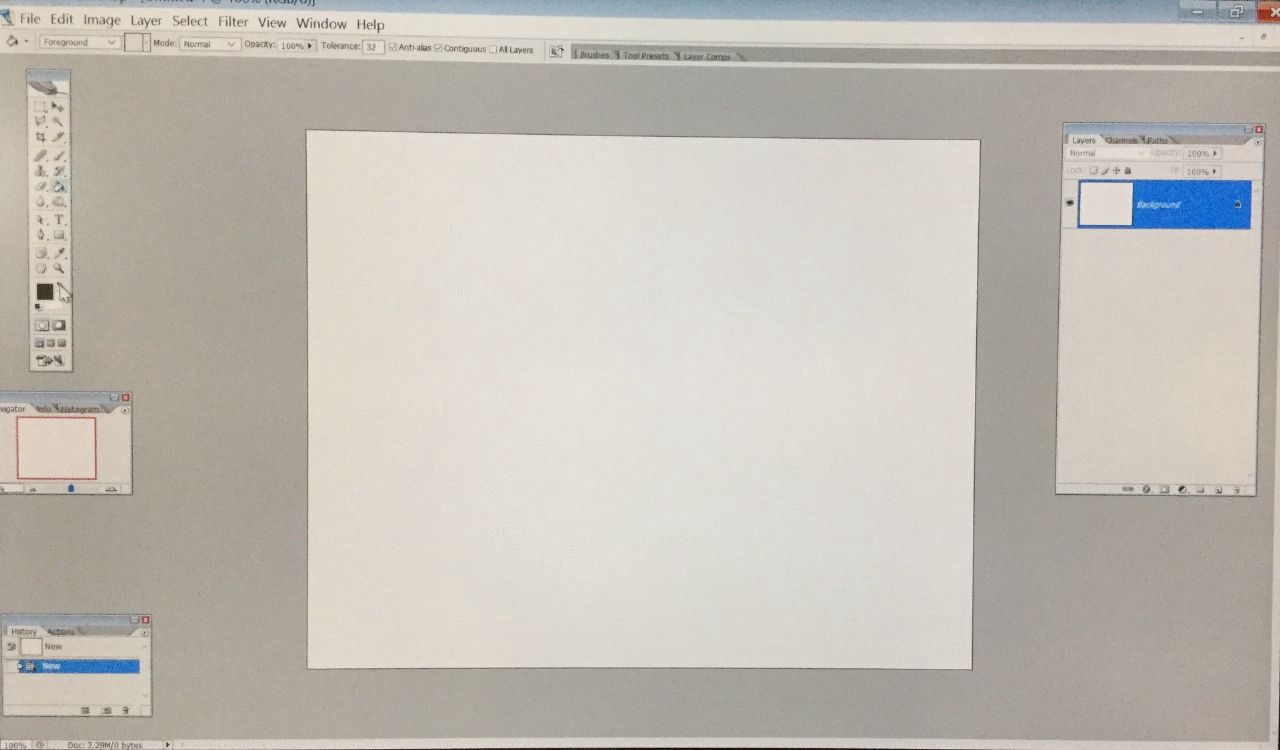
2. Use the paint bucket tool, make sure the foreground is black, and make the document black.

3. Next, use your text tool and write Photoshop CS2. You don't need a specific size, just make it fit so it looks something like this:
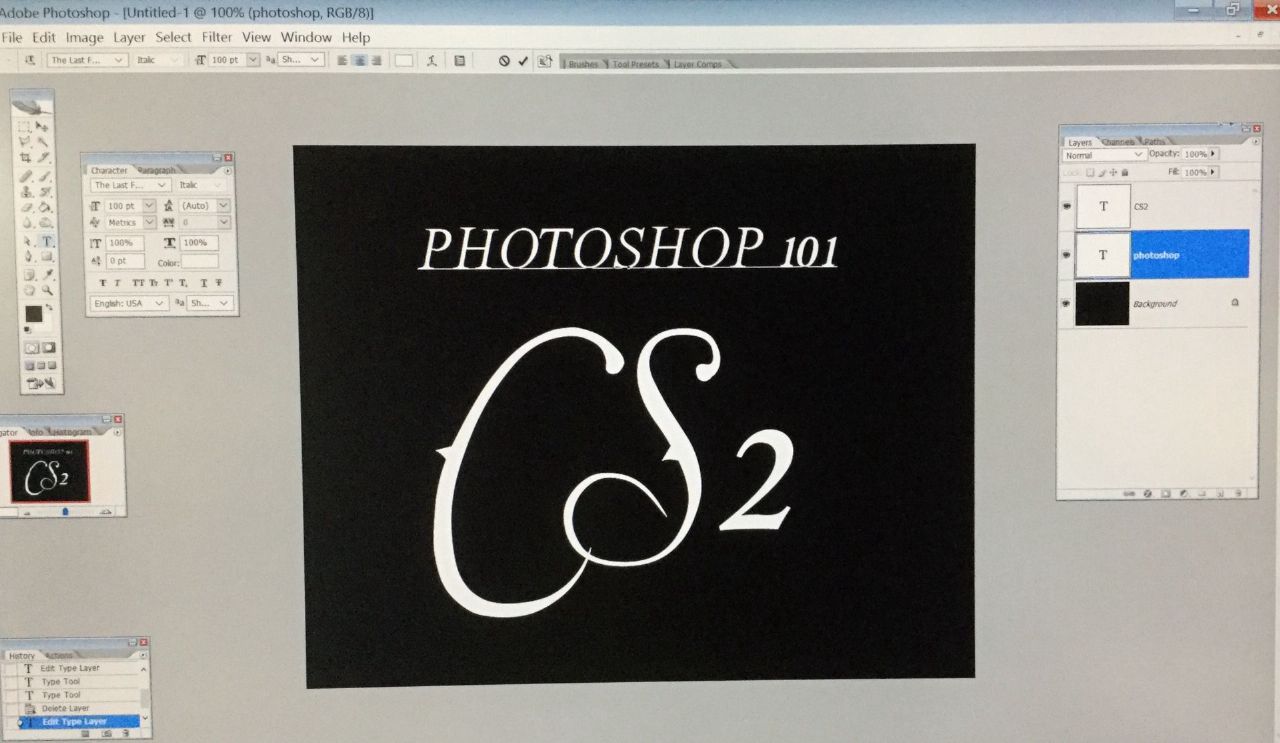
4. If you look at the layers, you should have two text layers. Now, right click on one layer (I first clicked on CS2) and select blending options. A box like this should pop up.
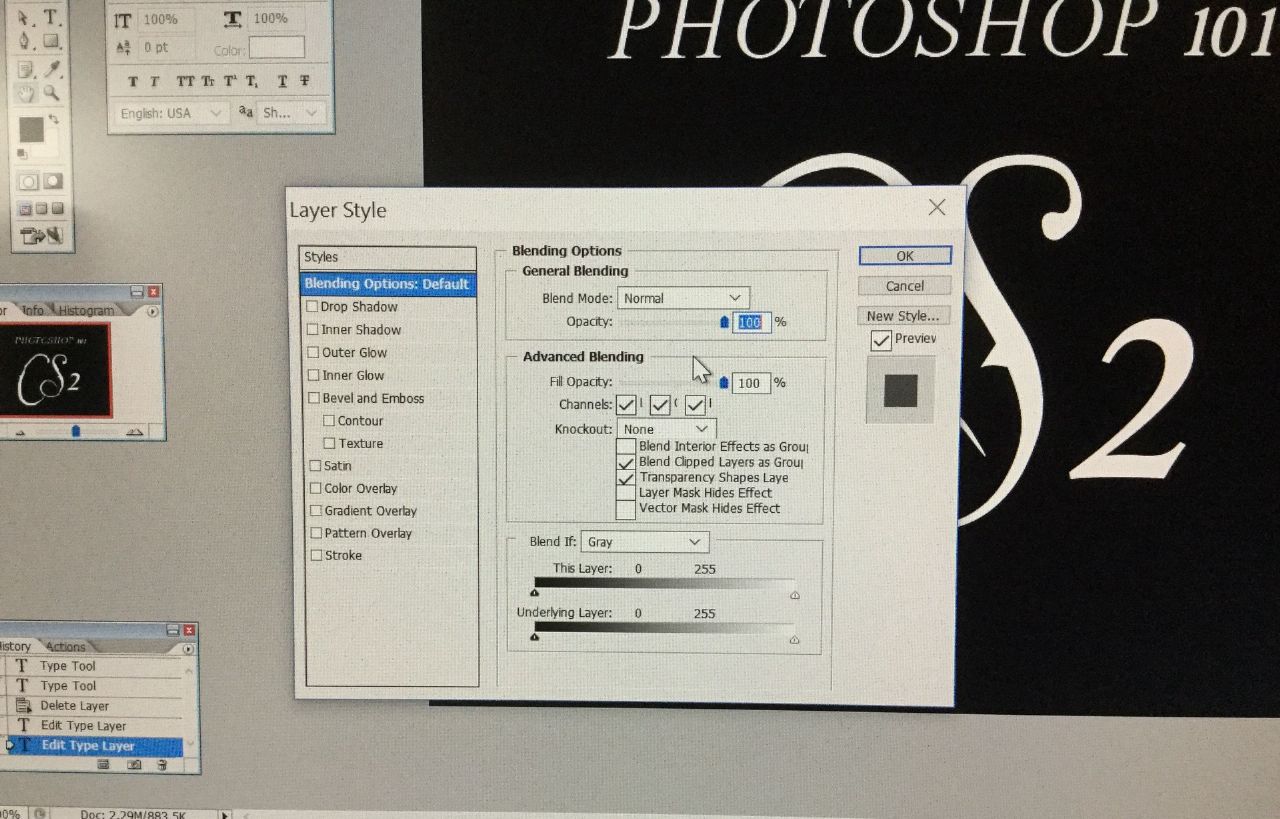
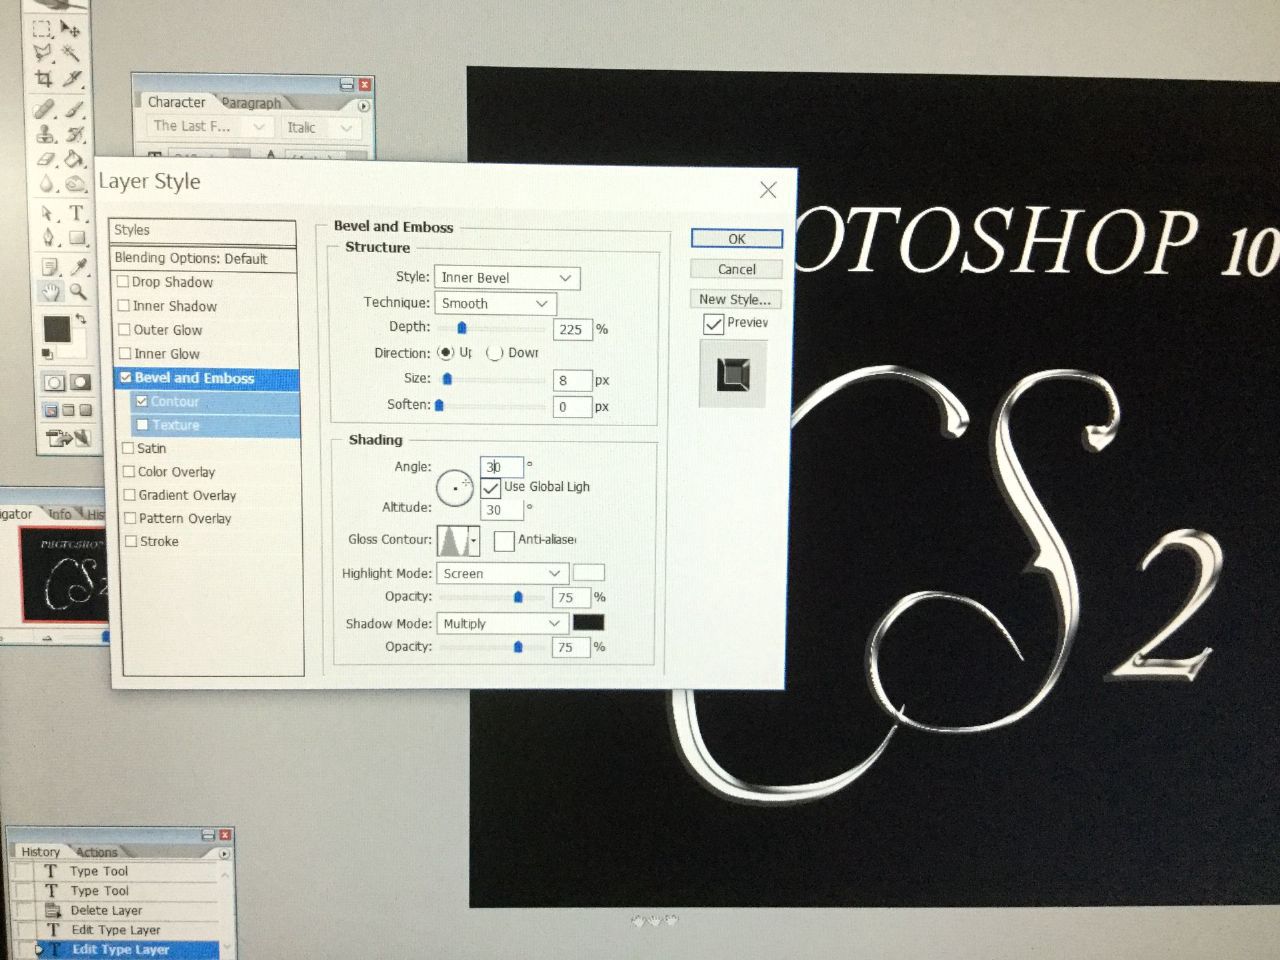
5. Select "Bevel and Emboss" as well as "Contour". The blending options should look something like this:
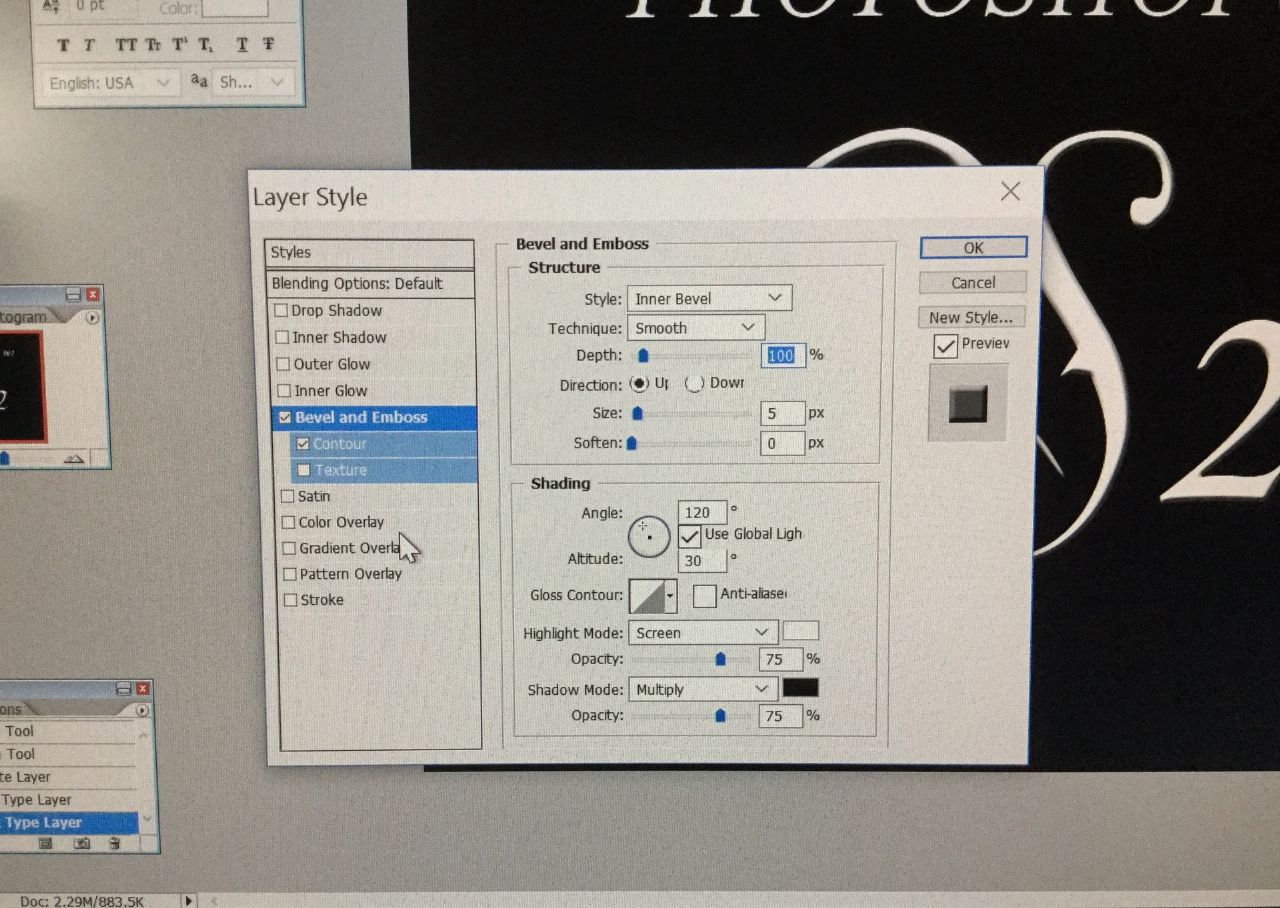
6. Change the setting so it looks like this. Change the depth, size, angle, and gloss contour. Again, you can always make it different.
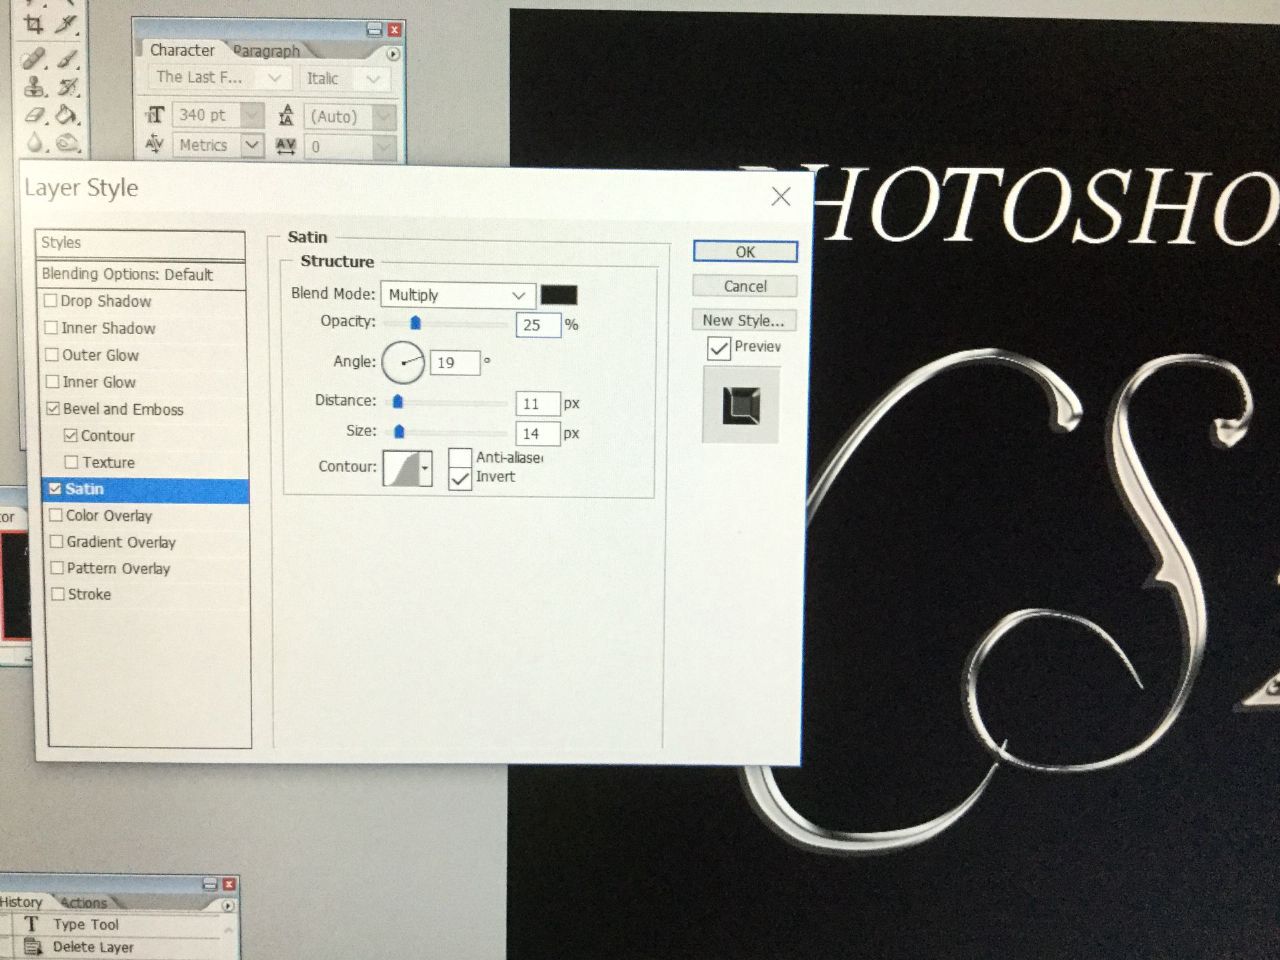
7. Now, we're done! However, here are some extras; if you don't want the text to be too bright, you can select "Satin" and it'll give you this:
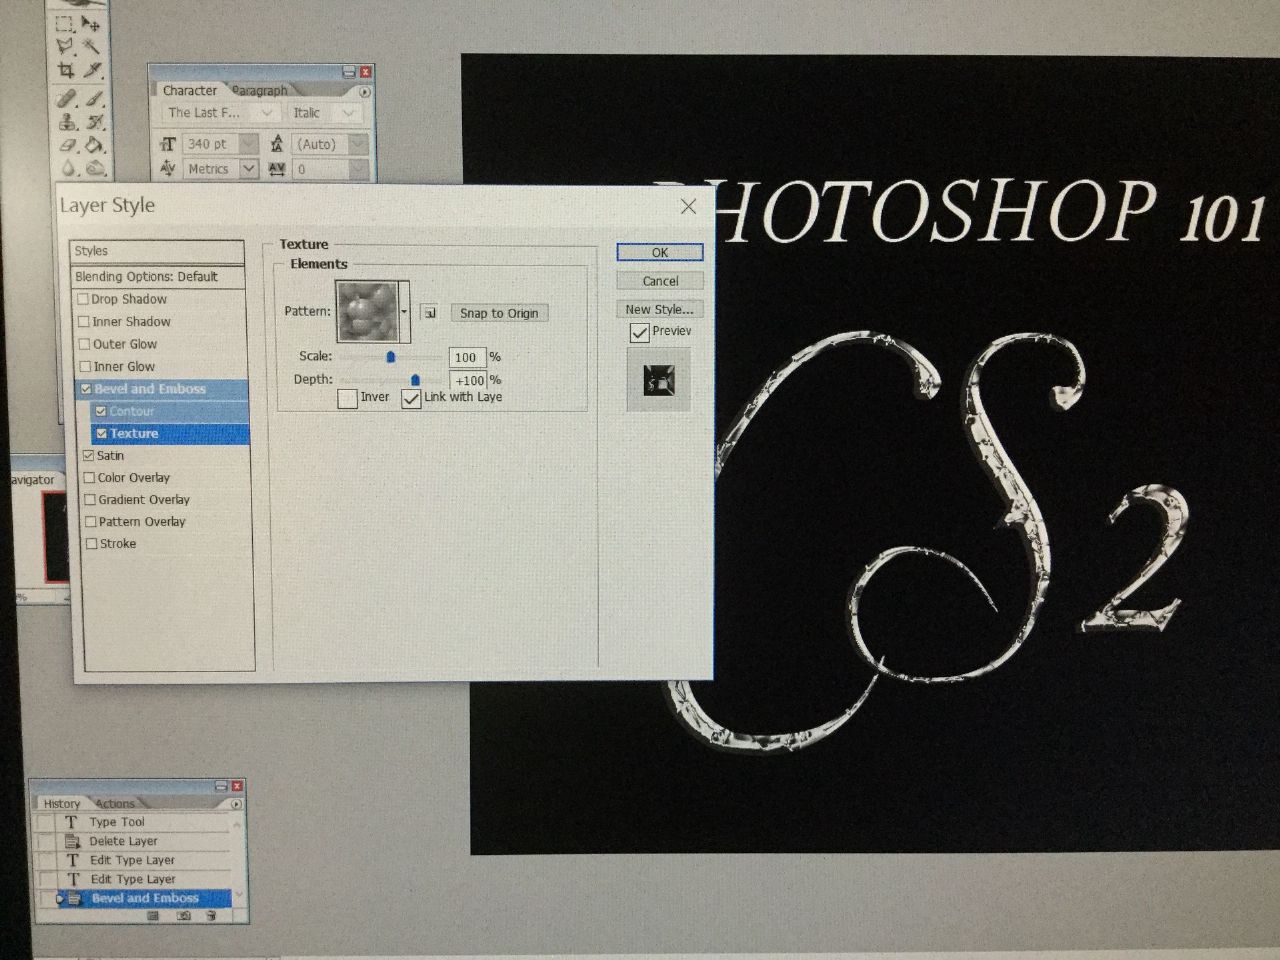
8. The font should have turned slightly darker. Now, if you want to add some cool patterns/textures, go select "Texture". Select a pattern you like. I've chosen a pebble-like/scaly texture.
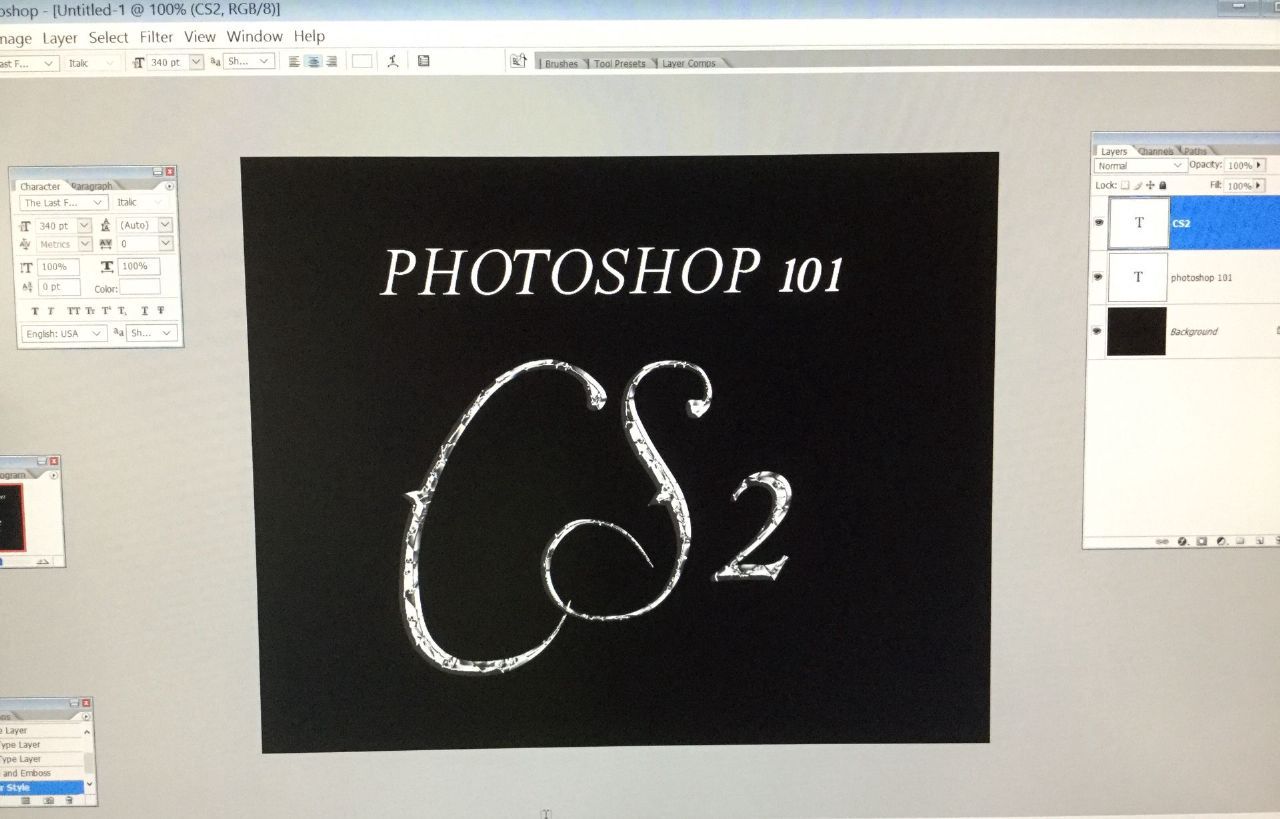
9. And you're done! Your final product should look similar to this:
I hope you enjoyed this tutorial!
~Emilee, zero-infinity
Please tag her if you have any questions regarding the tutorial.
Bạn đang đọc truyện trên: Truyen247.Pro