𝕿𝖚𝖙𝖔𝖗𝖎𝖆𝖑: 𝕴𝖒𝖕𝖆𝖘𝖙𝖔
Hello to the second tutorial. I hope the first one was good though and I hope this one will be simple enough too. For this tutorial we'll make Impasto's template.

⚜️Impasto⚜️
Now, just as the first tutorial, this one is pretty simple too. You just need two apps like the first tutorial:
You'll need TWO APPS:
1- PHOTO LAB
2- OVER.
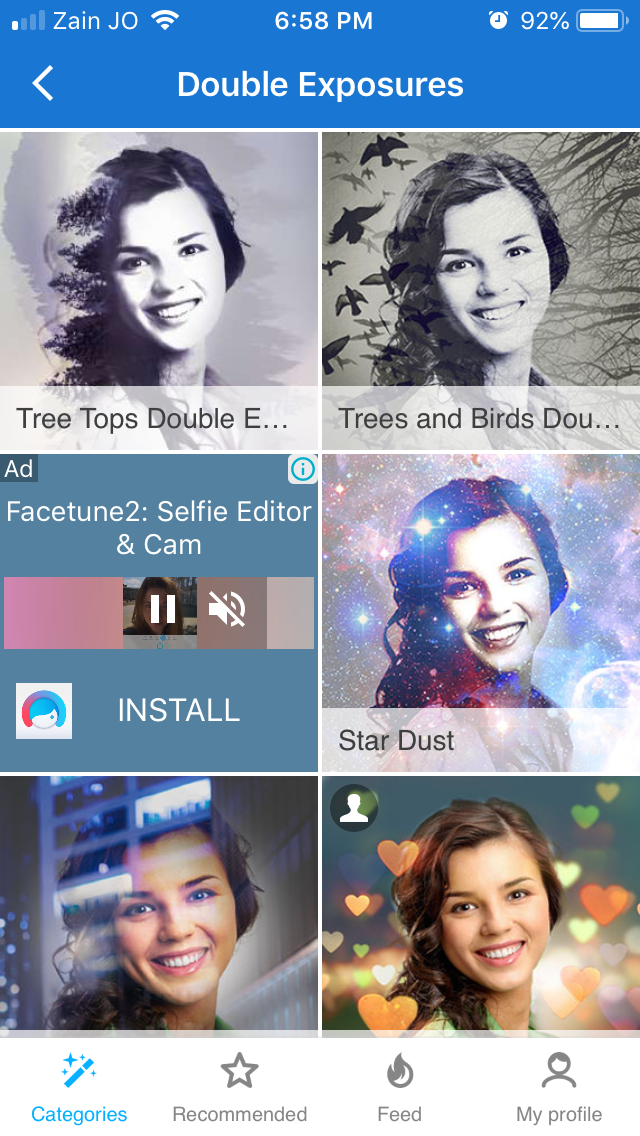
I. Open photo Lab and go to the Categories. You'll find Double Exposures category.

Open it and search for Trees and Birds Double Exposure. Yes this might seem odd but we won't just use this effect don't worry.
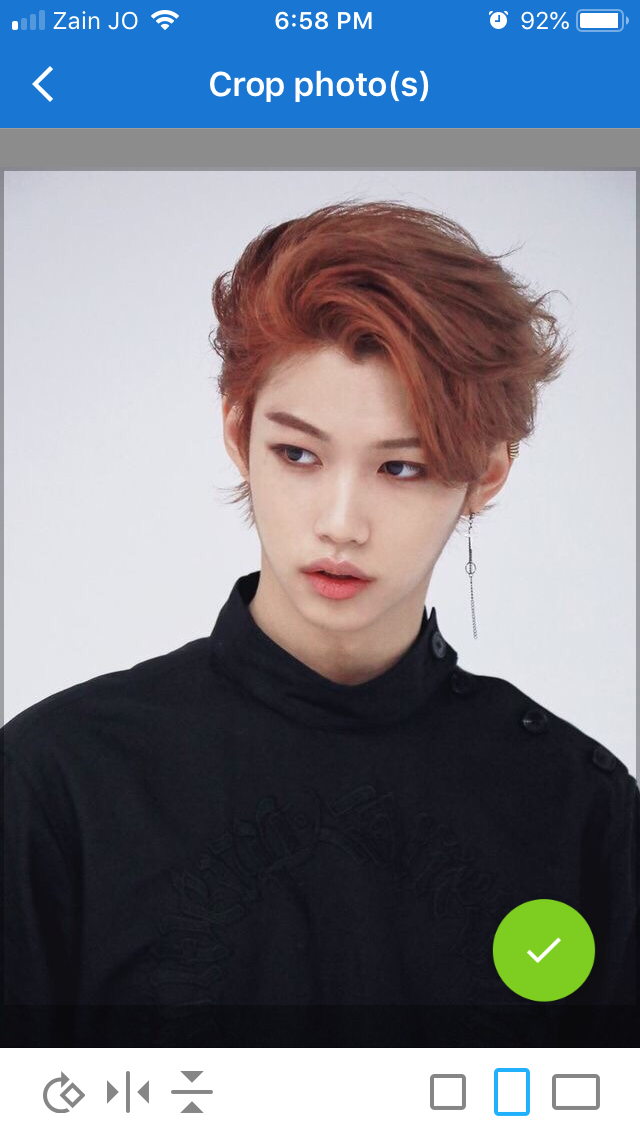
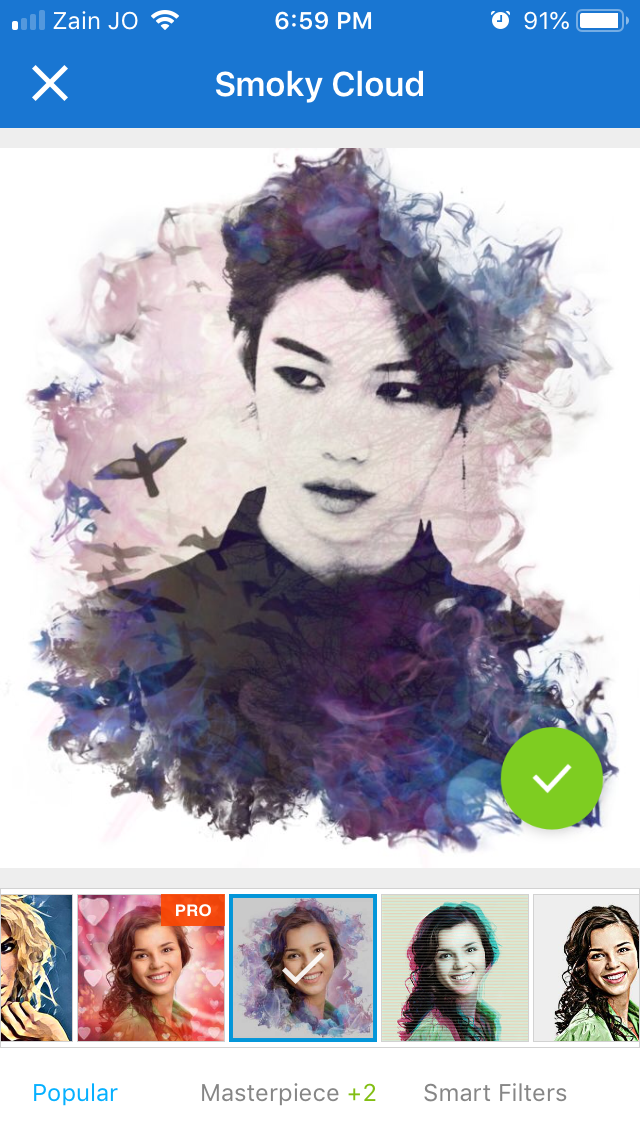
II. Now, choose the image you want to add this effect to, but remember that you'll need the face to look clear so that it can be identified. I chose this photo since Felix looks so good in it 😅
Now, the effect will look like this.
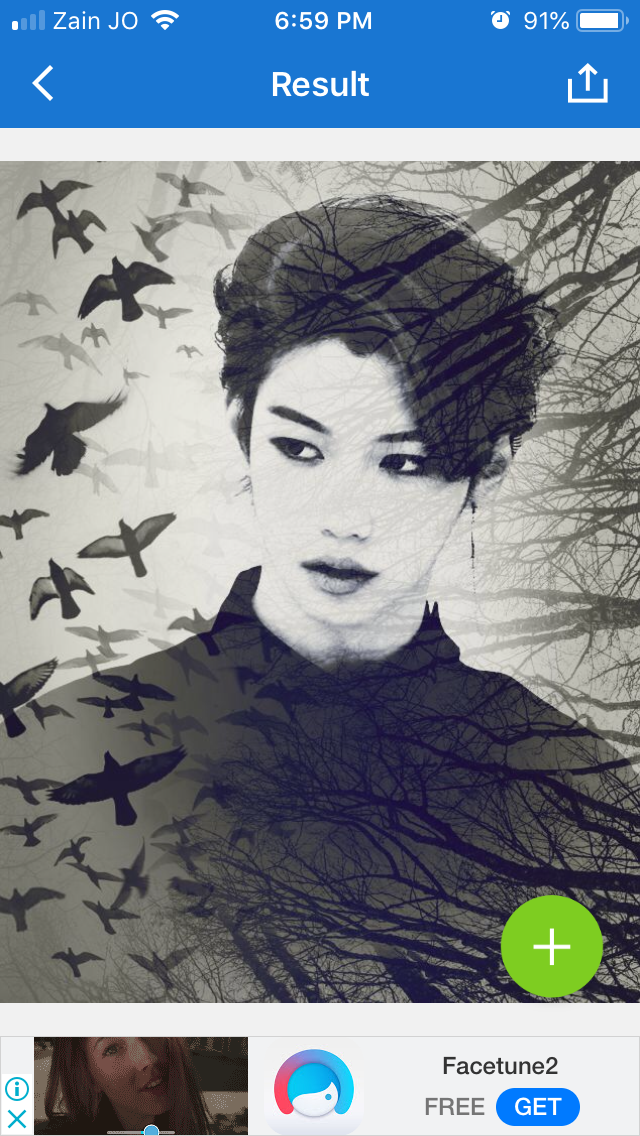
III. Now, tap the green + down there and choose Art and Effects
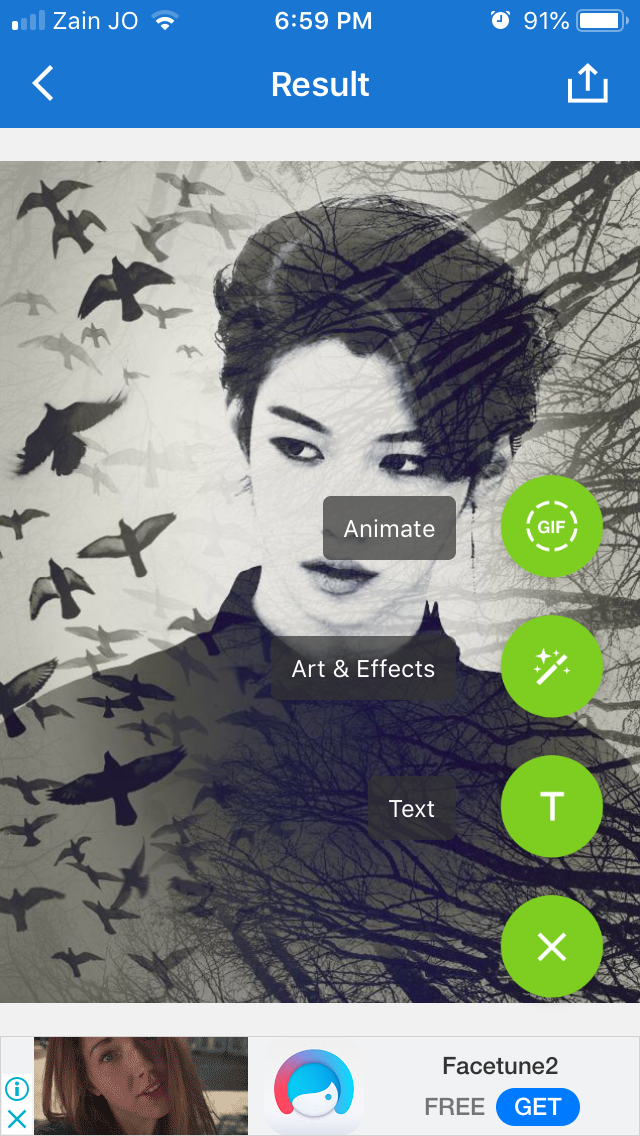
Search for this effect. You'll find it among the popular effects or the double exposure ones too.
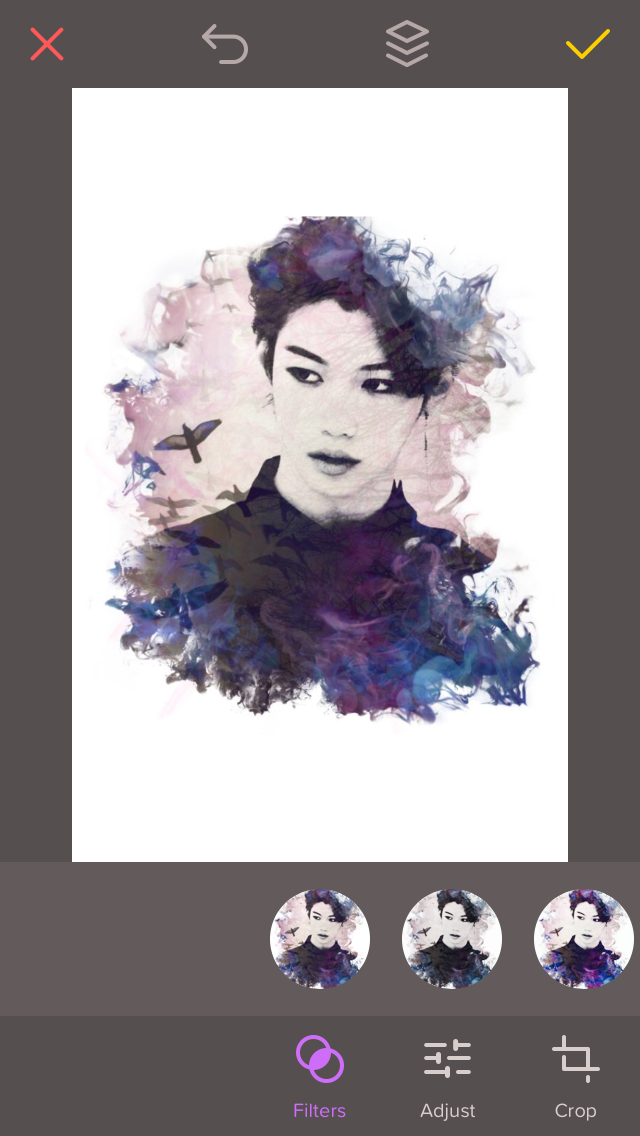
We screenshot the photo and crop it.
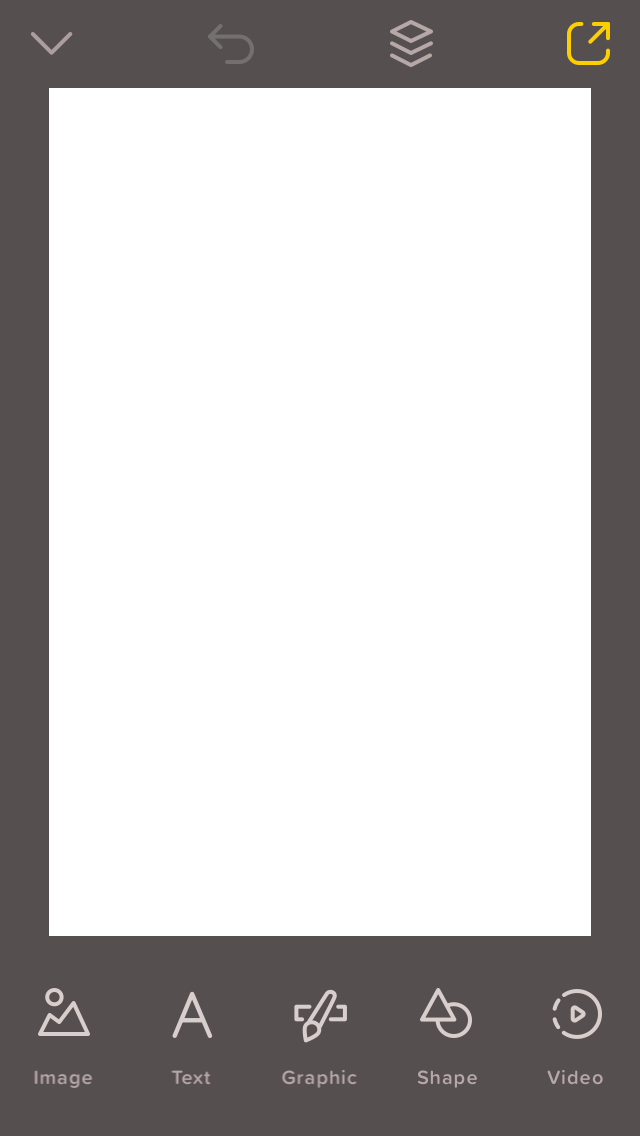
IV. Open Over now and choose a white canvas with the size 256X400
V. Tap on the image to add the image we just screenshotted. And resize it and place it in the middle. If you'd like to edit the colors and shadows, you can do it your way.
VI. Finally we add the text, I used Bleeding Cowboys for the title. And if you want a matching color for the font and picture, tap on the text and then color. You'll find this small tool with the +
Now use it to select any color you want from the picture itself.
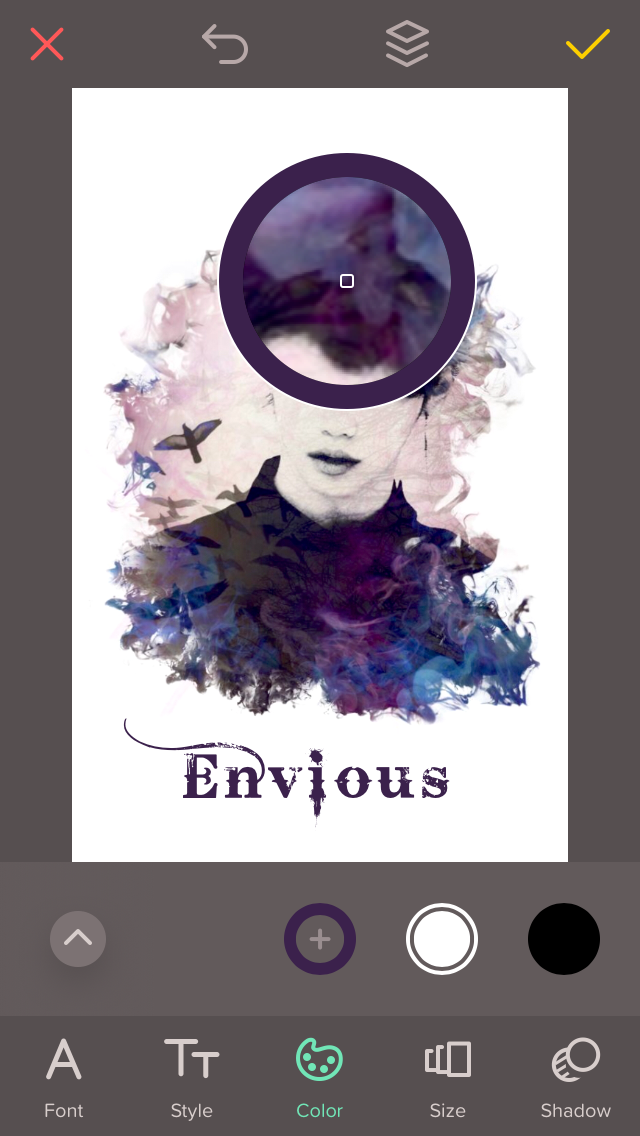
Tap on the ✔️ so the color won't get lost once you find the right one (it happens to me a lot and it's annoying ;-;) and add the author name too. I used Sea Gardens font for it.
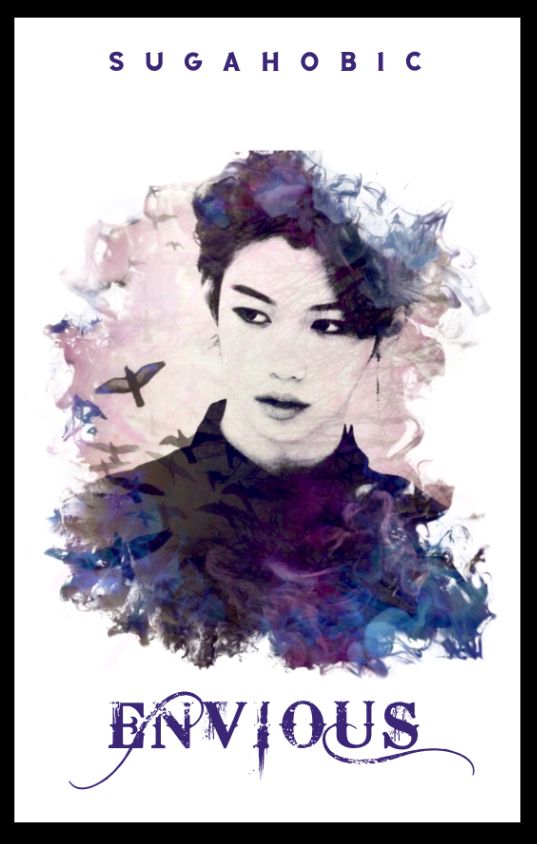
And now, you have it. The final result.
The trick is to just experiment and try different styles on your own. And you'll be able to create many other new edits as long as you practice ^^
Hope this was helpful for you. Tell me what you think and if you have any questions. And tag me to see your edits if you tried it 😊
Bạn đang đọc truyện trên: Truyen247.Pro