
✏️ How to Draw : Feather
How to Draw: A feather with hyper realistic details.
Feathers are just something I doodle a lot, and as a result, I feel like I can make them consistently. So.. here ya go!
Steps
1 - 14
Difficulty
🔴🔴⚪️⚪️⚪️
Finished Product:

Alright, let's get started
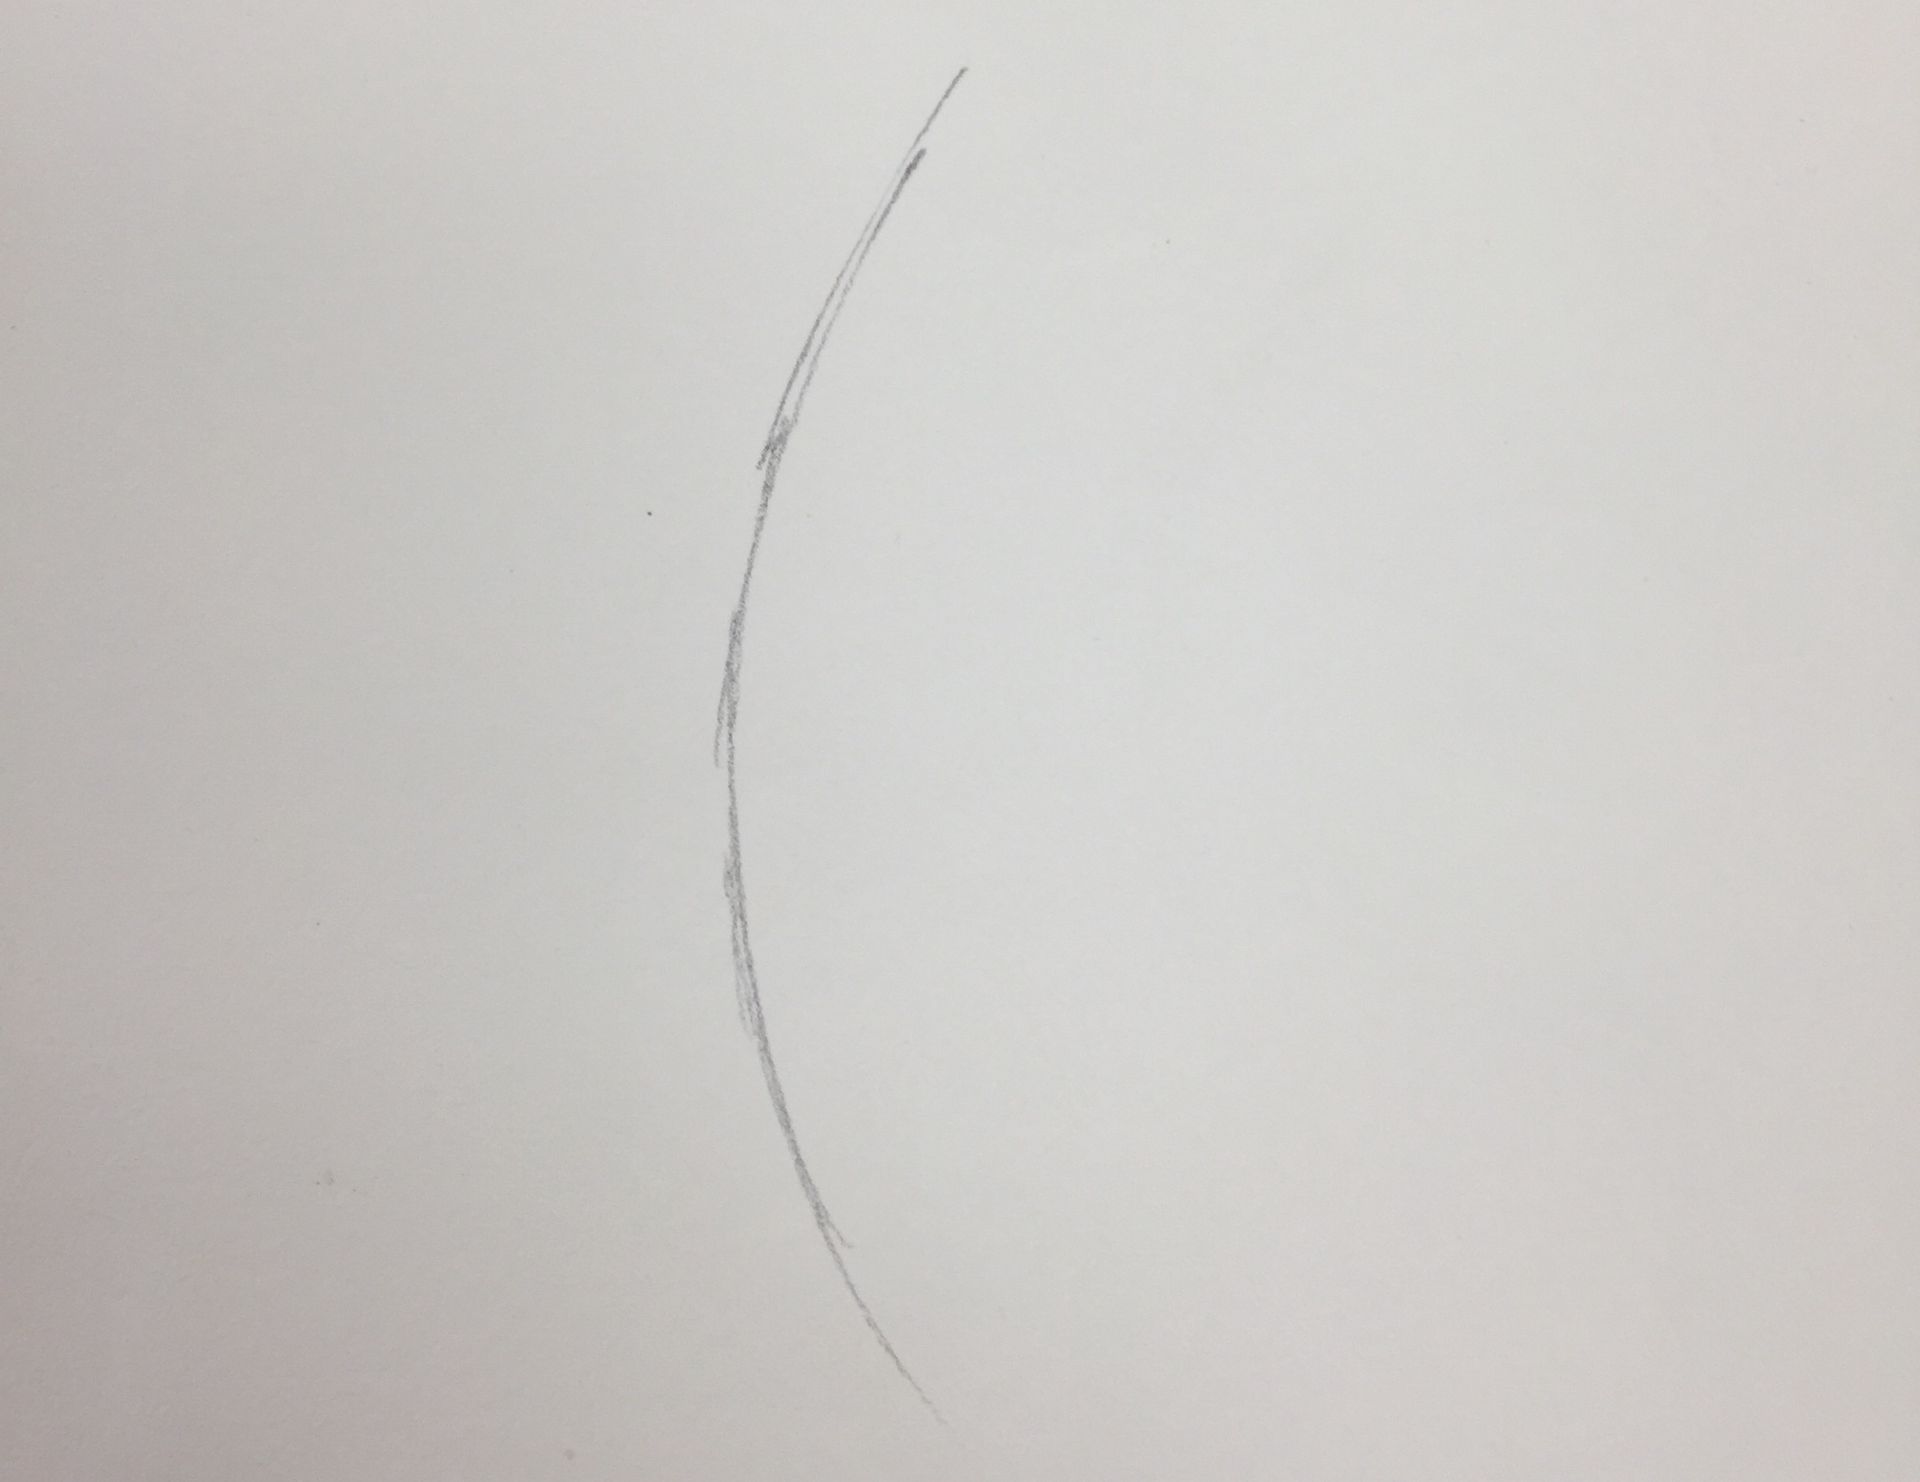
1 : Sketch a sightly curved line.
You can technically use a straight line, but a curve makes your doodle much more interesting.
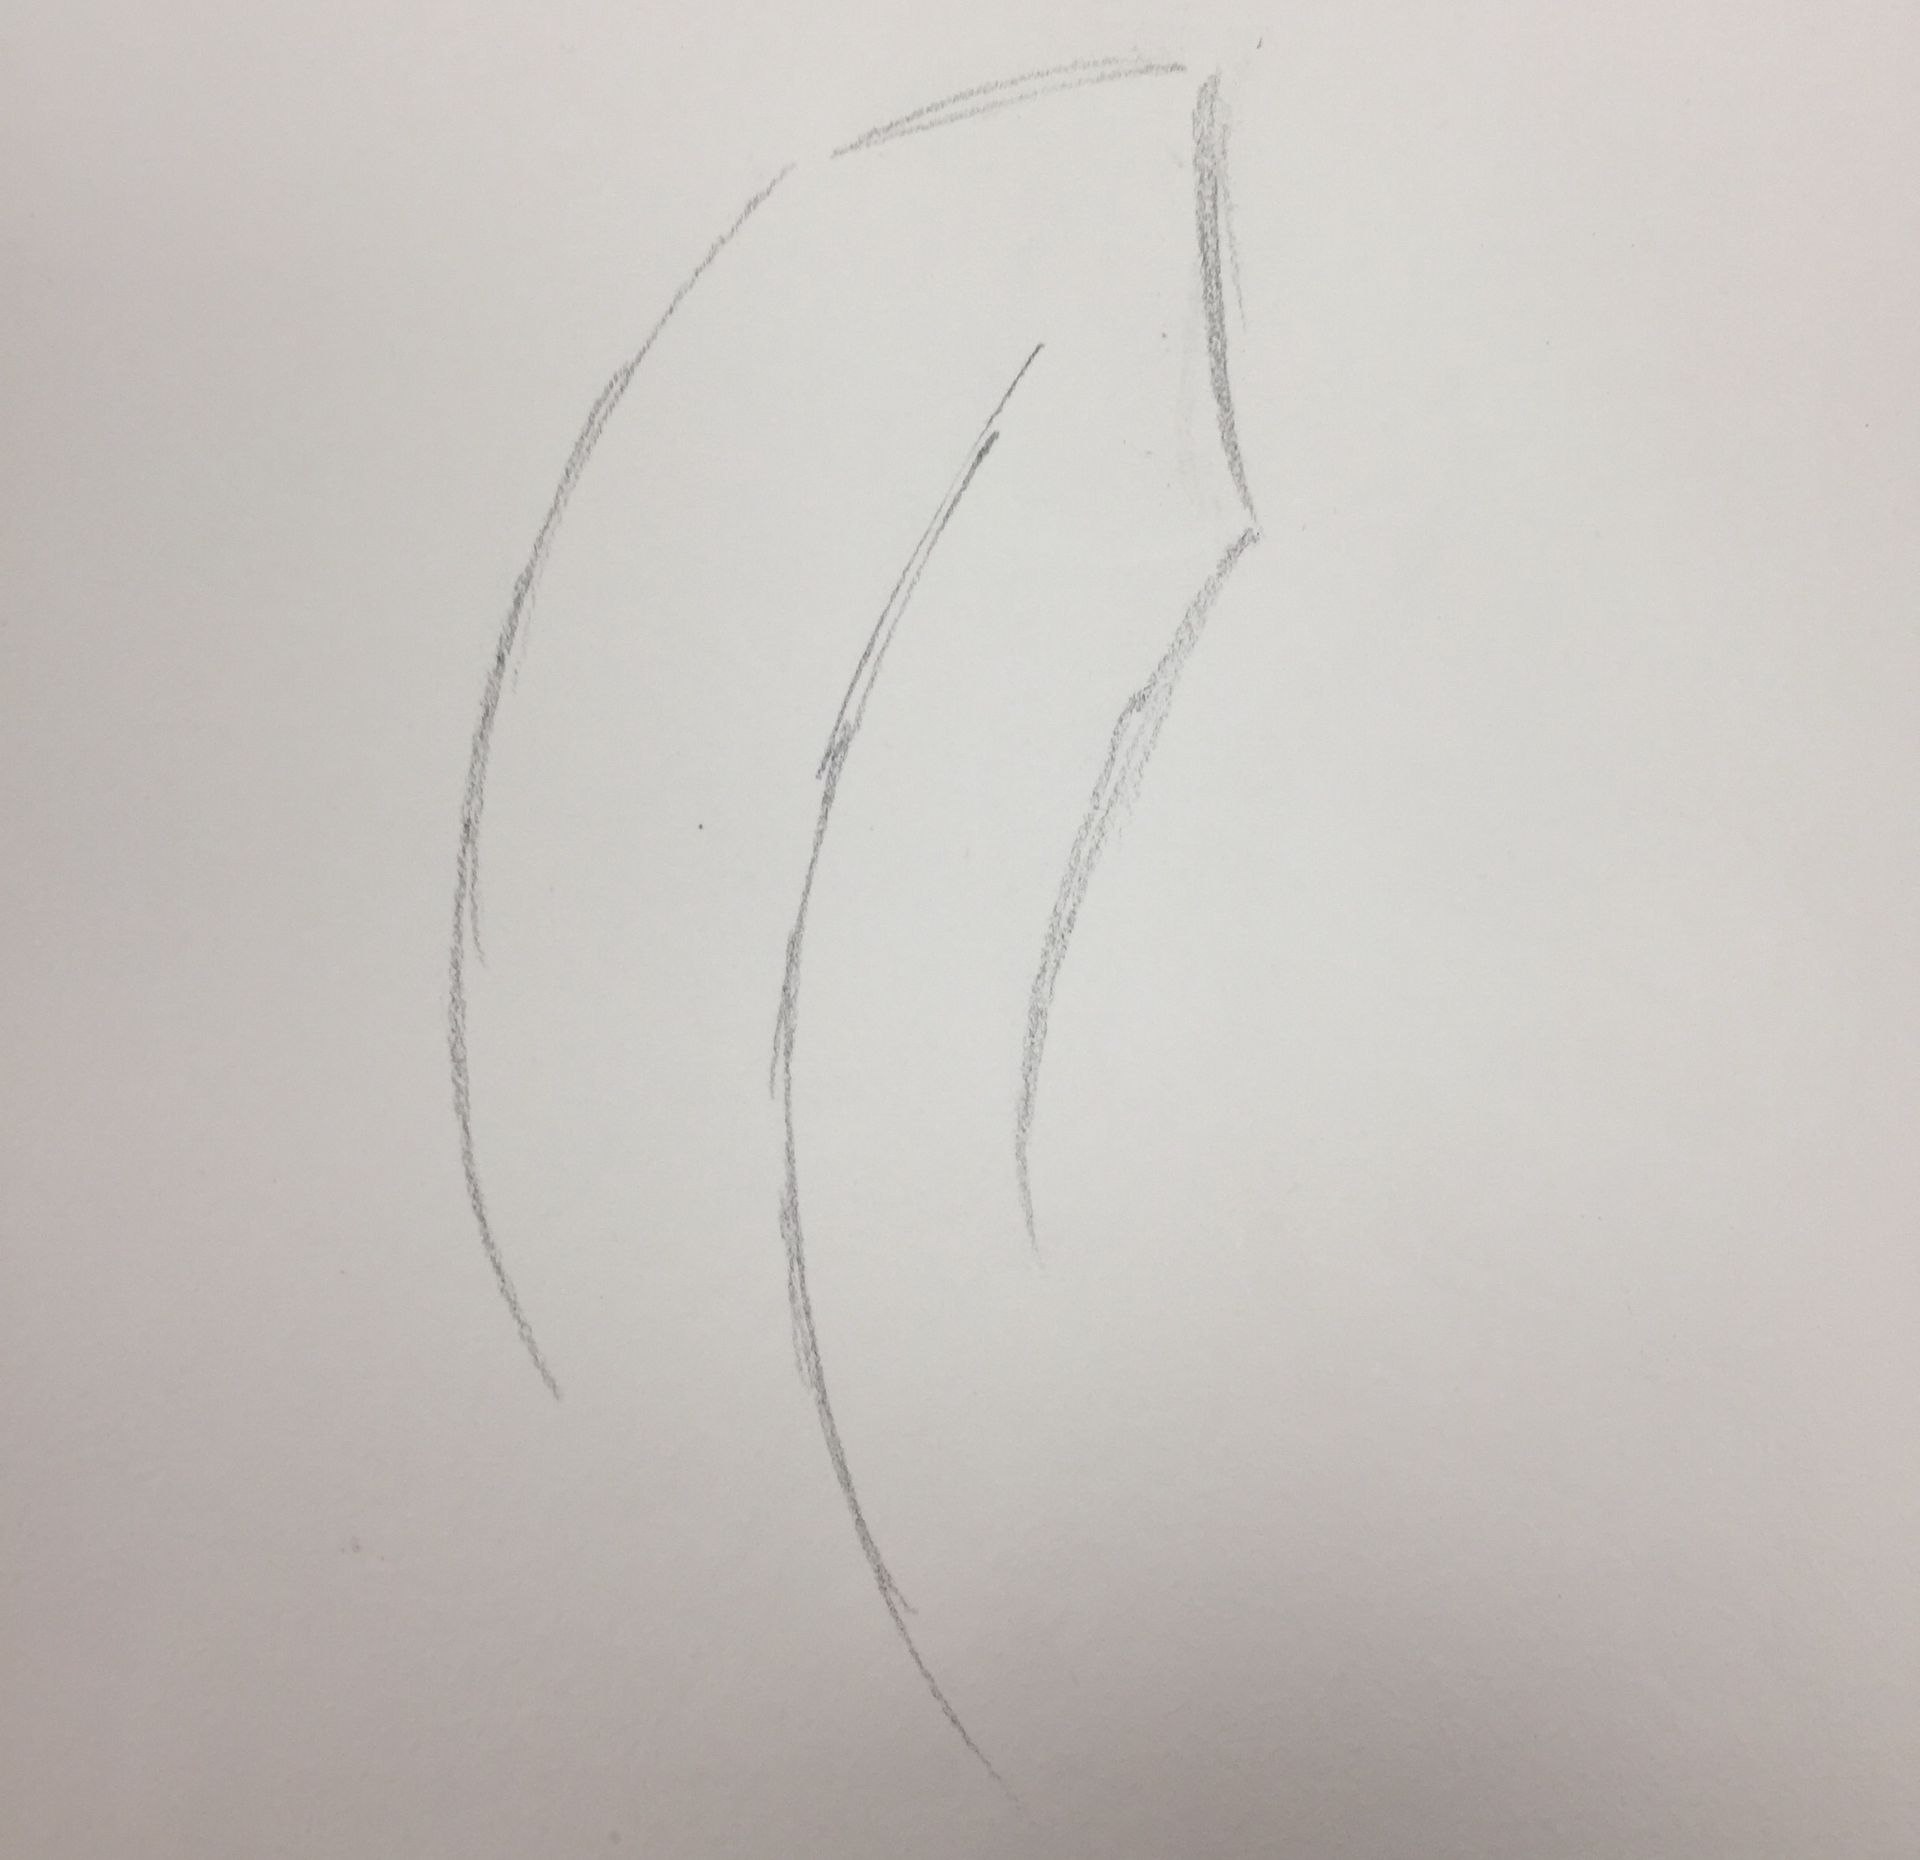
2 : Draw a point, not connected to the line you drew before.
Curl the point in the same direction of your line.

3 : Continue the point along the stem of the feather.
Draw this part getting just barely thinner as it travels down to the end.
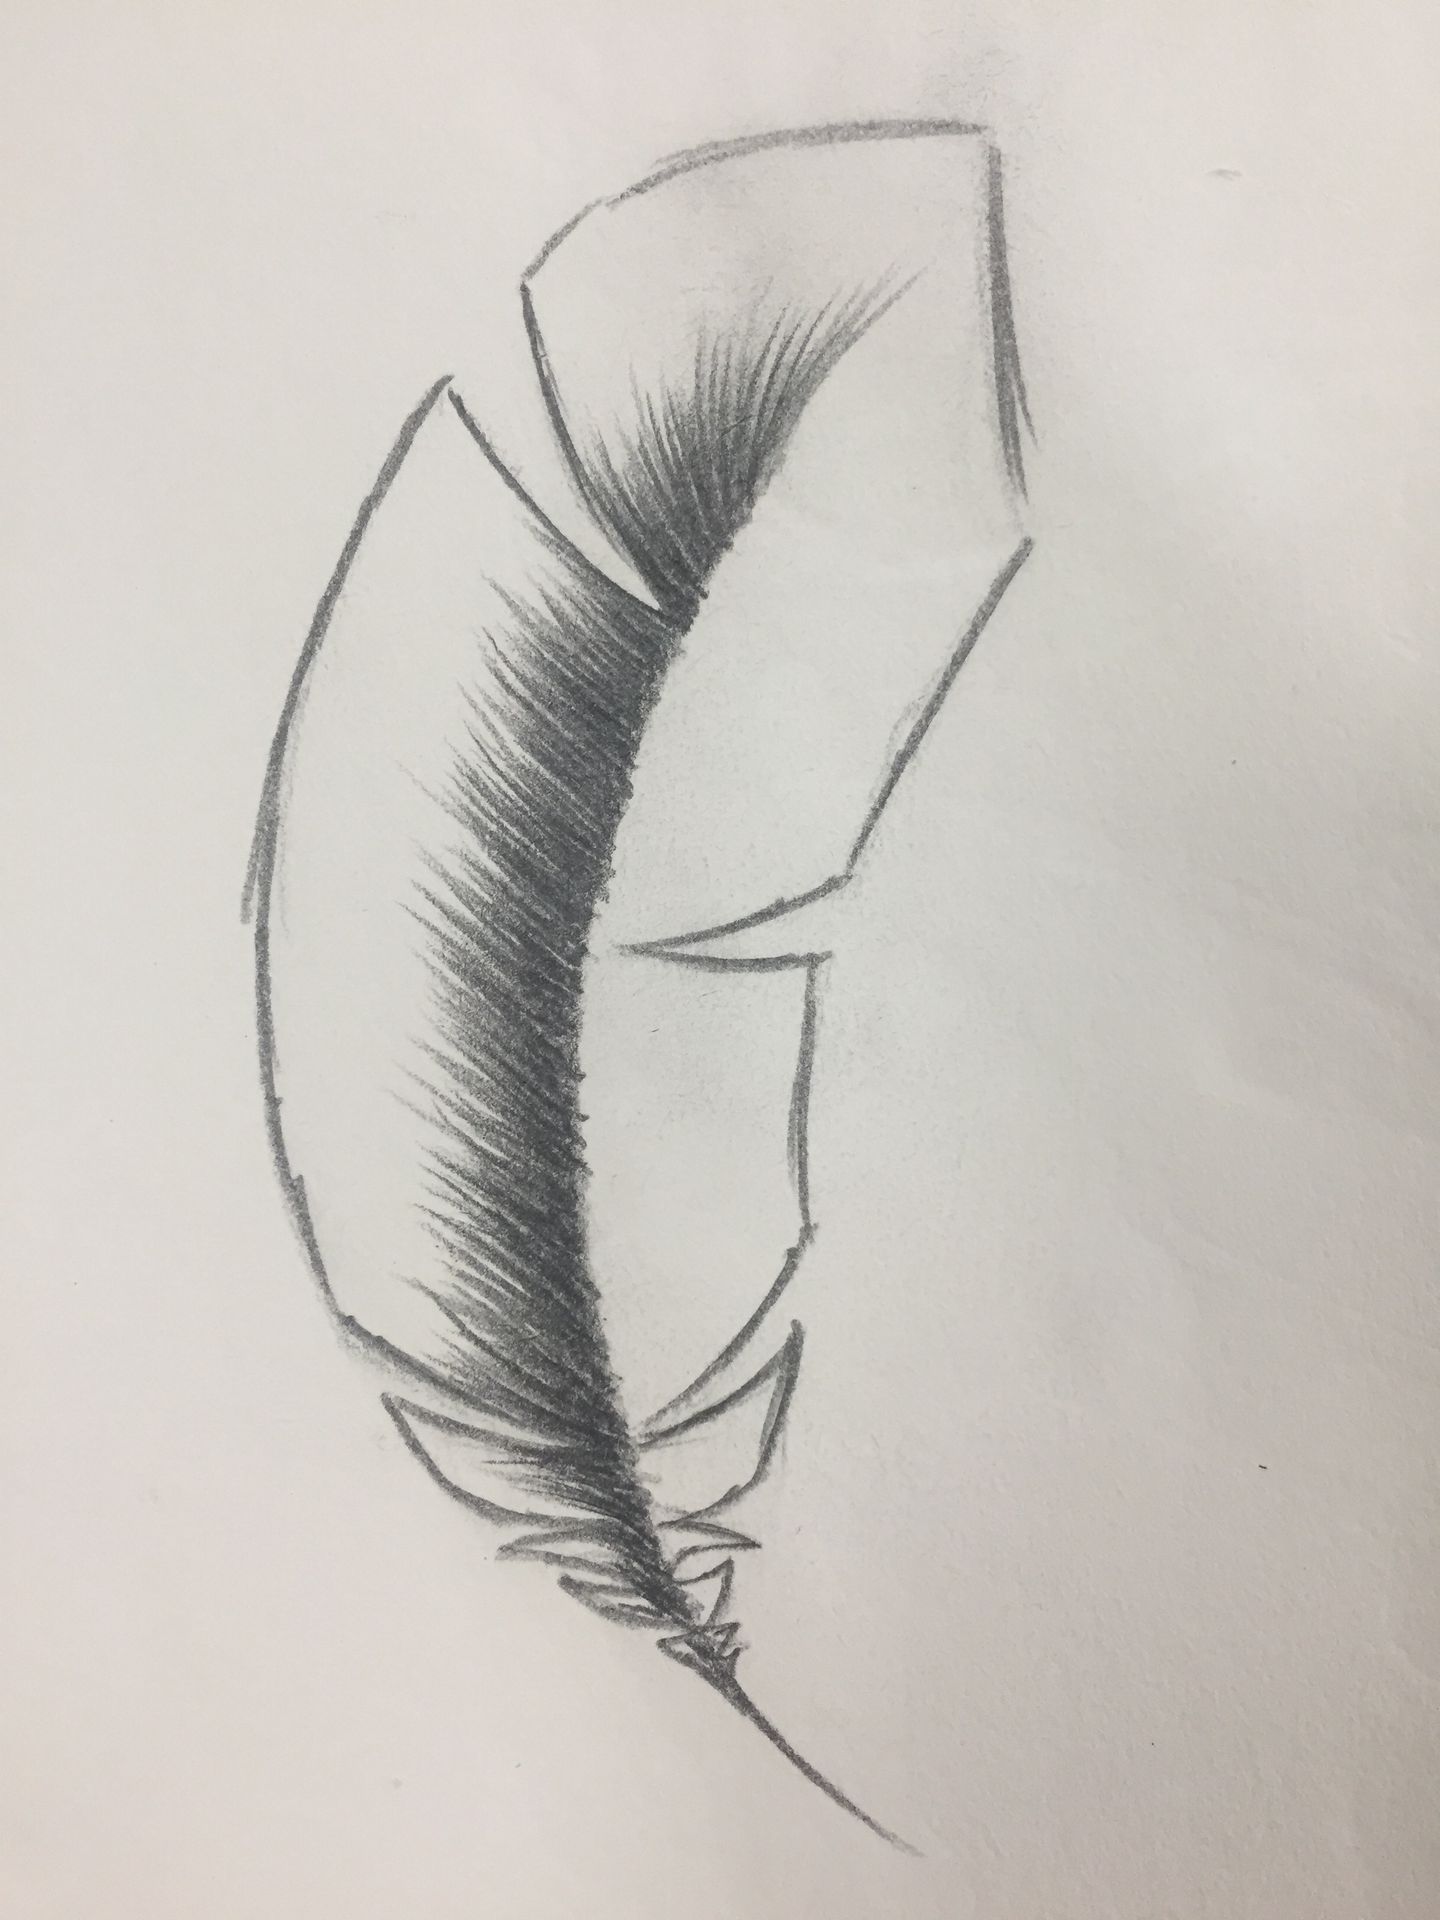
4 : Cut out with your pencil little curved triangles and reconnect the feather to the stem.
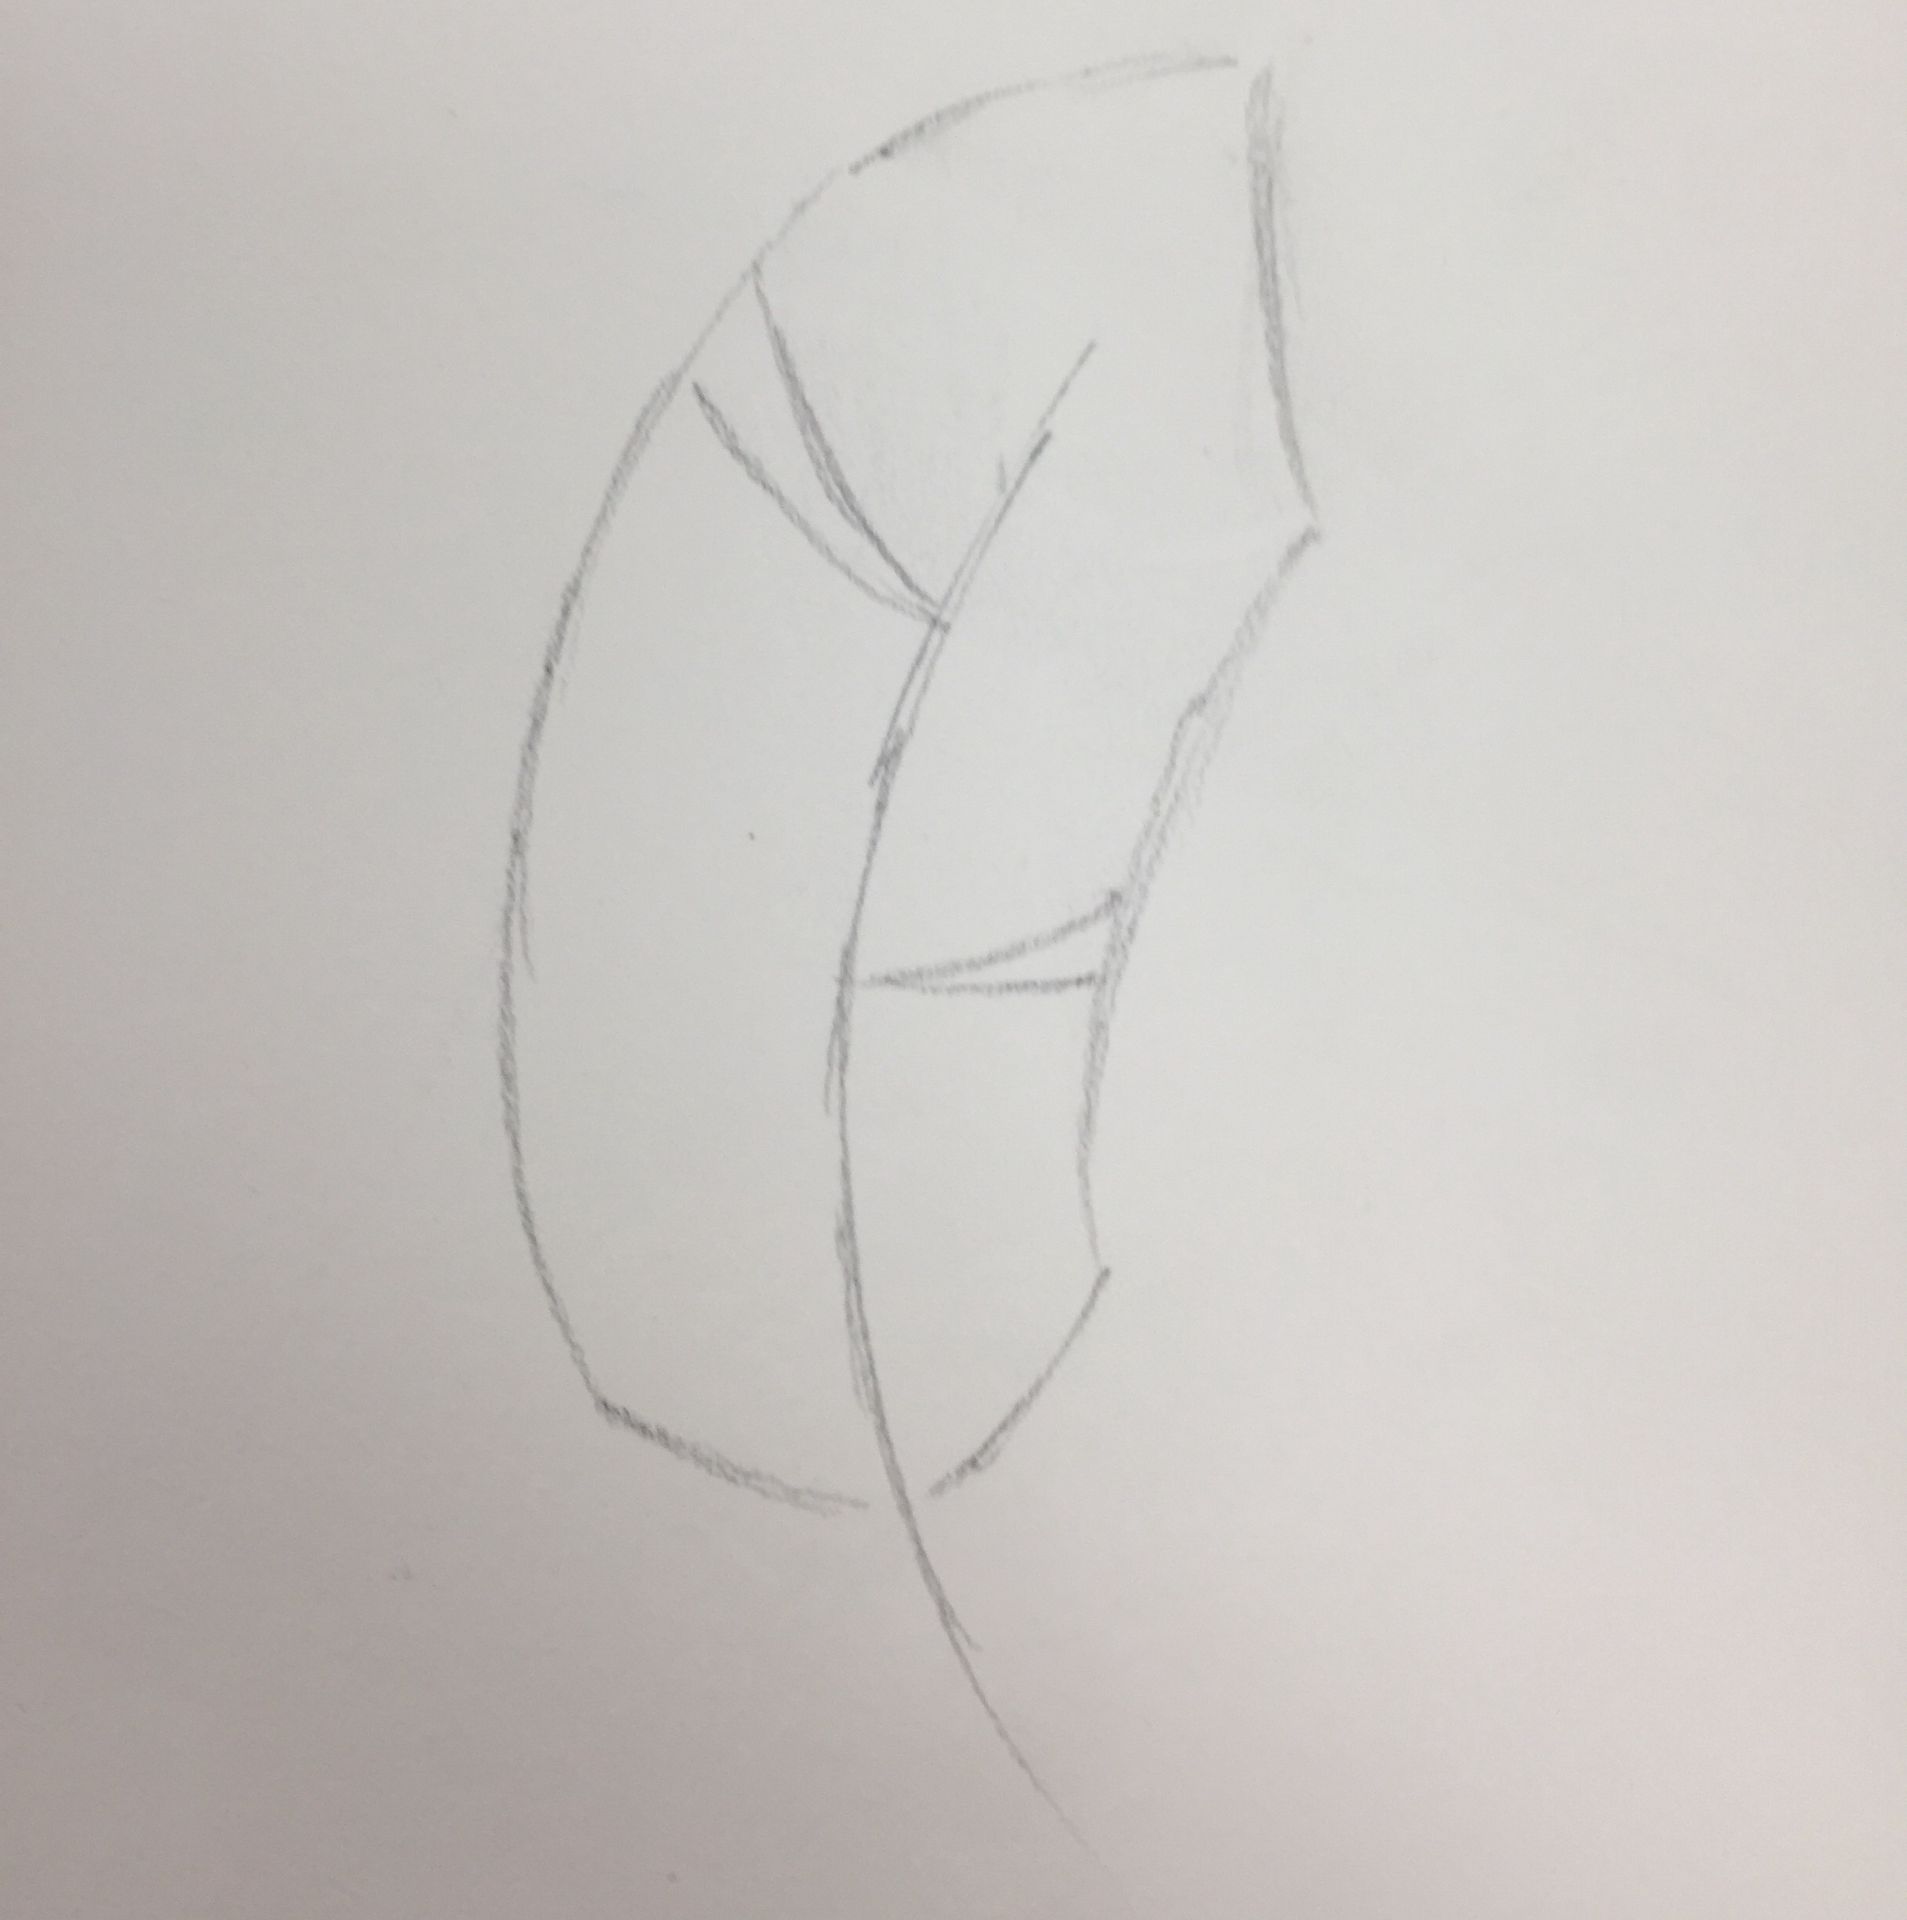
5 : Erase the lines, making the triangle sections separate from the feather. Add a few more chunks getting smaller towards the end.

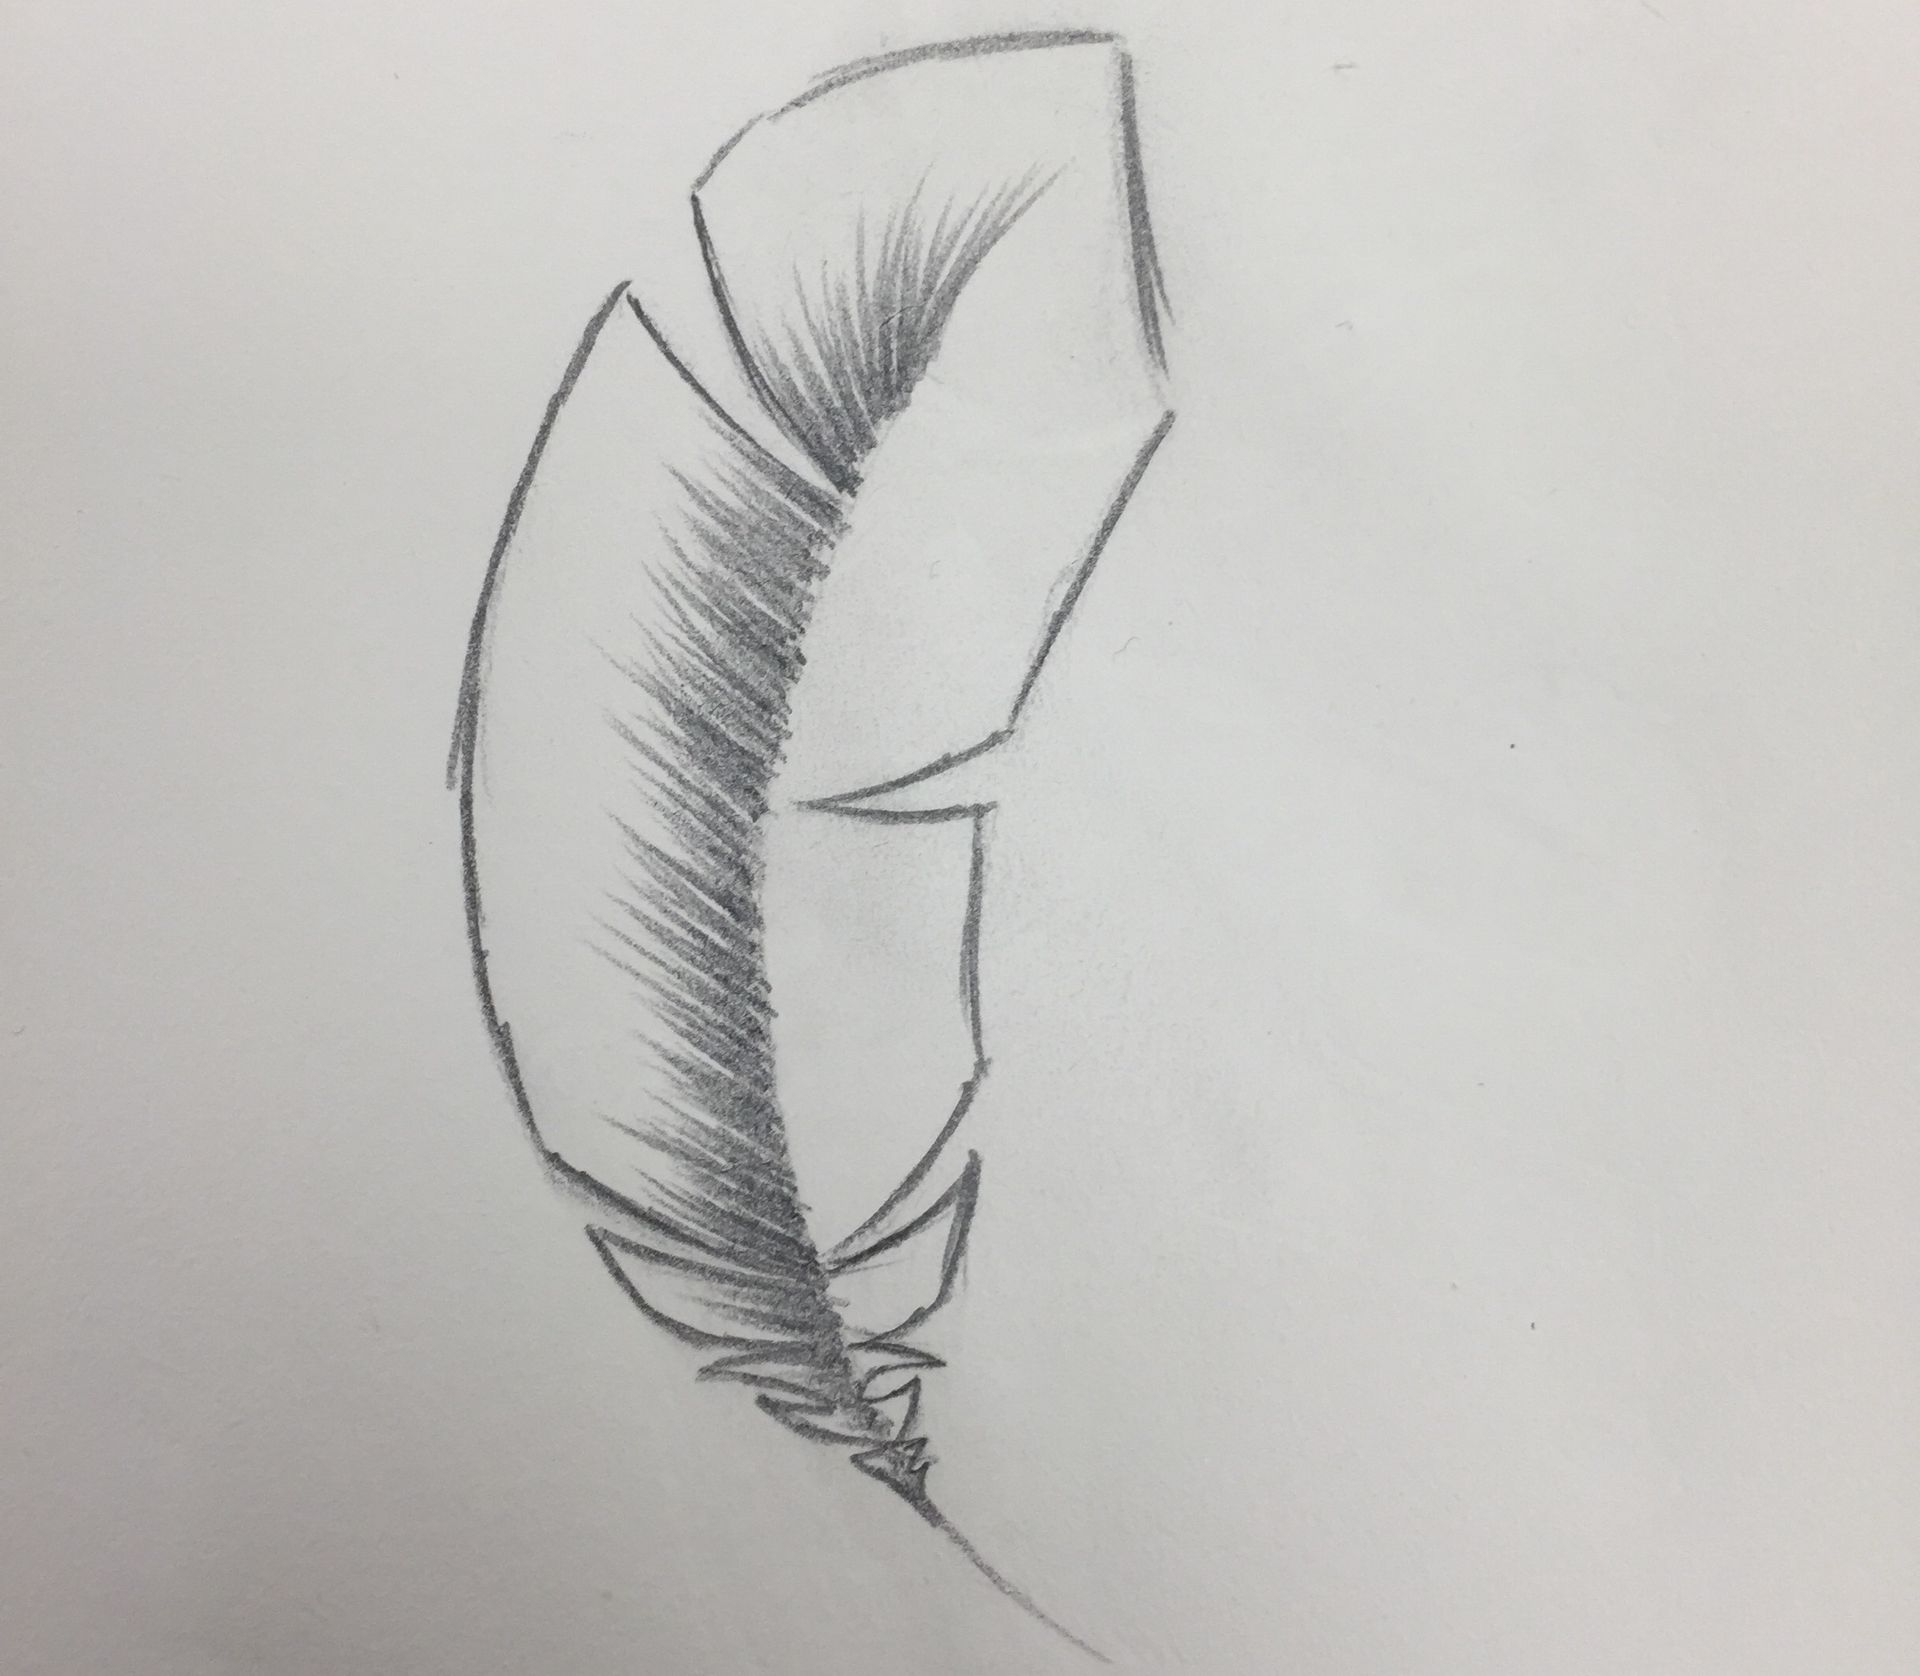
6 : Follow your first line, created very light and wide lines.
Draw them shorter as you head towards the tip.

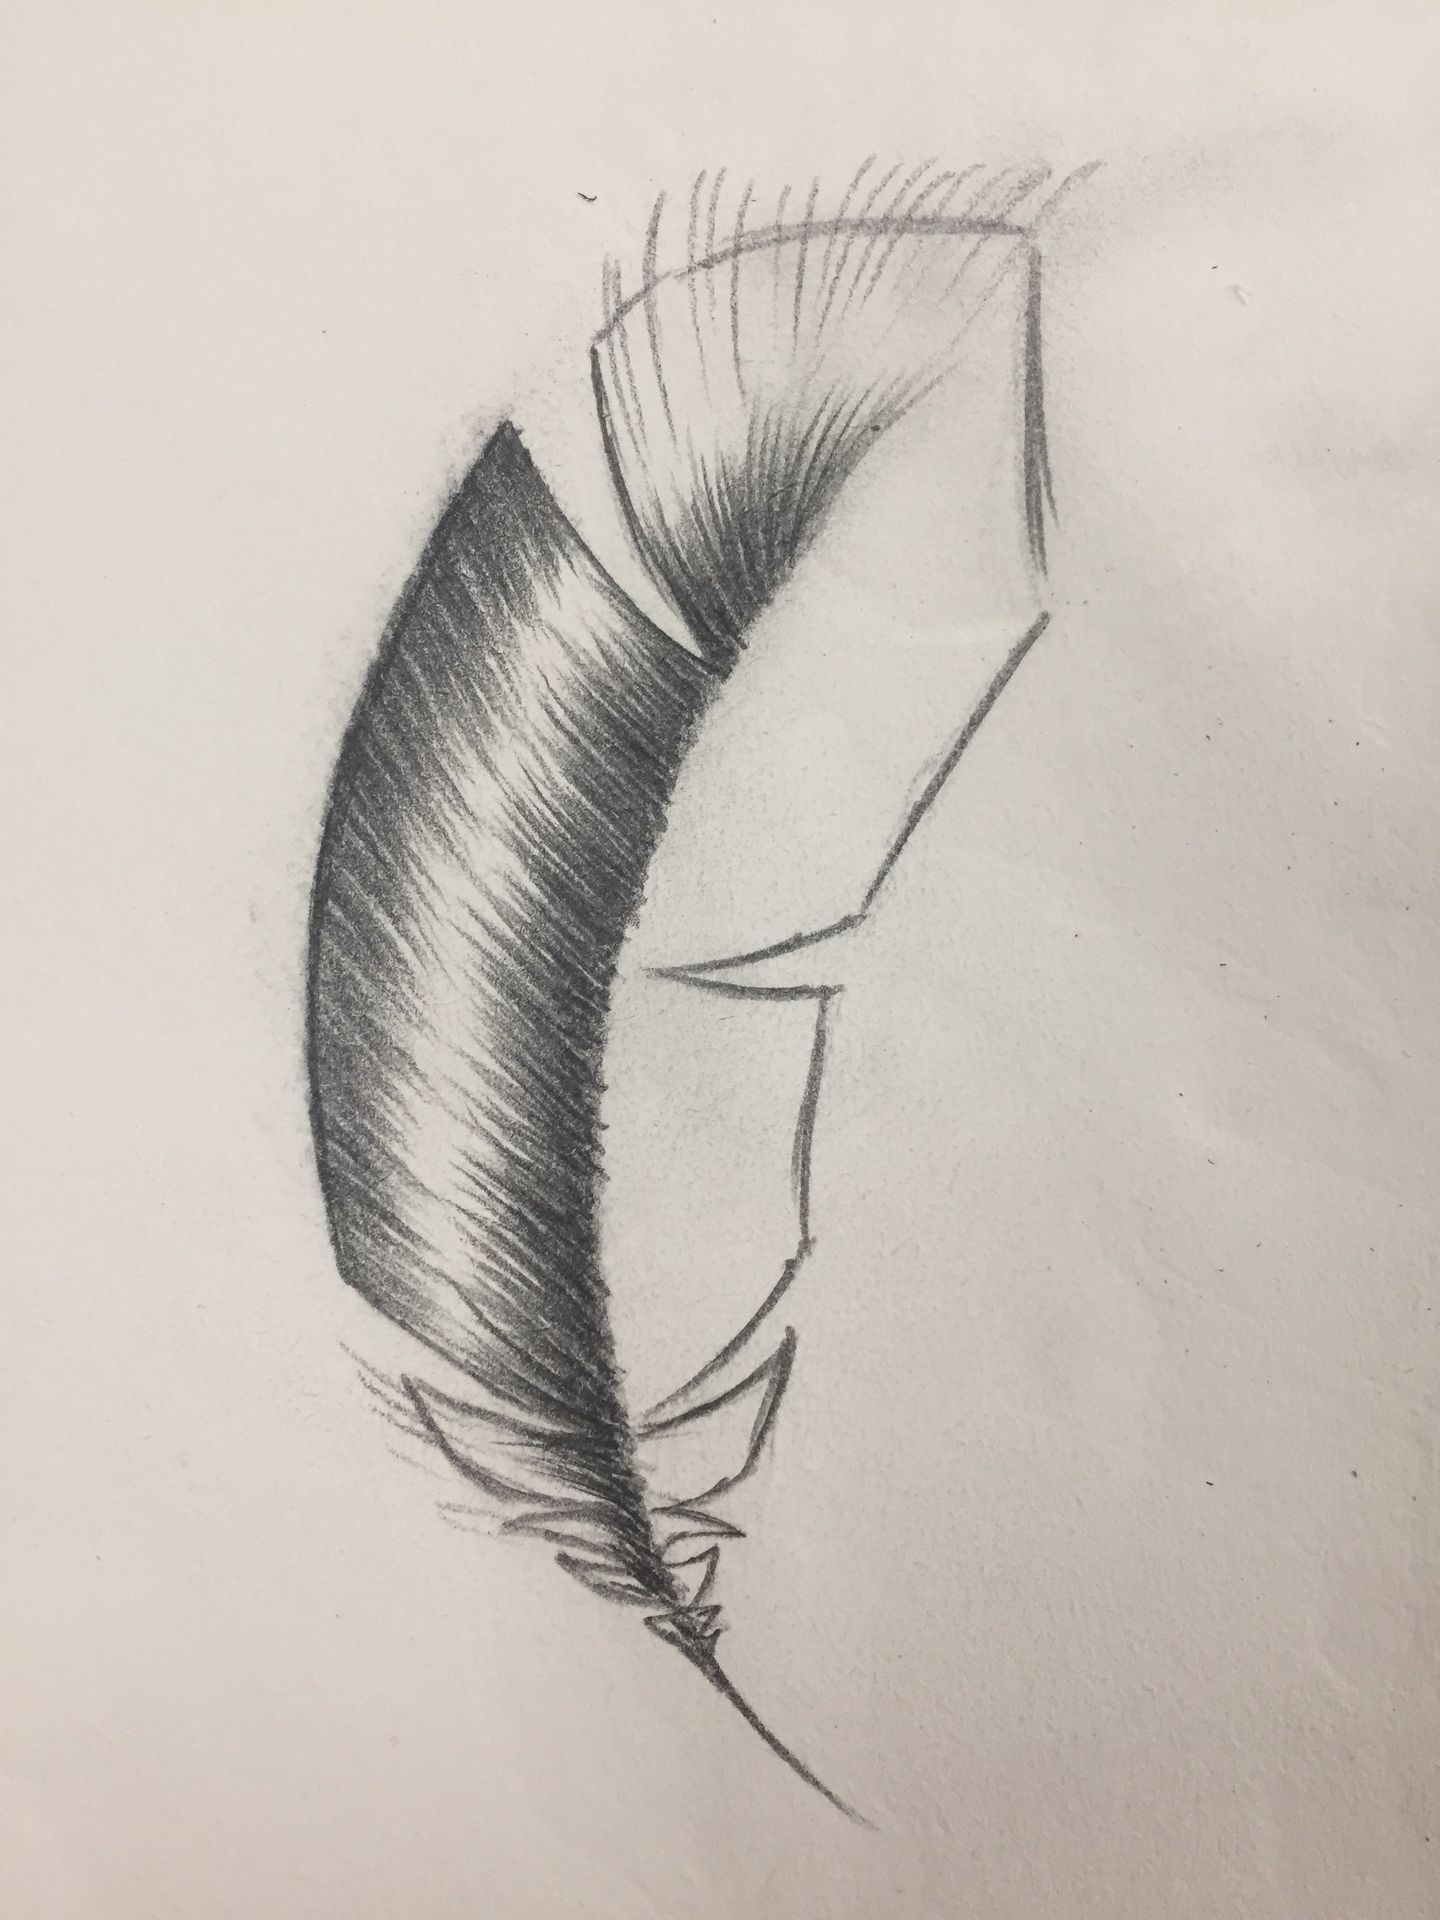
7 : Go back over and darken your hairs.
Focus on darkening it towards the center, until you can't see the middle line anymore.
Tip: Make your feather's line different lengths, and flick the pencil to create a hairlike texture.
The first example is too repetitive, second example is too thick and wide. The third example is what you should do instead.

8 : Go back again until you feel like the the middle line in dark enough.
Be careful not to darken the entire feather, otherwise contrast and details will be lost!
(Some can skip this step.)
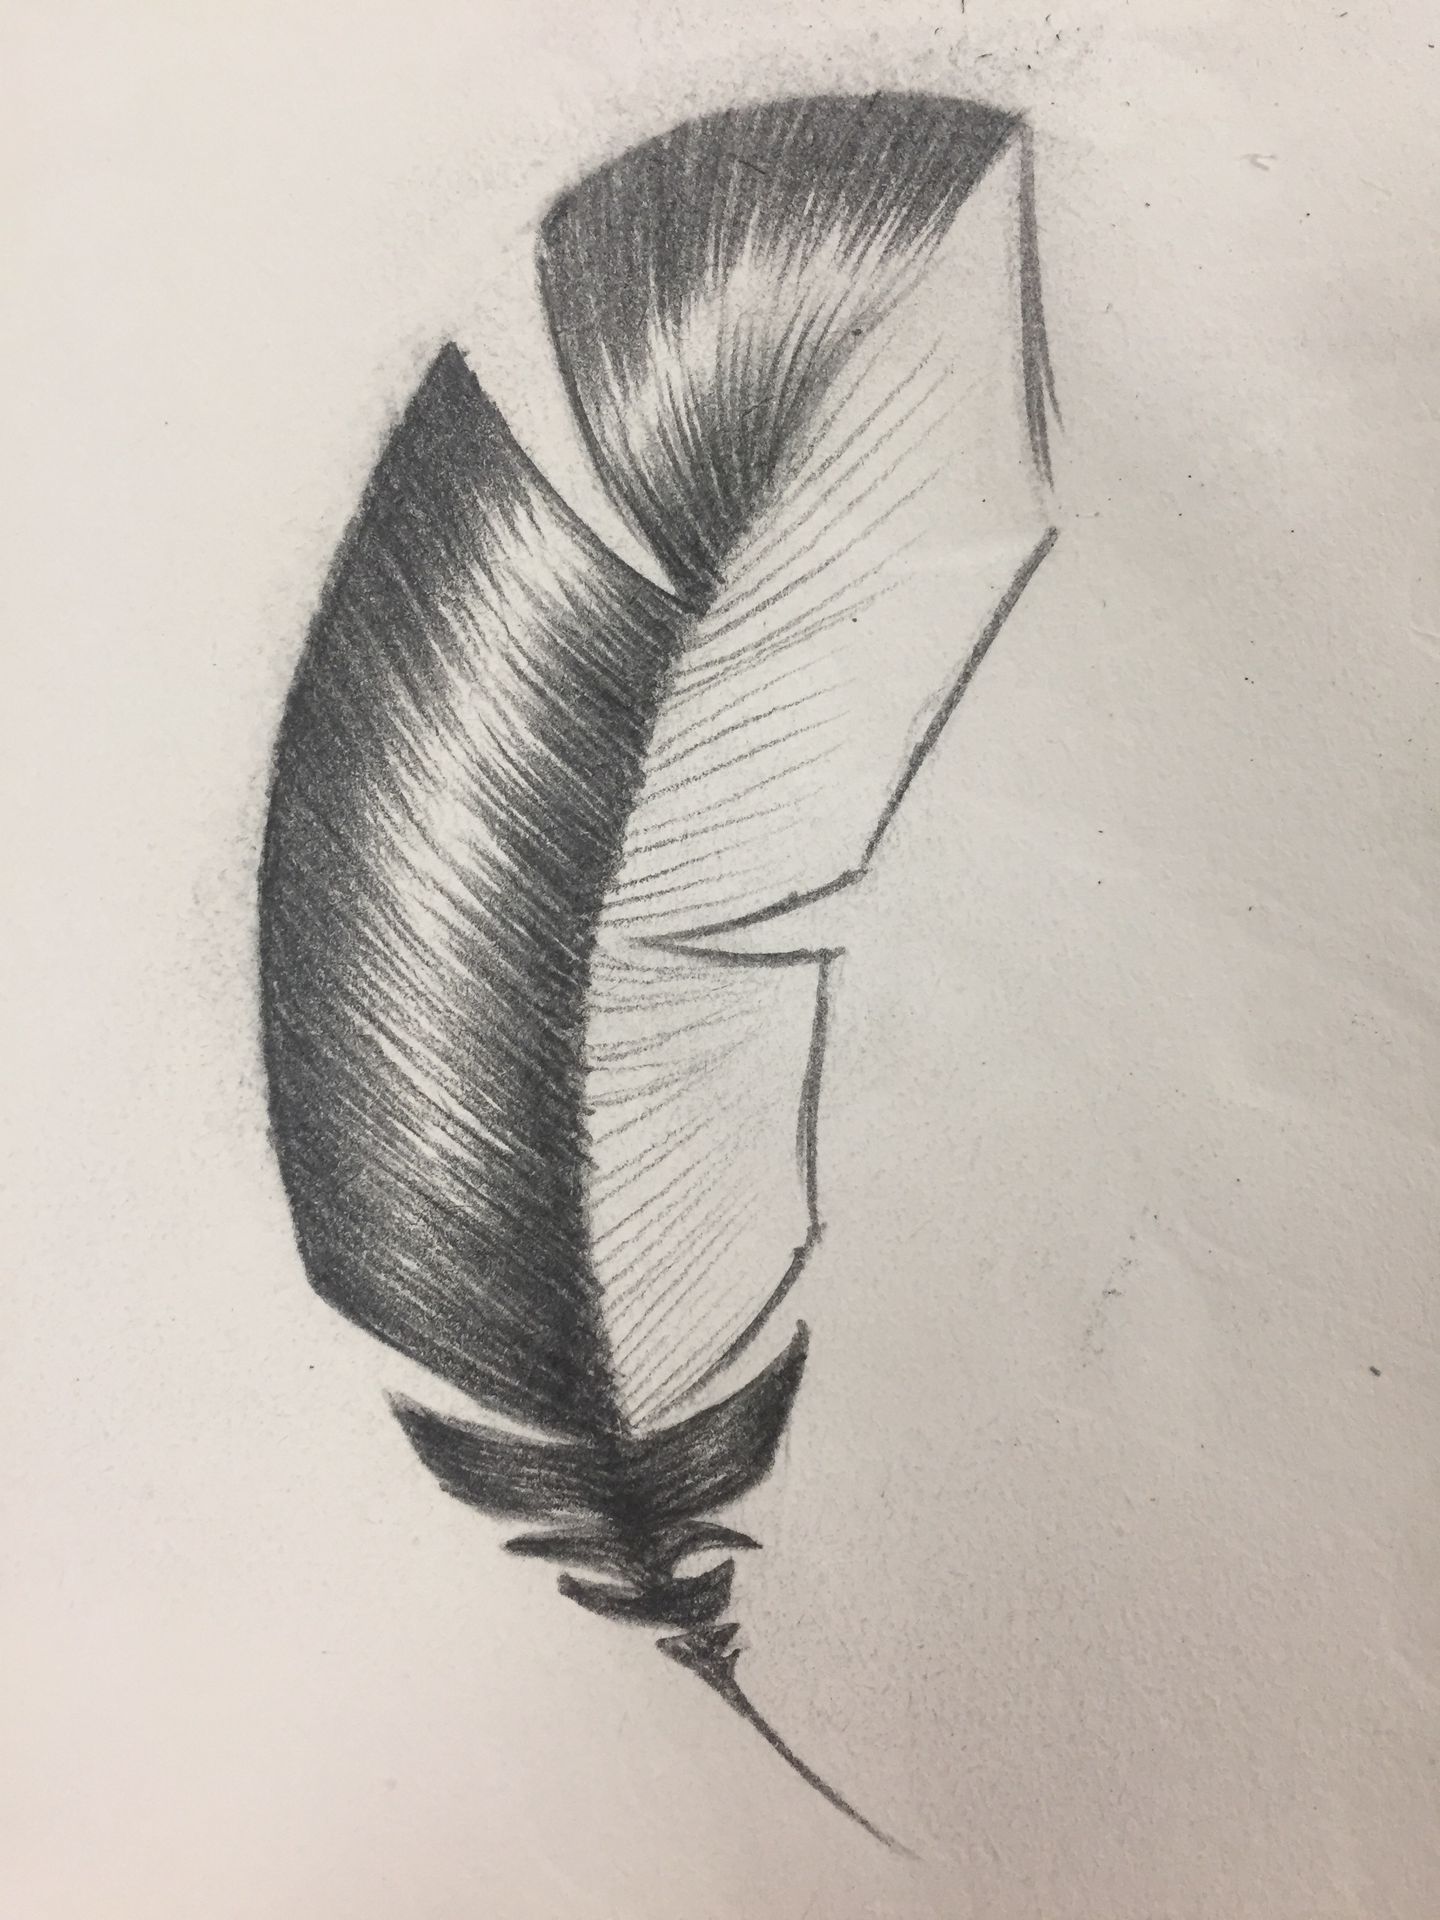
9 : Now go on the other side, drawing the direction of the hairs as a guide to yourself.
Don't be afraid of starting the hairs outside of the drawing, you can erase and clean up later.

10 : Repeat steps 7 & 8 on the other side. Erase and clean up.
If you drag your drawing hand on the paper, you may accidentally smudge your art!
I like to have a scrap paper on areas I'll rest my hand to avoid smudging.
11 : Continue and finish the side of the feather you started.

12 : Add last details and darken it where you think it should.
I also started drawing guide lines on the other side.
13 : Now is the time consuming part two. You have to do everything again on the other side!
Take your time, relax as you draw. The more effort and patience you out in, the better the output.

14 : Now we clean everything up and draw a dark line, outlining the whole thing.
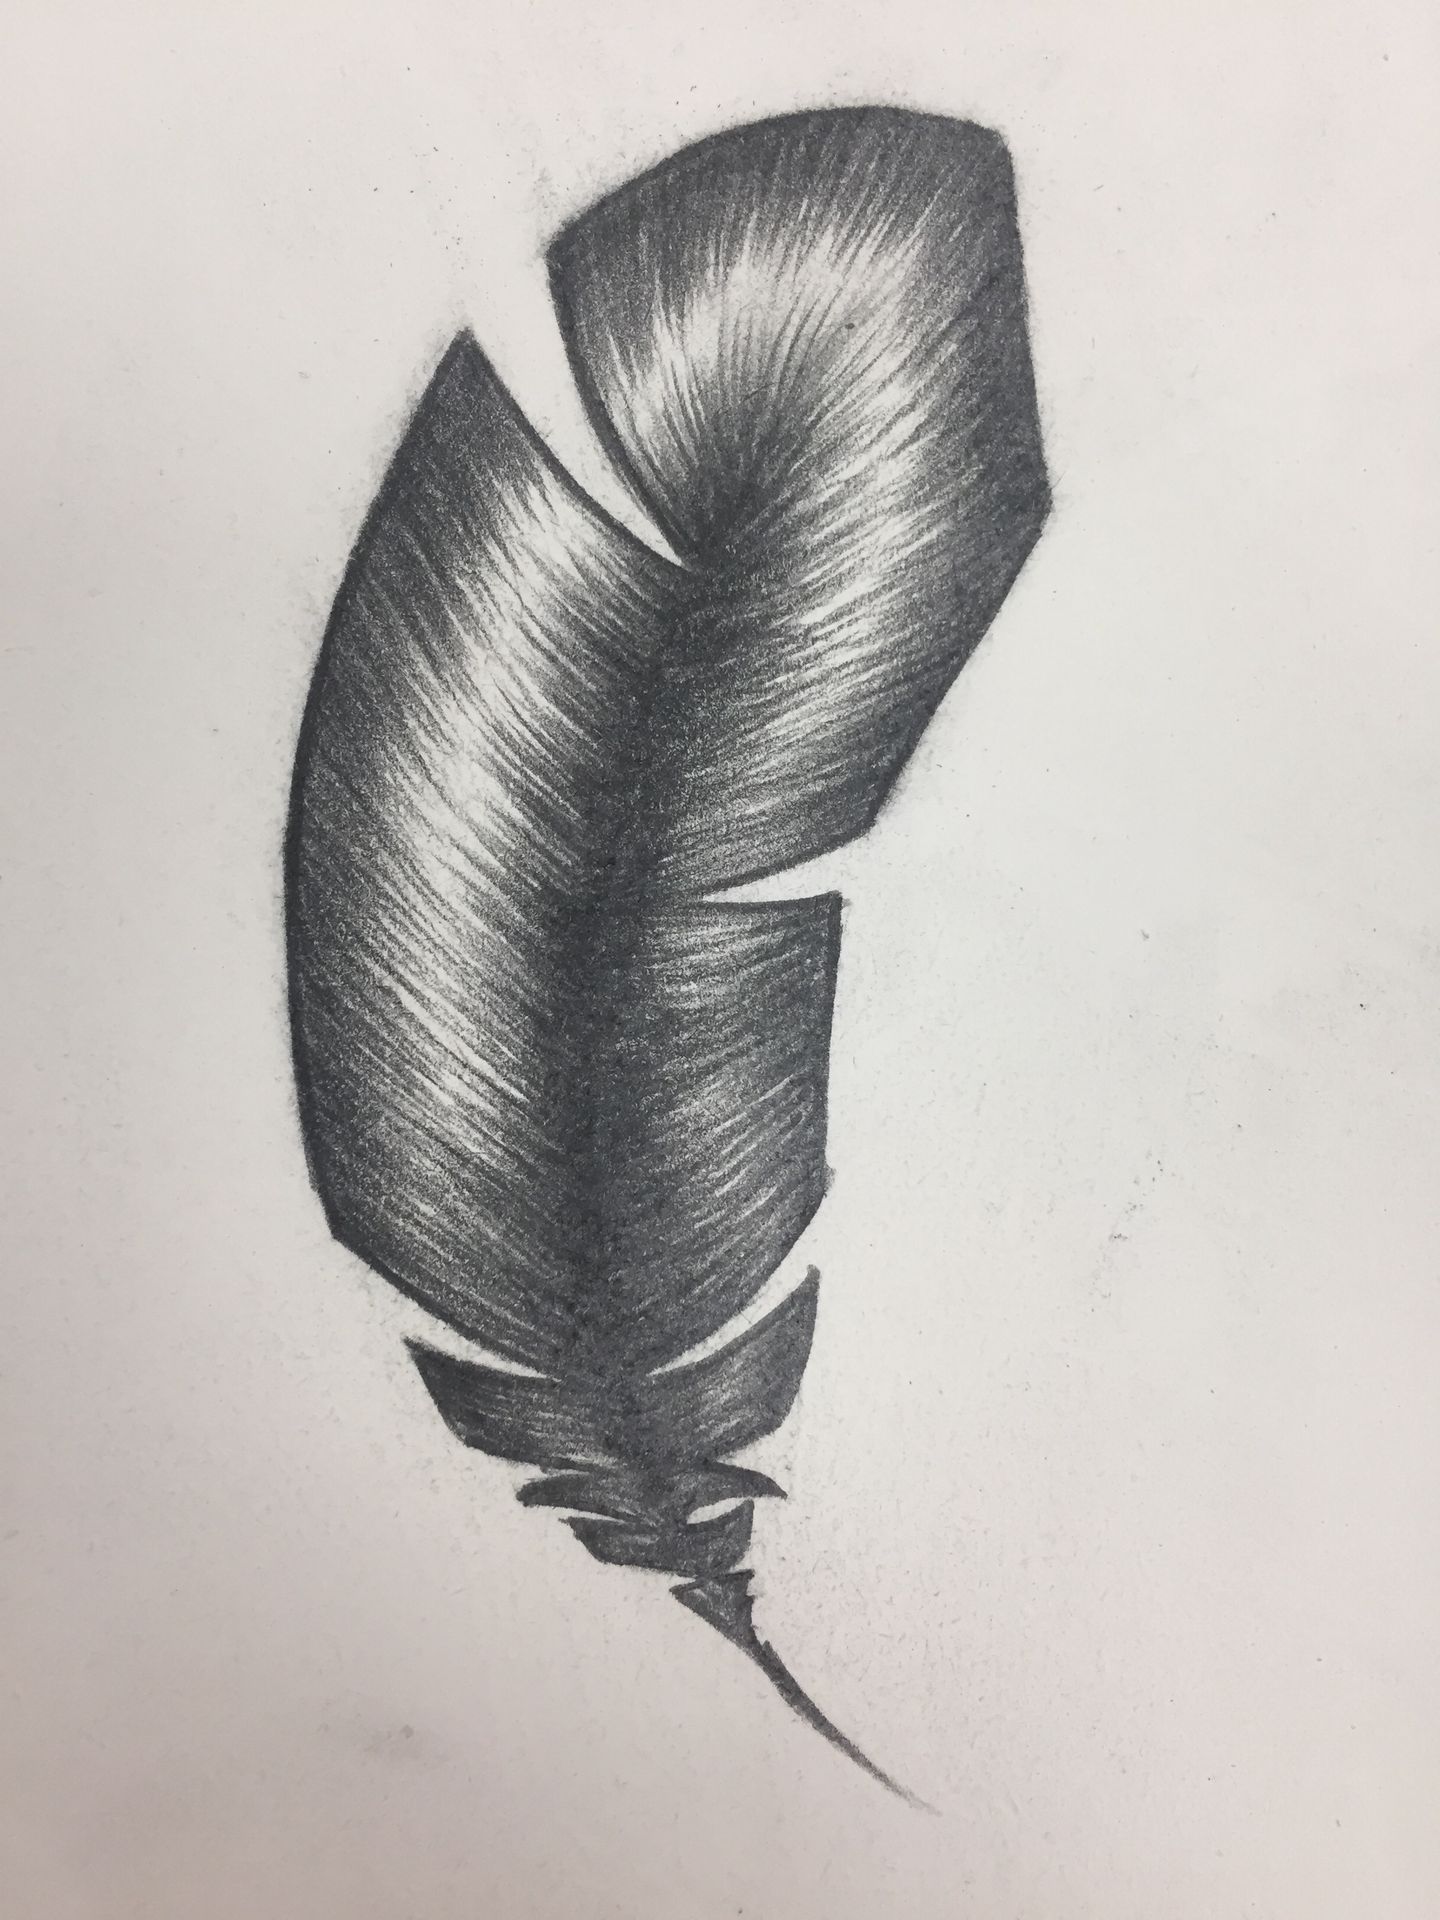
And You are Finished!
Bạn đang đọc truyện trên: Truyen247.Pro