
✏️ How to Draw : Dragon
How to Draw: A dragon with 0 Photo Reference, straight from the wonders of your noggin.
I don't know if anyone actually is going to use this, but what the hey. Here ya go; this is how I draw my dragons. This does not include coloring, or going back over with ink. These are steps to drawing a dragon in pencil.
Steps
1 - 17
Difficulty
🔴🔴⚪️⚪️⚪️
(Open to modifications and styles)
Finished Product:

Alright, let's get started
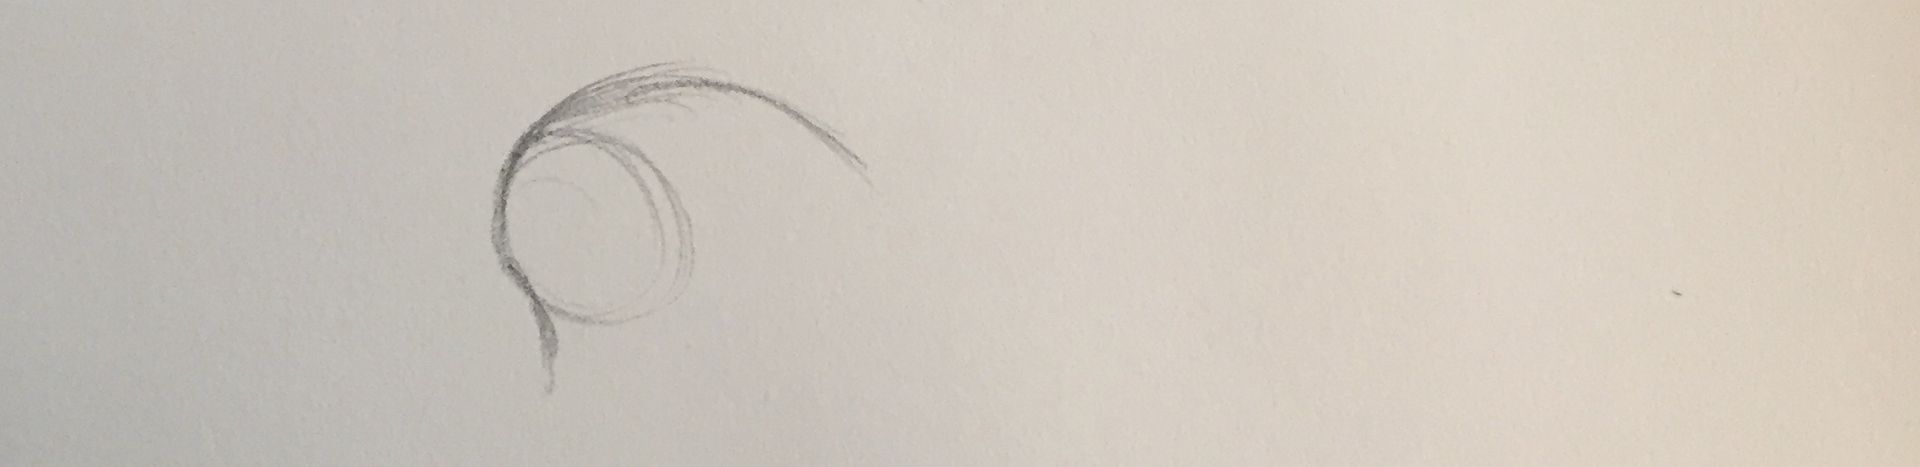
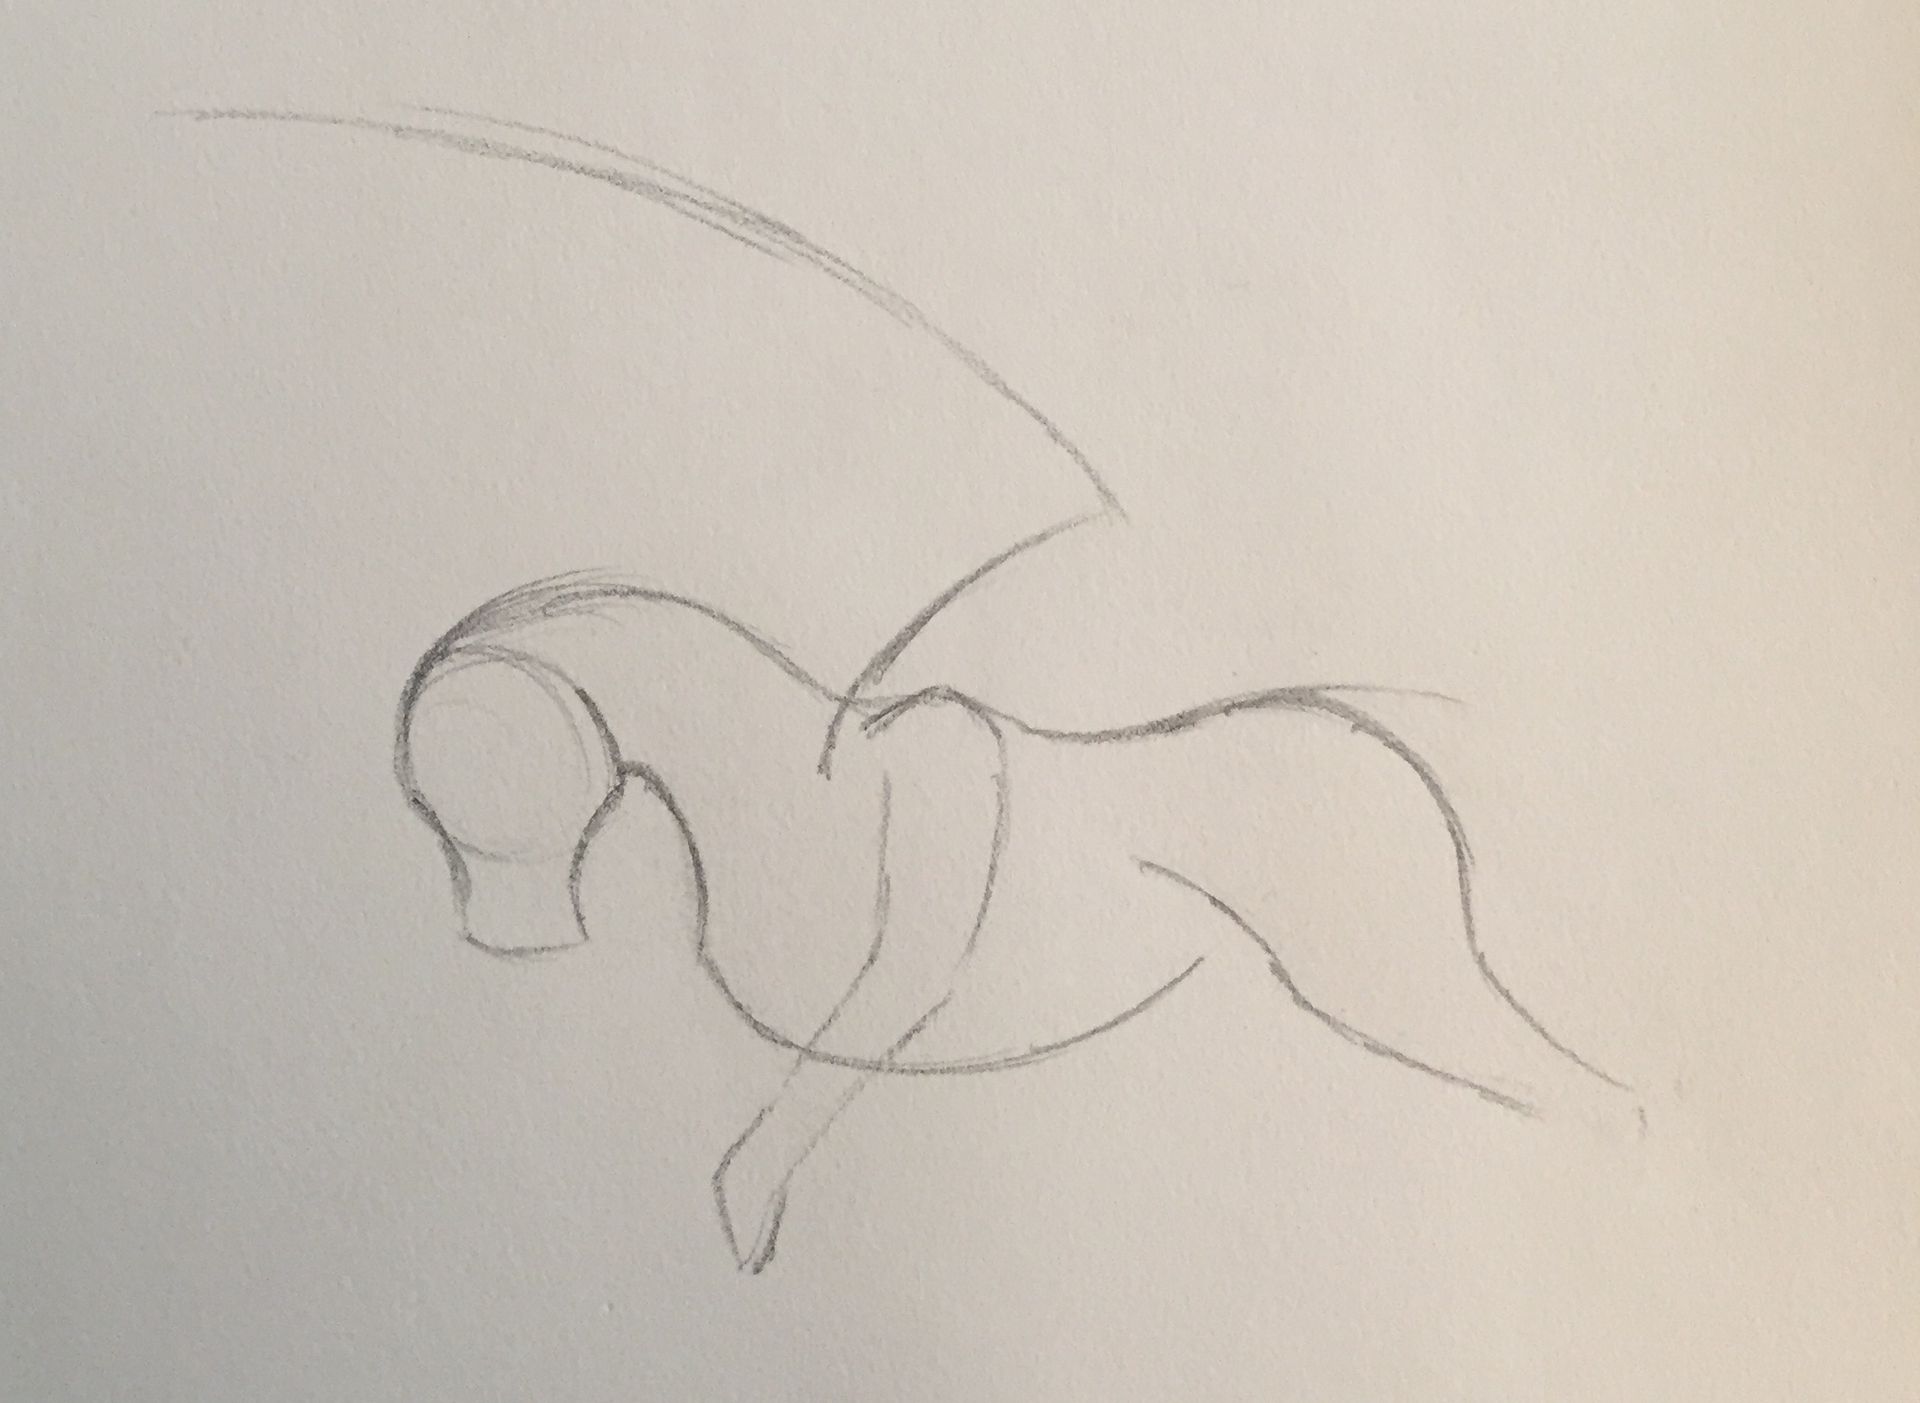
1: Draw a nice happy circle. Keep it small, this will be where the head will be.

2: Draw similar lines off of the circle. These will be the top of its snout and back neck.
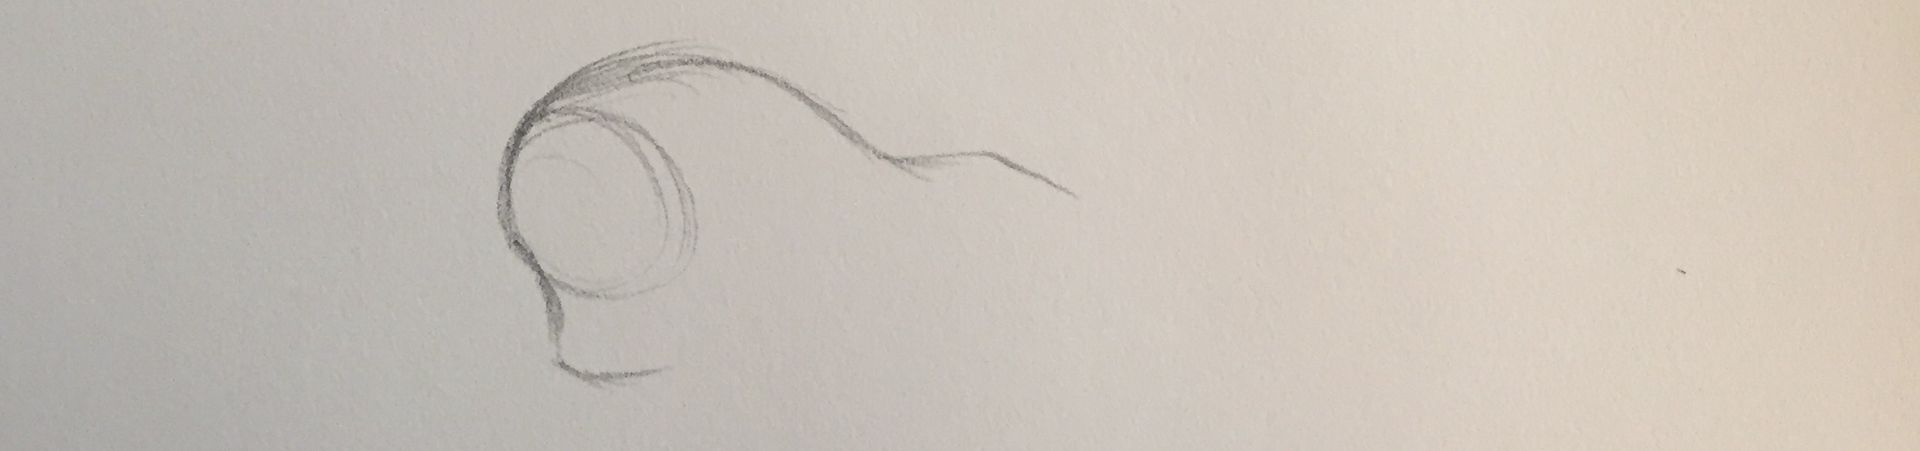
3: Now draw two more lines from the most recent ones. Off of the neck will be the shoulder, and the one by the head is the mouth.
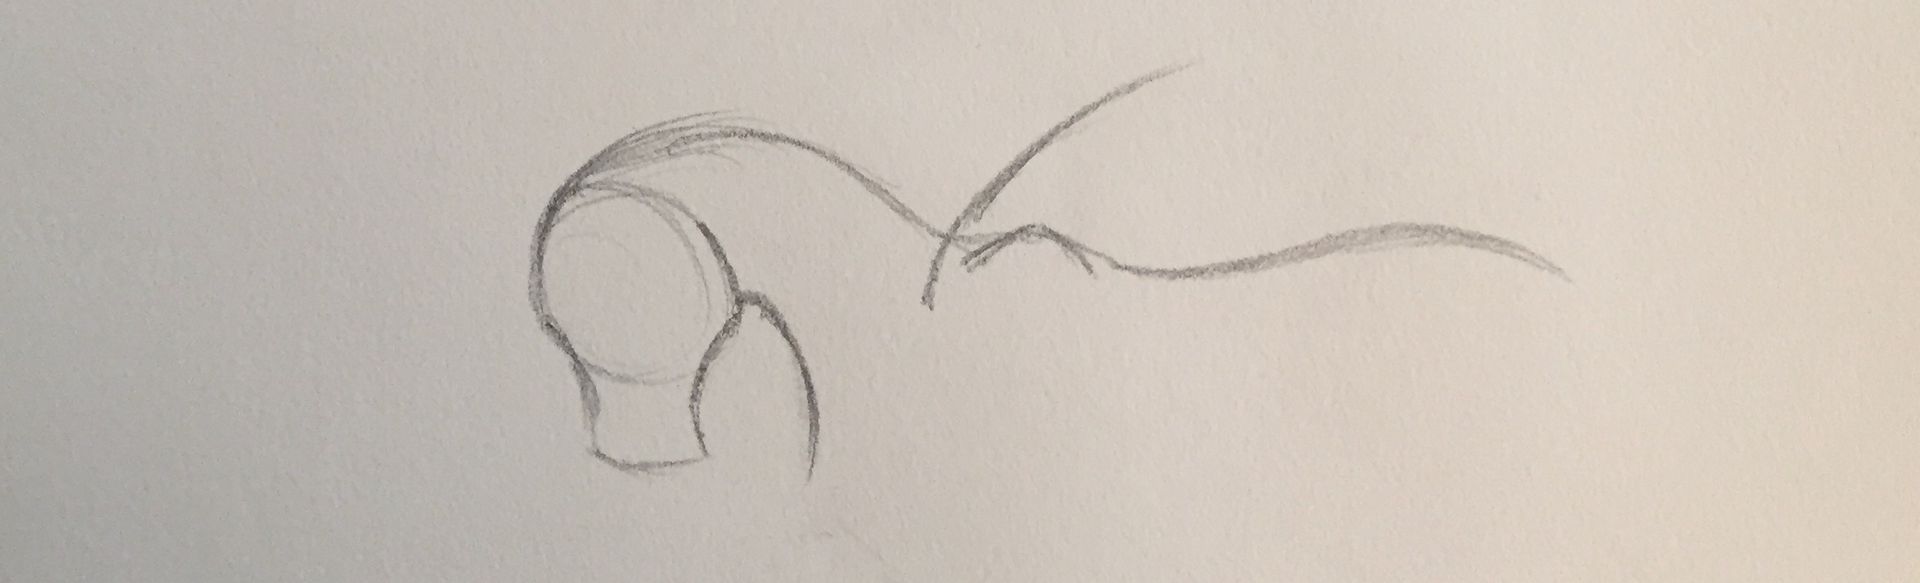
4: Now continue the shoulder with a nice curve at the end. This is your dragon's back. You also finish the head by drawing a jagged jawbone.

5: Hopefully, you can start to see the basic dragon now.
Draw the lower neck, and a line just before the shoulder. This will be your wing.
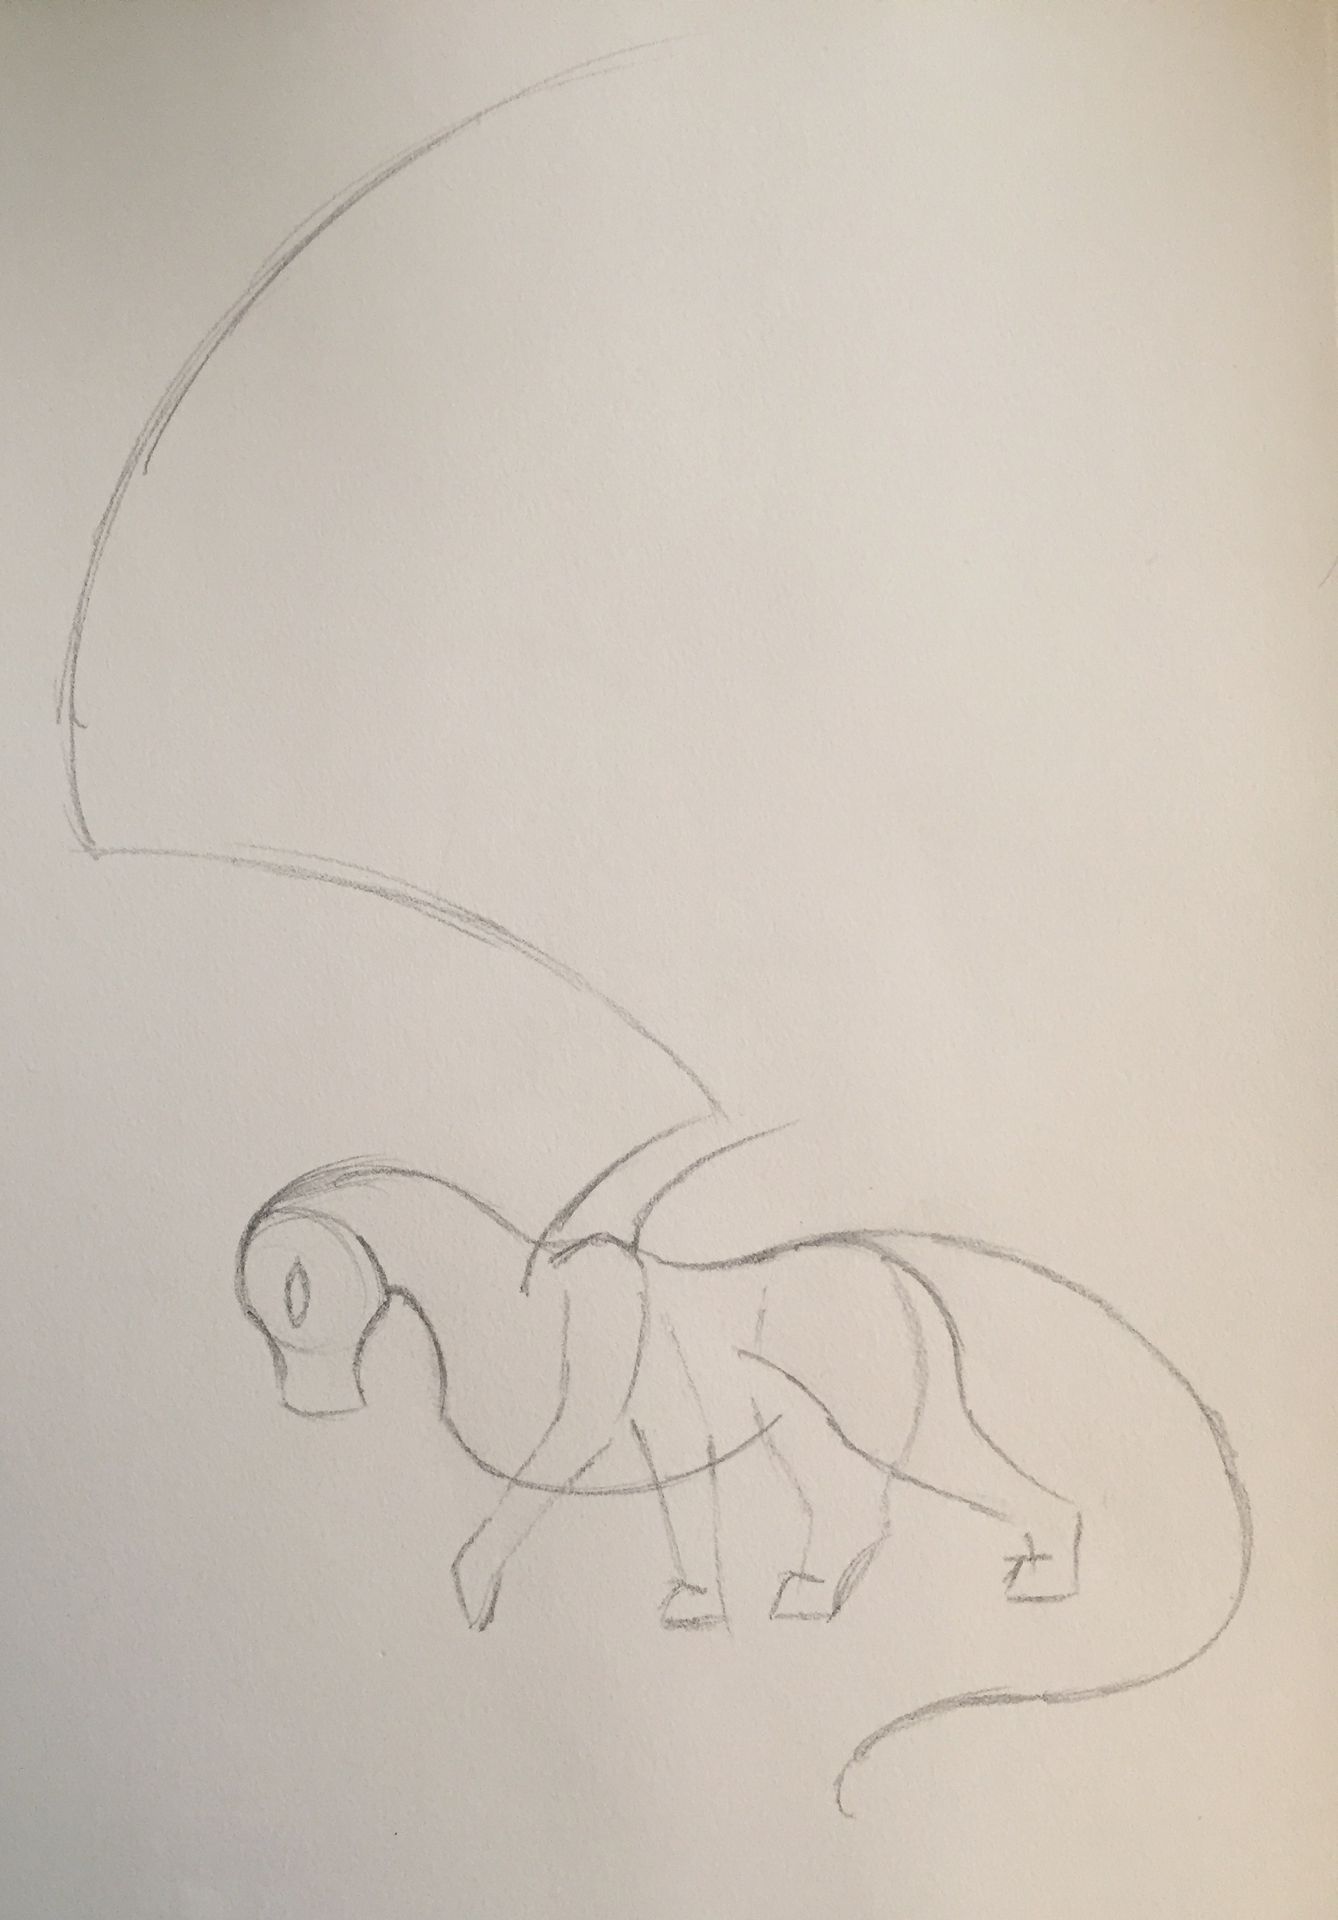
6: This is where it begins to vary a lot. For this particular drawing, you will find it stepping forward with its left paw.
From the shoulder, draw a limb similar to a human arm. Also, draw the chest leading towards where our back legs will begin.
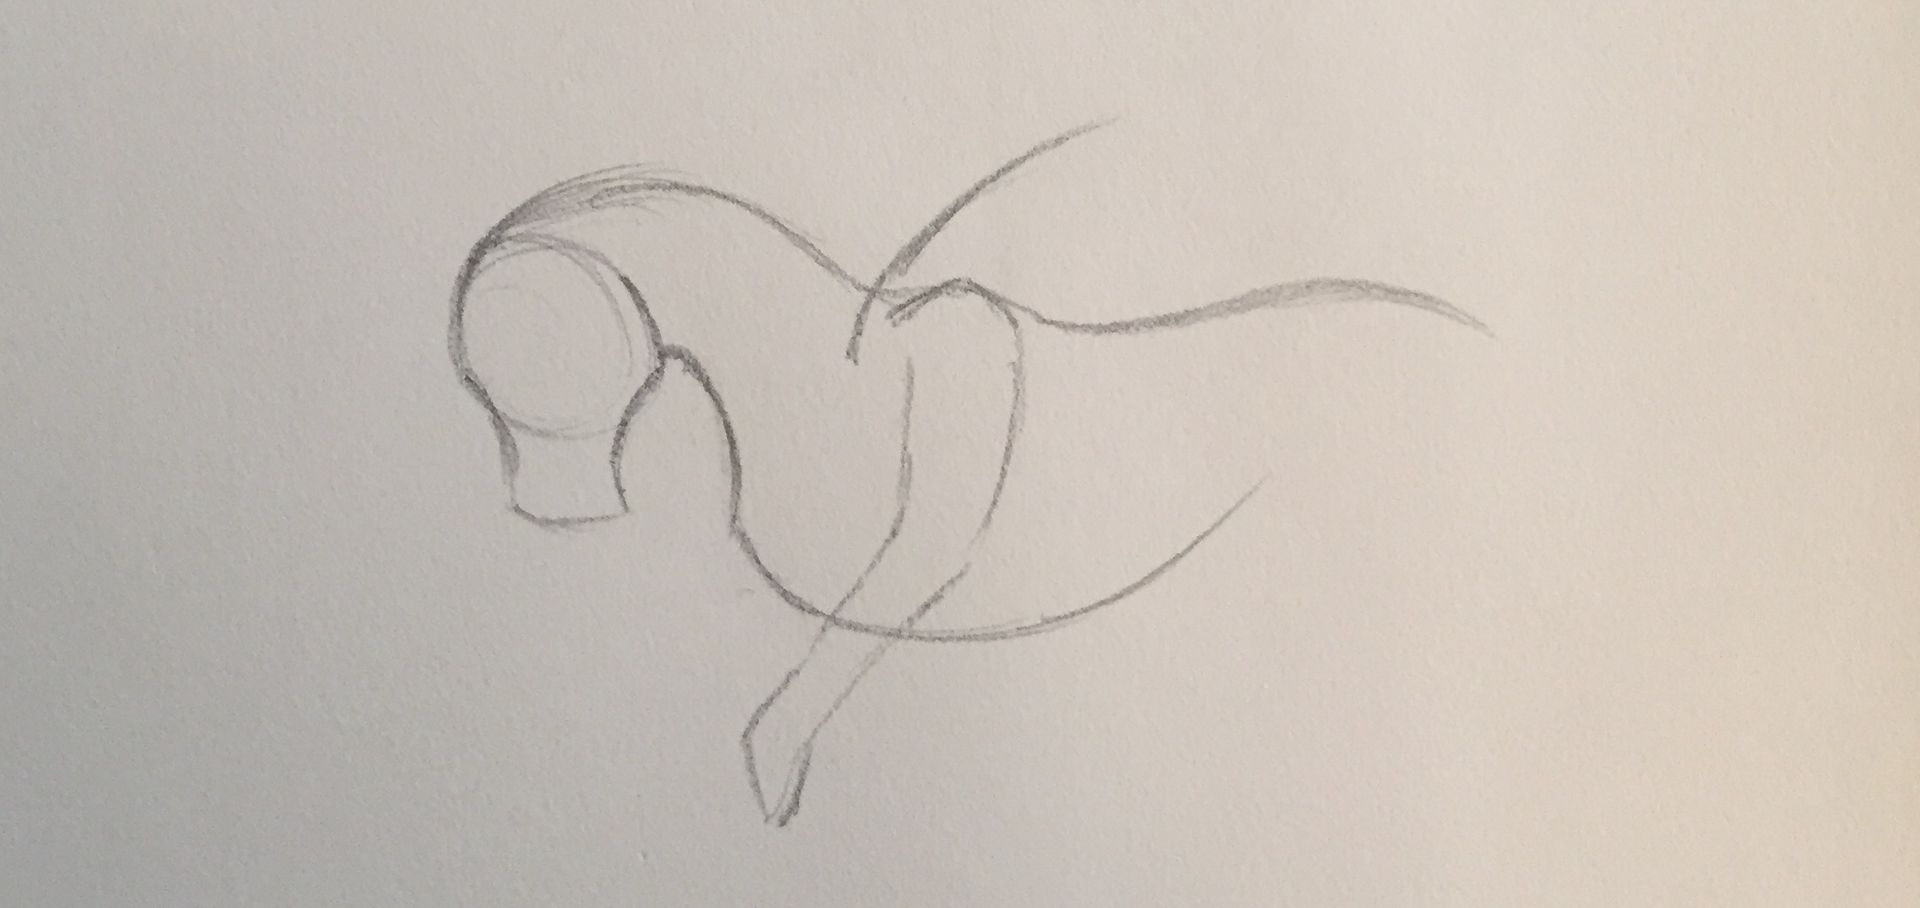
7: From the start of the wing, draw over the head. You can make the wings as large or small as you please. We will also draw the beginning of there back leg. Make sure the dragon thigh is fairly large in comparison to the upper arm.
8: Extend the wing upward. This will be were he webbing will be. Also, draw the two limbs farthest from our view. You can draw through the dragon's body to get your proportions correct.
Also, from the read of your dragon, continue the line with a curve. Your dragon's pose can alter this line, as it will be our tail.

9: Finish the tail line and draw the paws for all your limbs. You can also add an eye at this point.
From the other side of the shoulder, draw a line gradually thinning to a point. This is your wing's joint.
10: Erasing and cleaning up at his time is a good idea.

11: Draw the wing's fans. You can have as many as you want, at different angles.
Also, continue your underbelly line to finish the tail.
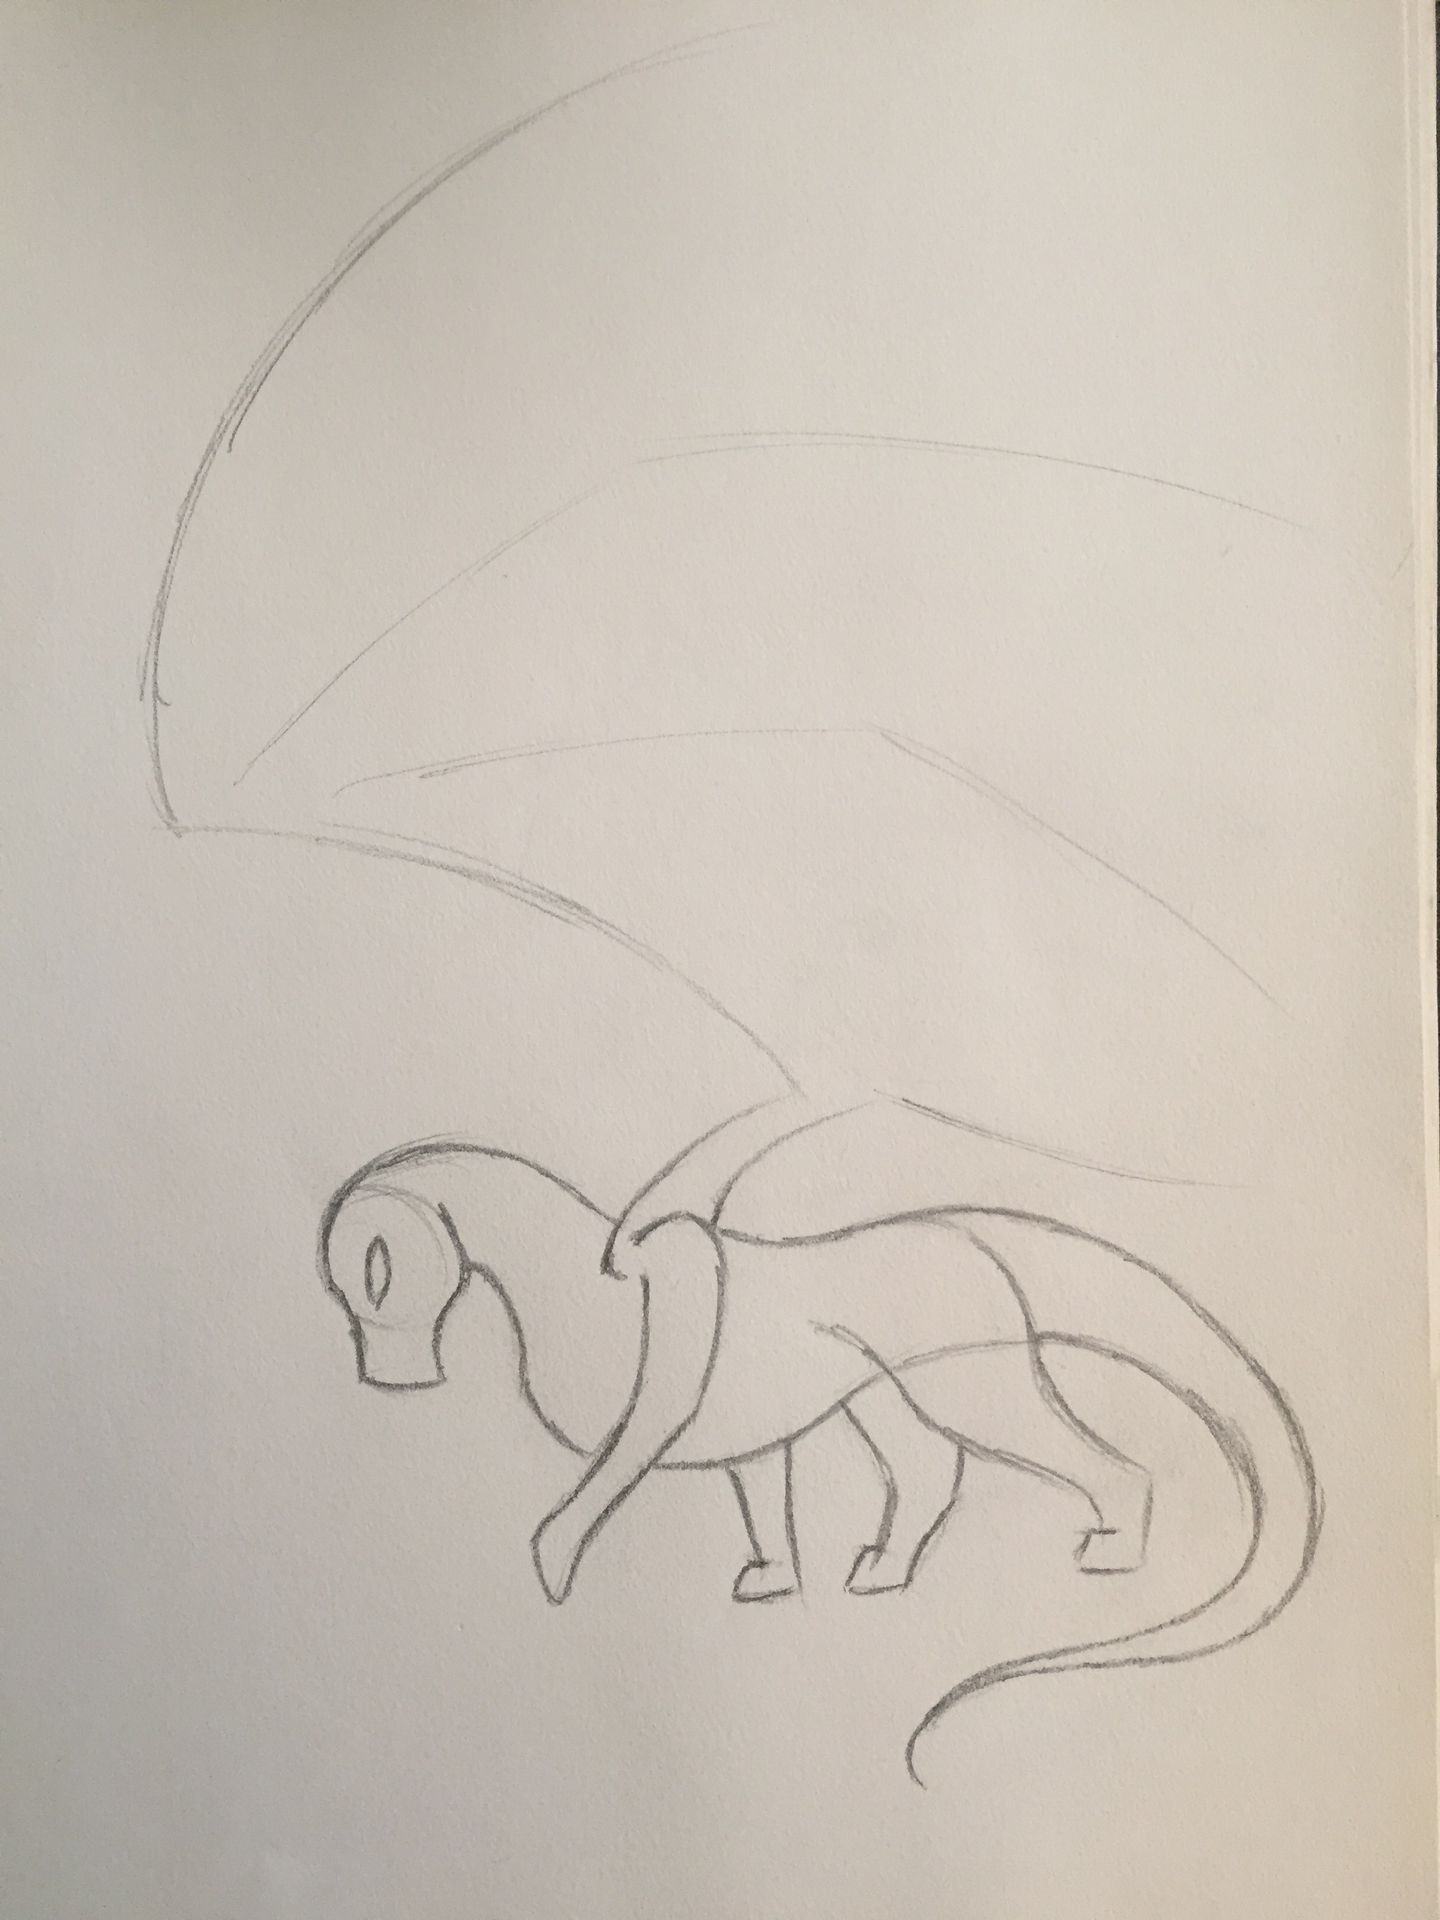
12: Draw the webbing between each section of your wing. As the two points you connect go farther apart, straighten the webbing. This gives the illusion of stretching.
Erase any lines that go through your dragon's body and clean up.

13: Darken your main lines. (Ignore how rough my wings look in this example)
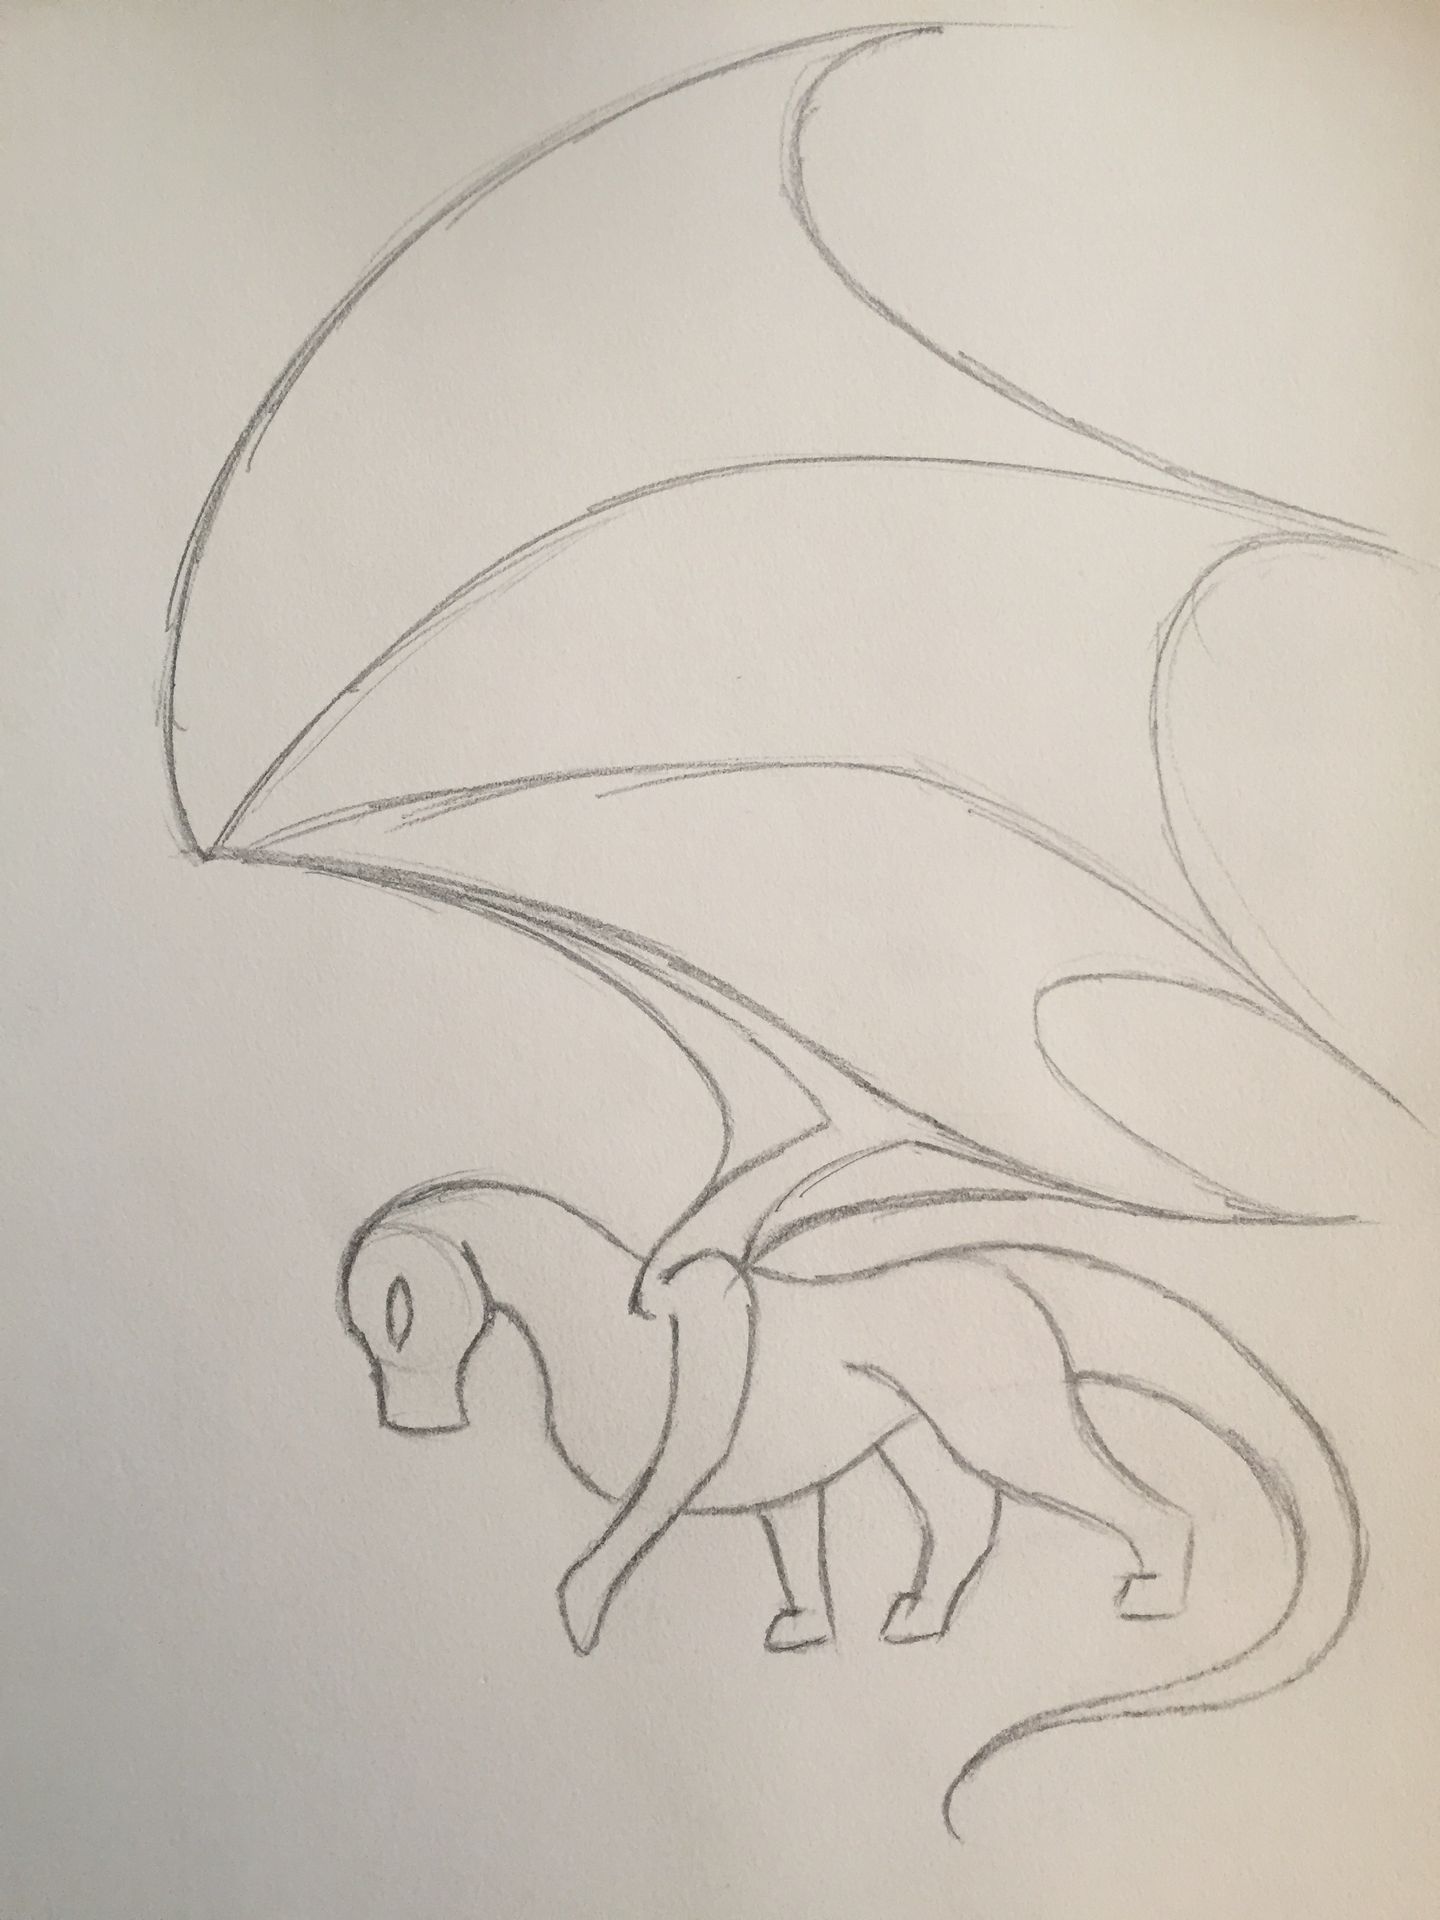
14: Now you can begin adding details to make your dragon unique! I added many curved horns off of the jaw and head. Also, draw the underbelly scales, getting smaller as they go farther down.

15: A large detail at the tail is recommended, as are spikes along your dragon's spine.

16: This step is optional - Adding claws to your paws.

17: Add a pupil and darken your main lines. Clean up, and add last details.
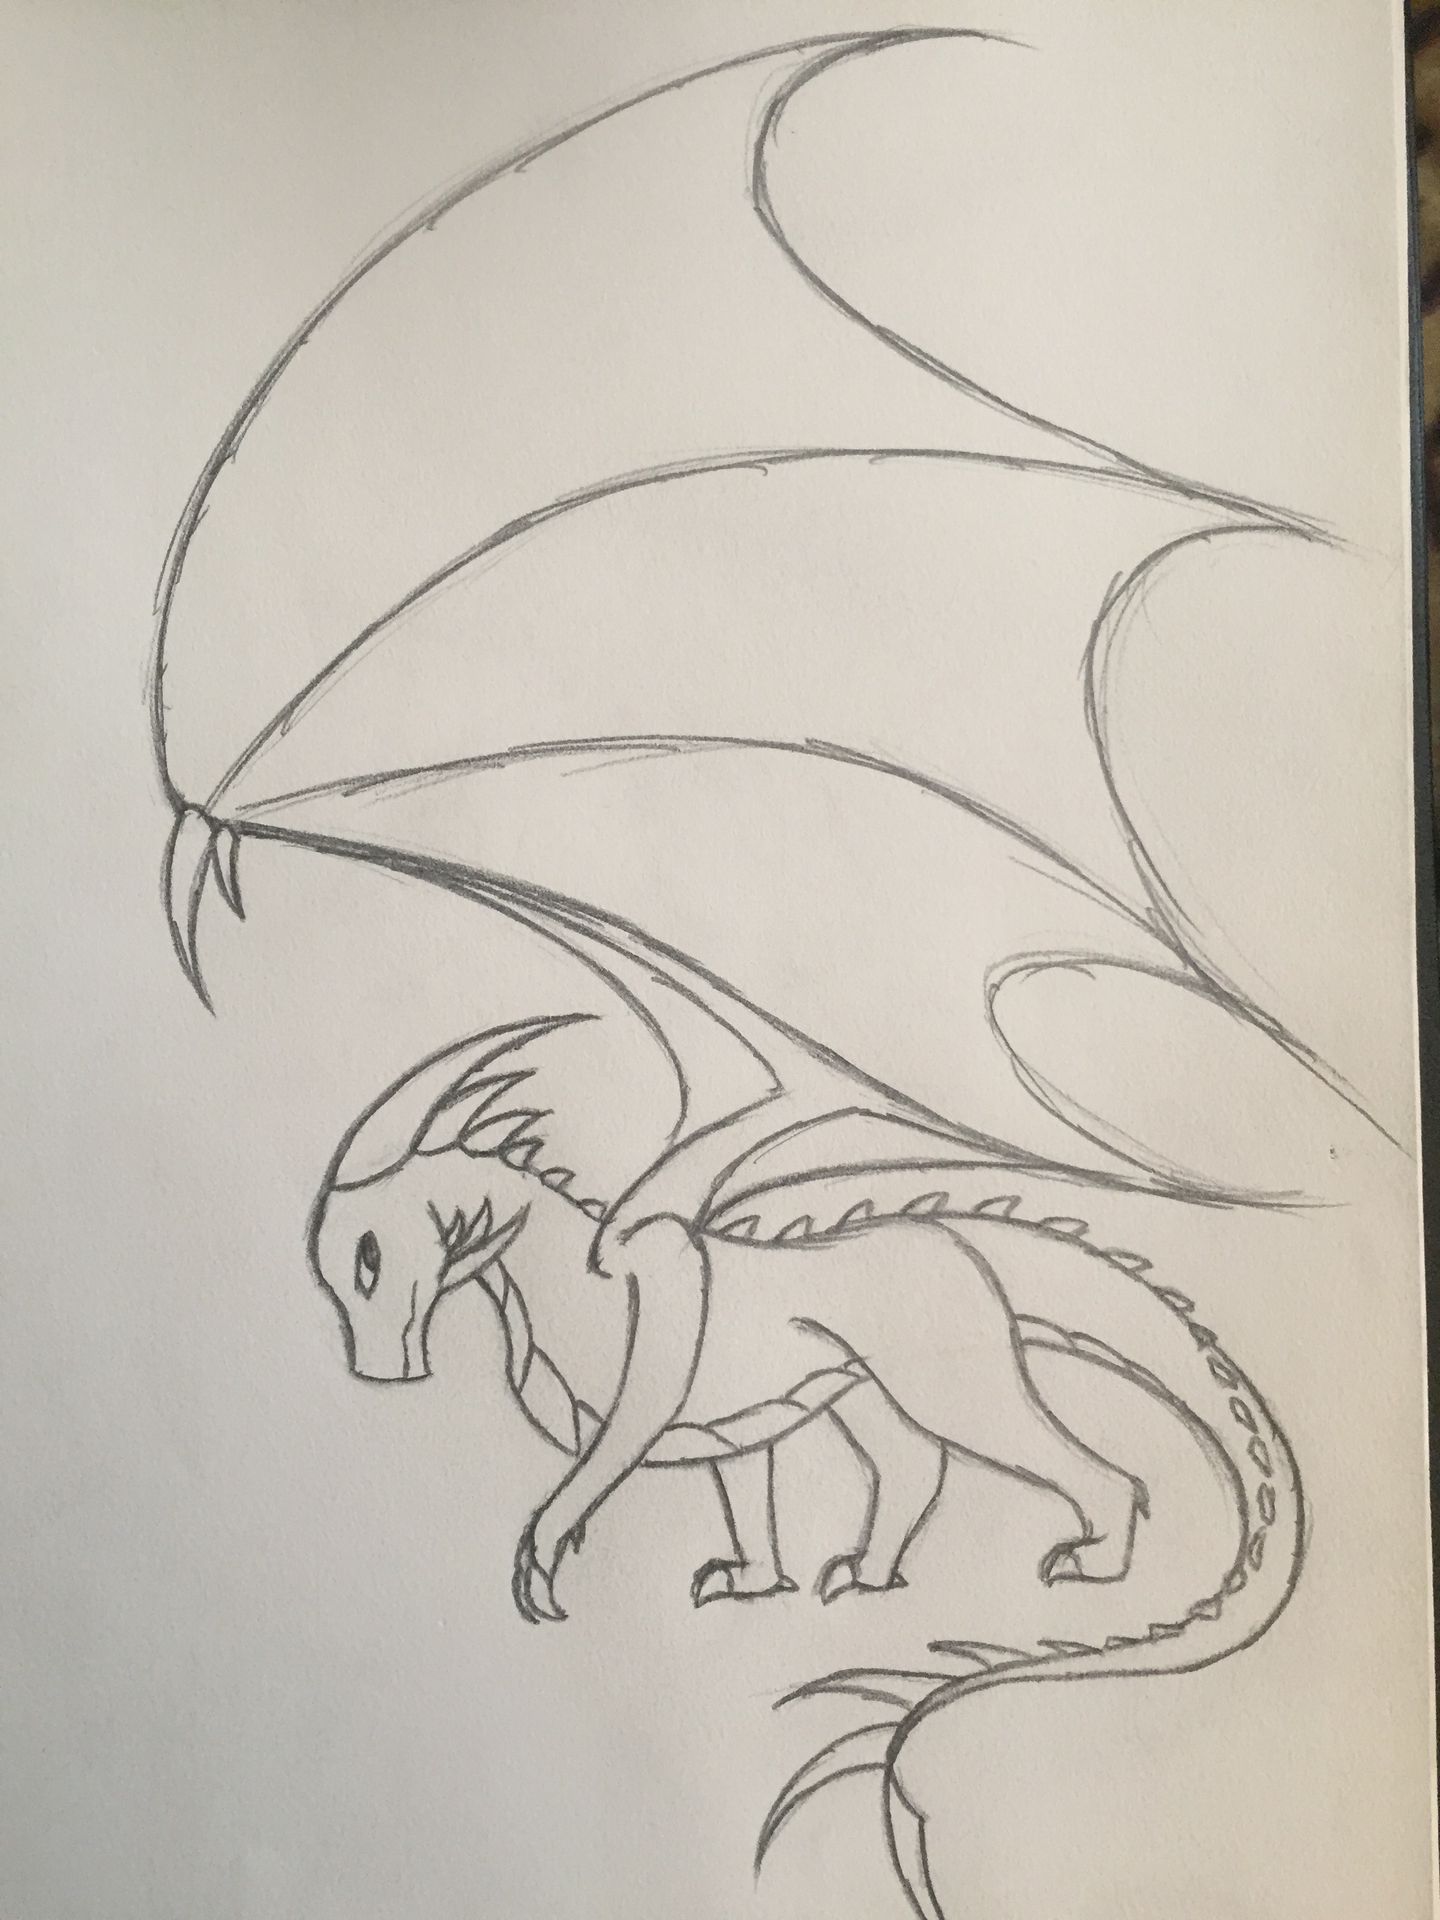
Finished!
Bạn đang đọc truyện trên: Truyen247.Pro