
˗ˏˋ 𝐈𝐃𝐊 𝐖𝐇𝐀𝐓 𝐓𝐎 𝐂𝐀𝐋𝐋 𝐓𝐇𝐈𝐒 𝐎𝐍𝐄 ˎˊ˗
𝙋𝙇𝙀𝘼𝙎𝙀 𝘾𝙍𝙀𝘿𝙄𝙏 𝙈𝙀 𝙄𝙁 𝙔𝙊𝙐 𝘿𝙊 𝙀𝙉𝘿 𝙐𝙋 𝙐𝙎𝙄𝙉𝙂 𝙊𝙉𝙀 𝙊𝙁 𝙈𝙔 𝙏𝙐𝙏𝙊𝙍𝙄𝘼𝙇𝙎! <3
┌────── ⋆⋅☆⋅⋆ ──────┐
TUTORIAL #3
└────── ⋆⋅☆⋅⋆ ──────┘
APPS USED: PicsArt and Phonto
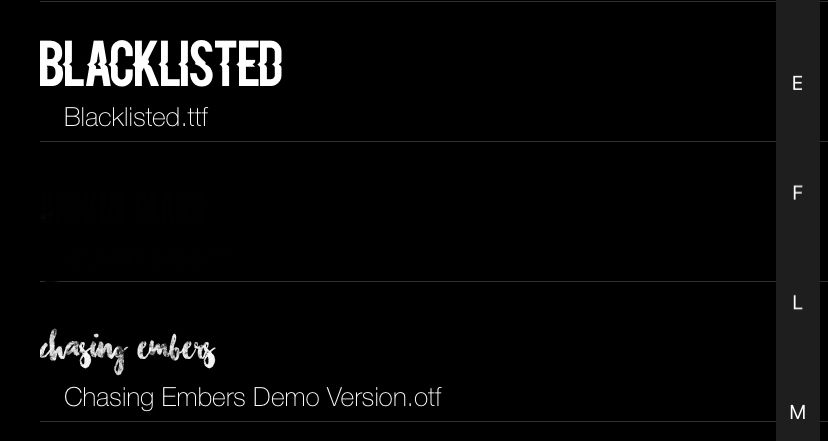
FONTS USED:
NOTE: this tutorial can get tricky so I'm sorry if at any time it seems unclear if you have any questions, comments or concerns please ask me! I'm here to help you all!
─── ・ 。゚☆: *.☽ .* :☆゚. ───
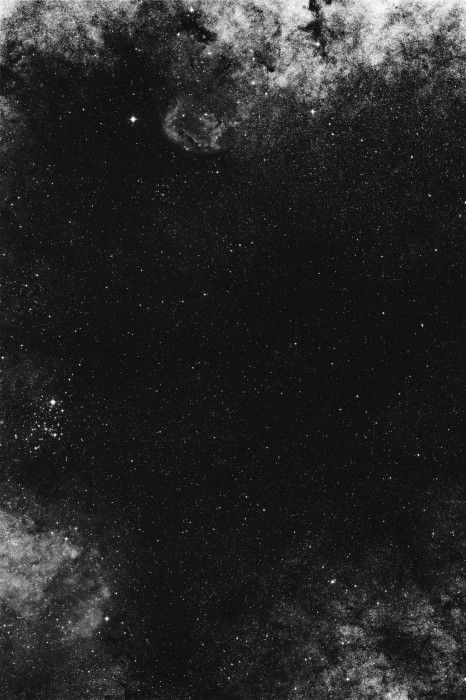
STEP 1: GATHER YOUR RESOURCES!!
find how ever many images you'd like to use!
the person that requested this cover wanted 2 face claims so I chose 5 images! you can do less than 5 if you'd like!
OPEN the template I provided then click 'add photo' located at the bottom and add your images!

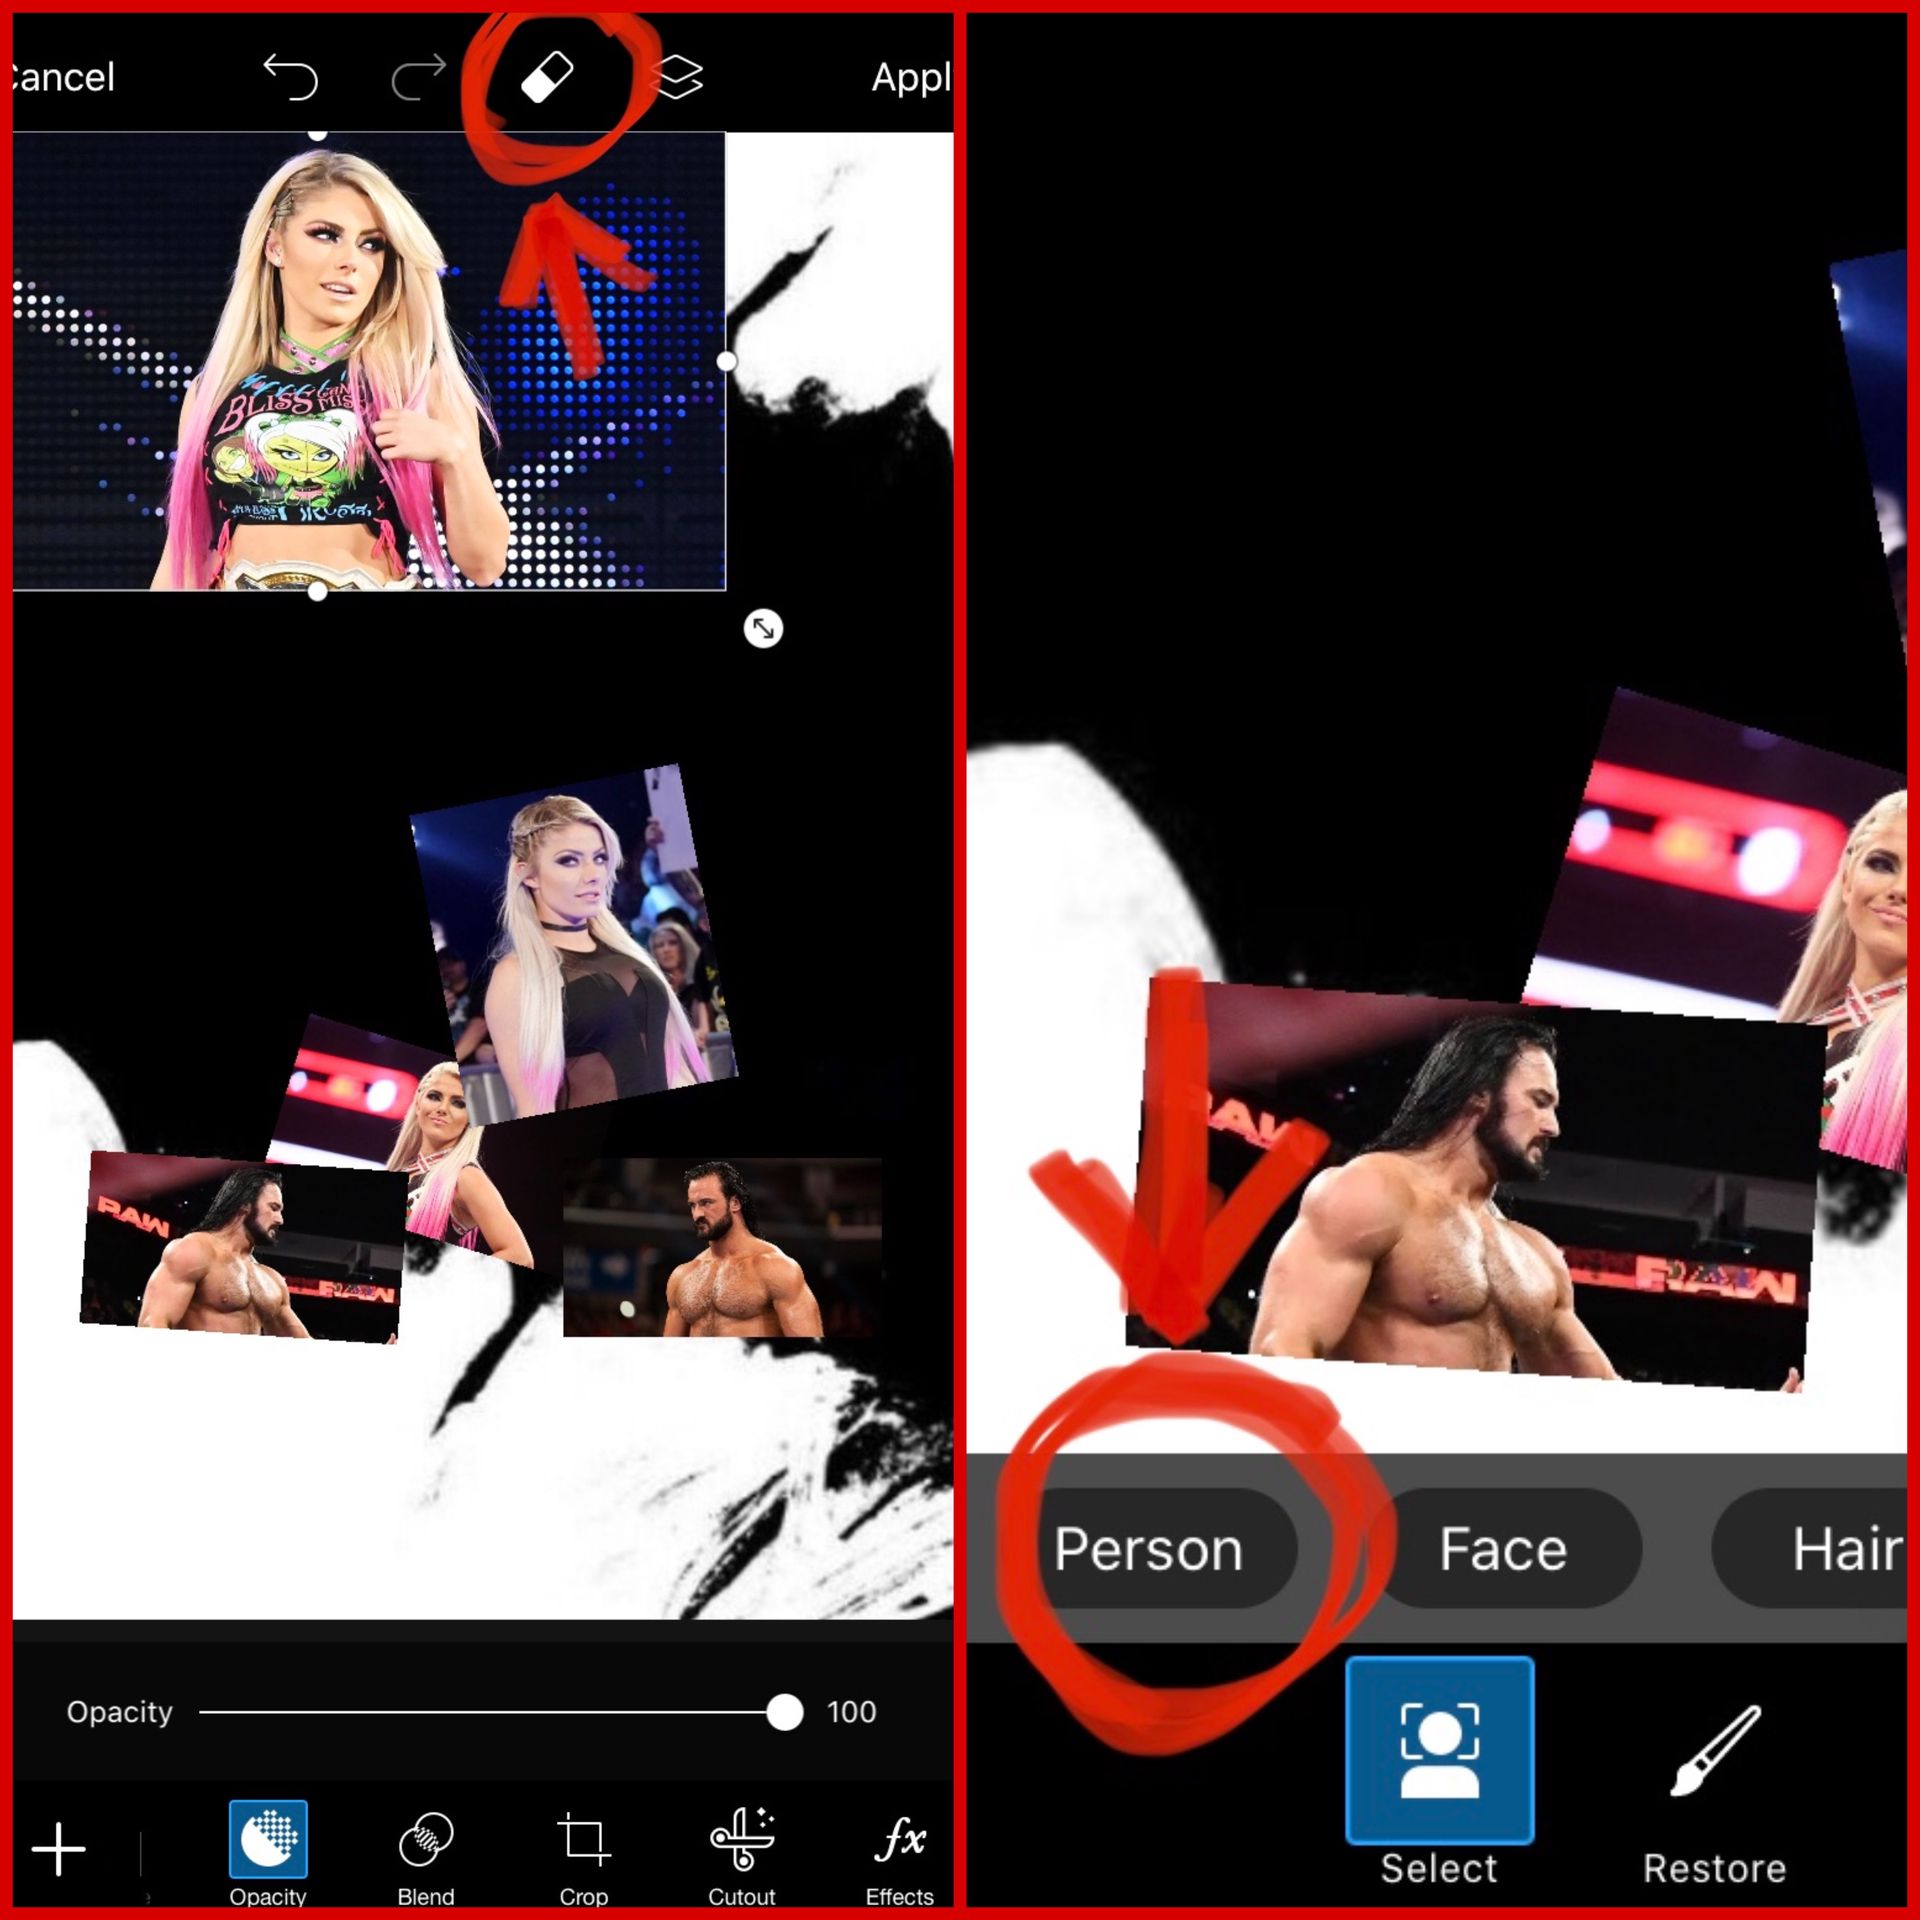
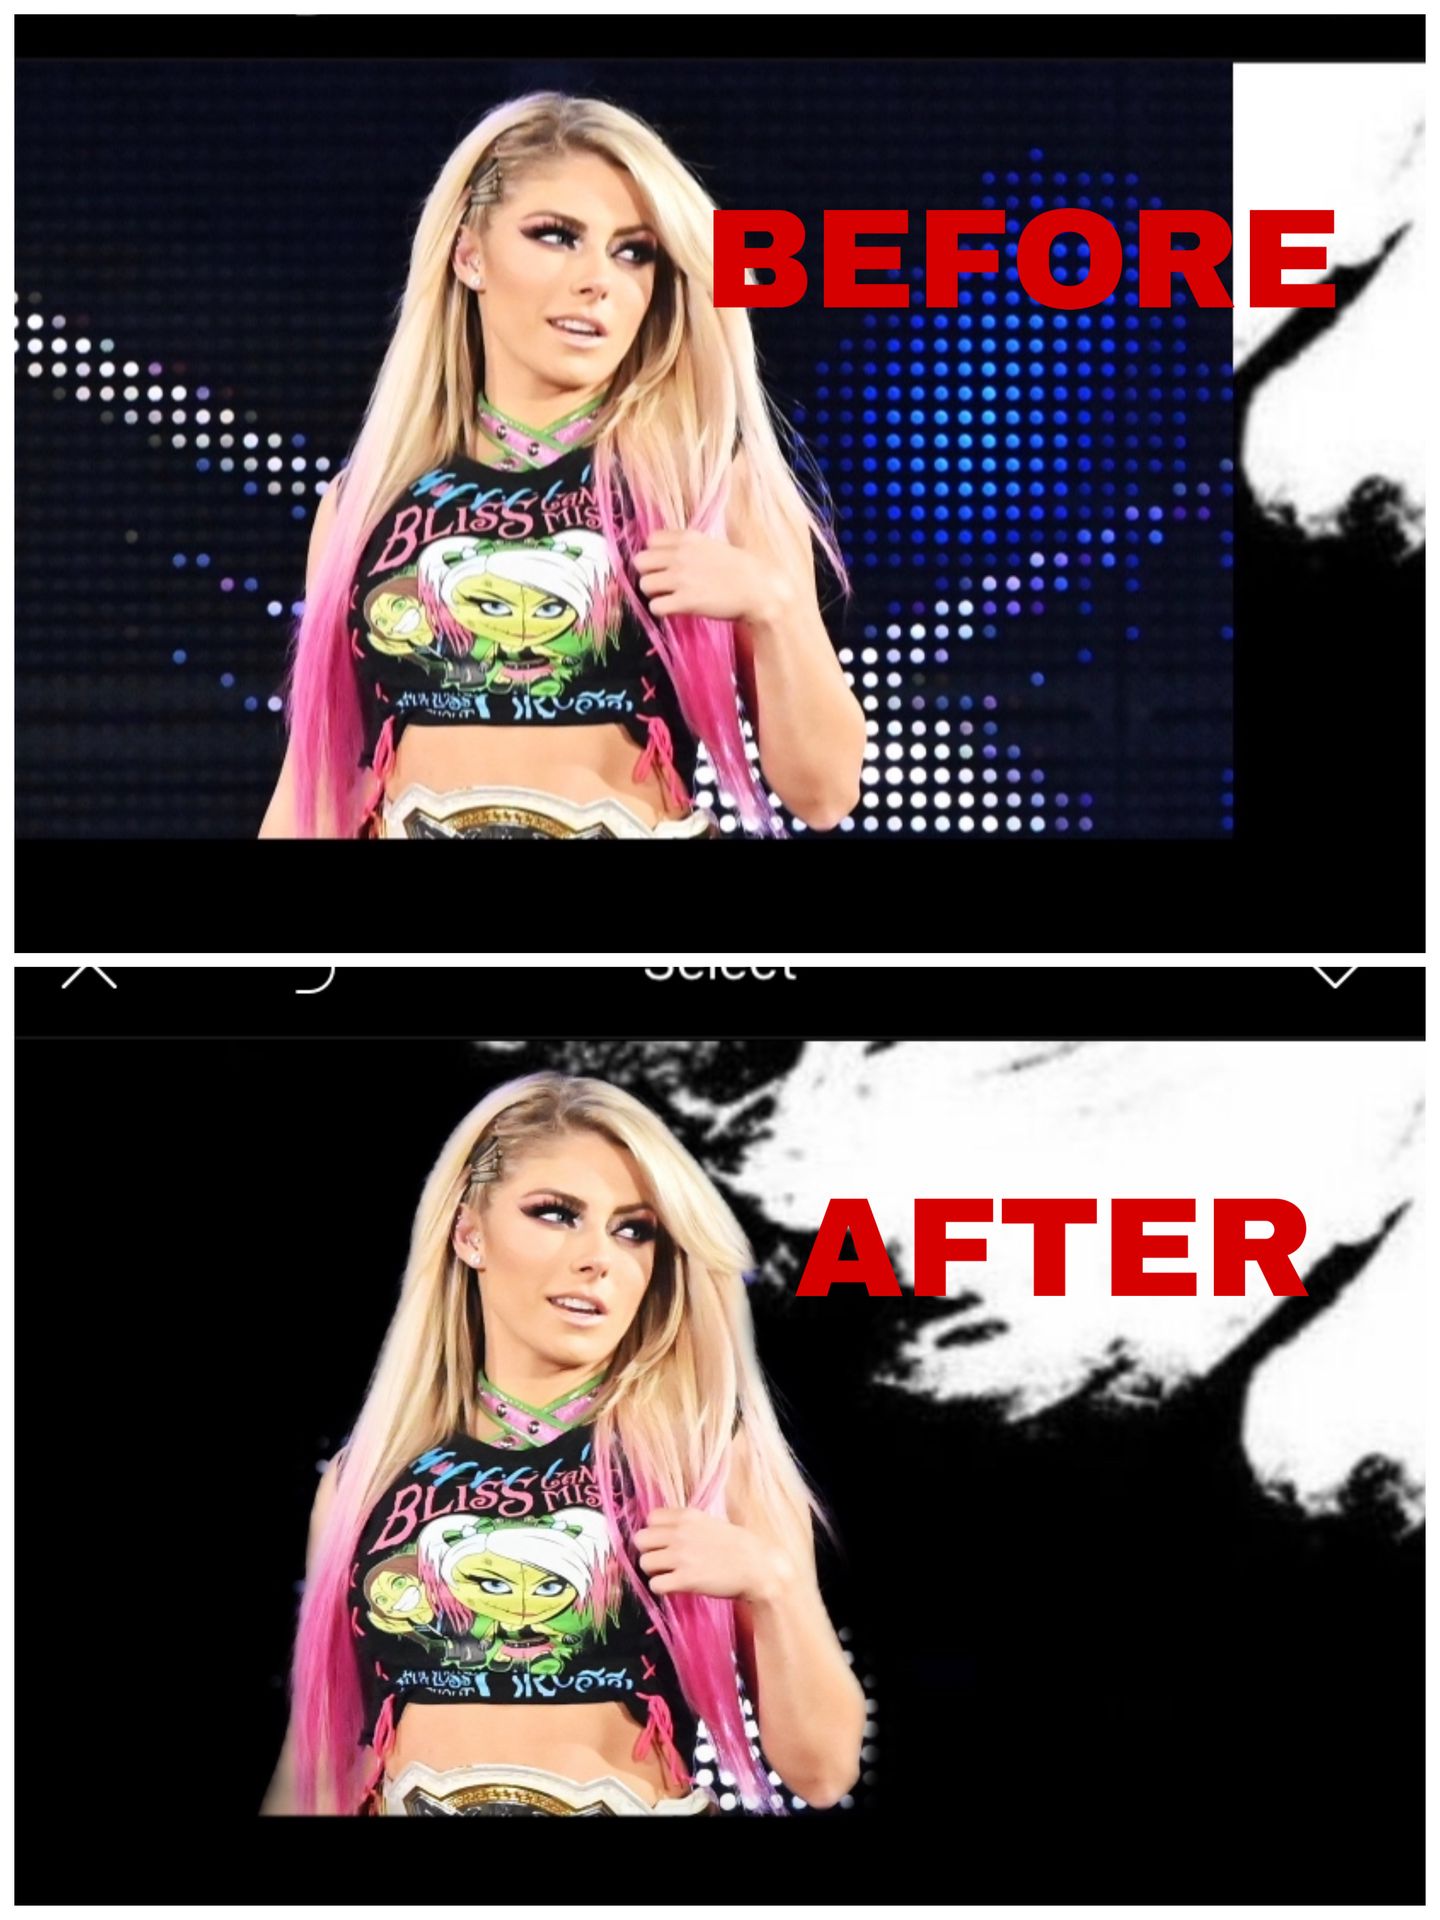
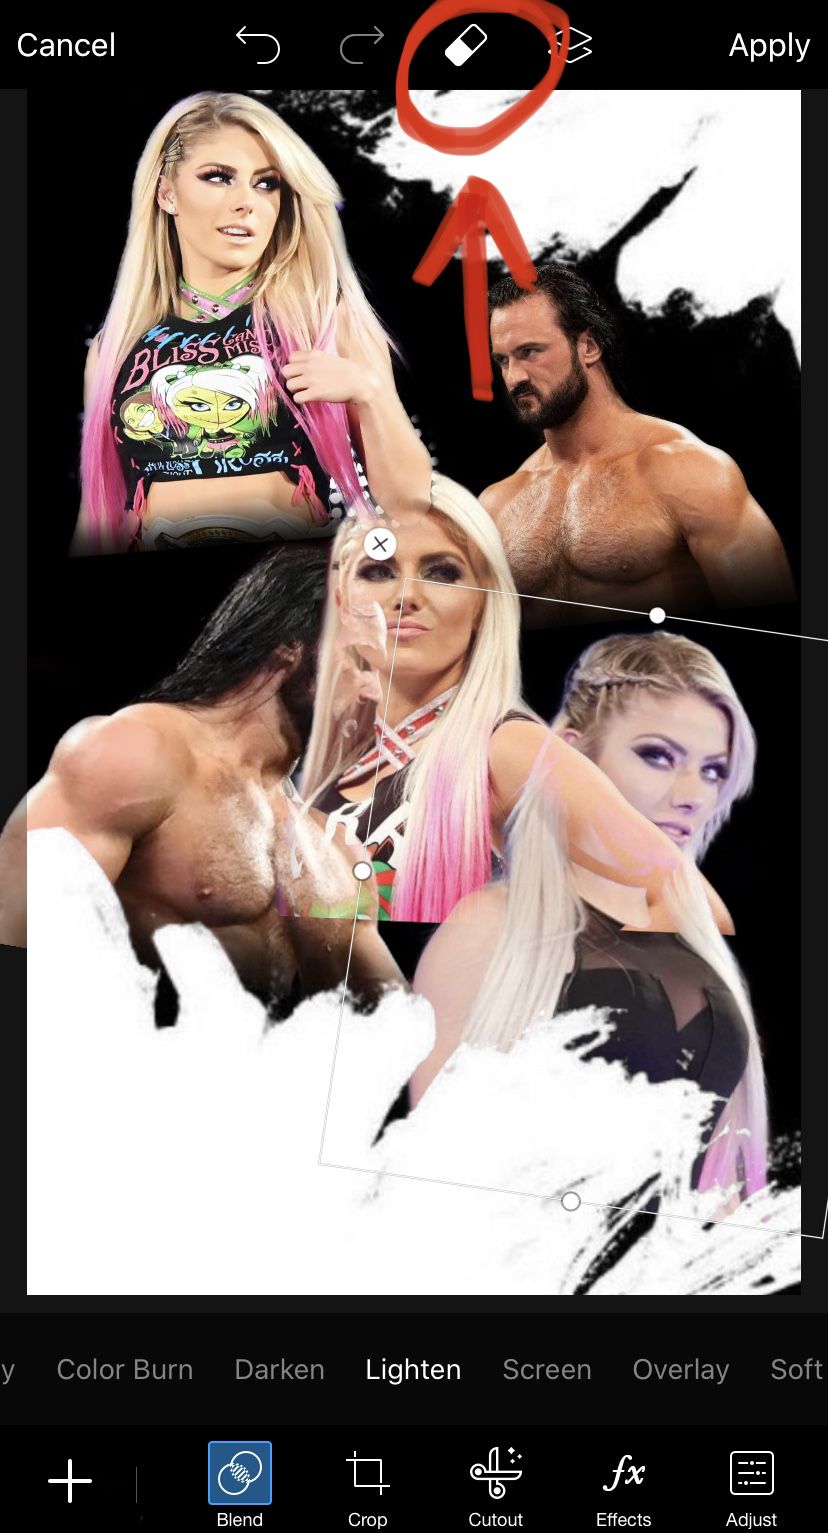
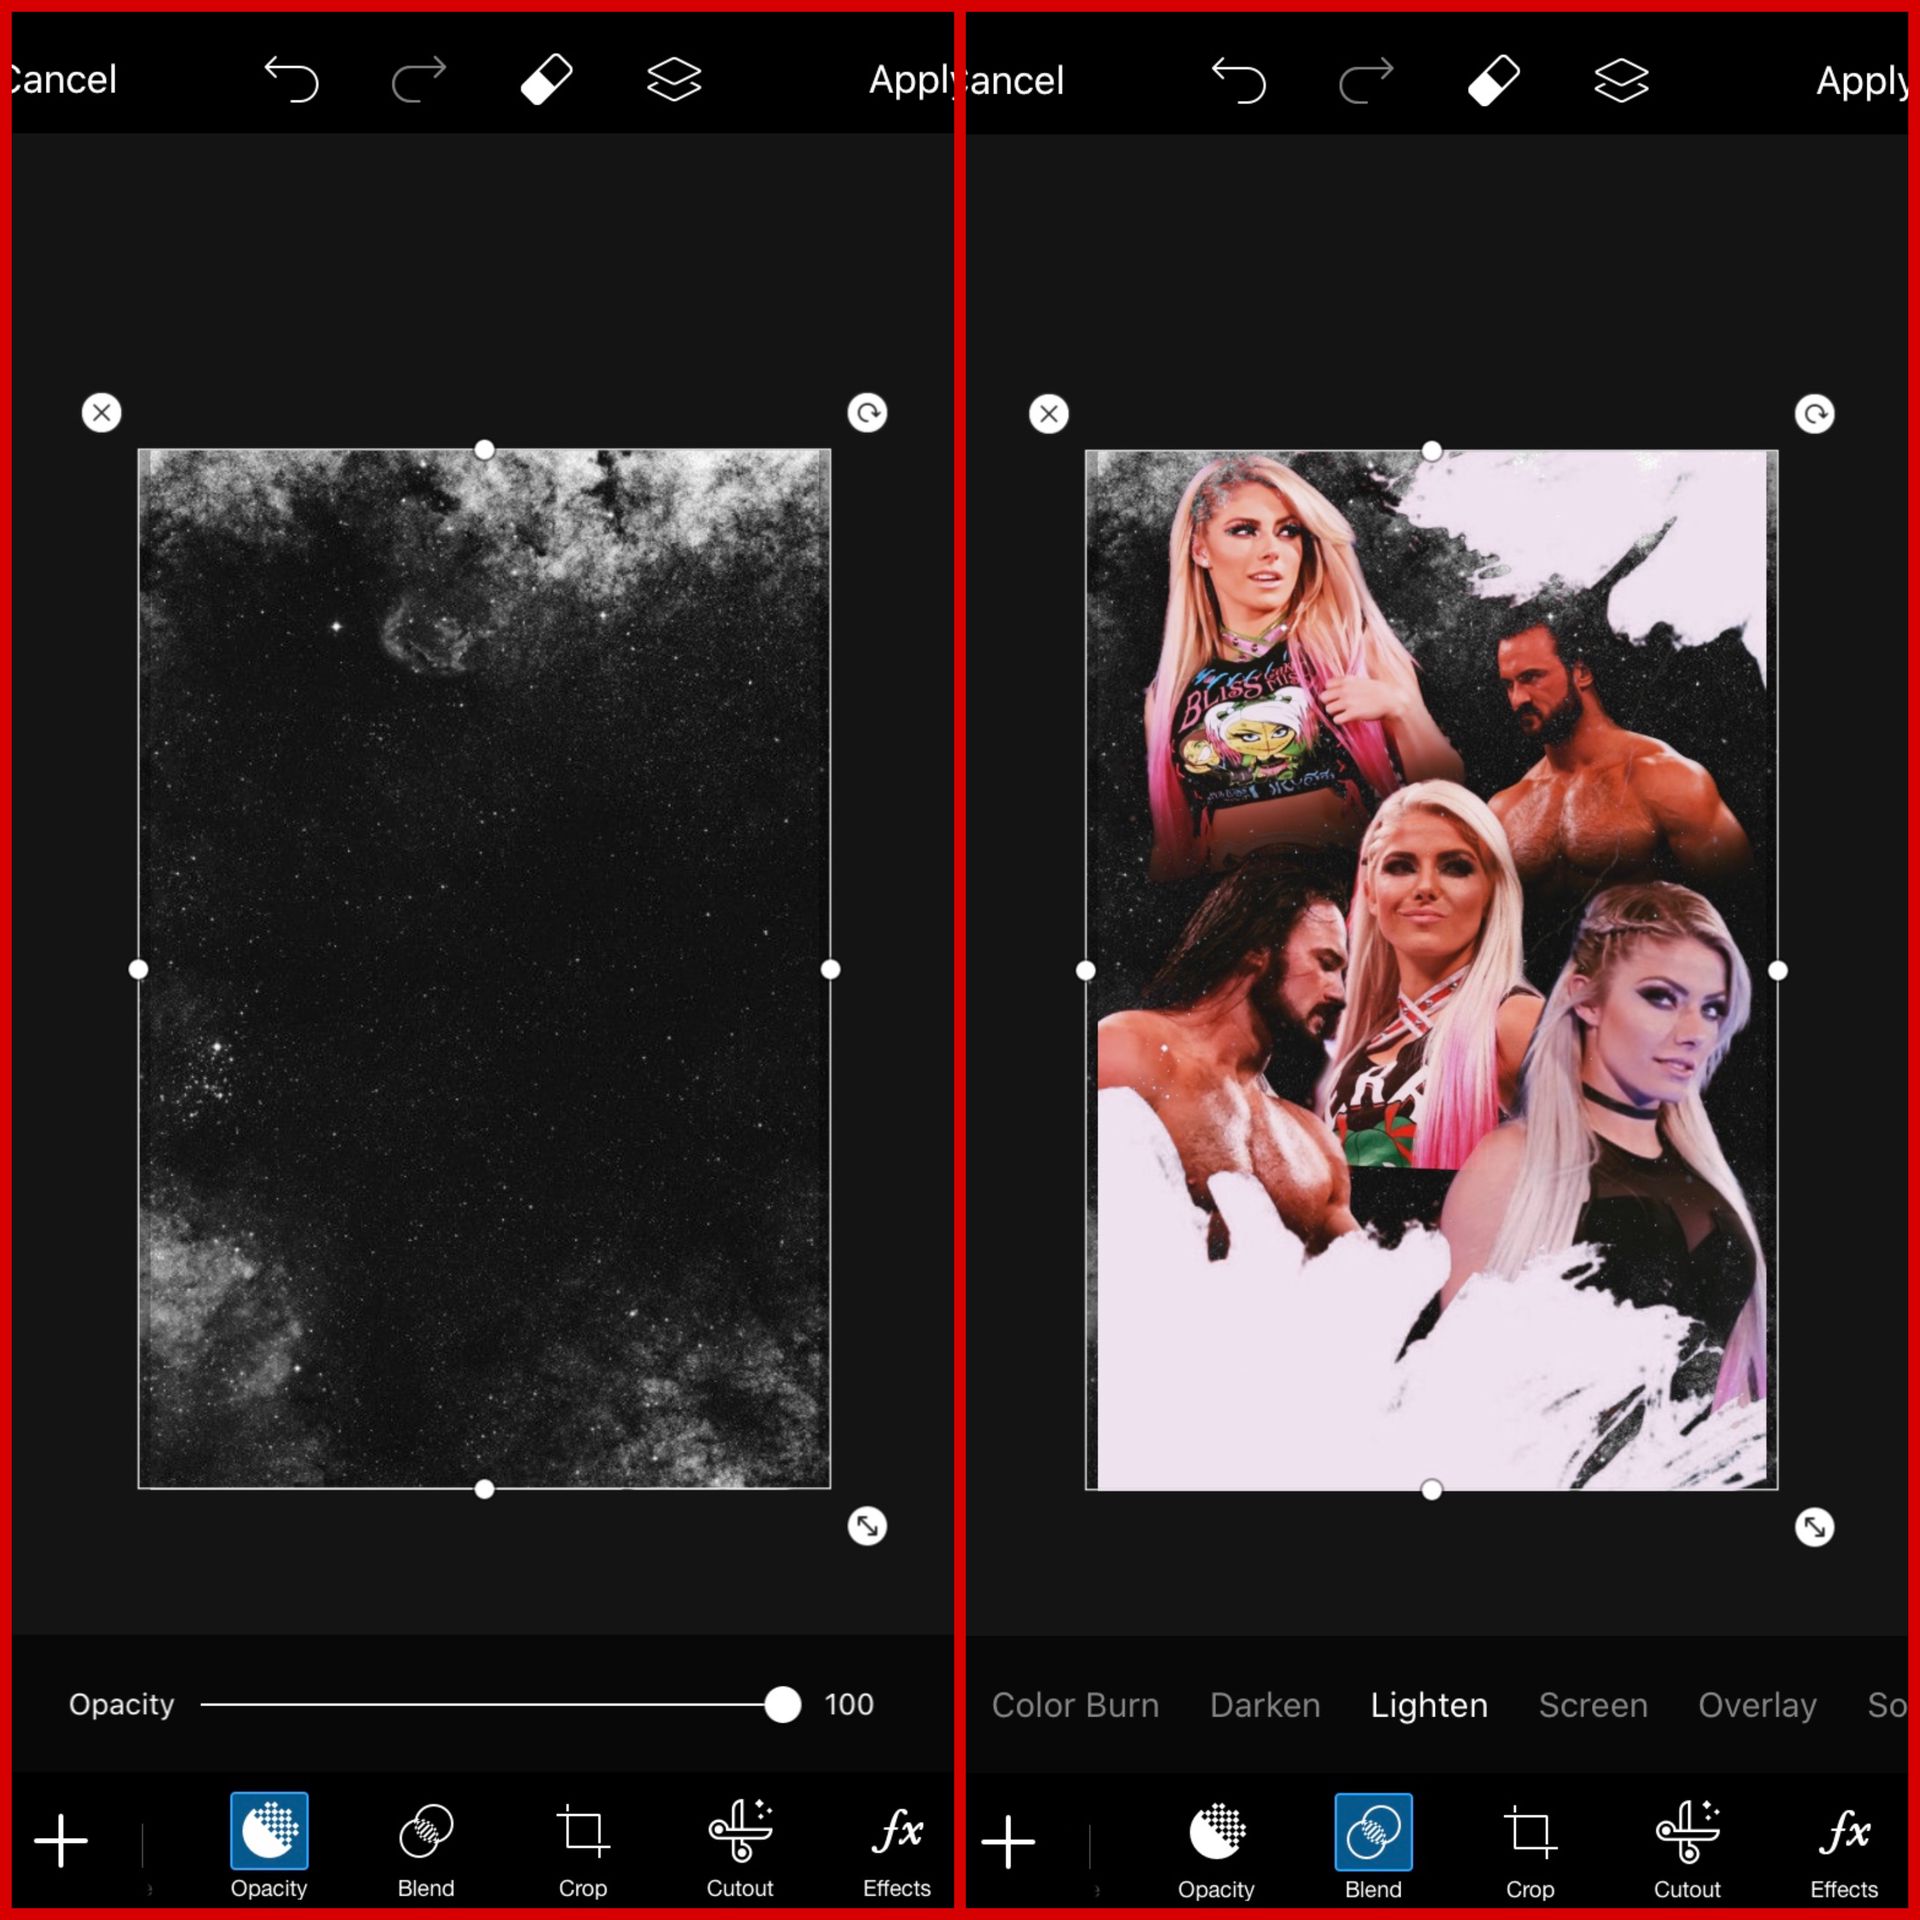
STEP 2: ERASING THE BACKGROUND OF THE IMAGES!
start rearranging where you want your images to go! enlarge your image and click the eraser icon located above! NEXT click where it says 'person' this erases the majority of the background! this is so that it's easier to place the images without any overlapping!
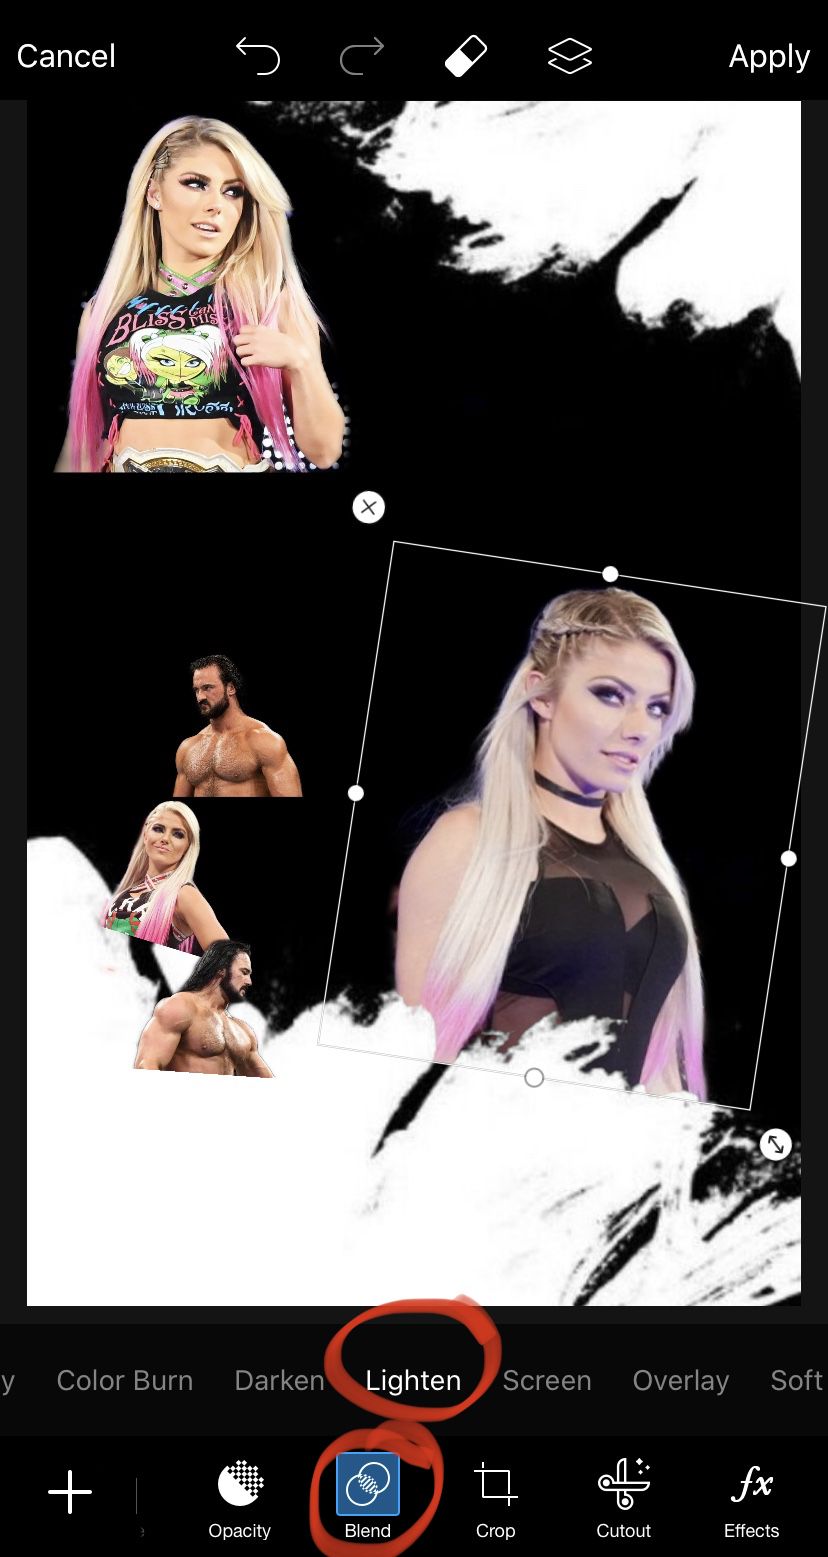
STEP 3: BLENDING!!
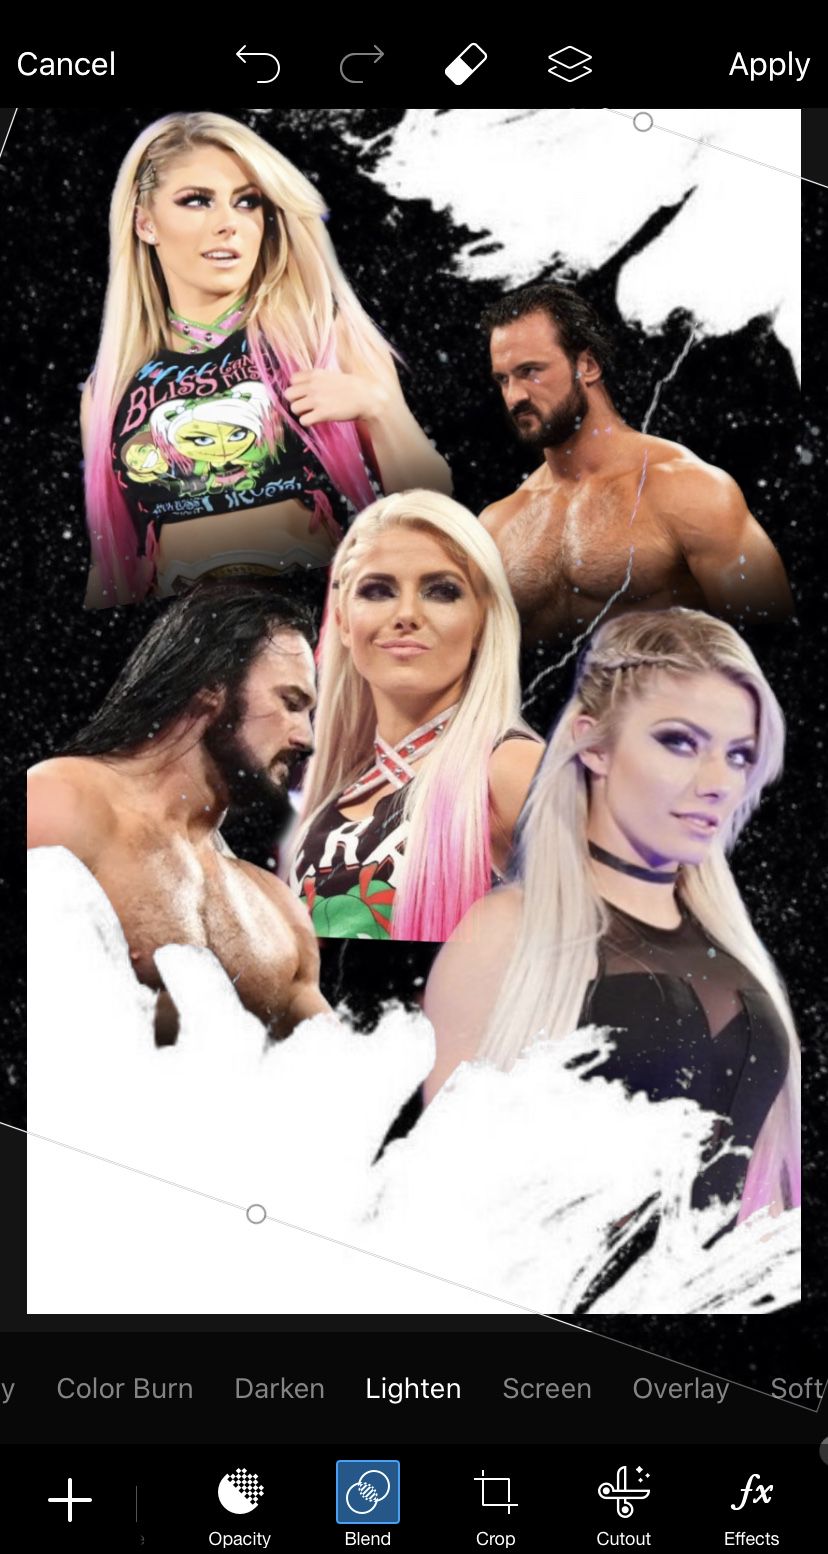
make sure to set all images at the blended setting 'lighten' this allows the image to not poke out of the black part of the image.
DO THIS TO ALL IMAGES!!!
STEP 4: PLACEMENT OF IMAGES
i've decided to place the images like so! you don't have to place them like I did! It's completely up to you! The way I placed the images is a little tricky and takes a lot of time! You have be careful and try not to move any of the surrounding images. LIKE I SAID YOU DO NOT HAVE TO DO THIS PLACEMENT! CHOOSE YOUR OWN PREFERABLE PLACEMENT!!
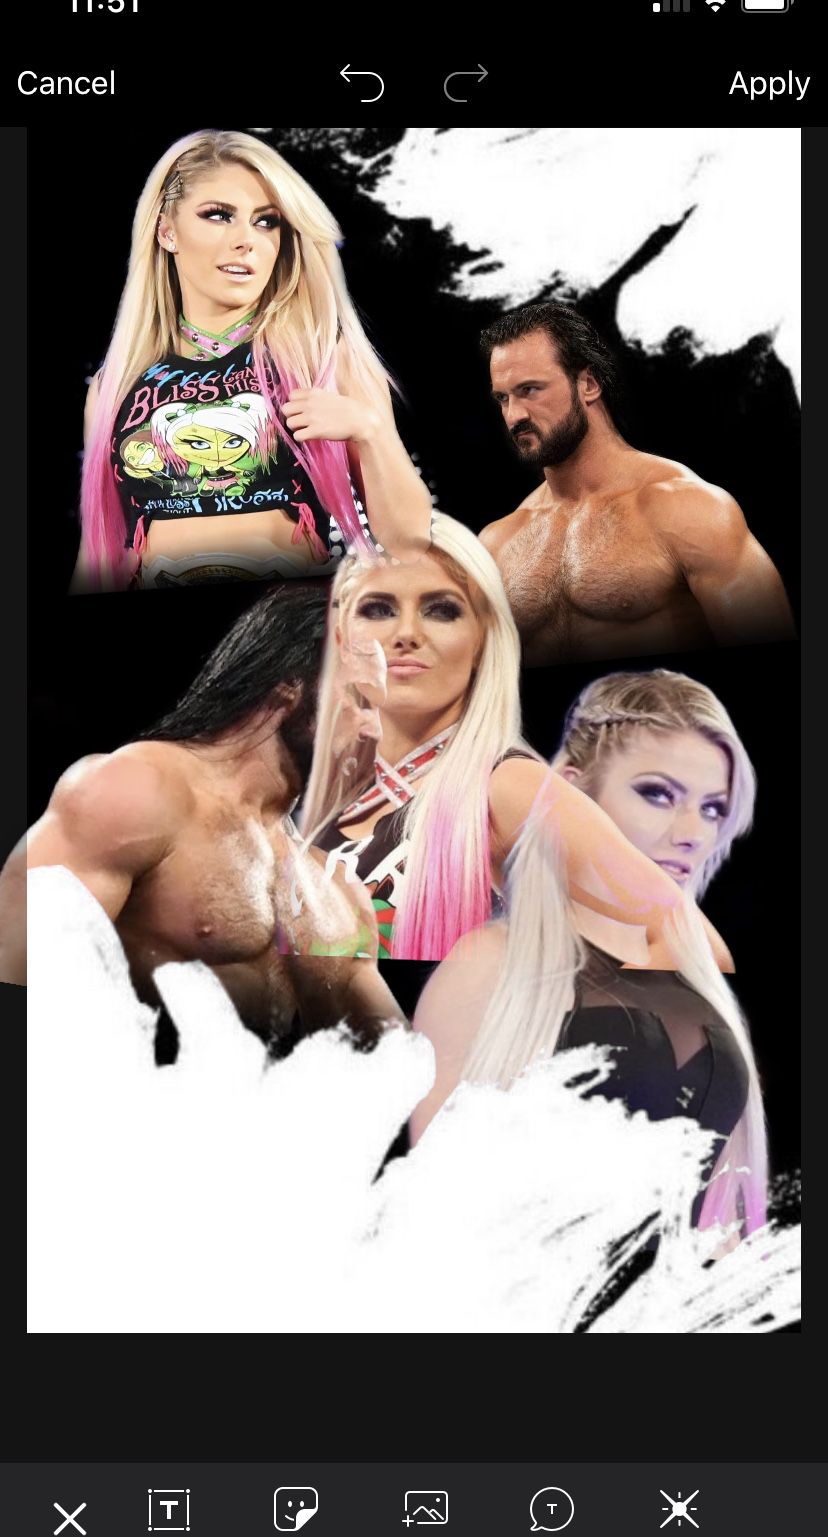
I THEN proceeded to erase the overlapping parts of the image! this took some time and was kinda frustrating ngl haha.
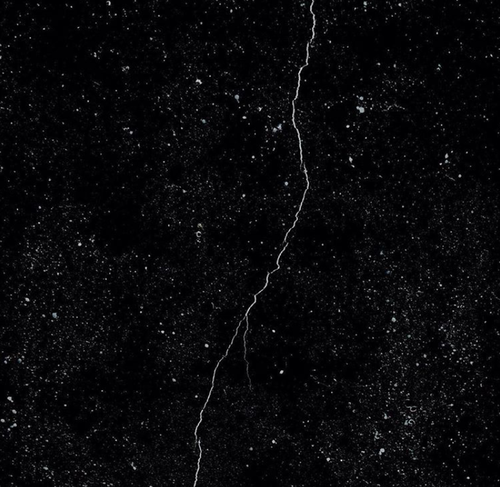
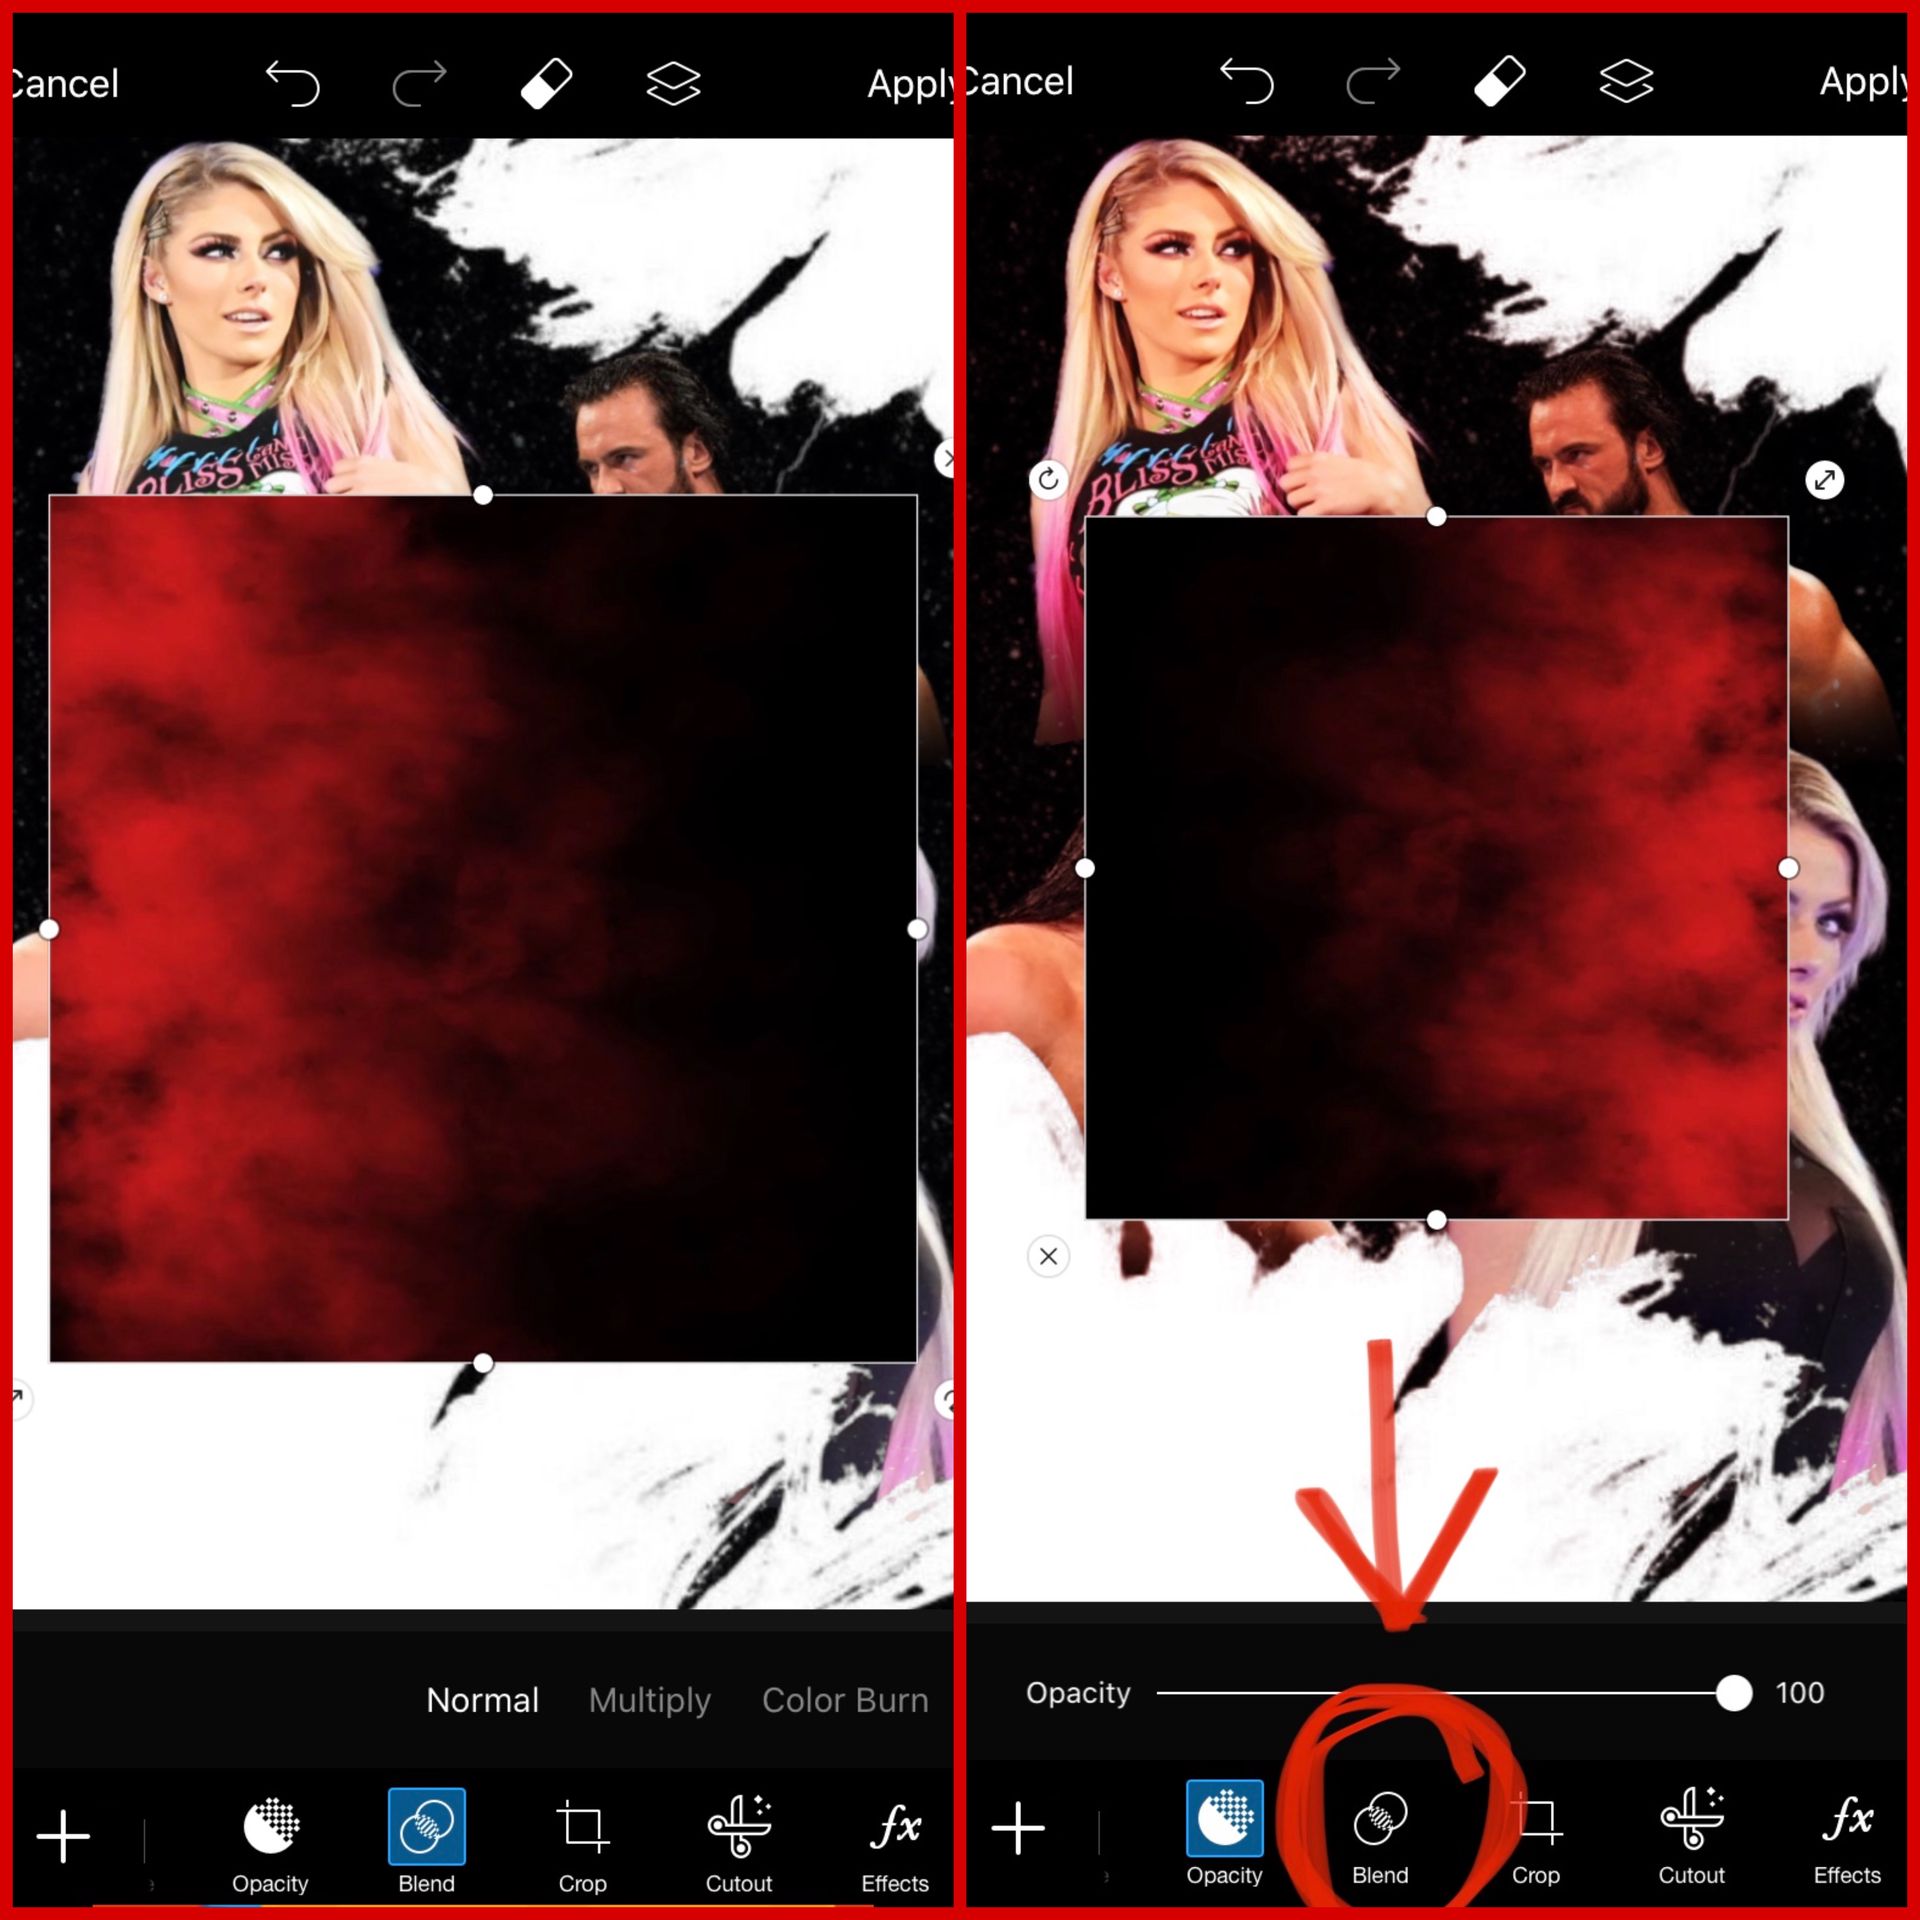
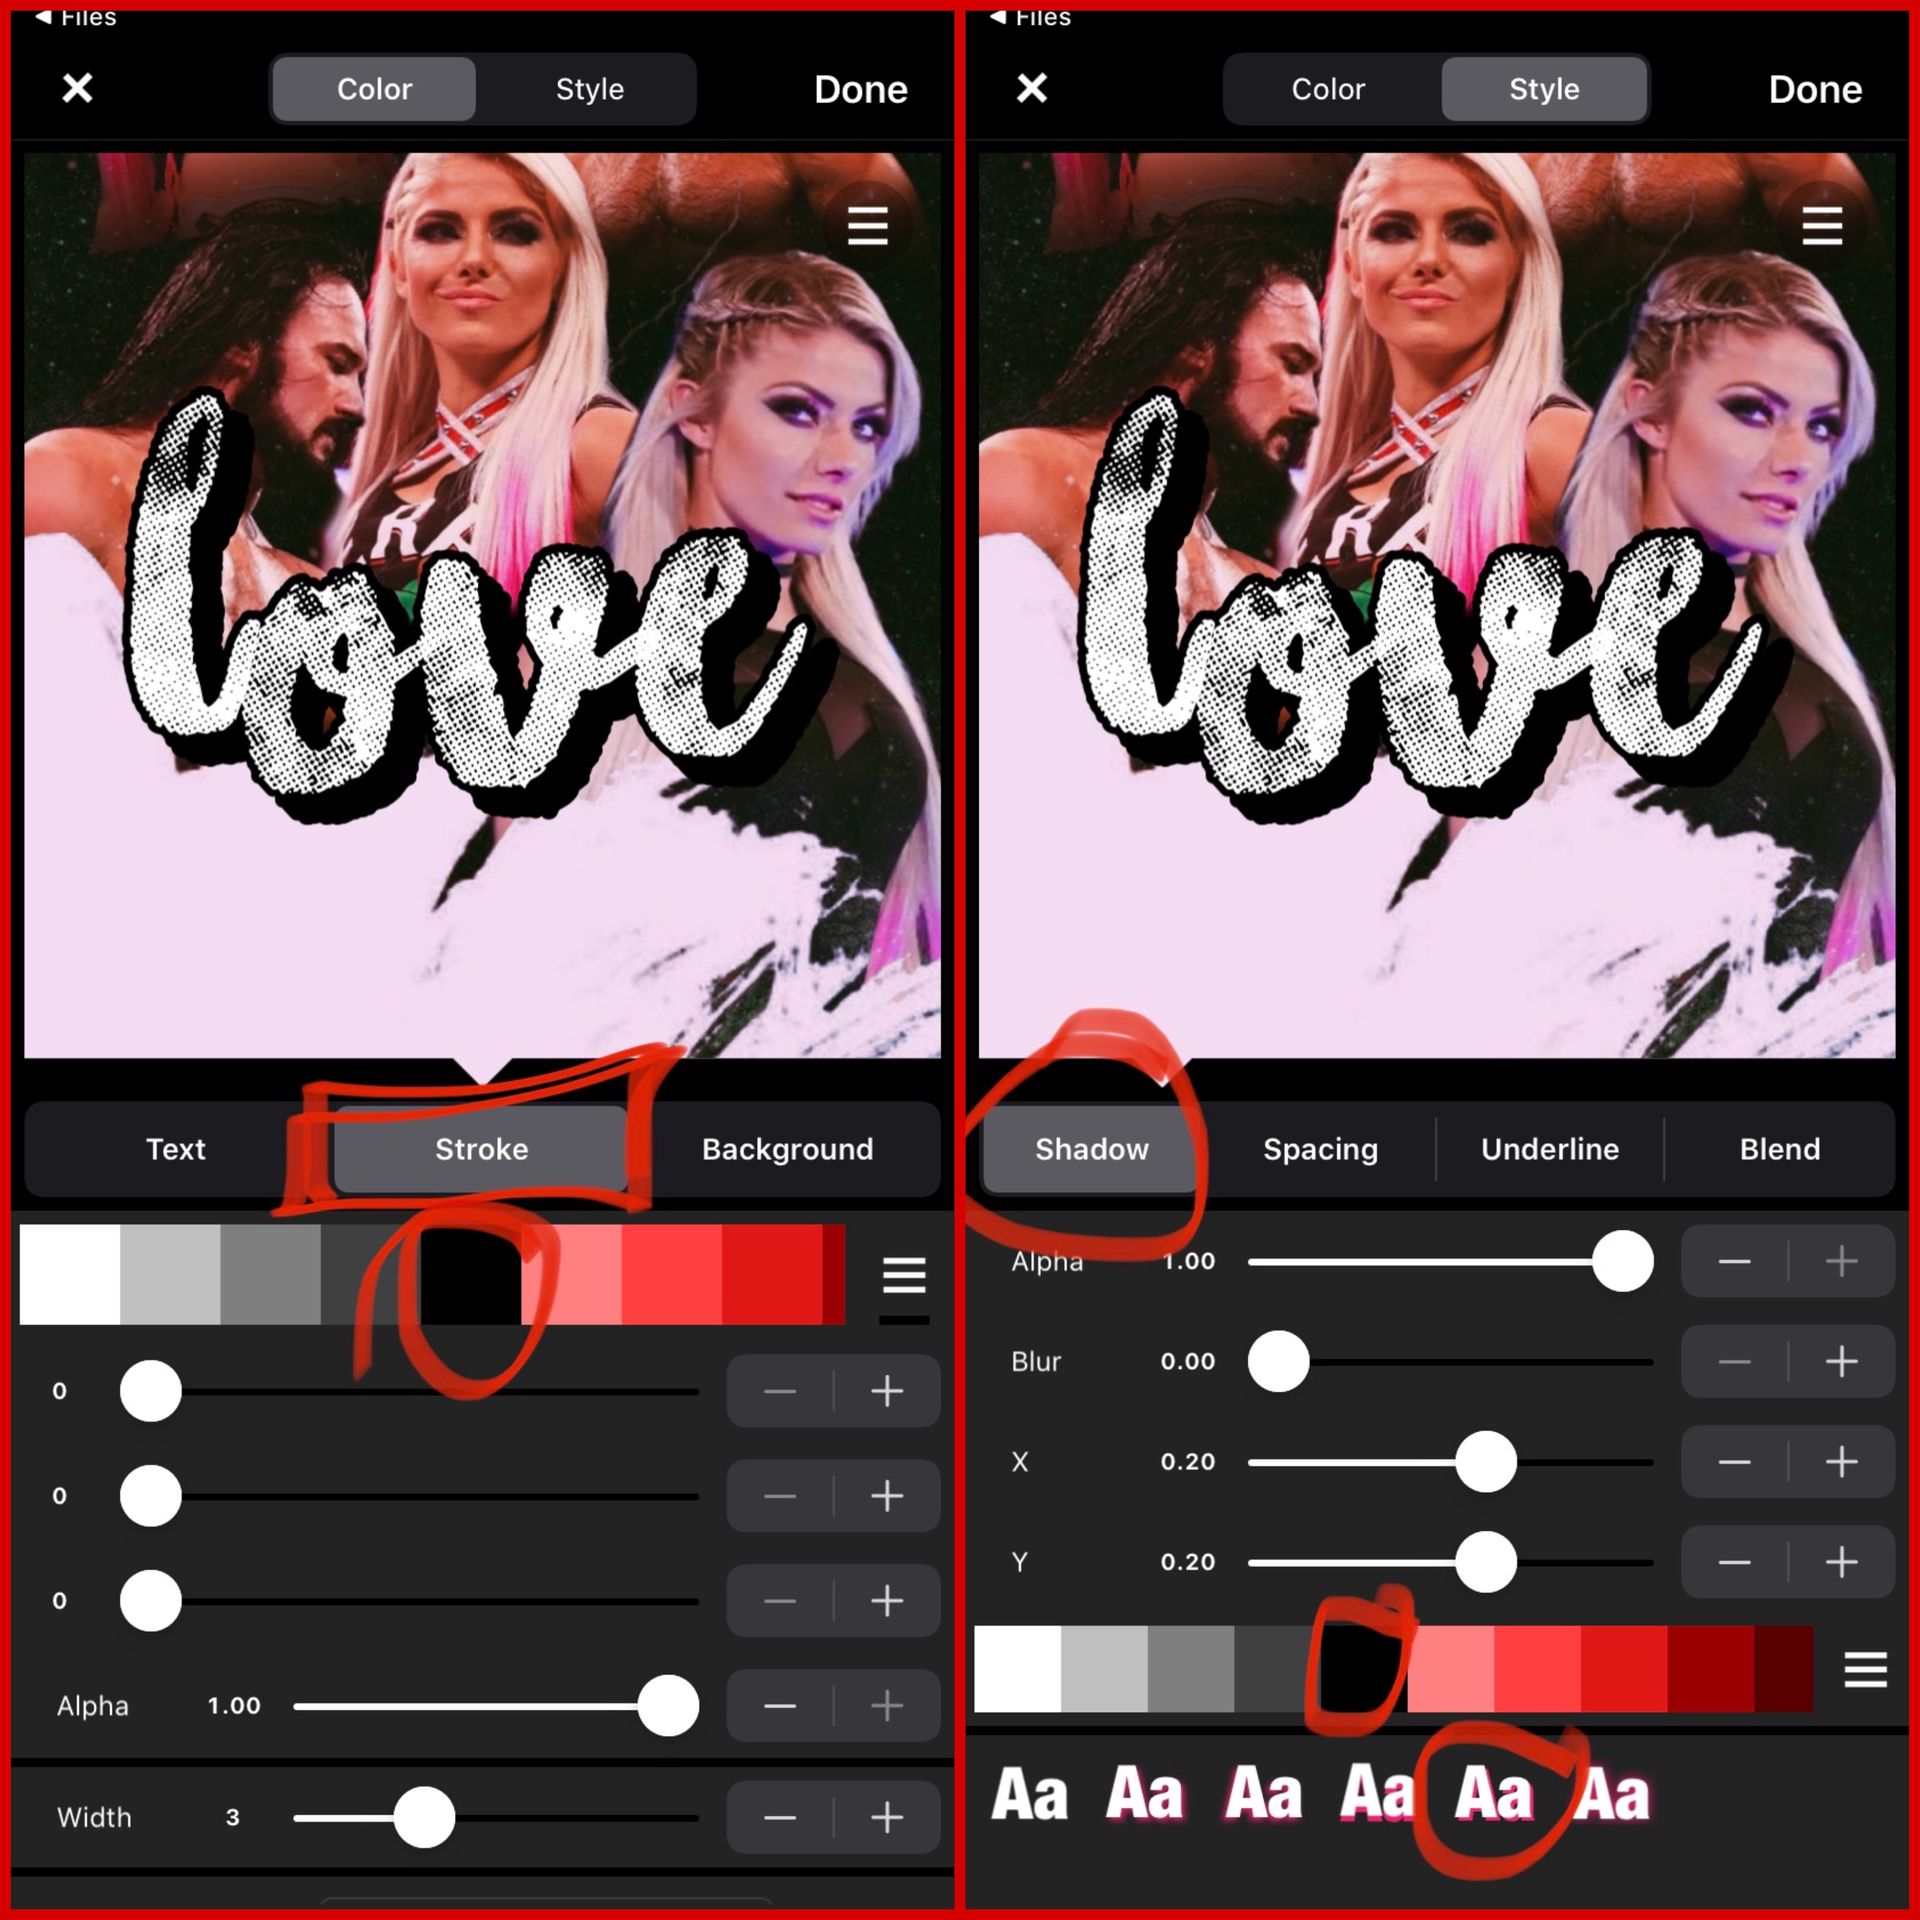
STEP 5: ADDING OVERLAYS AND EFFECTS!! (a.k.a my most favorite part!)
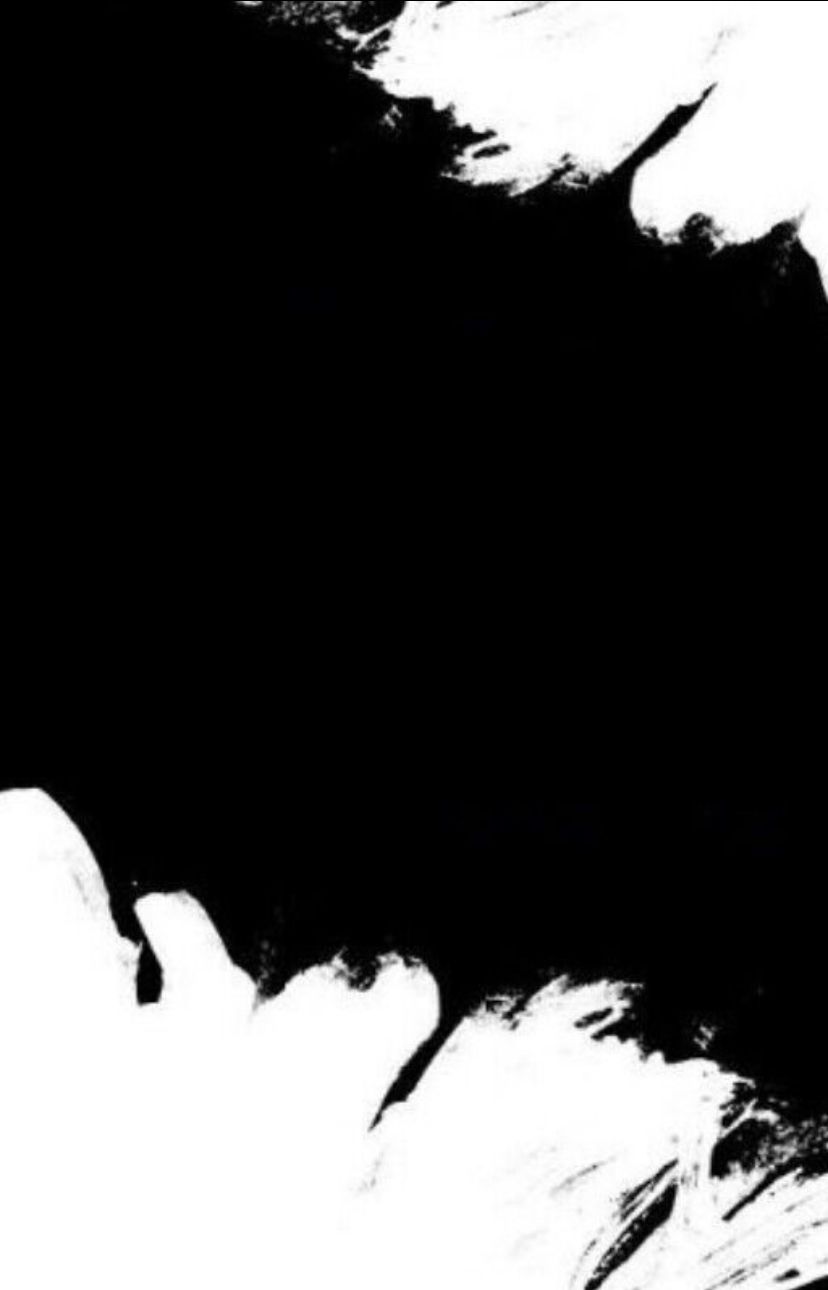
OPEN the overlay that I've provided by clicking 'add photo' located at the bottom! Size up the image and tap blend then 'lighten' turn down the opacity to your preference!
NEXT open up the overlay provided below! click 'add photo' and add the red fire image provided below!
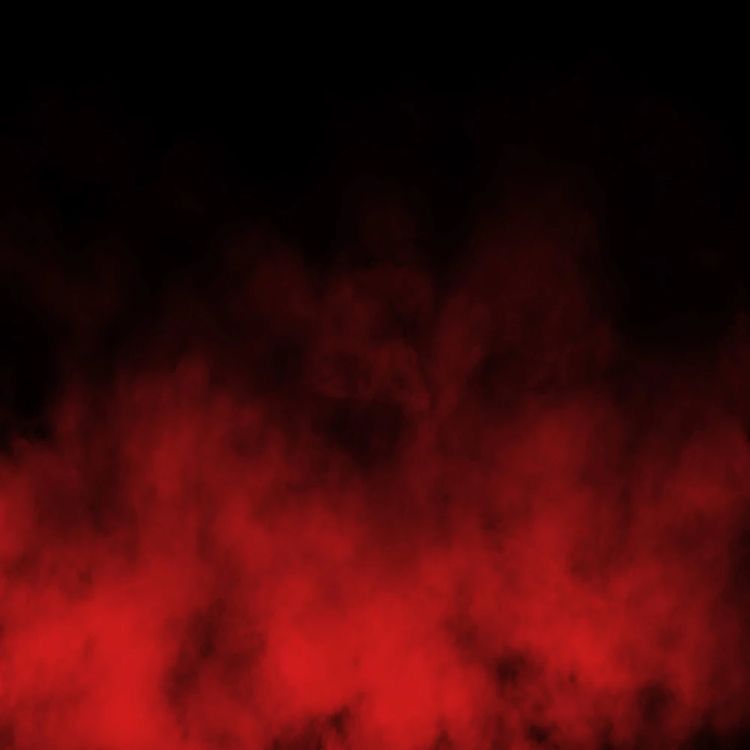
ENLARGE the image and turn it to the the left side first! click blend then tap on 'soft light' TURN DOWN the opacity to your liking! hit apply.
REPEAT THE SAME THING BUT INSTEAD TURN THE IMAGE TO THE RIGHT SIDE!
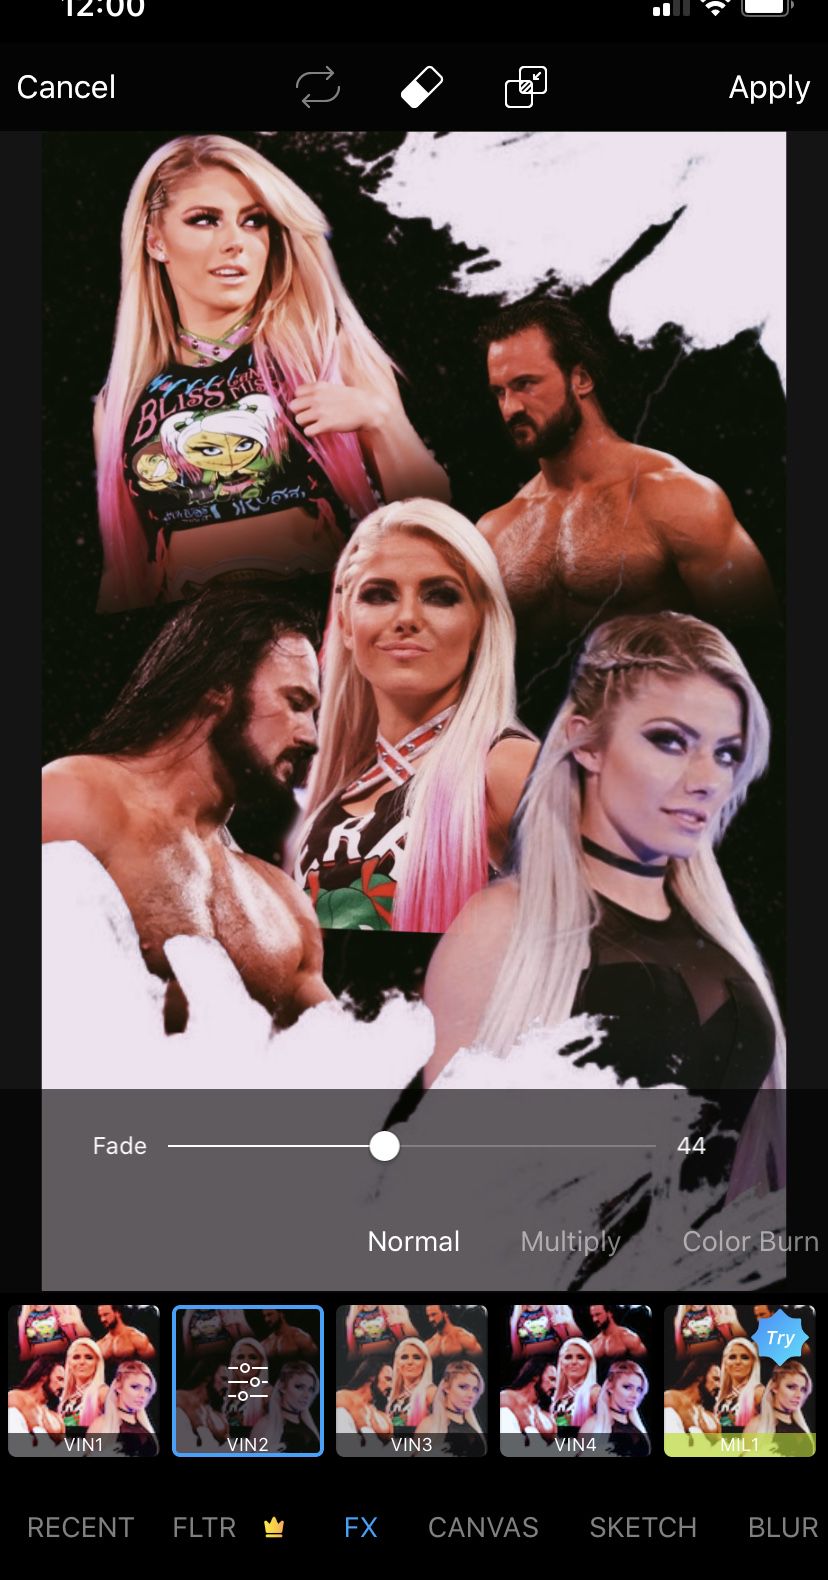
NOW add your preferred effects! I've chosen to add the 'VN2' effect! turn down the fade setting to your liking!
OPEN UP the image provided below!
MAKE SURE TO FILL the entire cover! tap on blend and hit 'lighten' turn down the opacity to your liking!
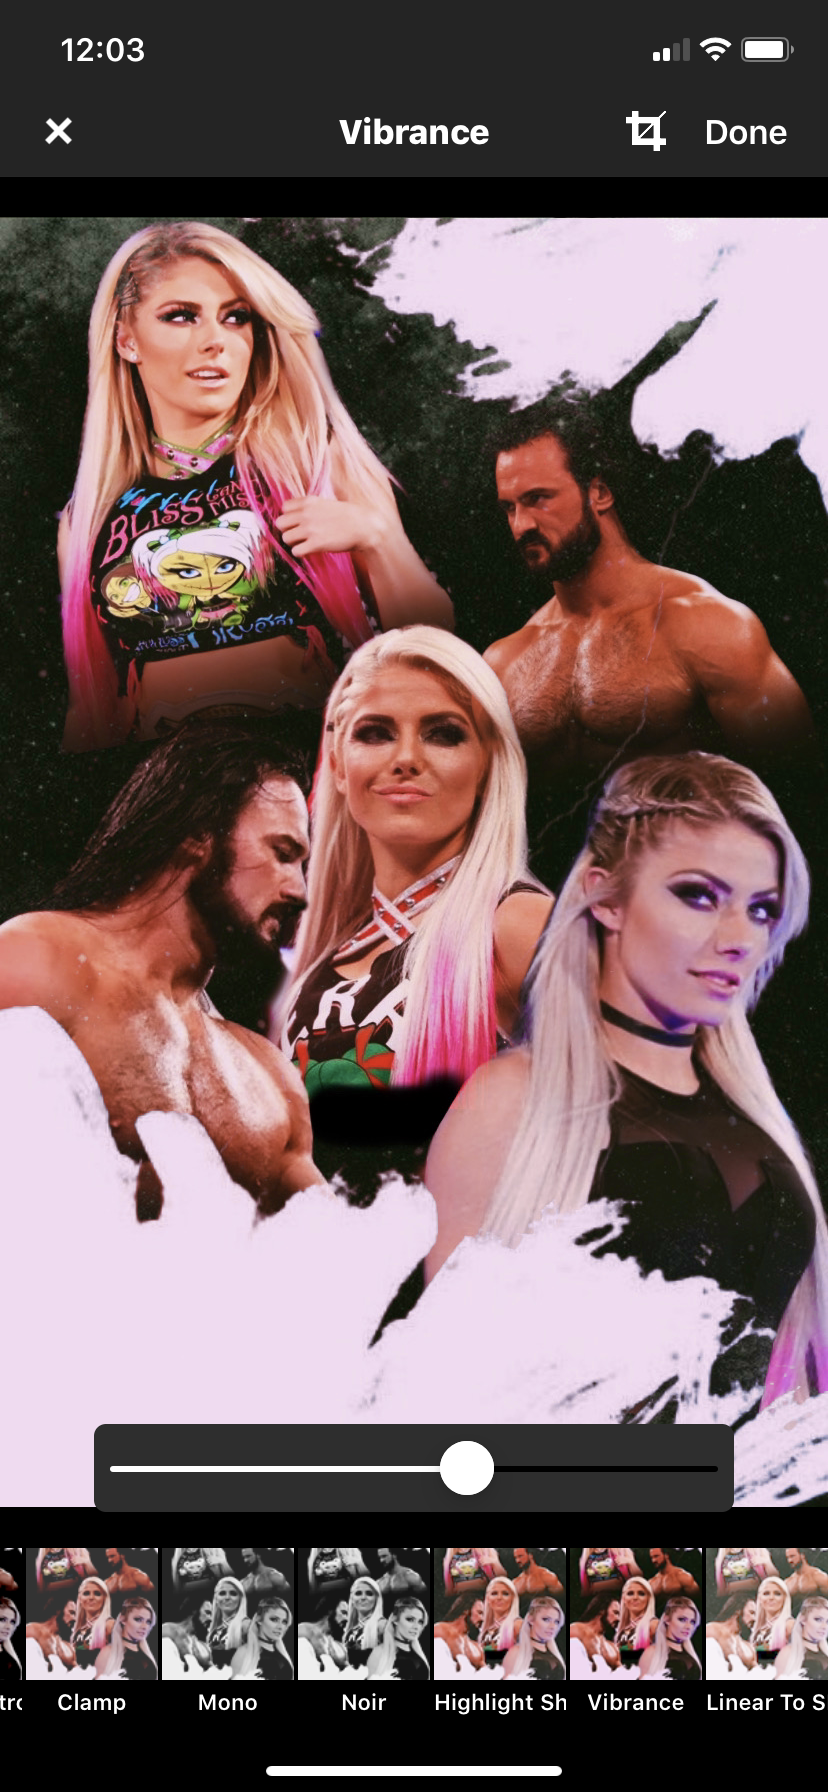
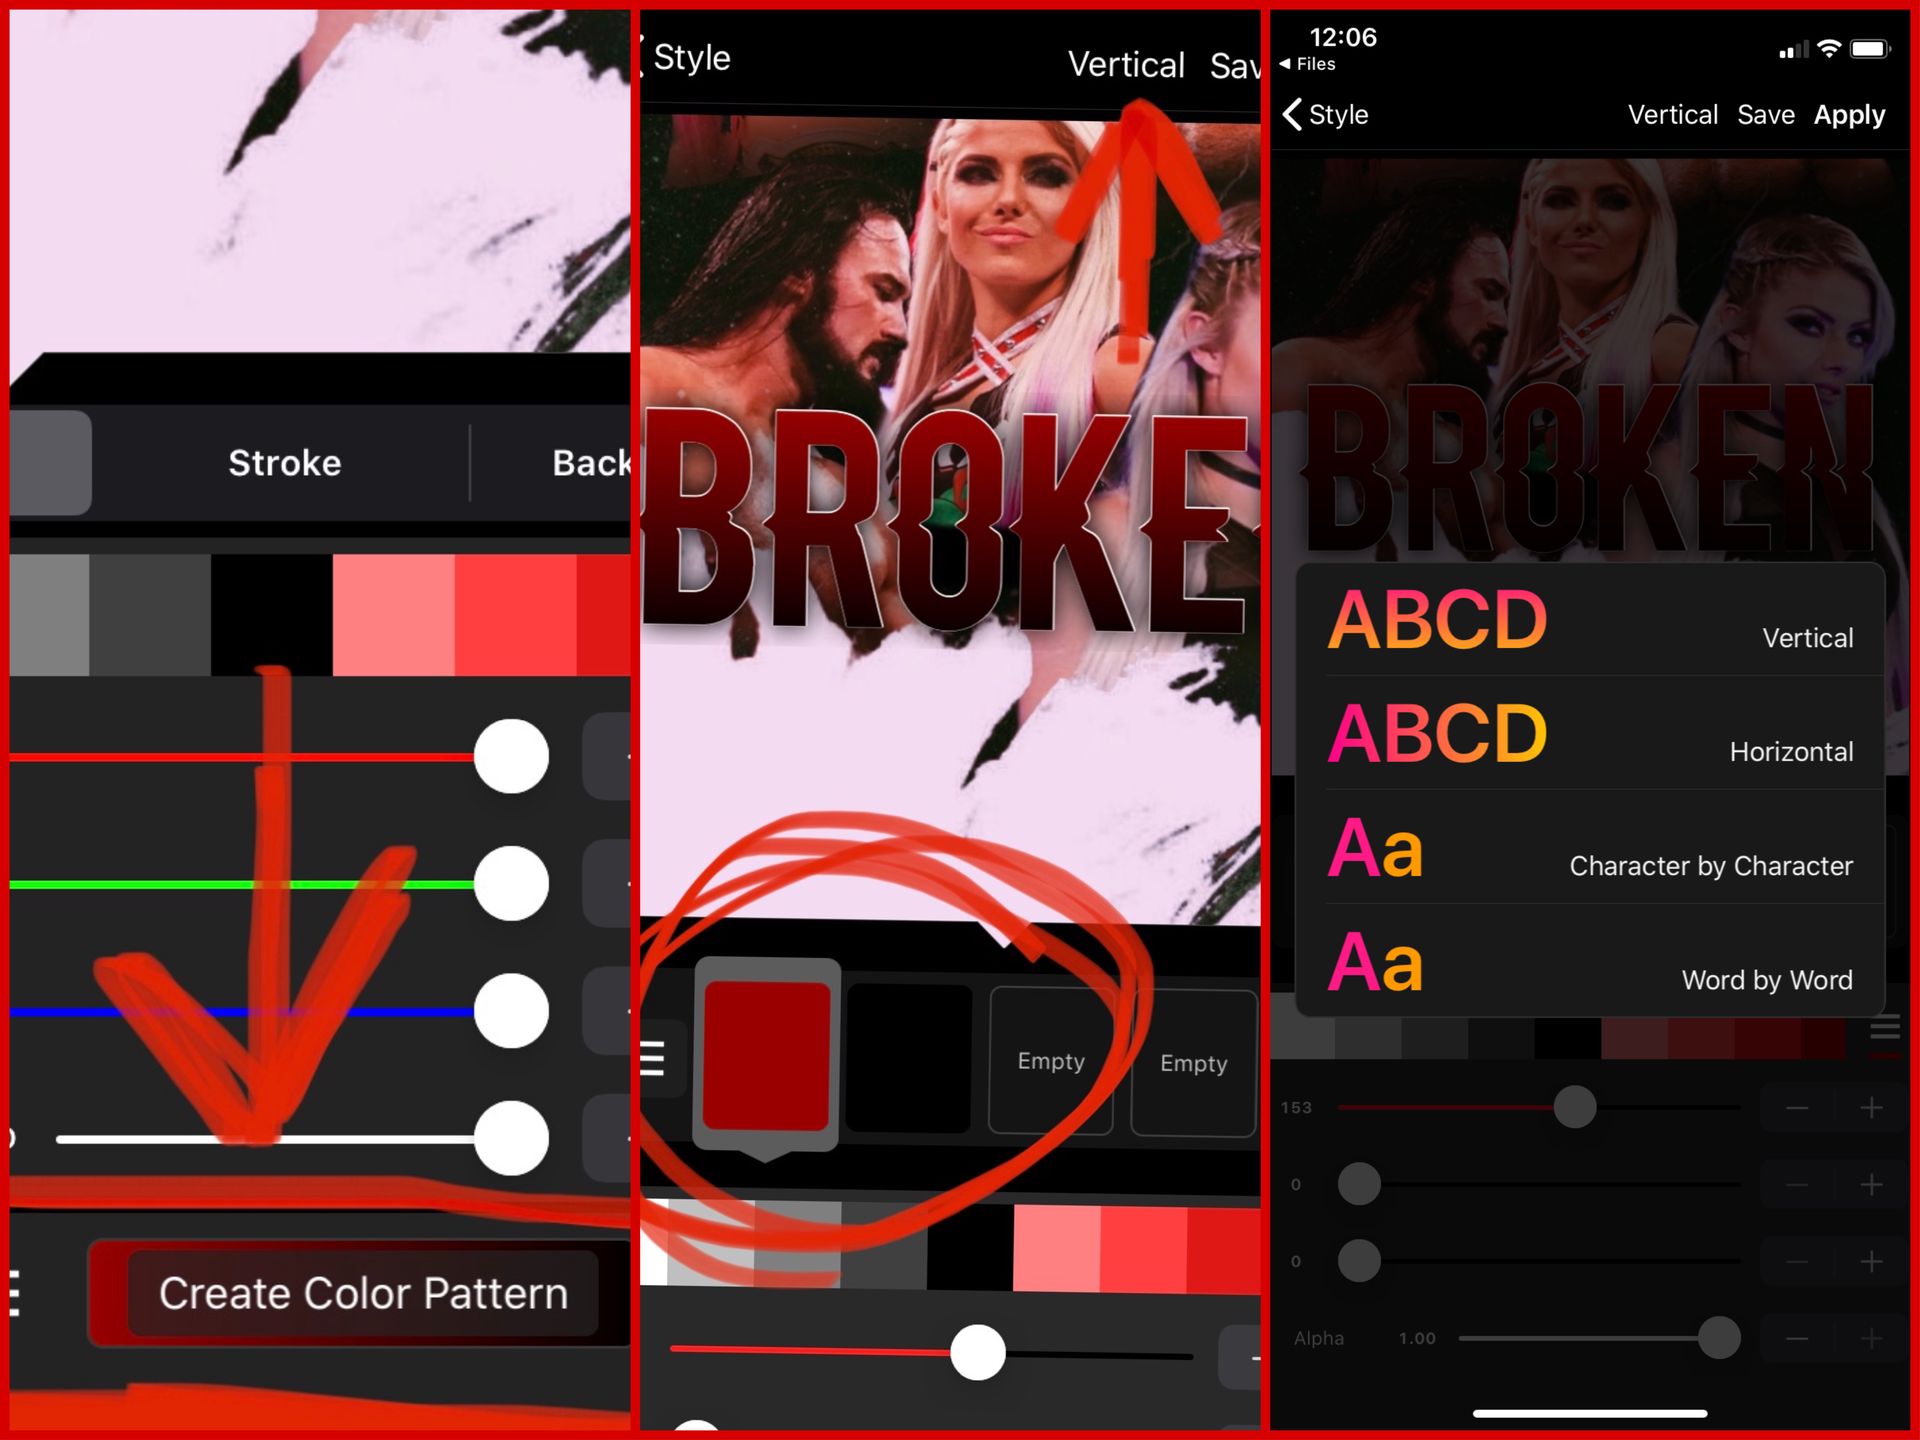
STEP 6: GRADIENT FONT
WHEN you open the app 'Phonto' the app offers filters as well! I chose the 'vibrance' filter and adjusted the settings like so down below!
HOW TO DO GRADIENT FONT
ILL be showing you all how I make a gradient font!
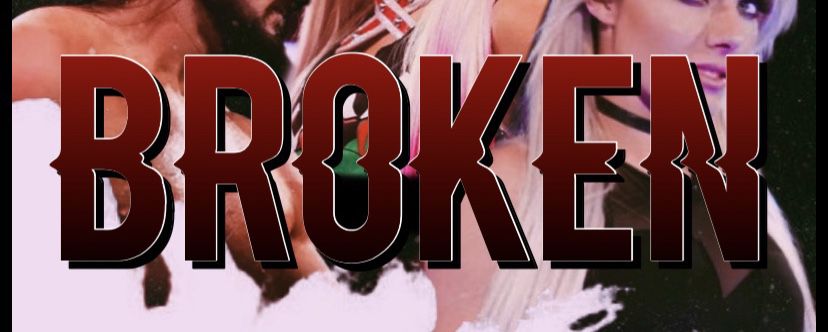
CLICK on the text hit 'style' you'll see a button where it says 'create color pattern' but that then select the colors you want to be a gradient. I chose black and red. Then at the top you'll see it say 'vertical' or 'horizontal' hit that and choose which one you prefer. I chose 'vertical'
THIS is to showcase the settings for my 2nd font!
─── ・ 。゚☆: *.☽ .* :☆゚. ───
ALL DONE!! the result is posted at the very top of this chapter!!
A/N: I hope you all enjoyed this tutorial!! I hope it helped it some way! I know this one was a little tricky but like I said if you have any questions, comments or concerns please let me know! Once again thank you all for the overwhelming amount of love and support!! I'm nearly 9 followers away from 100!! which is absolutely crazy!!! you're all amazing!! 💗
-Tori 💗
Bạn đang đọc truyện trên: Truyen247.Pro