cover tutorial
Okay so first you have to make sure that your photo is the correct size. Orrr if you're too lazy to reset it all the time (like myself) then you can just use the photo below as your background since it's already the right dimensions lmao

Now for this tutorial I just chose a texture from my gallery at random (that i lowkey saved from we heart it) but y'all might wanna be a bit more strategic about what background you select. You should want it to relate to the mood of your book; whether it be dark and creepy or bright and fun.
But since I'm not making this cover for an actual book, I'm gonna use this little baby right here ;)
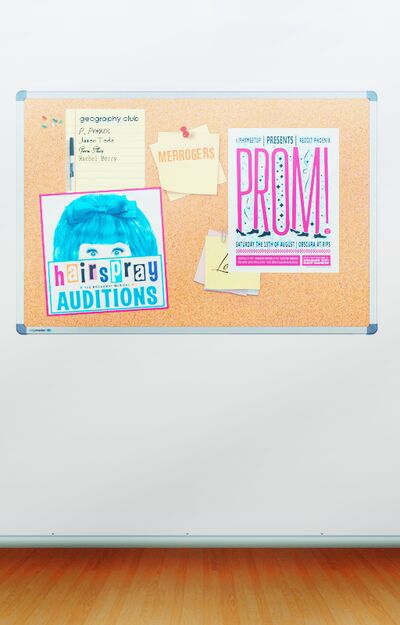
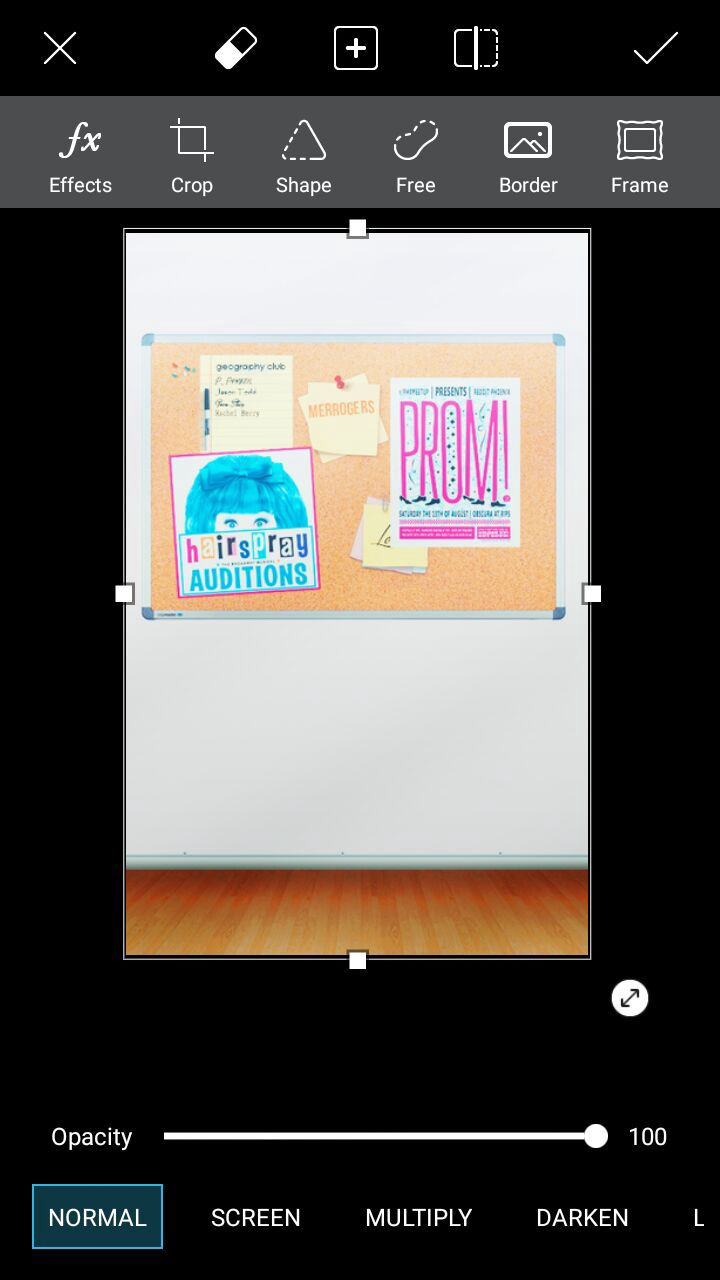
So pressing "Add photo", load this image (or whichever one you want) and enlarge it until it efficiently covers the plain white photo beneath! Then save it! You don't have to, but I personally think it makes the next step a bit easier.
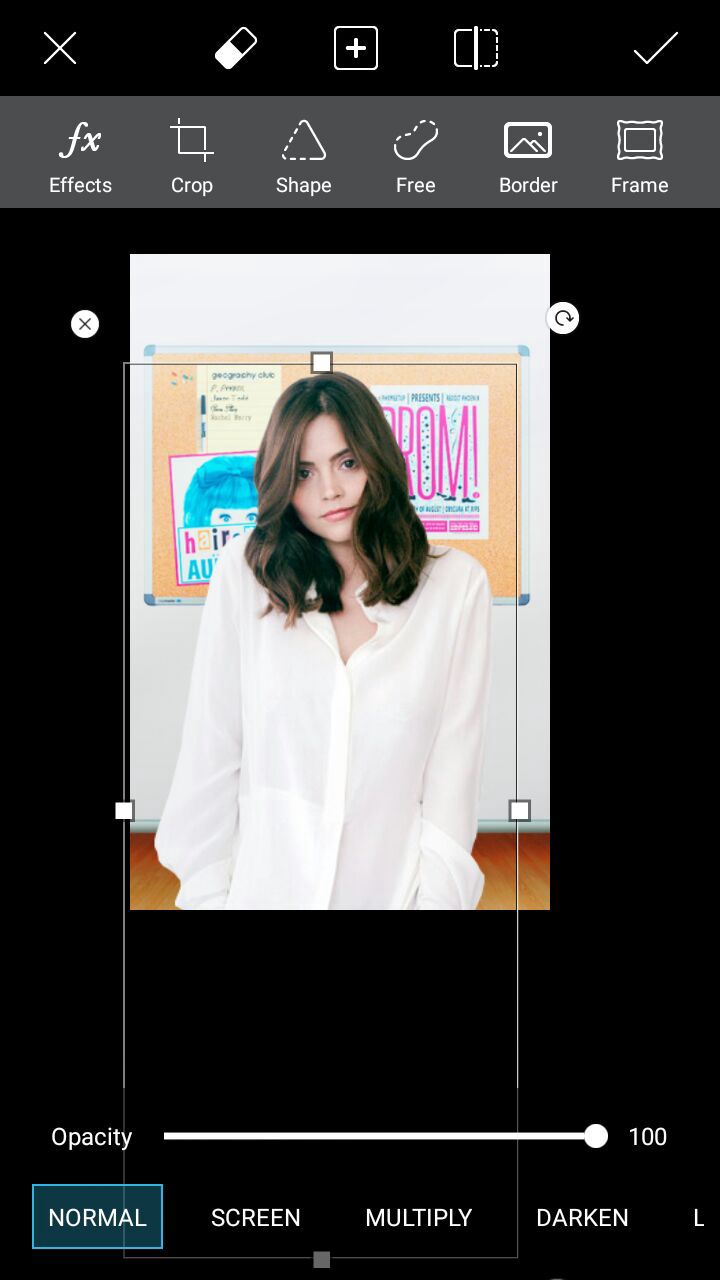
Next, it's PNG time! Pressing "Add photo" once more, load your desired celebrity(ies) PNG and enlarge and tilt it until you're happy with the way it looks. Save it!
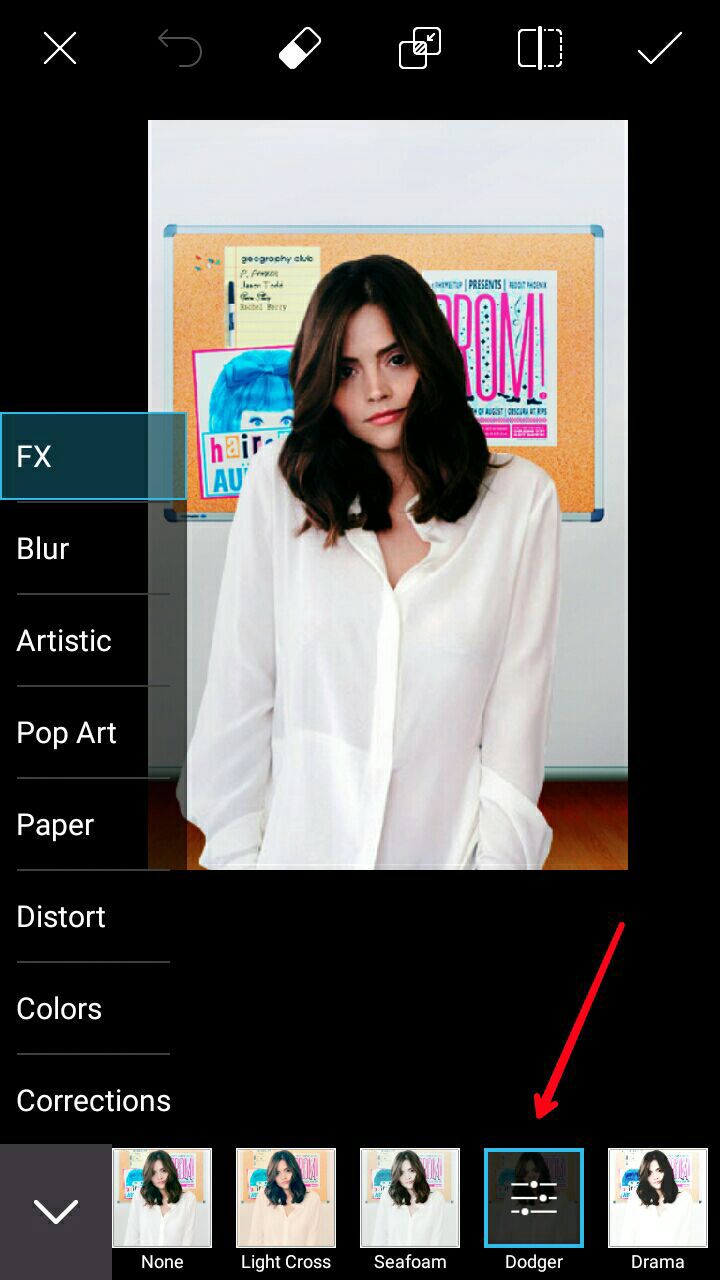
Okay now this next step is crucial when it comes to graphics, especially when you are making them on your phone!
Press the "Effects" tab and scroll through all the different filters. And remember; filters and overlays are us mobile user's makeshift PSD's! So make sure that you choose the right one(s)!
And personally I like to apply two or more filters, mainly depending upon the cover I'm making and the images I'm using. But all graphic designers are different! So you apply the filter(s) you think look best!
For this one however, I chose Dodger and adjusted the lighting to Multiply > 0. Save it!
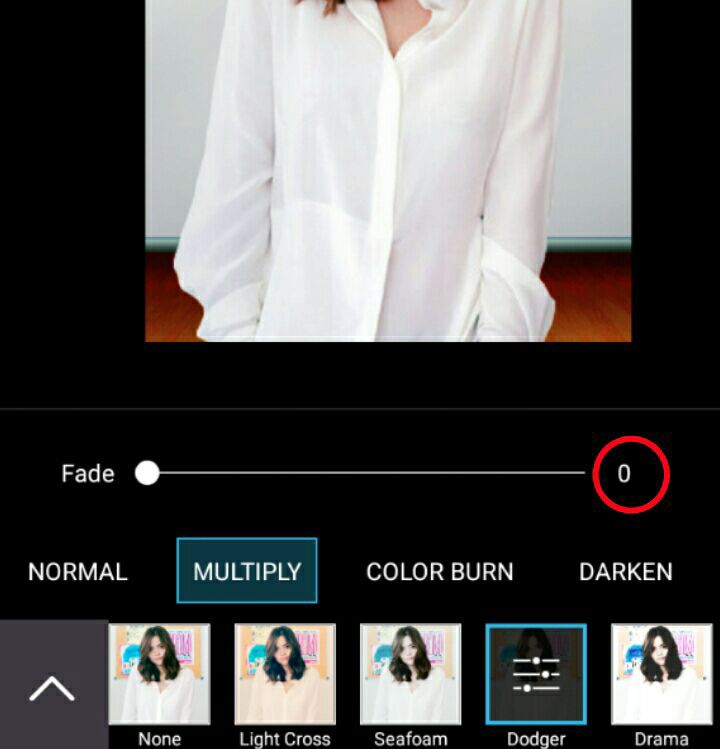
You can skip this next step if you'd like!
Now to add more color to your graphic, select the "Draw" option! The color you choose is completely up to you but I chose neon purple. For the brush, I would suggest the first option that appears at the top left! Adjust the size to 128px, the opacity to 100% and draw on your cover until the whole image is colored!
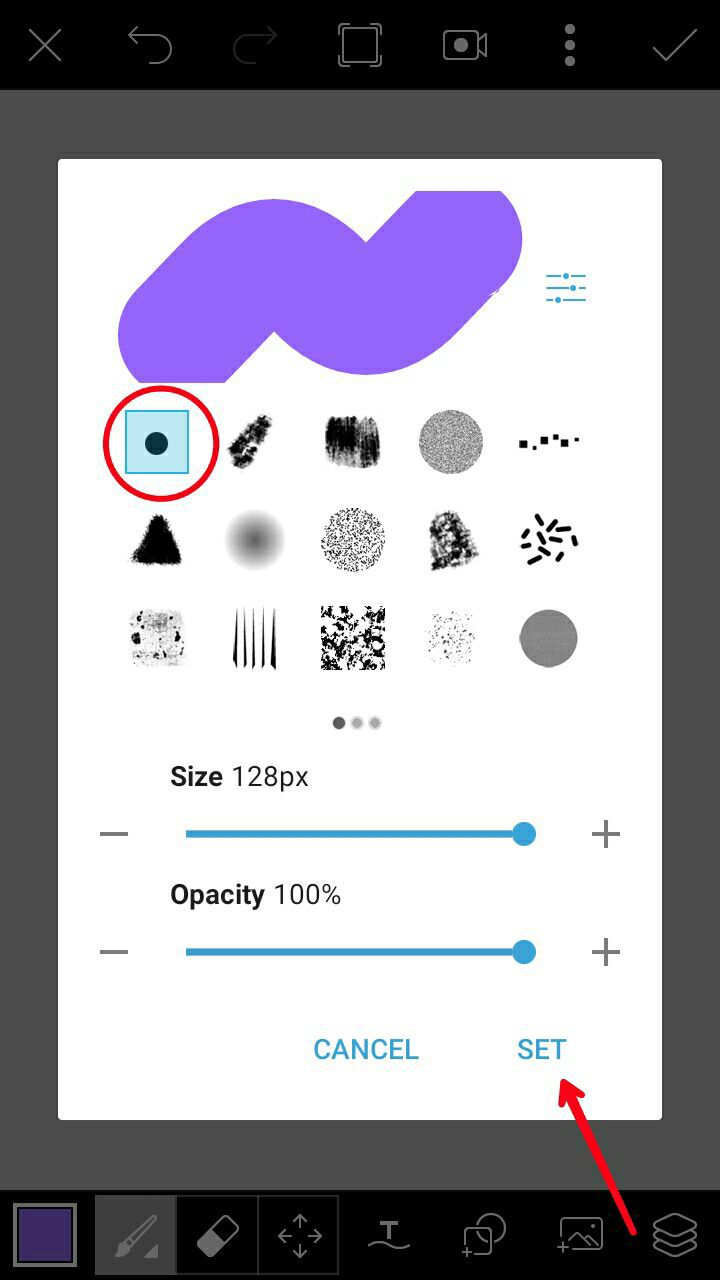
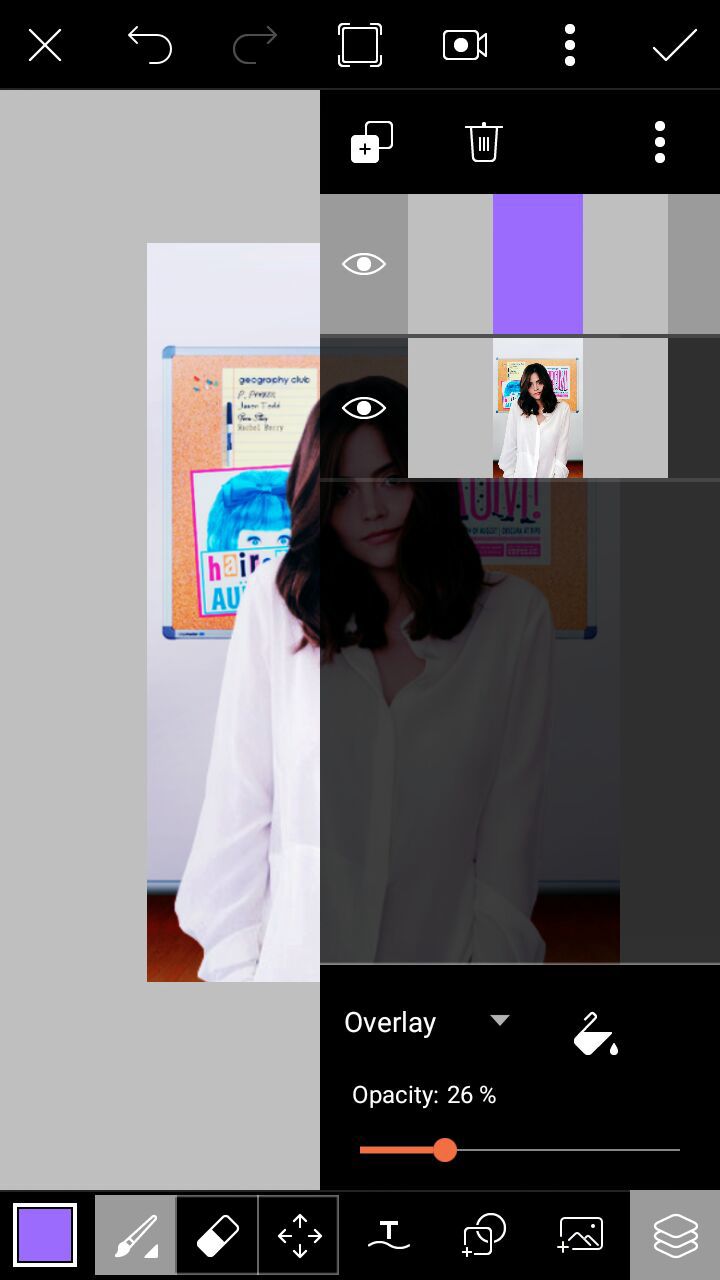
After that, press the little tab at the bottom (looks like three layers) and select "Overlay" as the color transparency. For the opacity, I lowered it to 26 but, just like the color you pick, it's up to you! Then you save it!
You can add a light texture if you want but you don't have to!
So for this step, I got this from We Heart It:

And this from google:

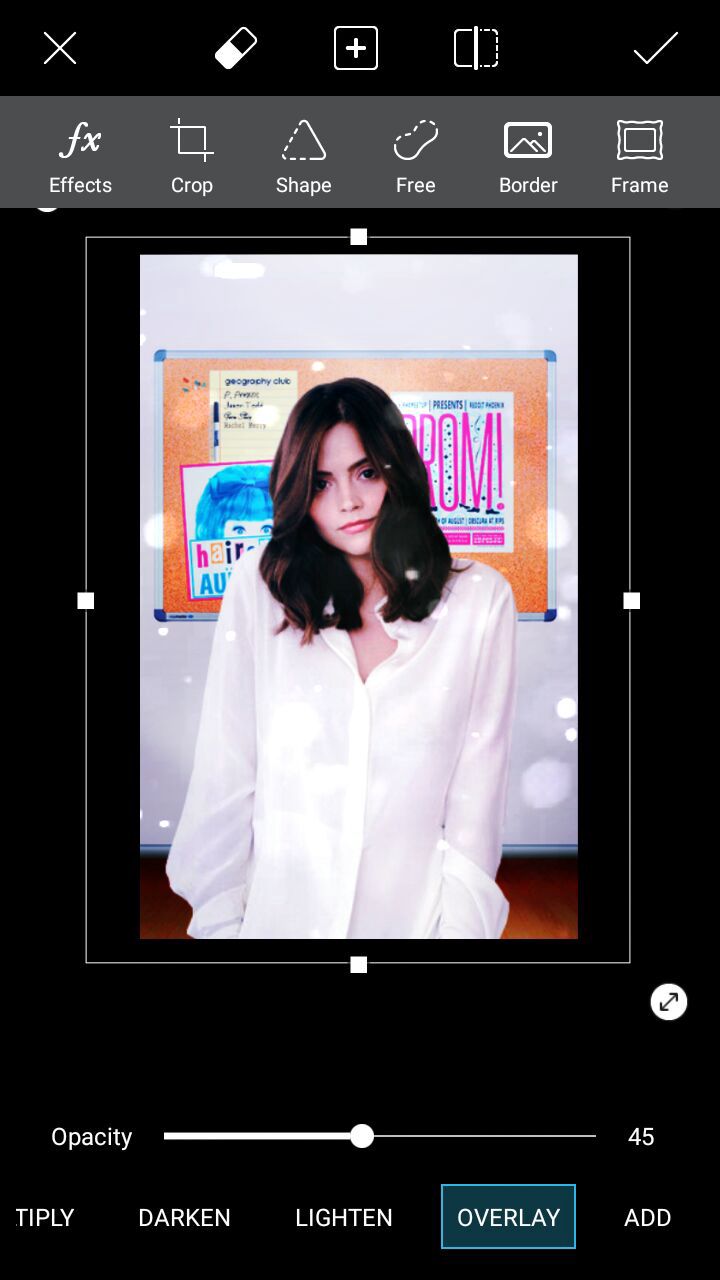
Load one or both of these onto your cover and choose "Overlay" for the first texture and "Add" for the second.
Reduce the opacity for the first texture to 45 and for the second texture 74. Save!
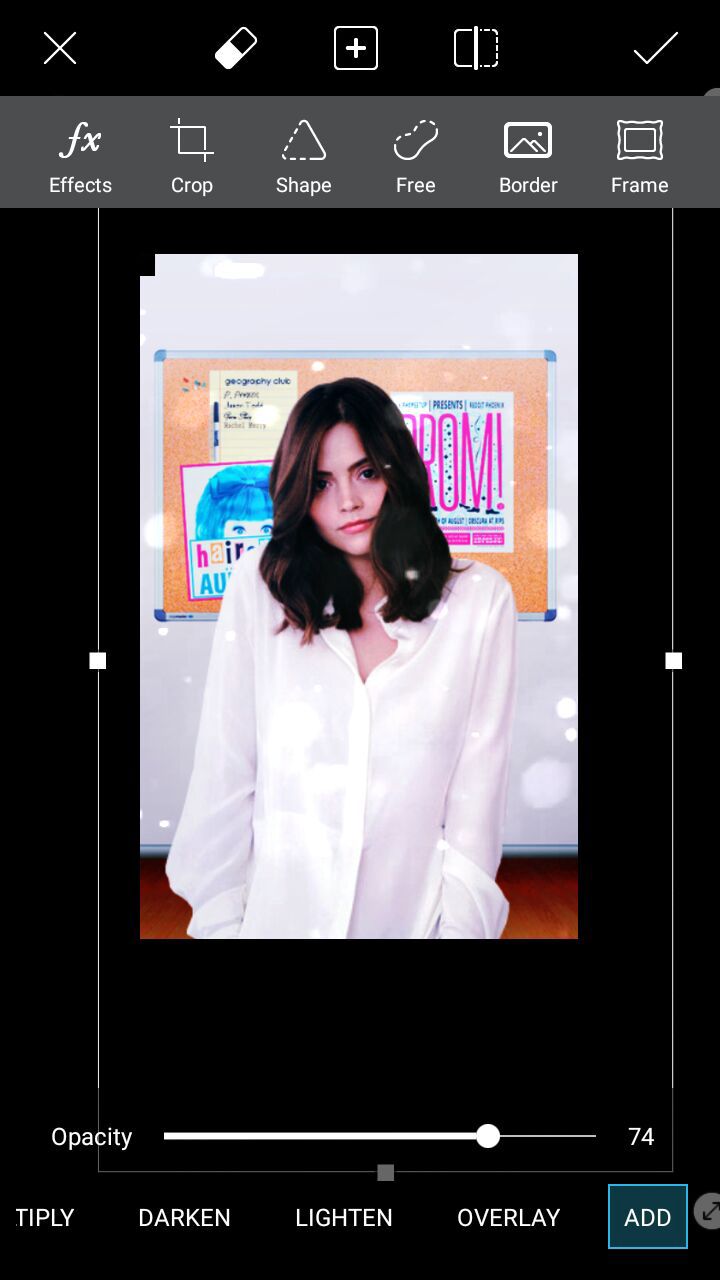
For the last step, press "Effects" once more and choose the very last option which is labeled "Sharpen". I adjusted it to 85 but the choice is yours!
Then, of course, save it!
(AS A PNG)

Then open your finished product in phonto, apply your text, and bam! you have a brand new book cover.

The PNG I chose wasn't of the best quality but here is the cover tutorial some of you lovely people of earth were asking for!
stay tuned for the next crappy tutorial,
-aly ;)
Bạn đang đọc truyện trên: Truyen247.Pro