
FADED BOTTOM | COVER TUTORIAL
So for this cover there will be three steps almost.
You will need:
A transparent of a person if your choice
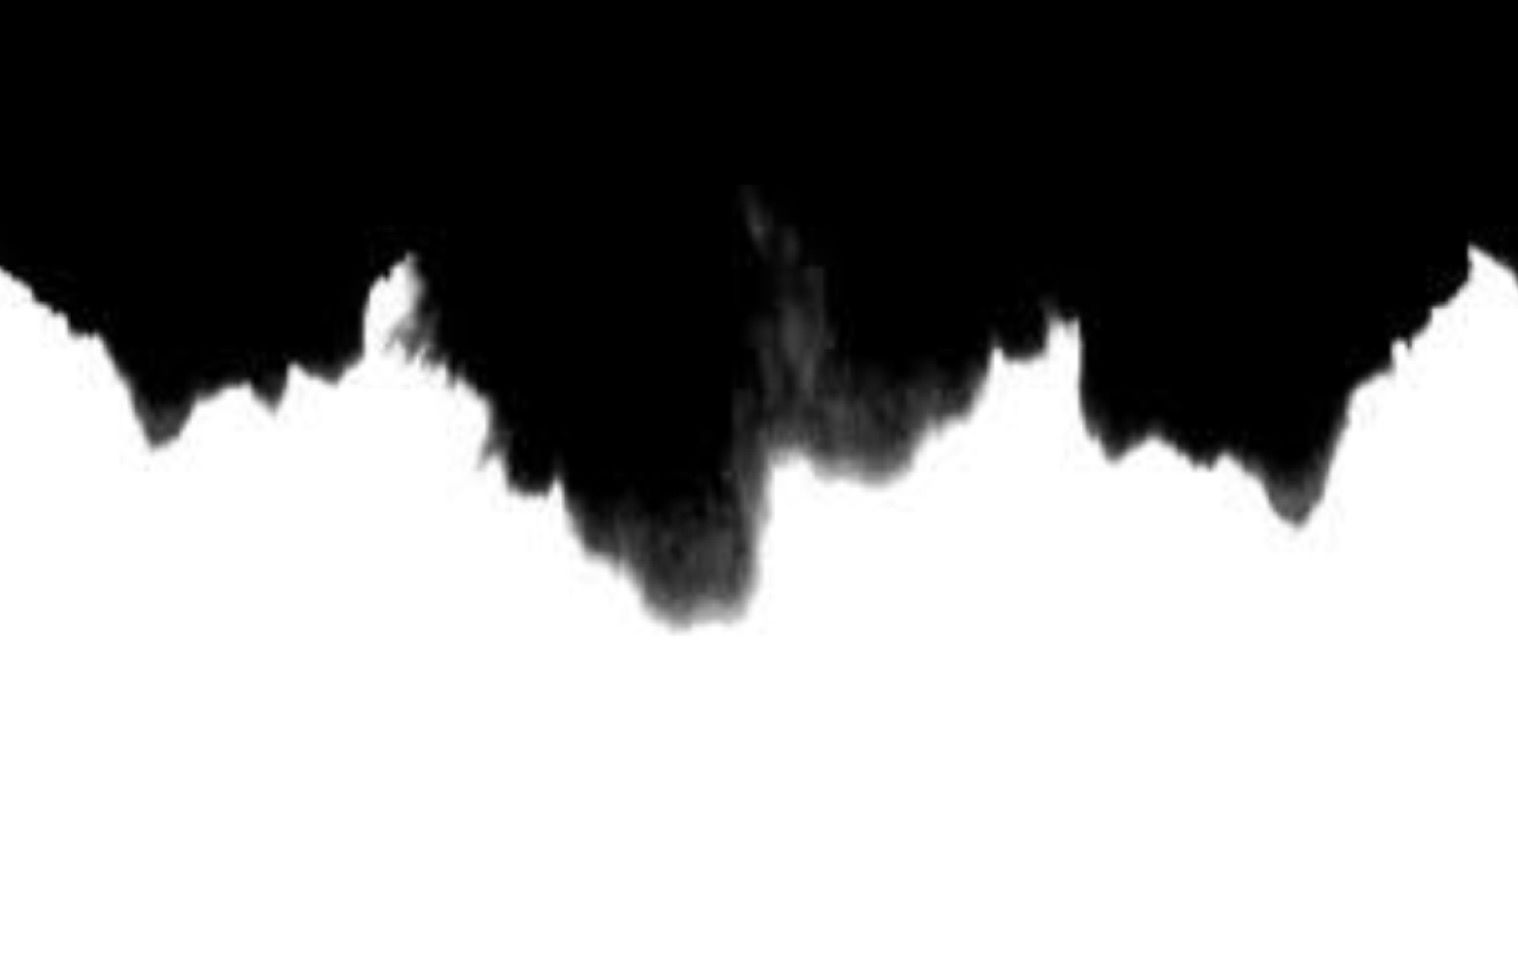
This template; you can screenshot it.
And a white background (if you get a white background go into your photos and click edit, then click the crop bit, then you should see 3 little boxes in the bottom right, so then click that and then click 2:3, which is the Wattpad cover size.)
1: background
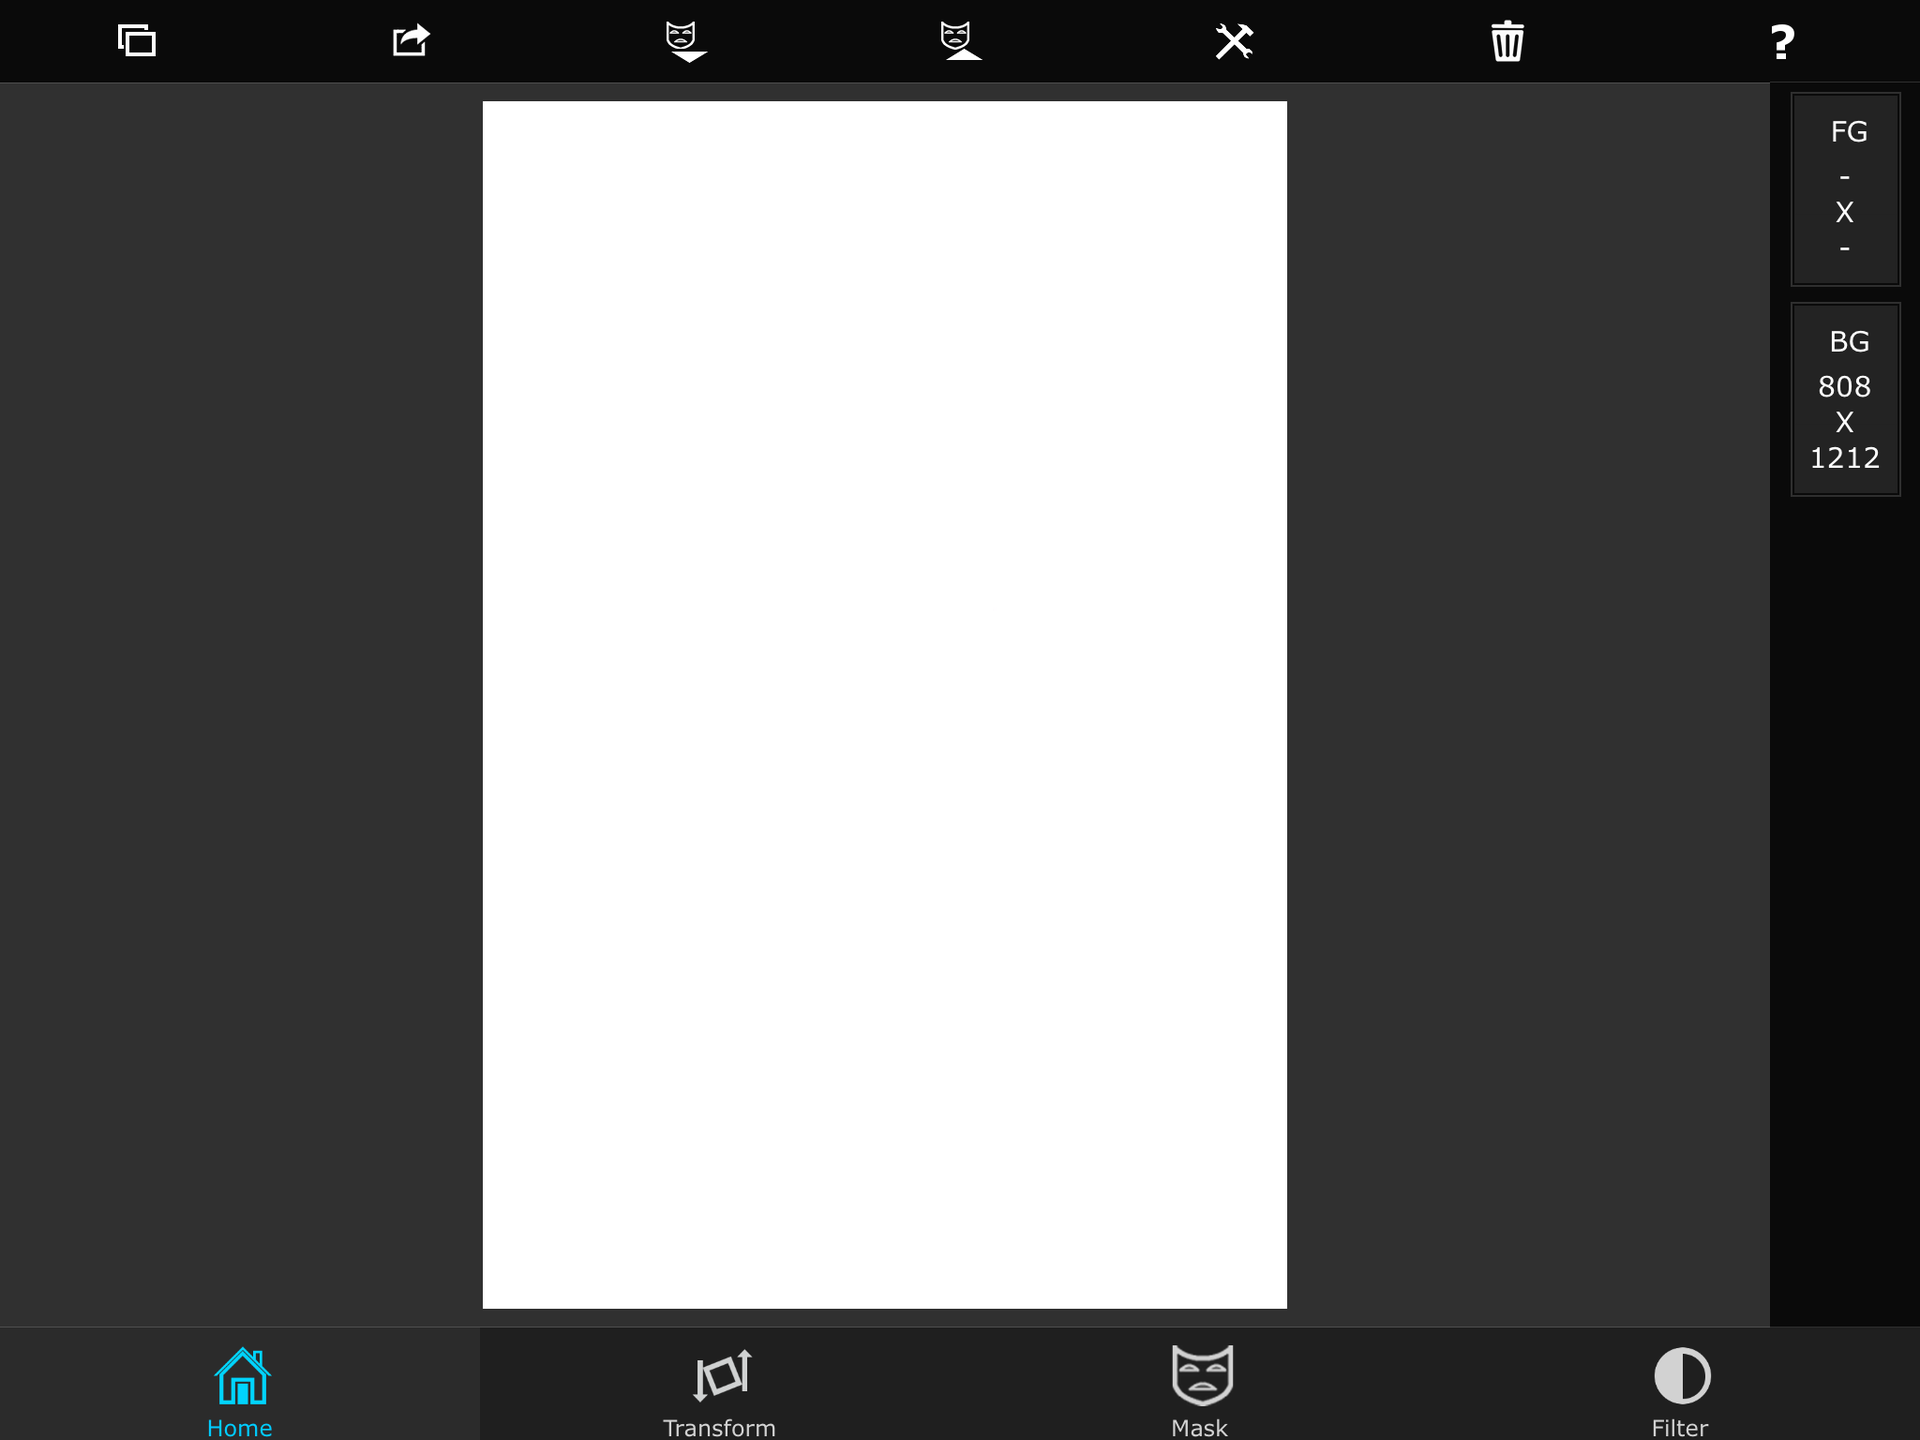
So you want to open a white image as background.
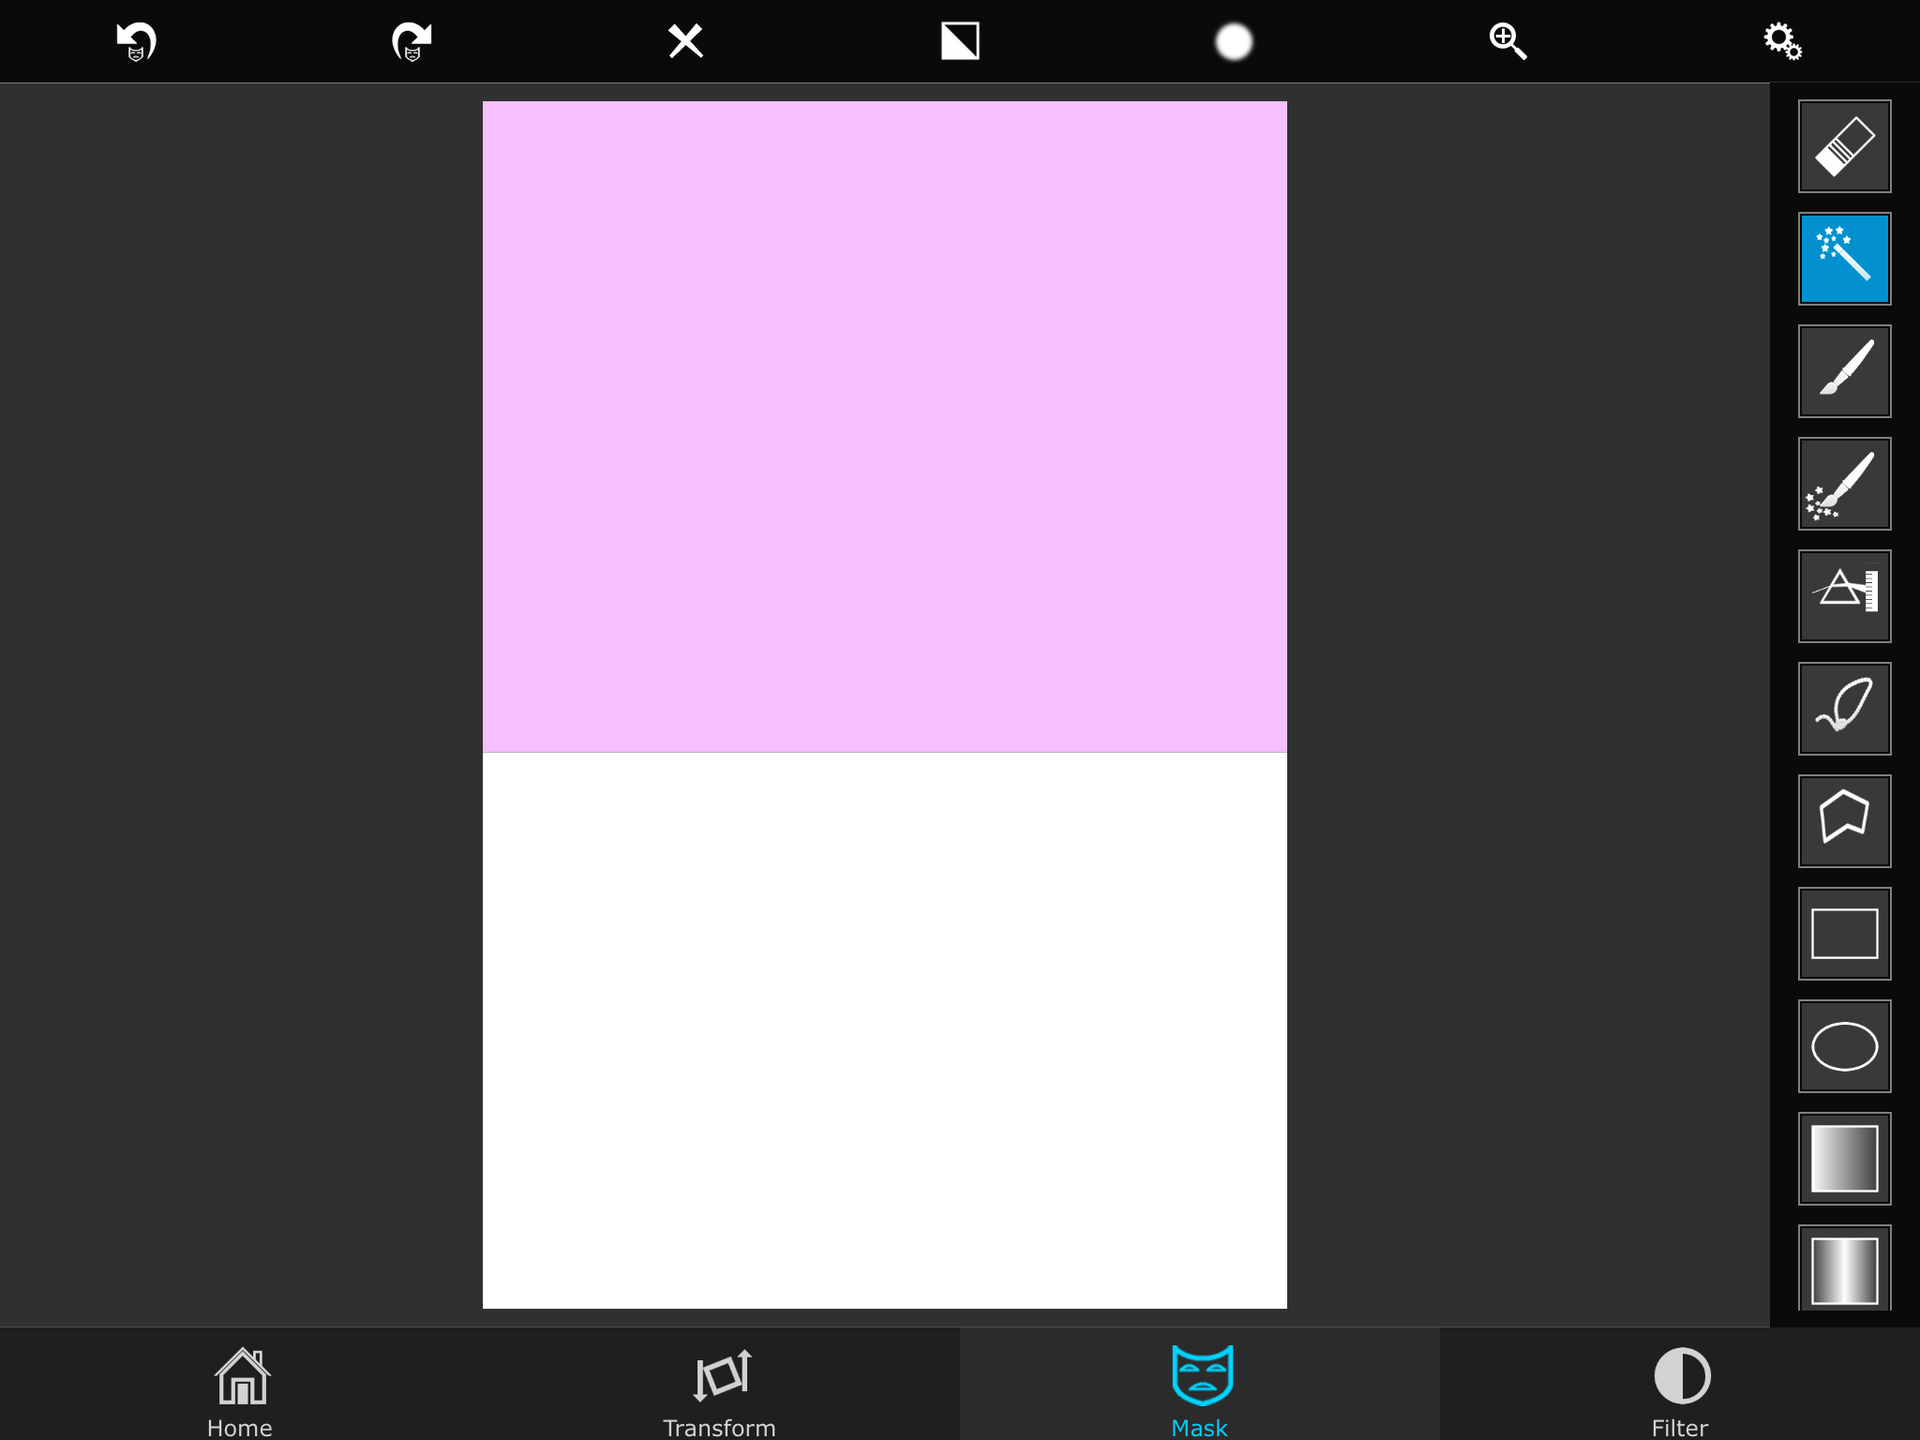
Then find a colour image and then make that the foreground and place it in the middle as shown
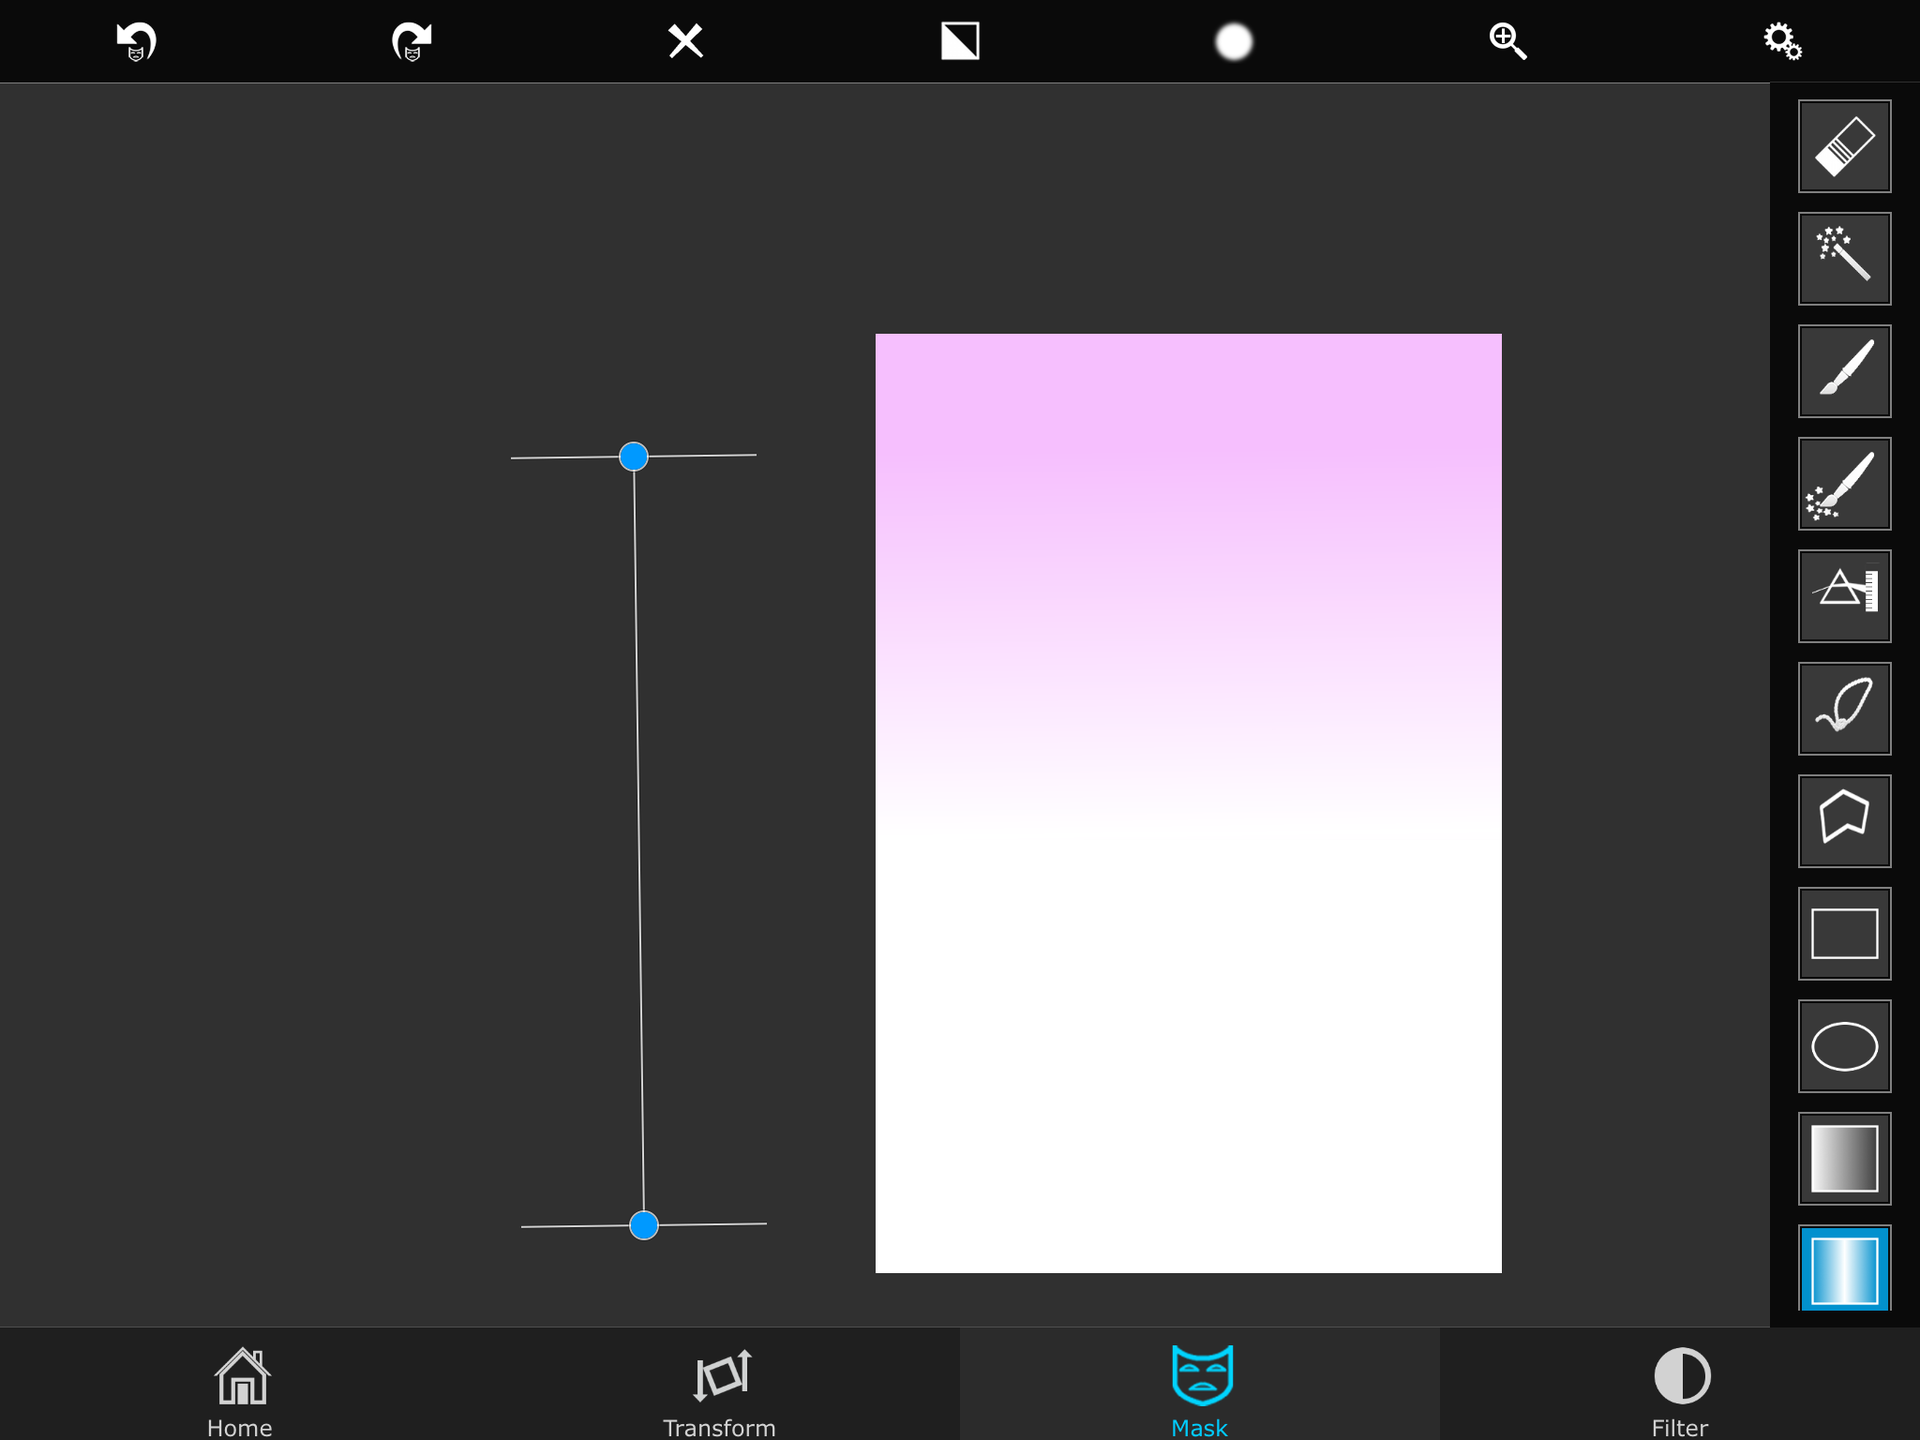
Then click the gradient texture (it's shaded blue) and make it look like this by adjusting the tools
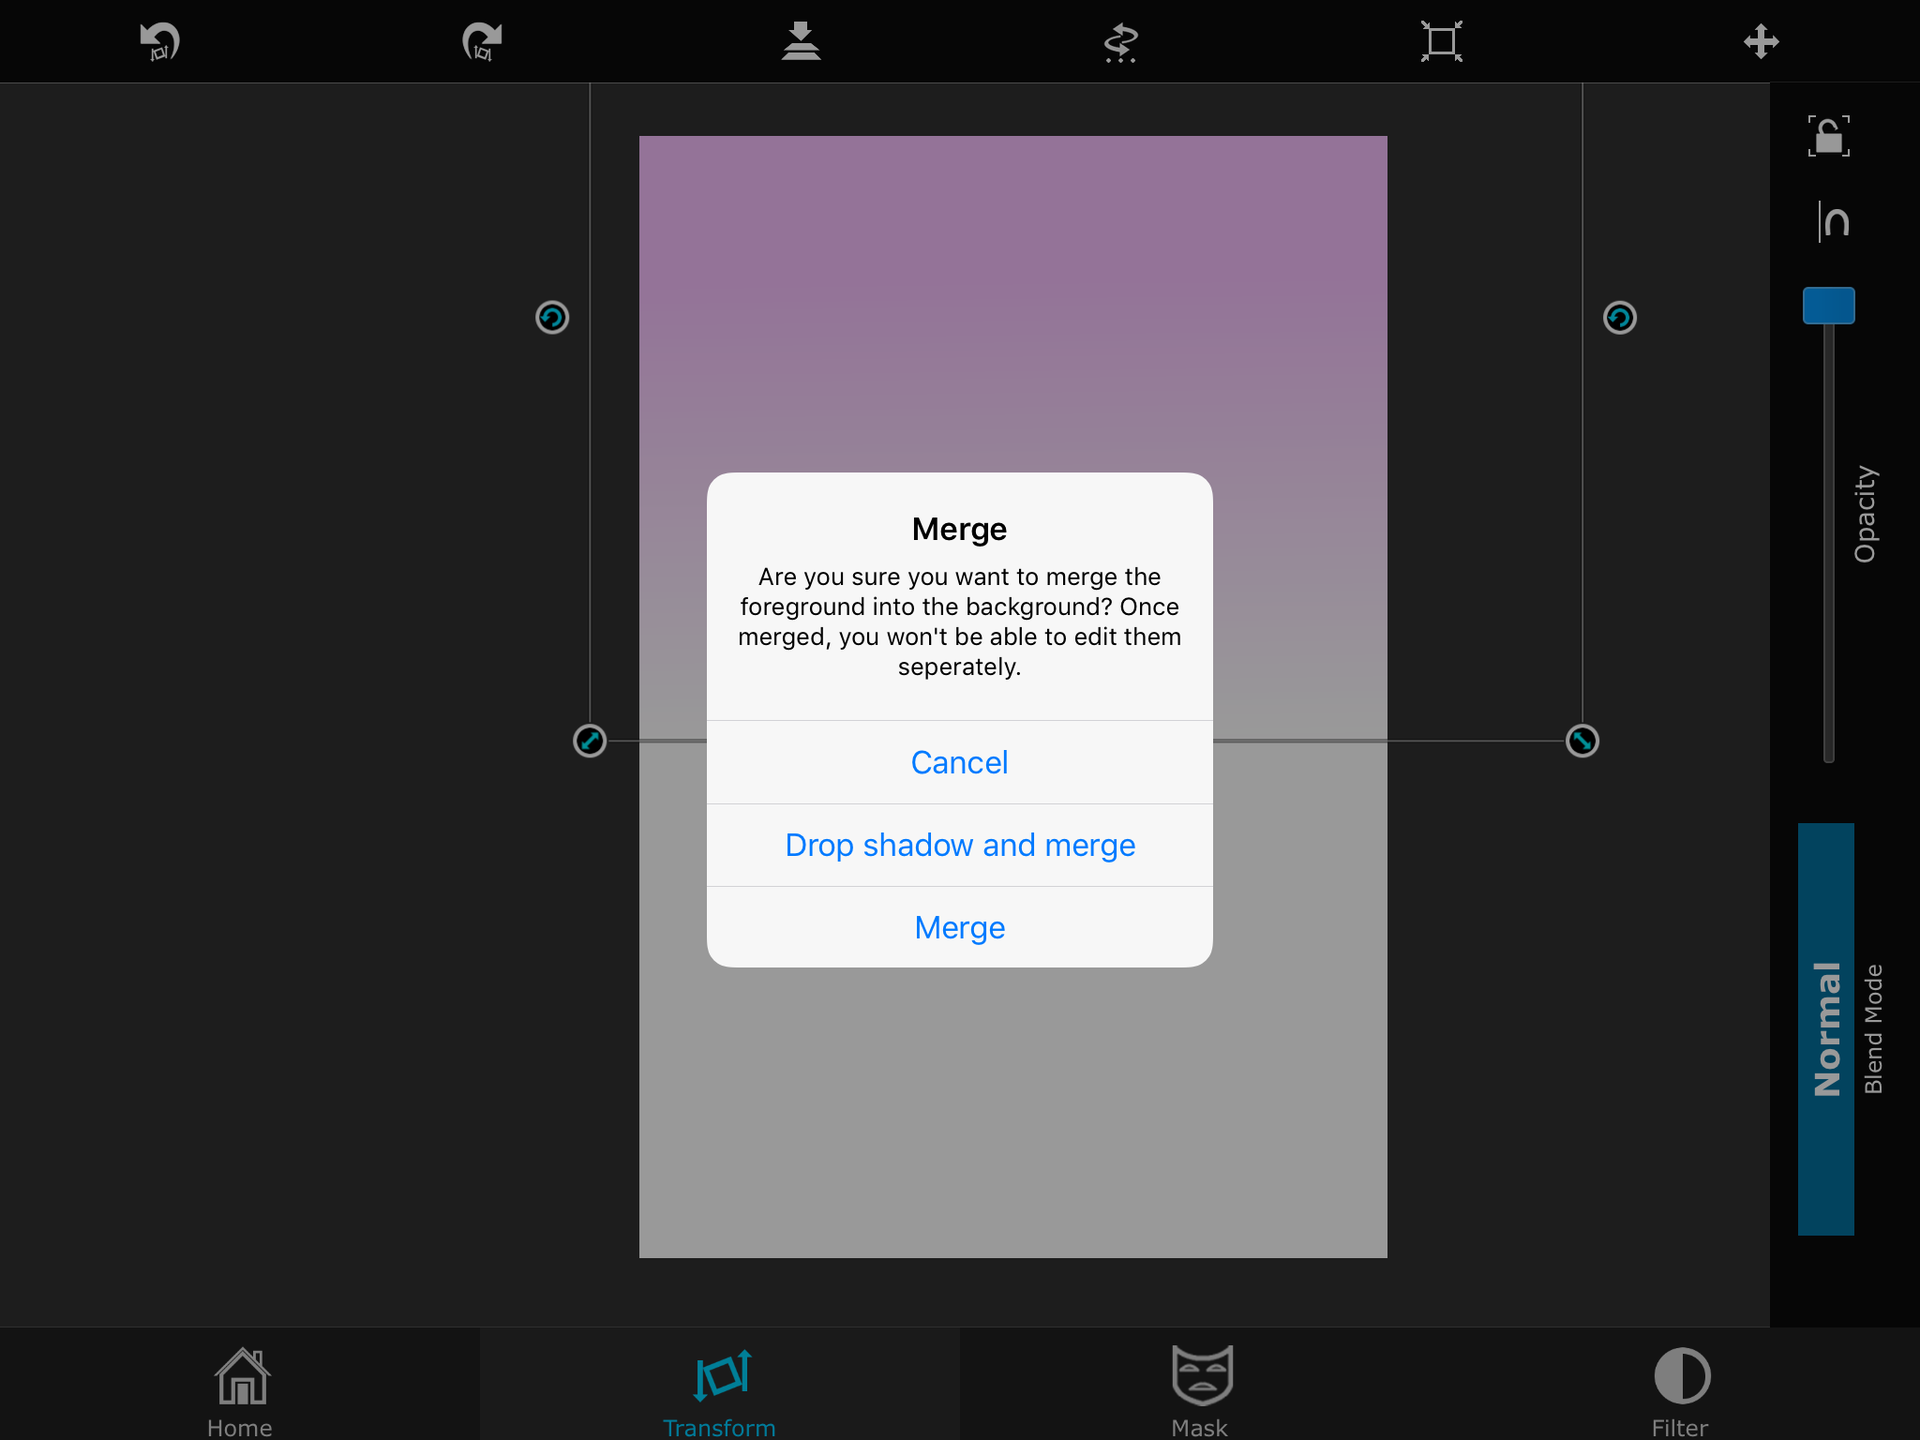
Once you are happy with that merge the foreground, if you want you can save! But that is the background done
2: transparent
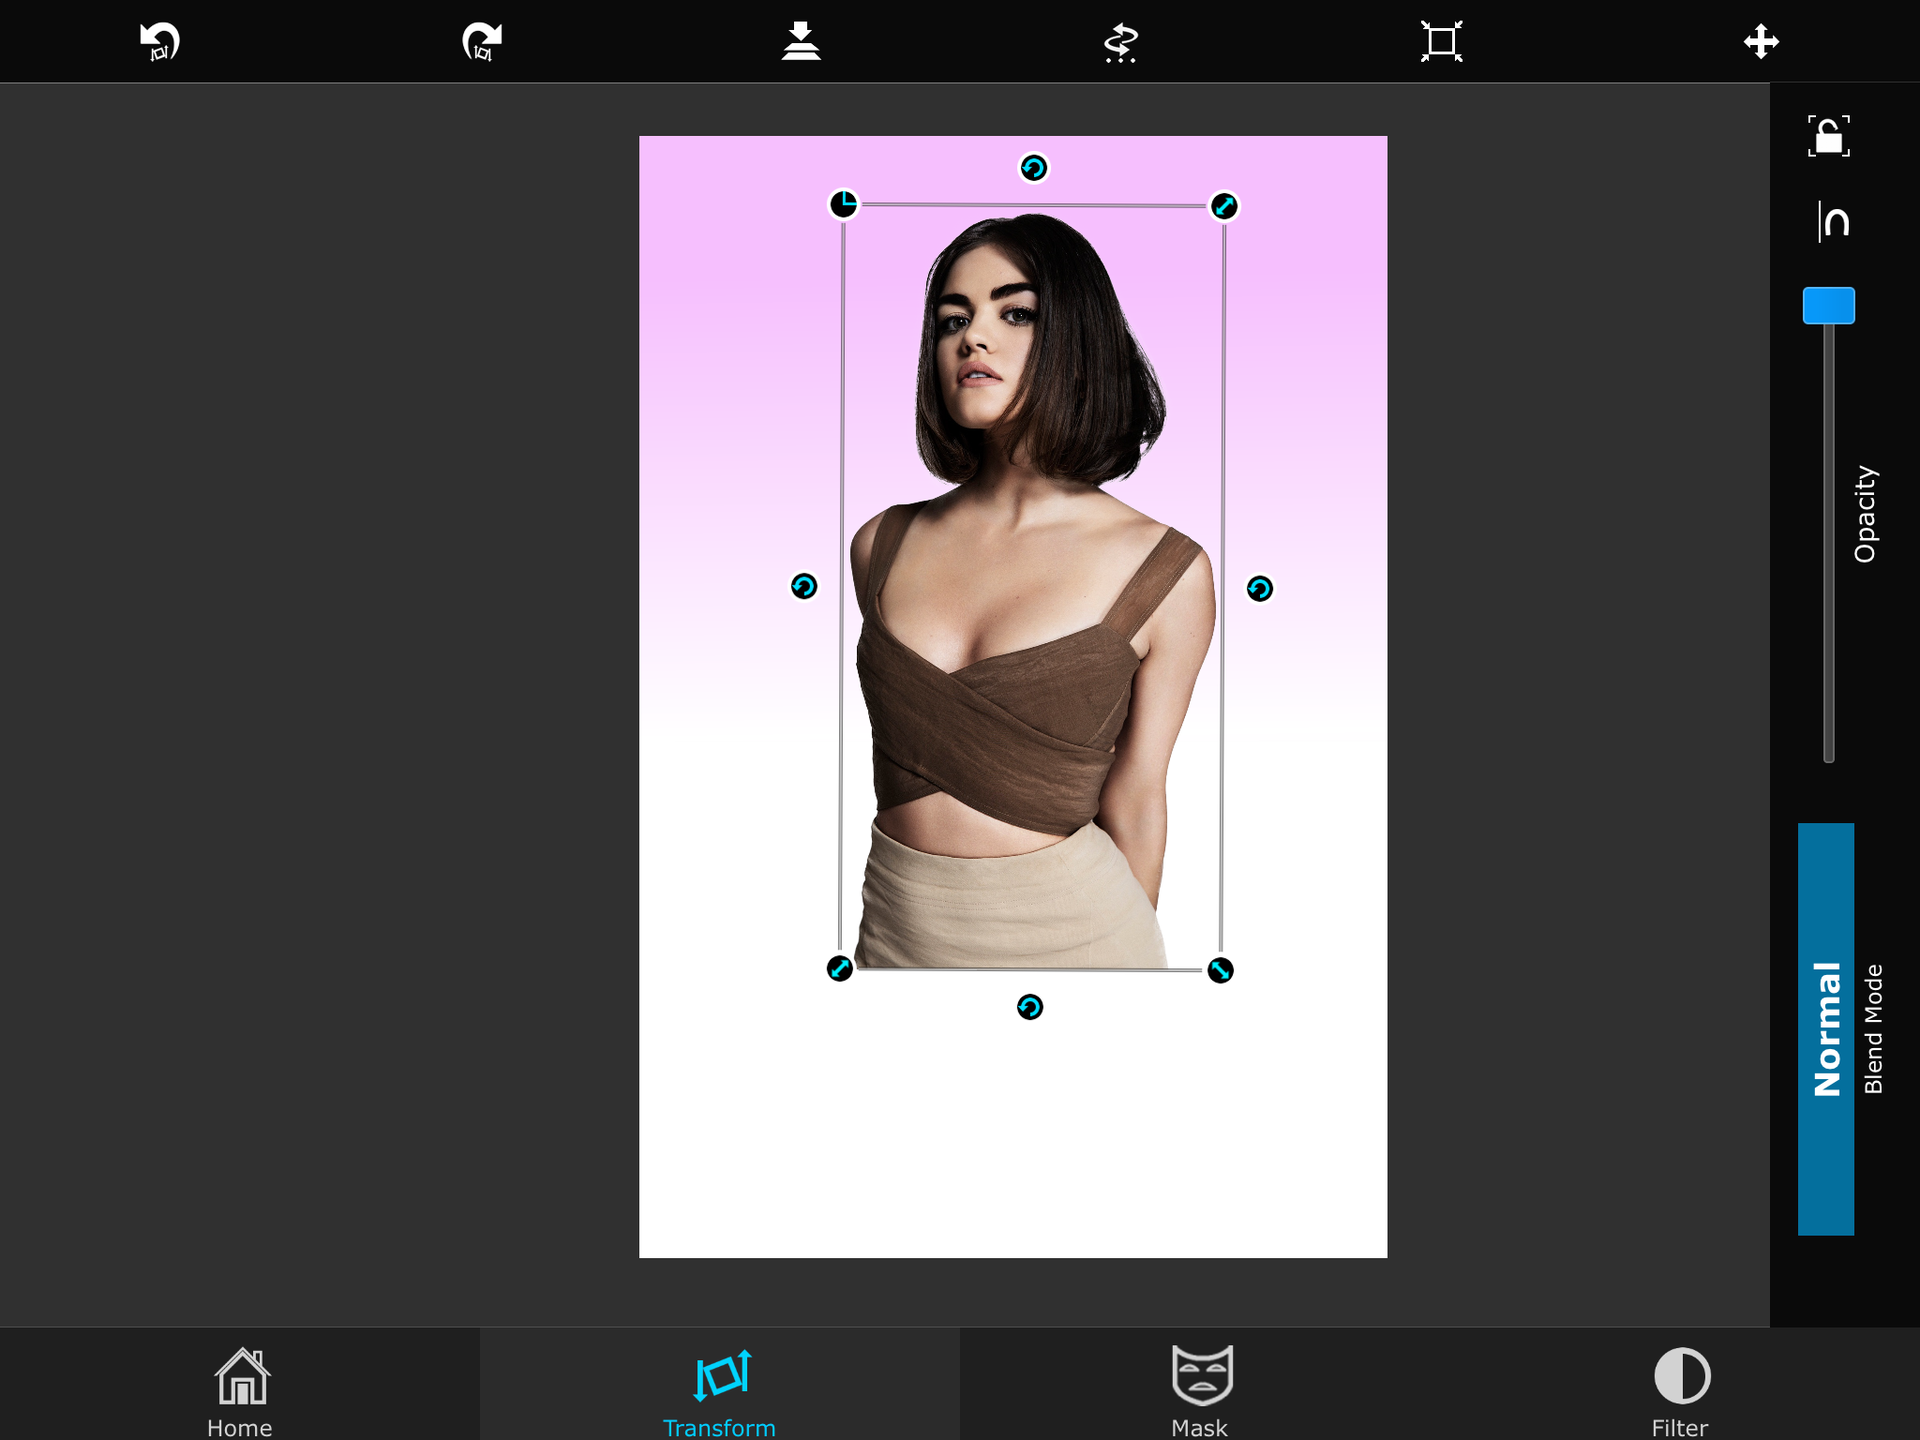
Note:
Before you start merging, if you have a png you made yourself that isn't a saved mask I suggest you save it so 1. You don't have to mask the image again and 2. It's easier
You want to put a foreground of the transparent, Then go to the filter section
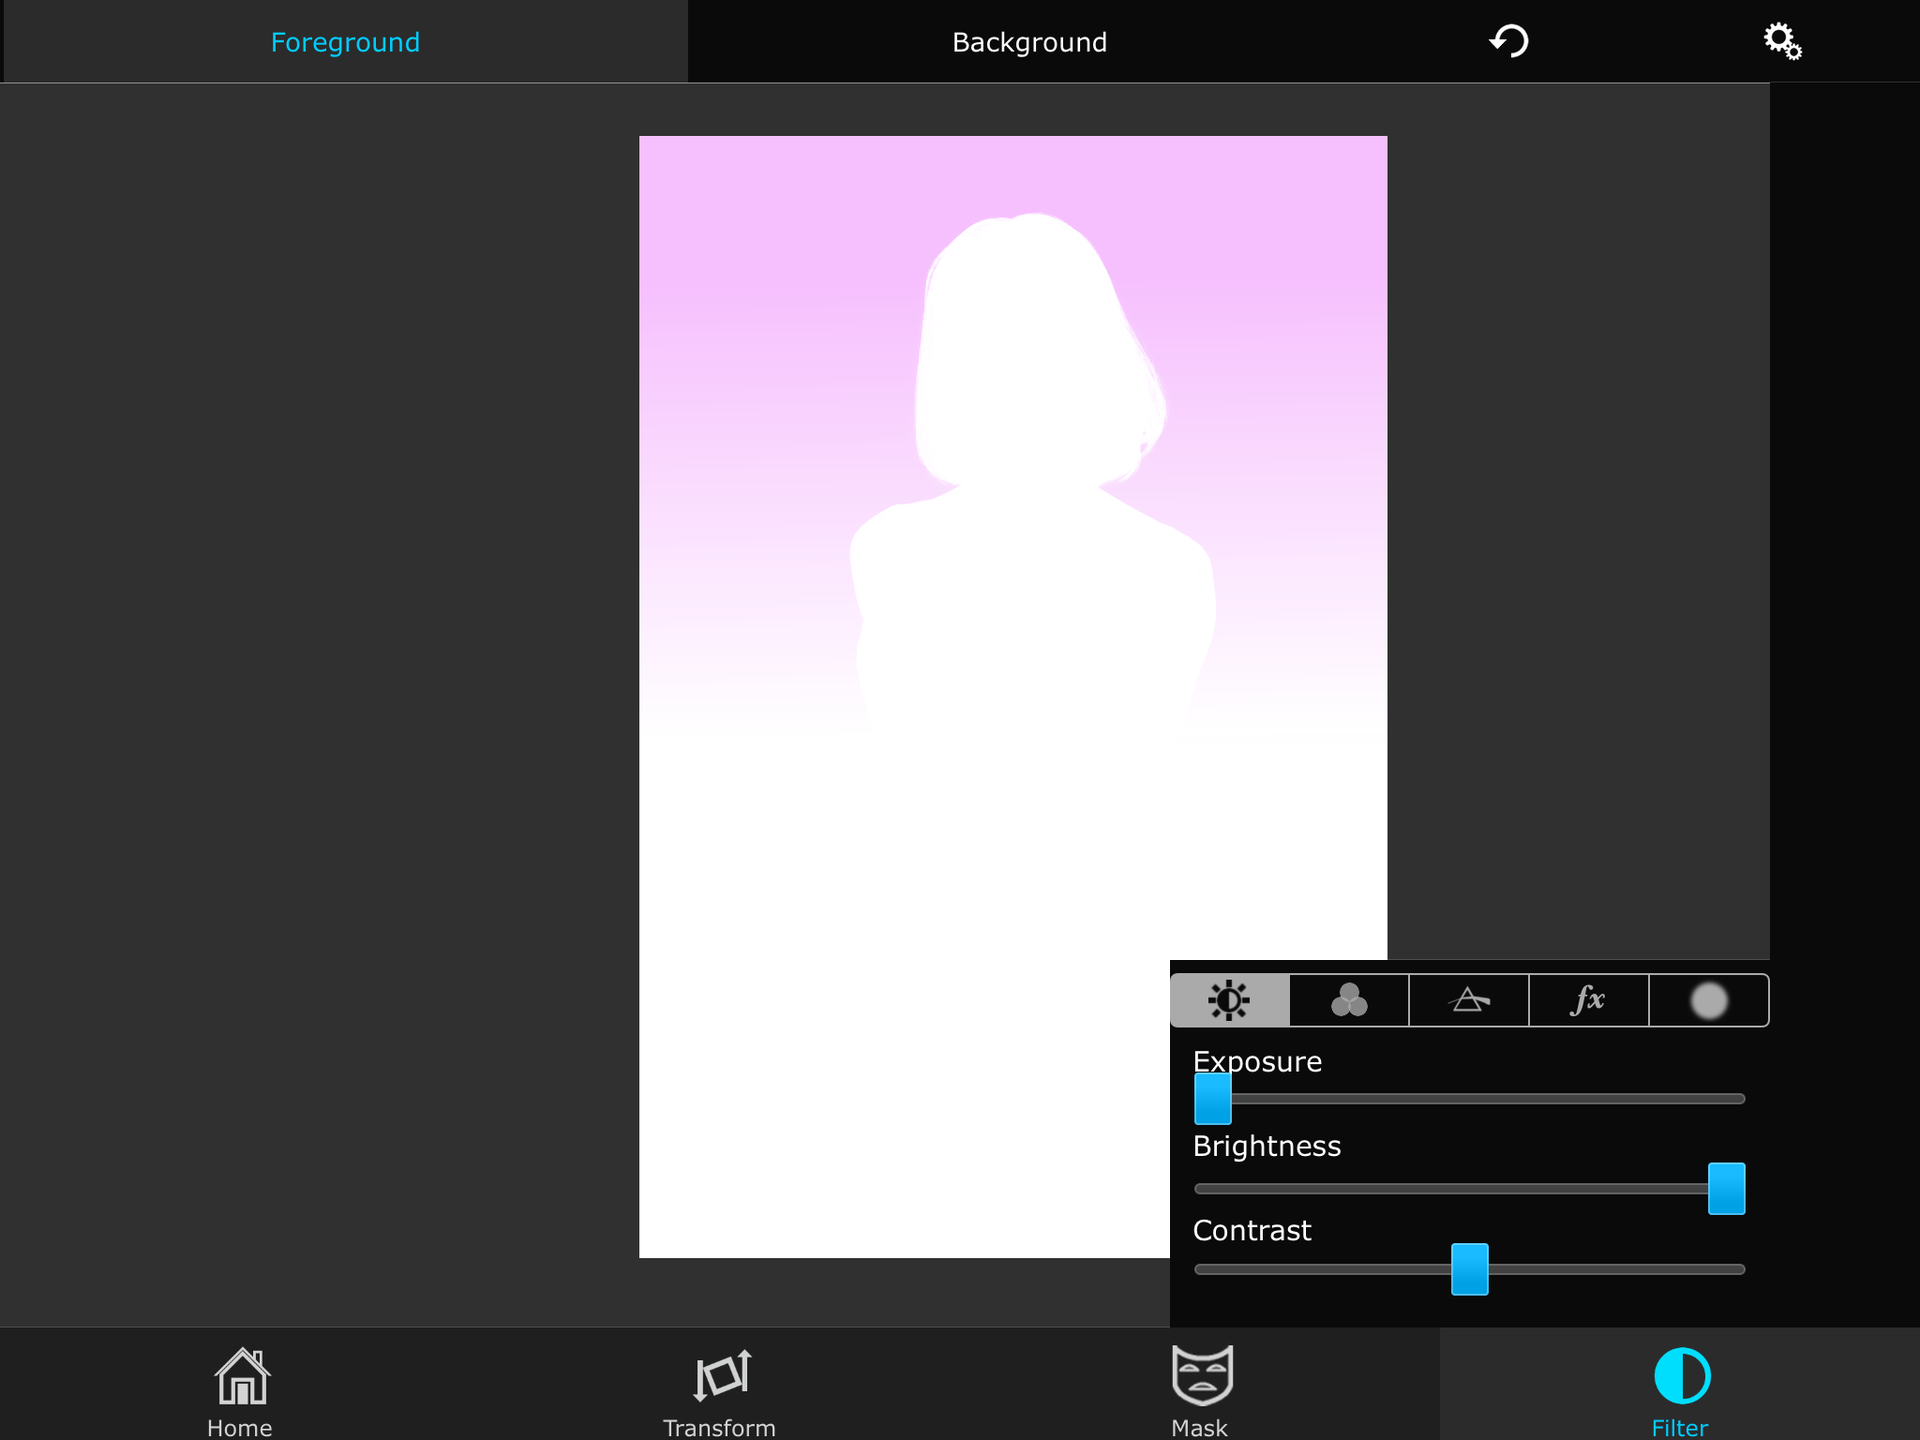
Leave contrast the way it is and the out exposure all the way to the left and brightness all the way to the right. (This step is optional, if you want white don't touch anything else) Then go to the colour section and you can start playing around with the textures till you get your required colour.
Once you've done that click merge.
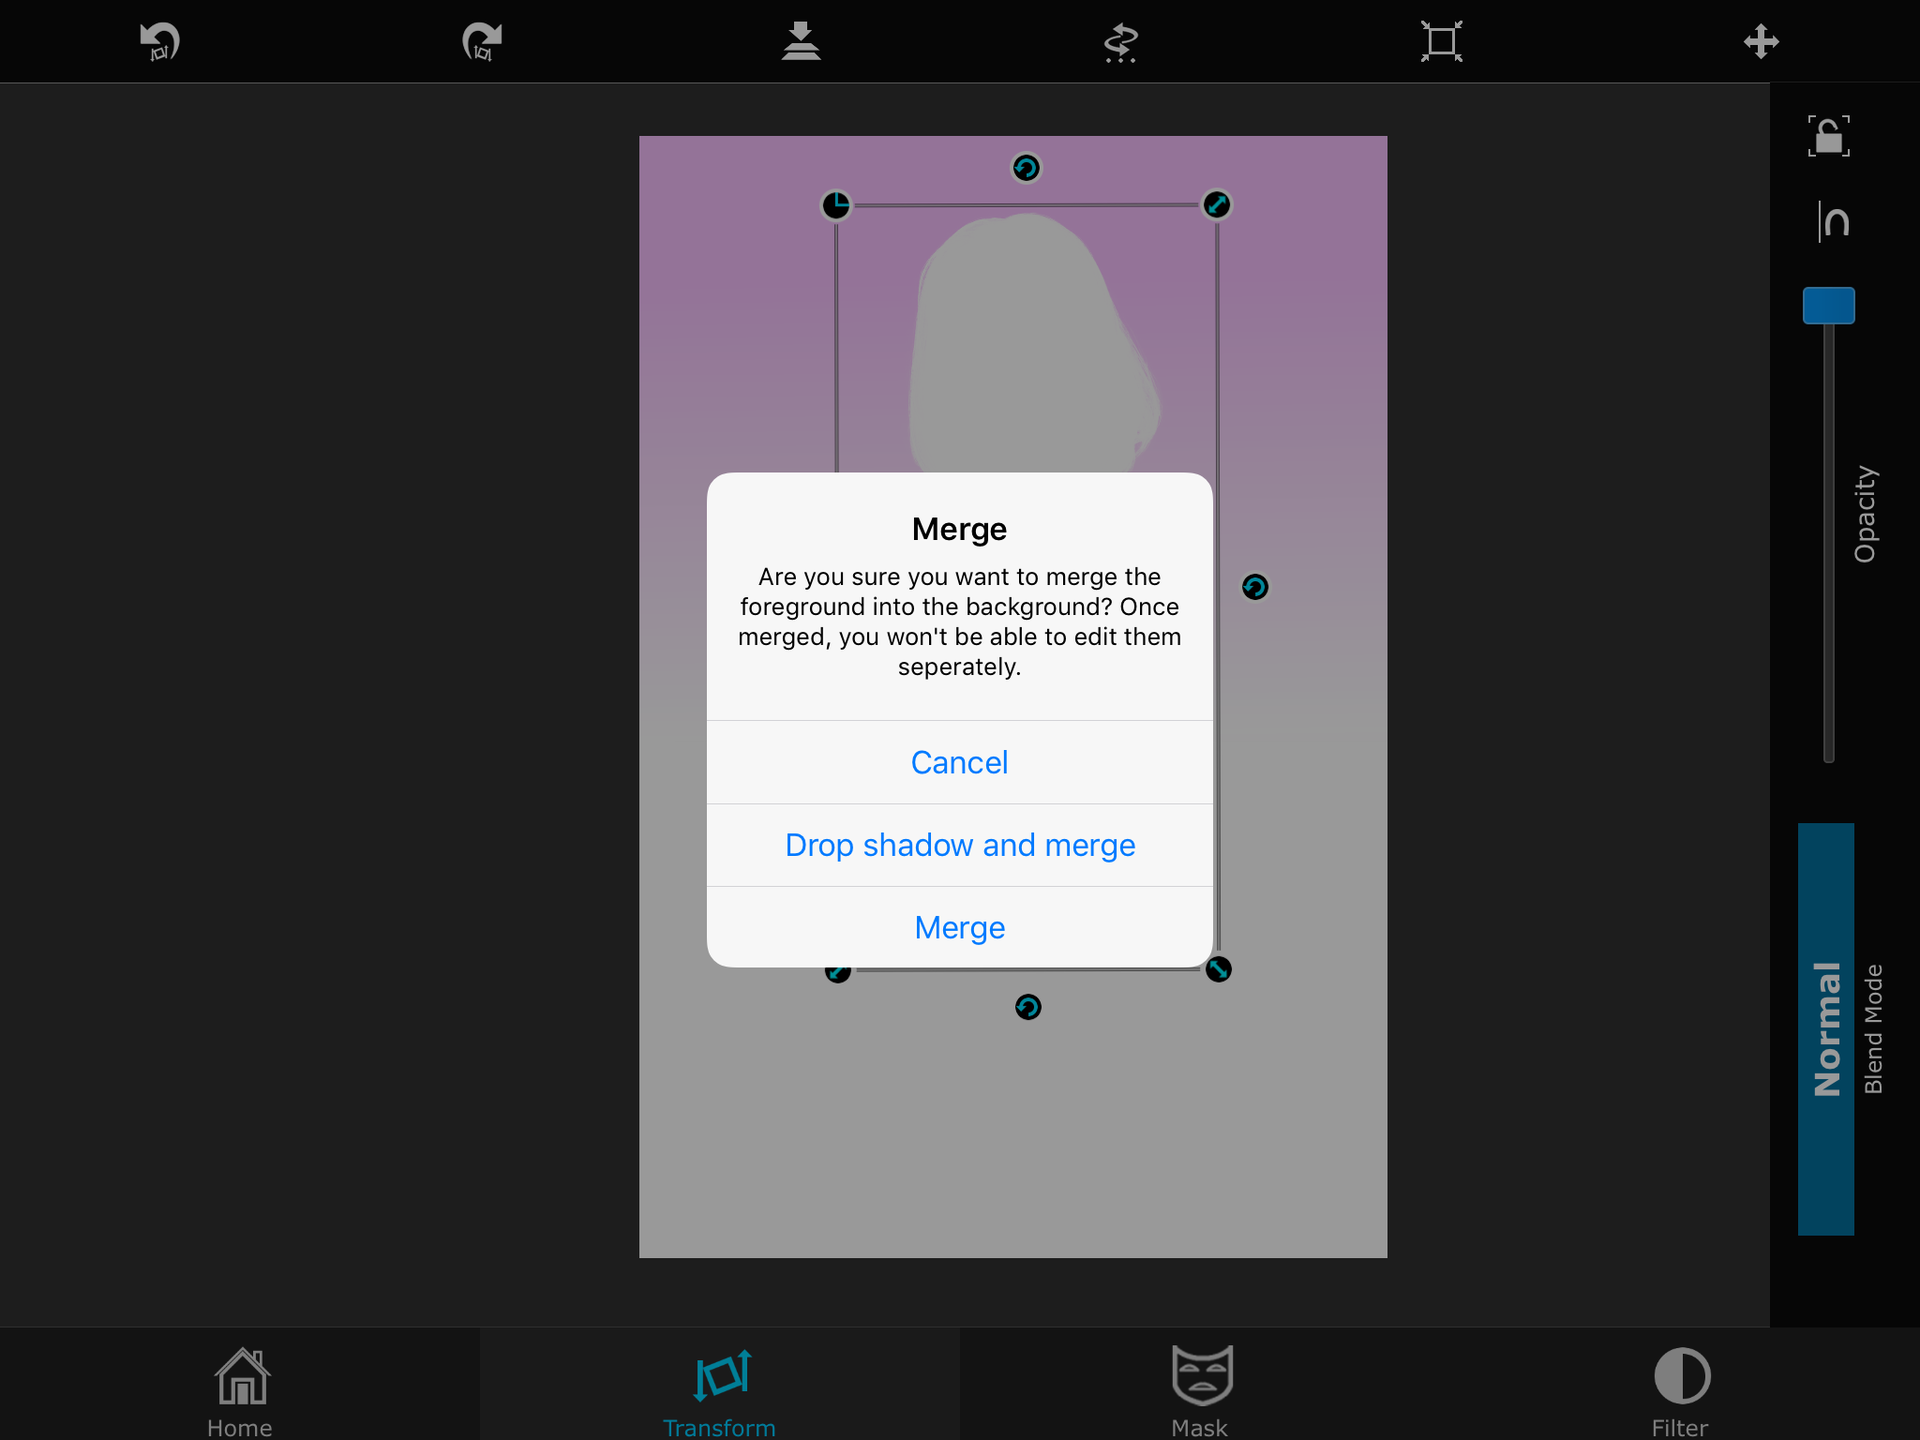
Then after merging you can then get your png and place it over the area you just merged
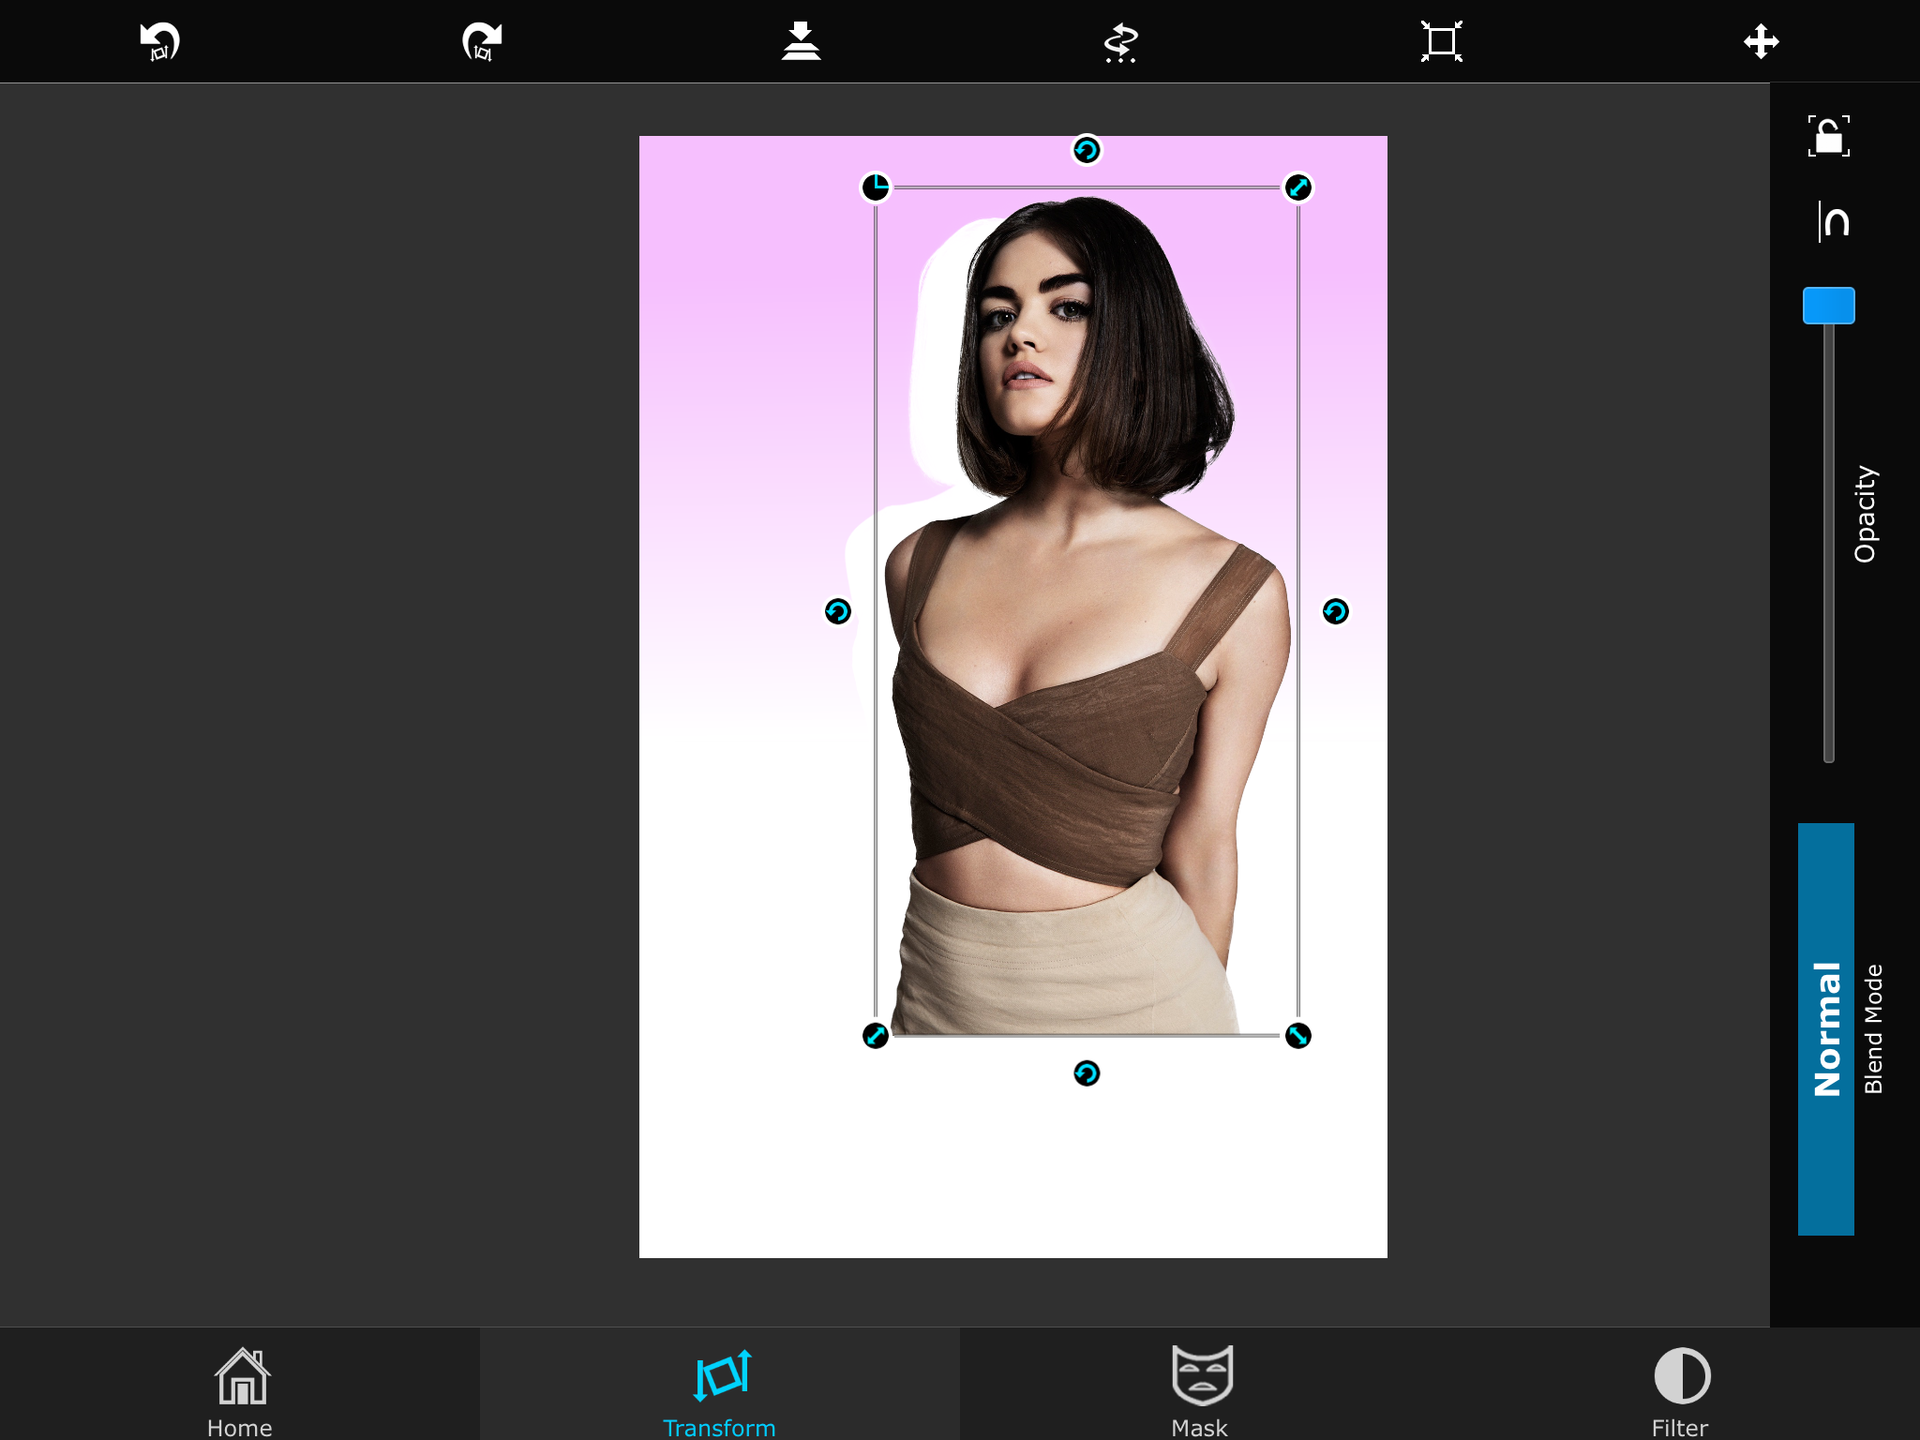
Place the png similar to this
3. I dunno what it's called bit
So if you haven't already screenshot this
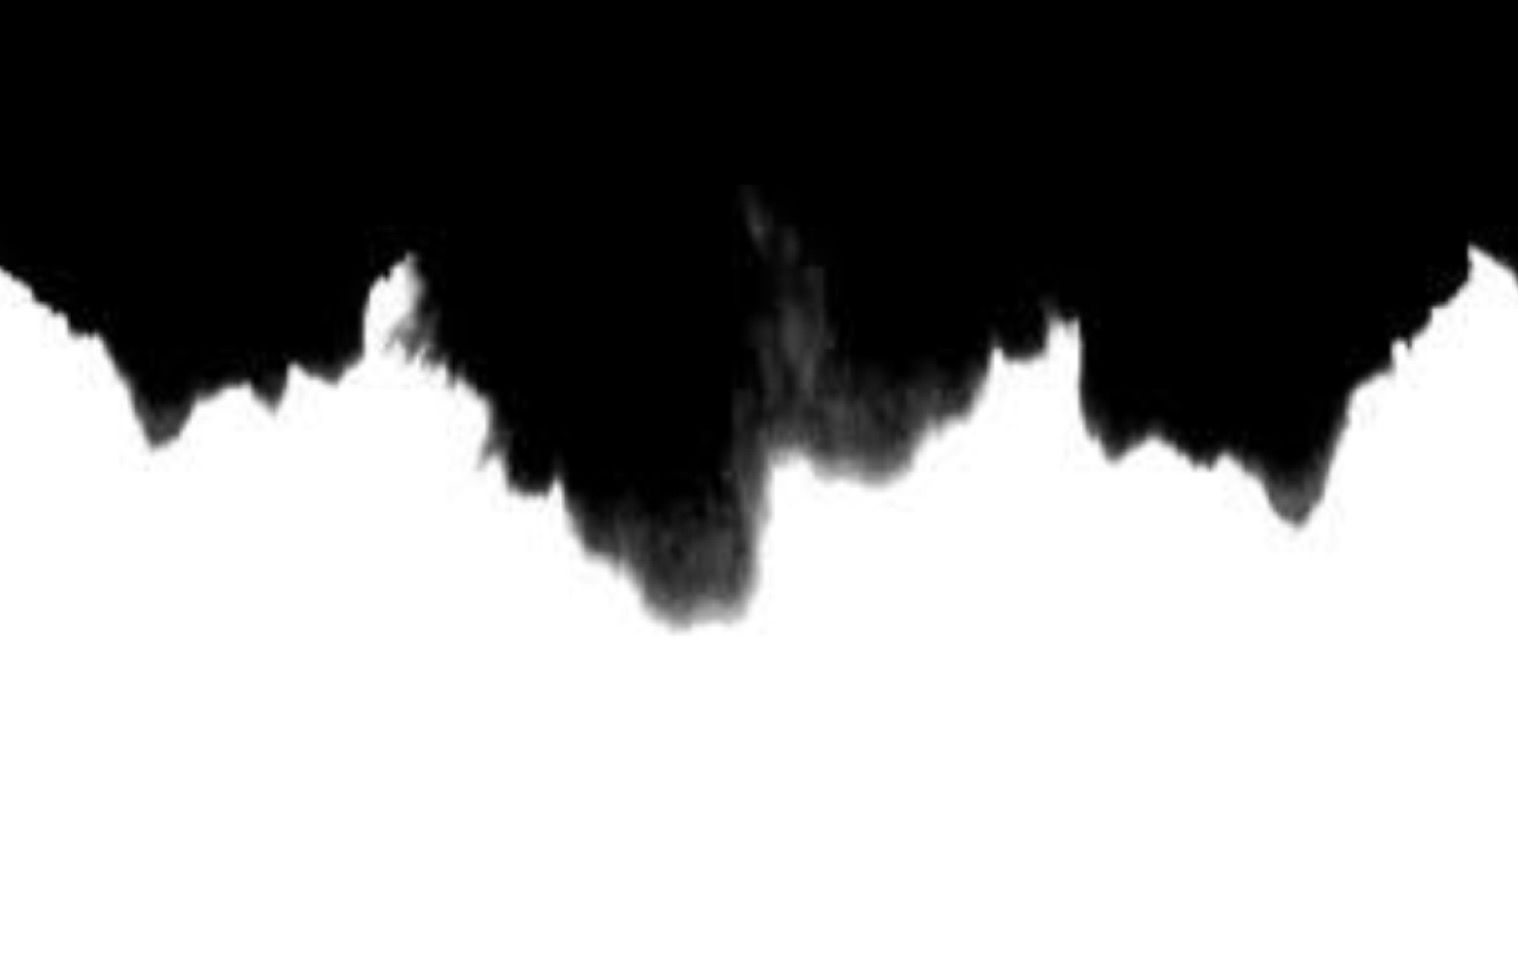
Once you've done that open it as a foreground and then go to mask and click the magnifying glass at the top
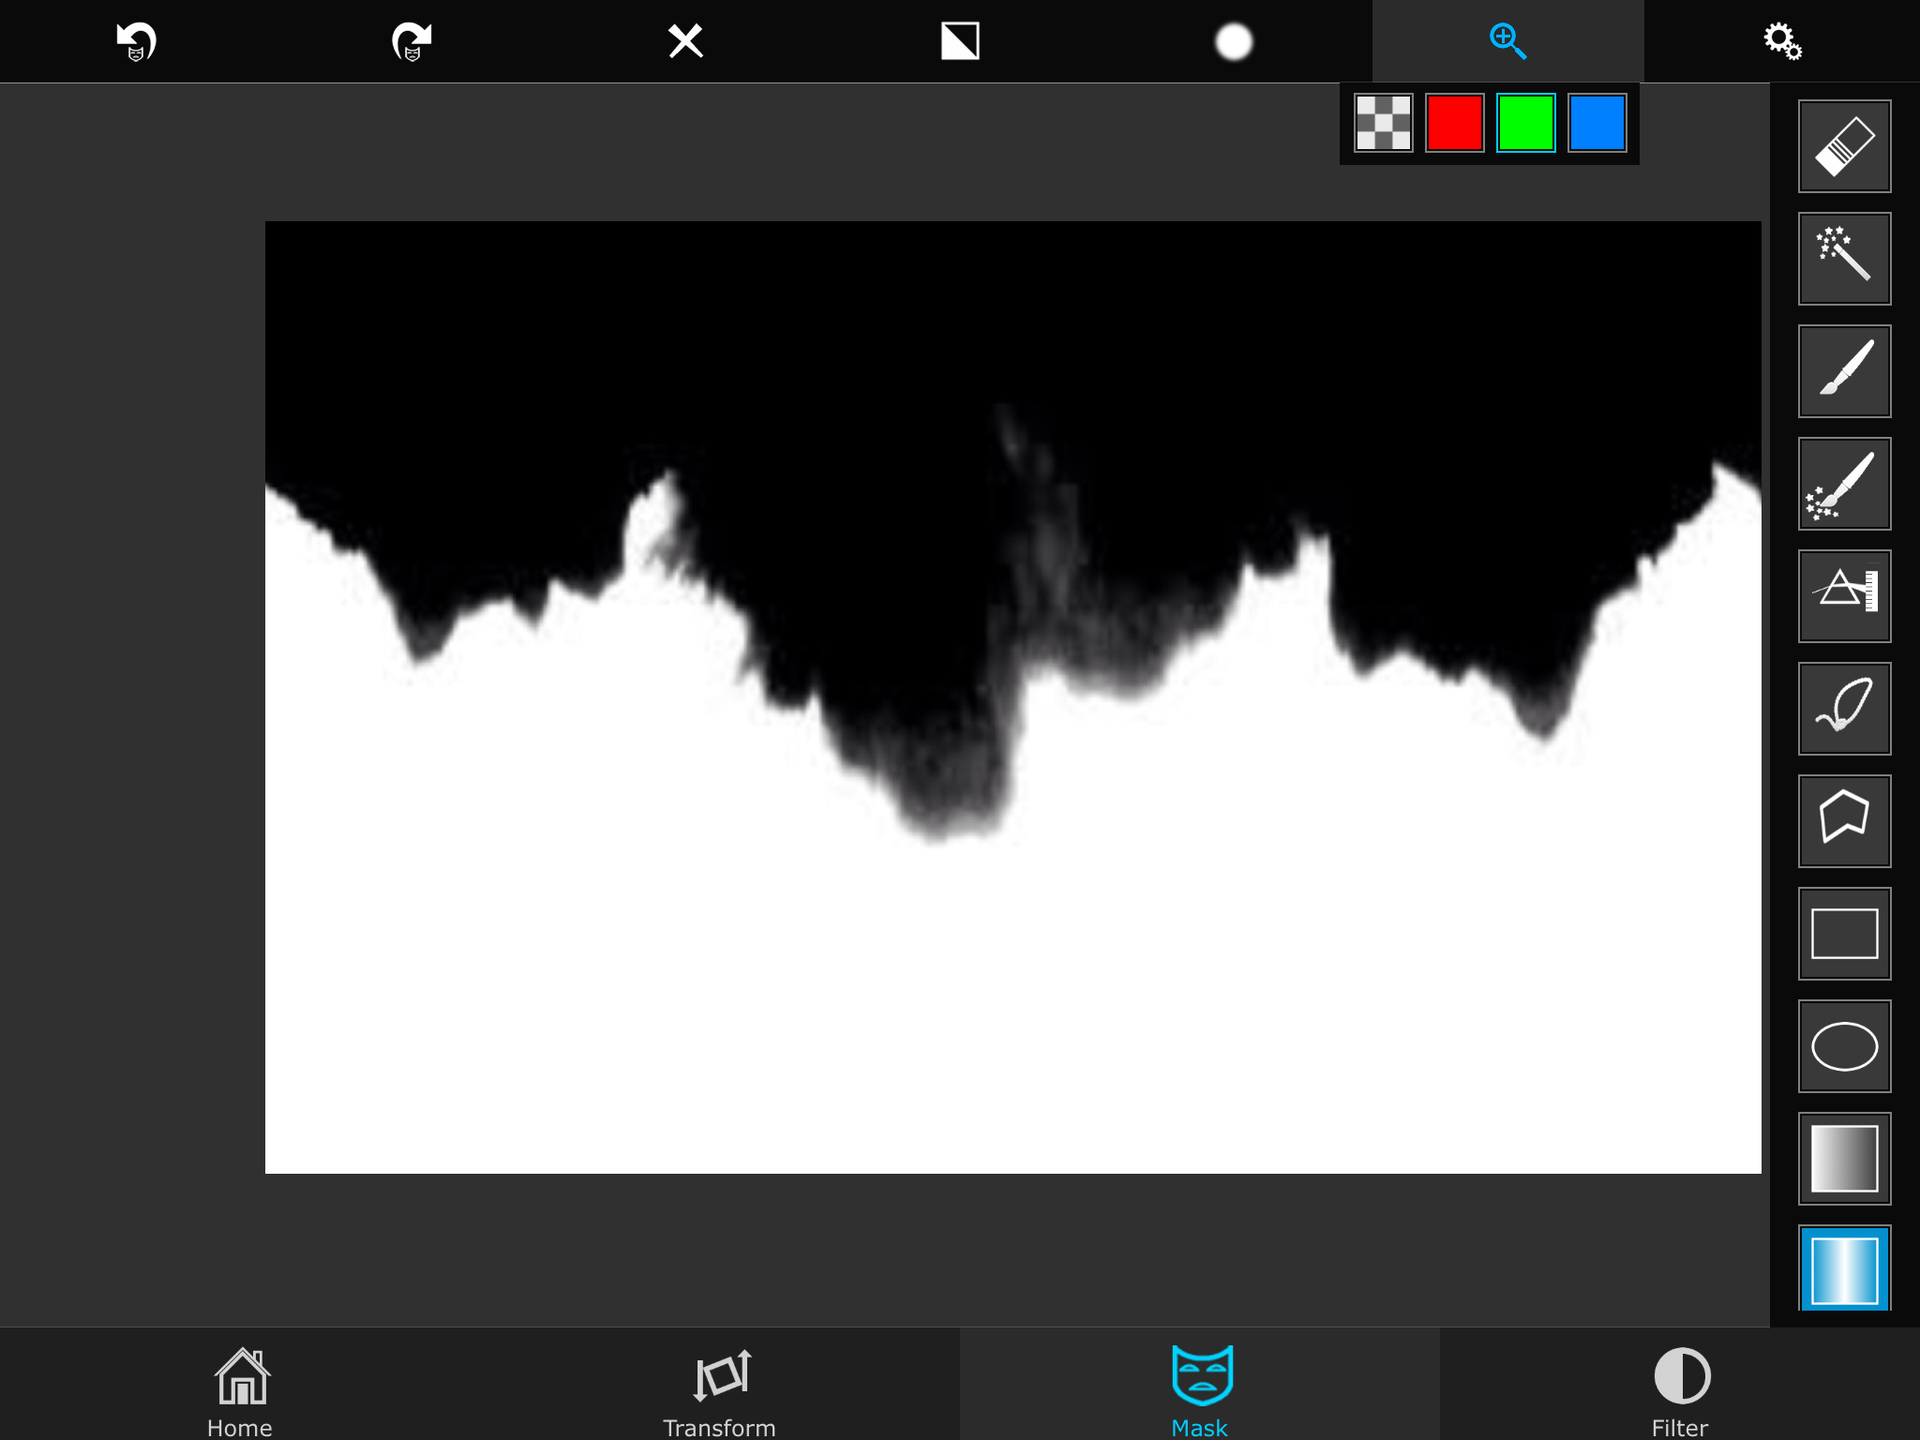
Then click the wand and then go on then click the White. Them after that you should have just the white filled in
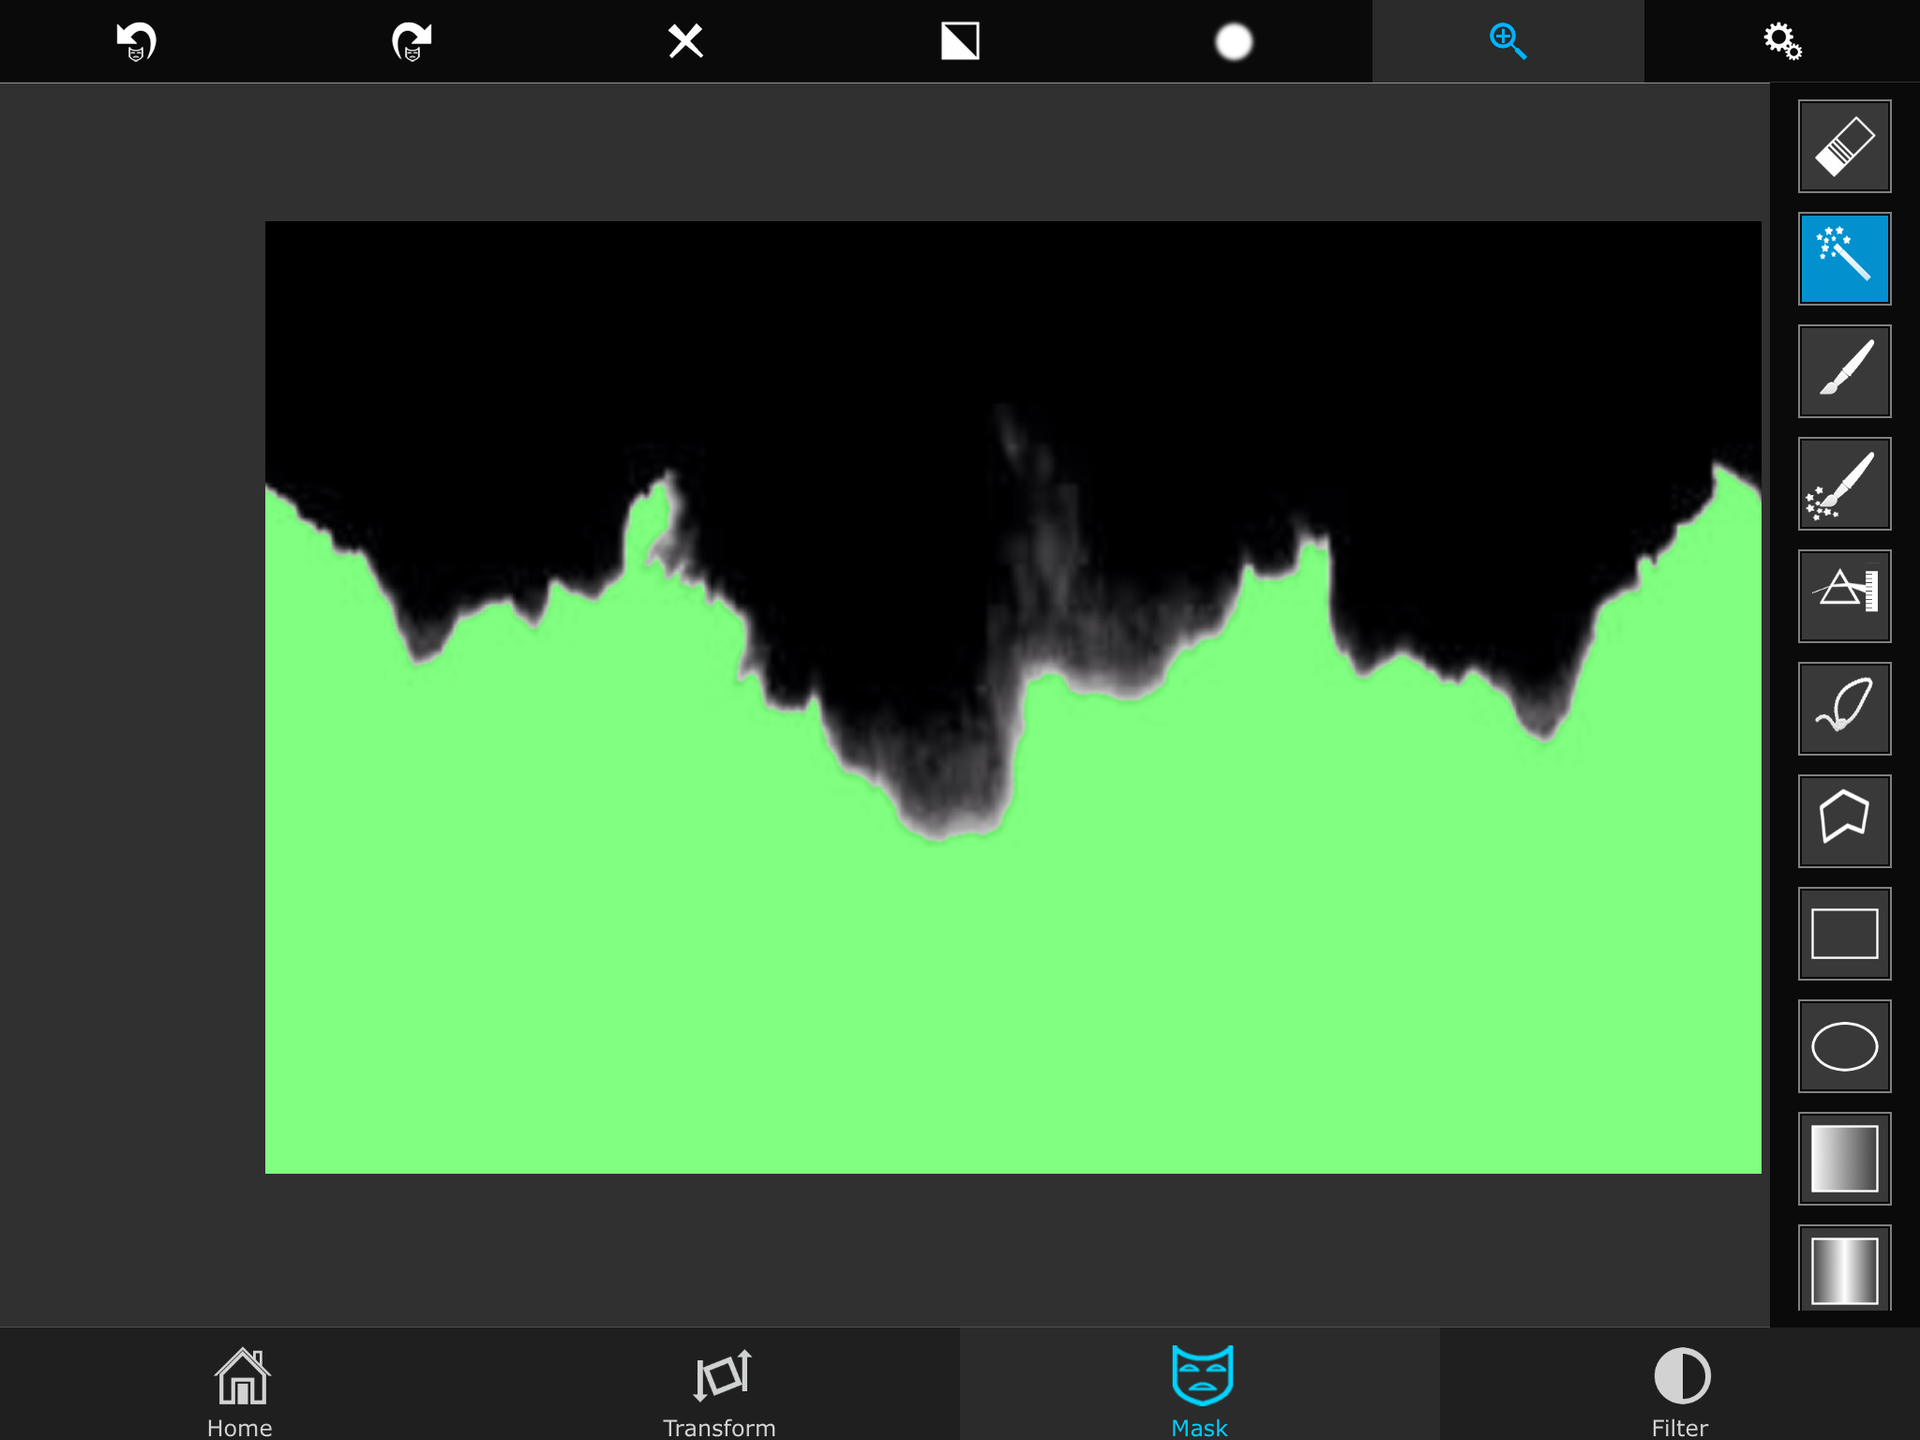
Then click the White triangle ("invert mask") thing two across from the magnifying glass
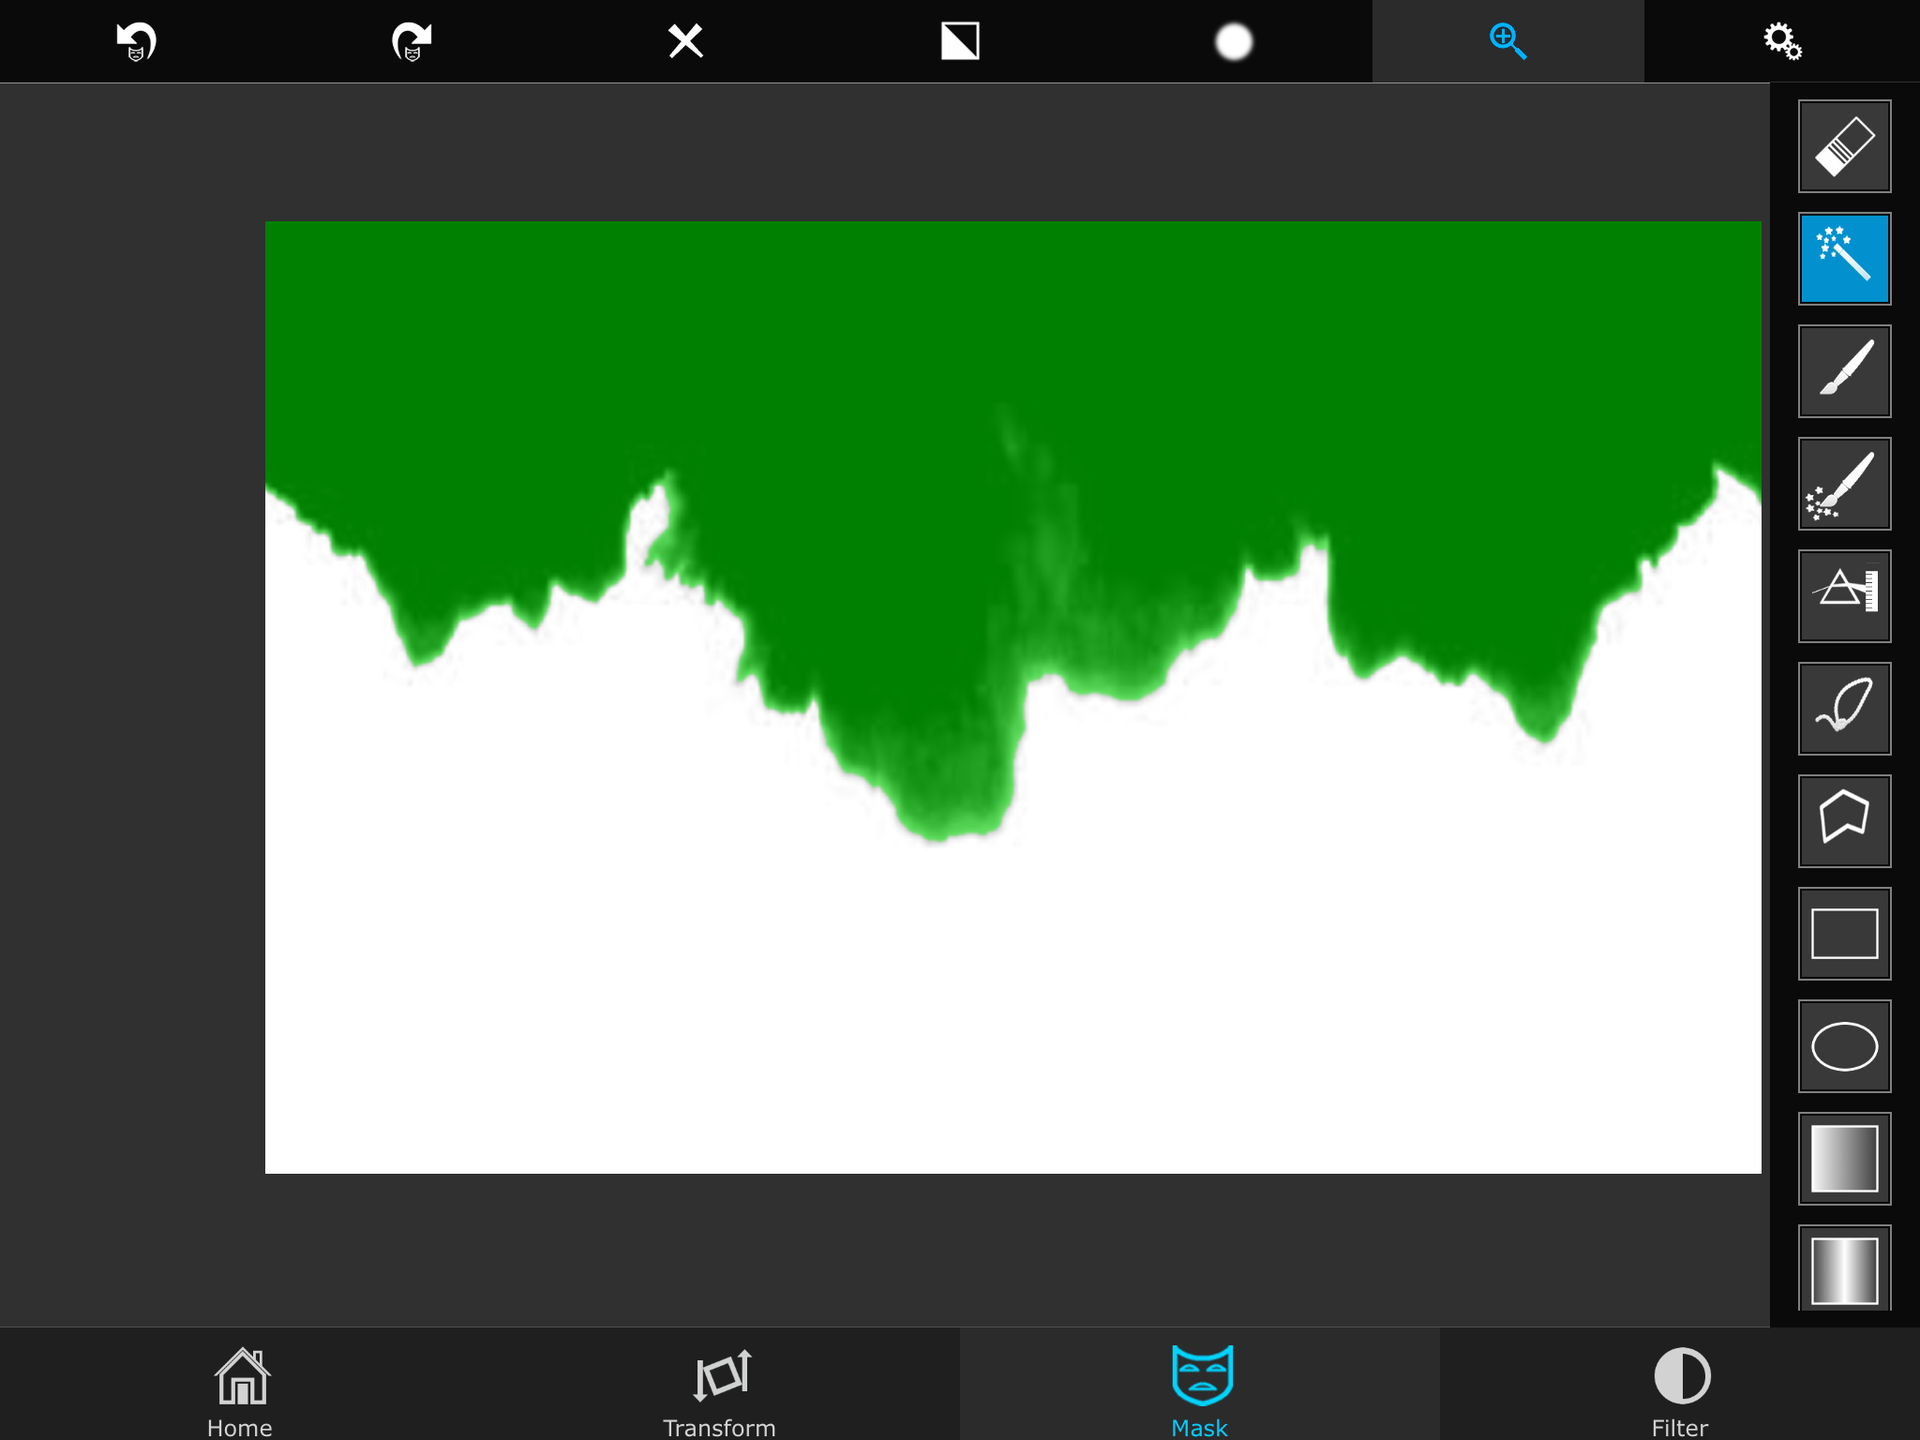
Once after clicking "invert mask" it should make it switch around so you see the green how it was on the White, it is now on the black
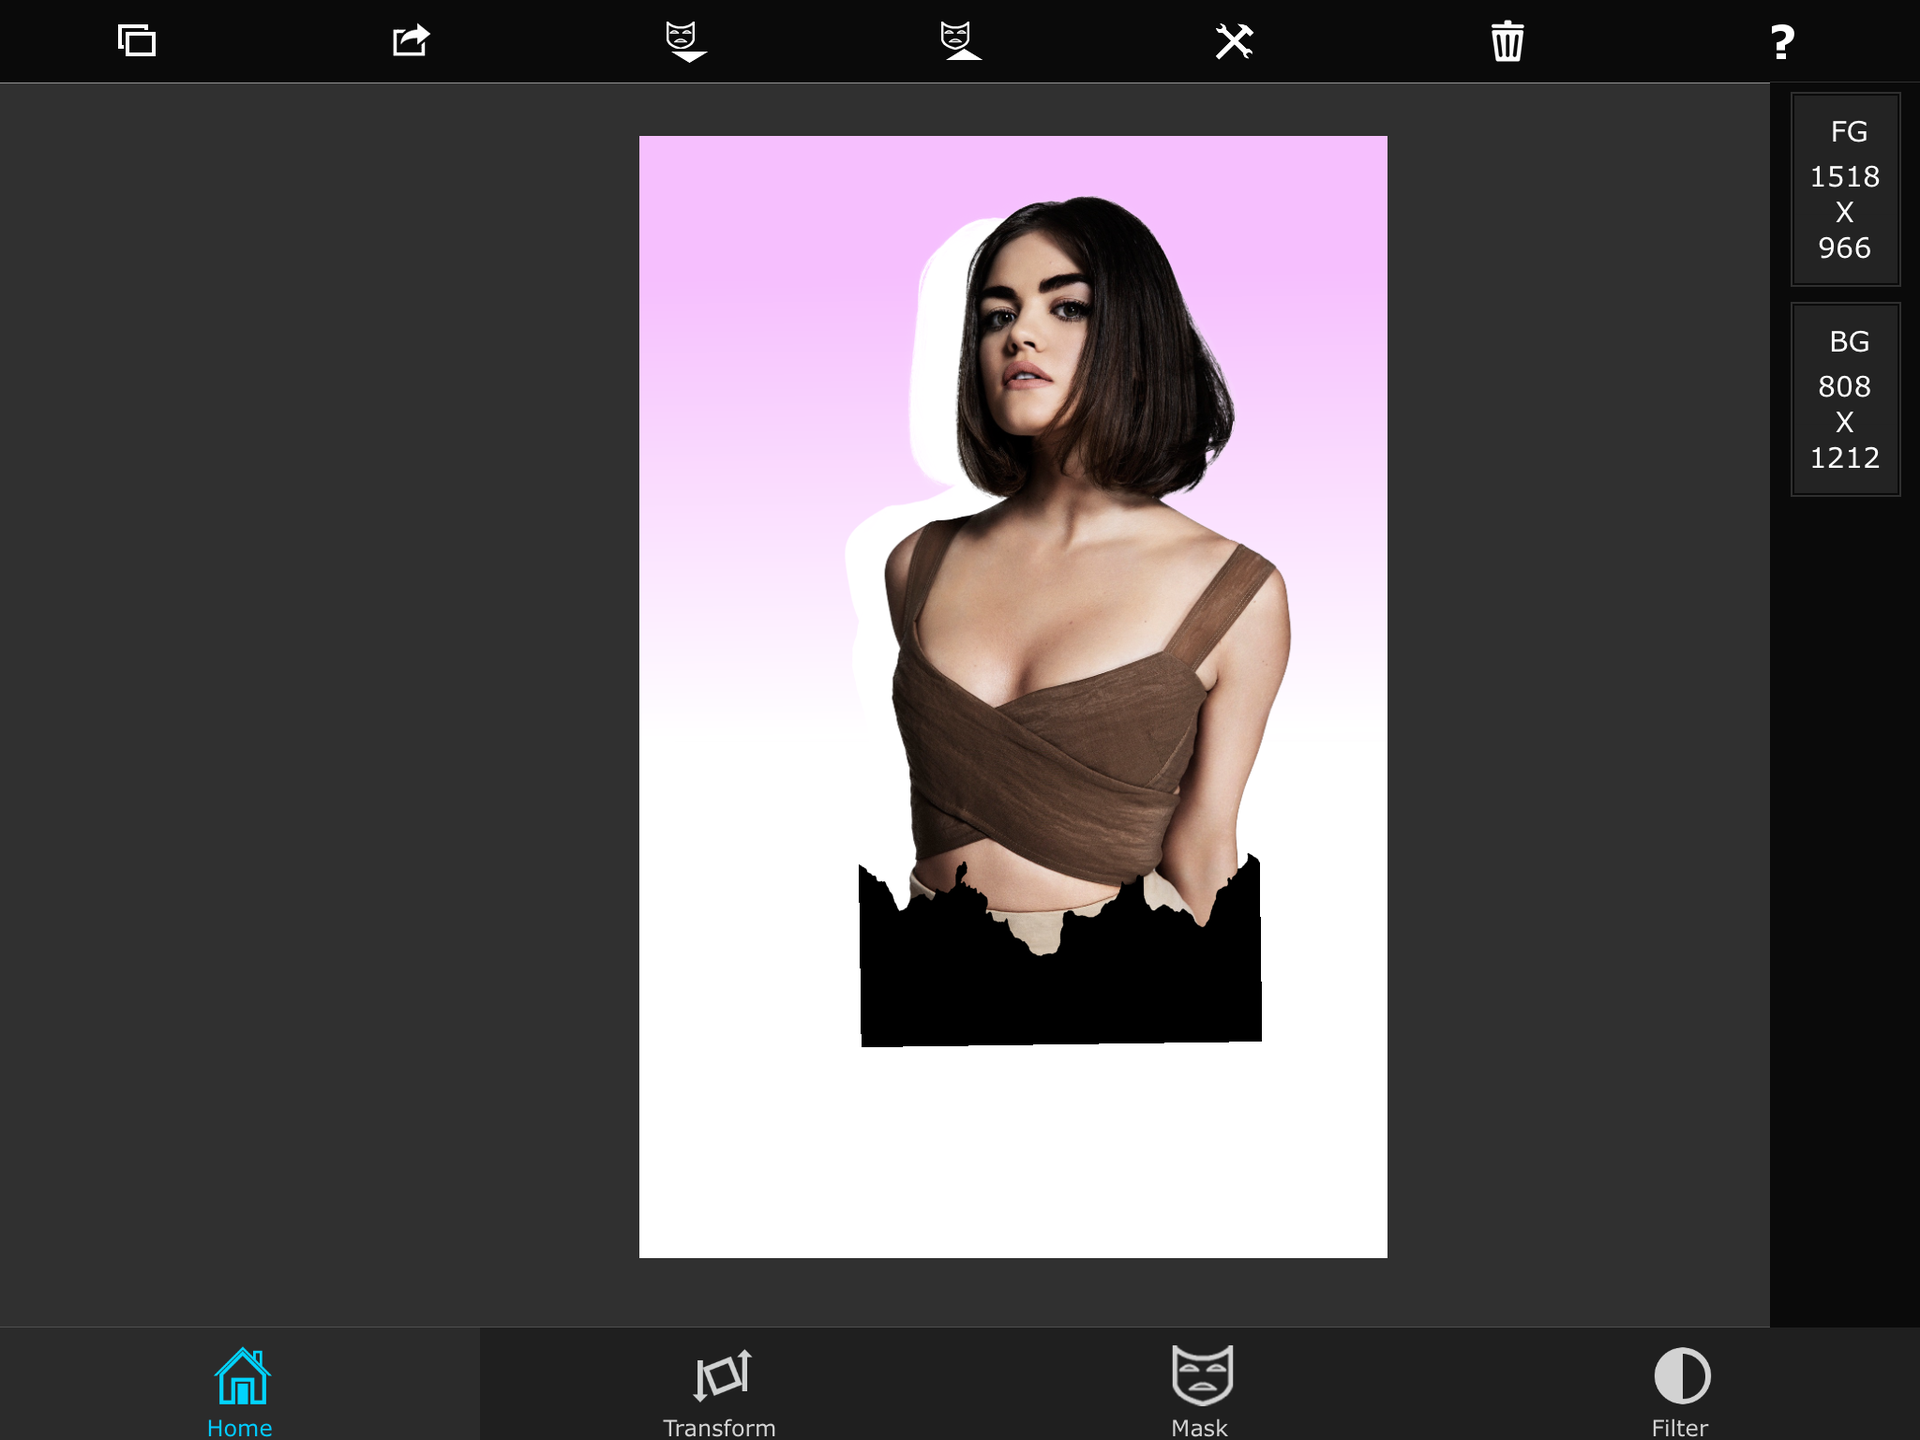
Go out of the magnifying glass and it should look like this
Btw I made it black for a sec so you guys could see how to place it
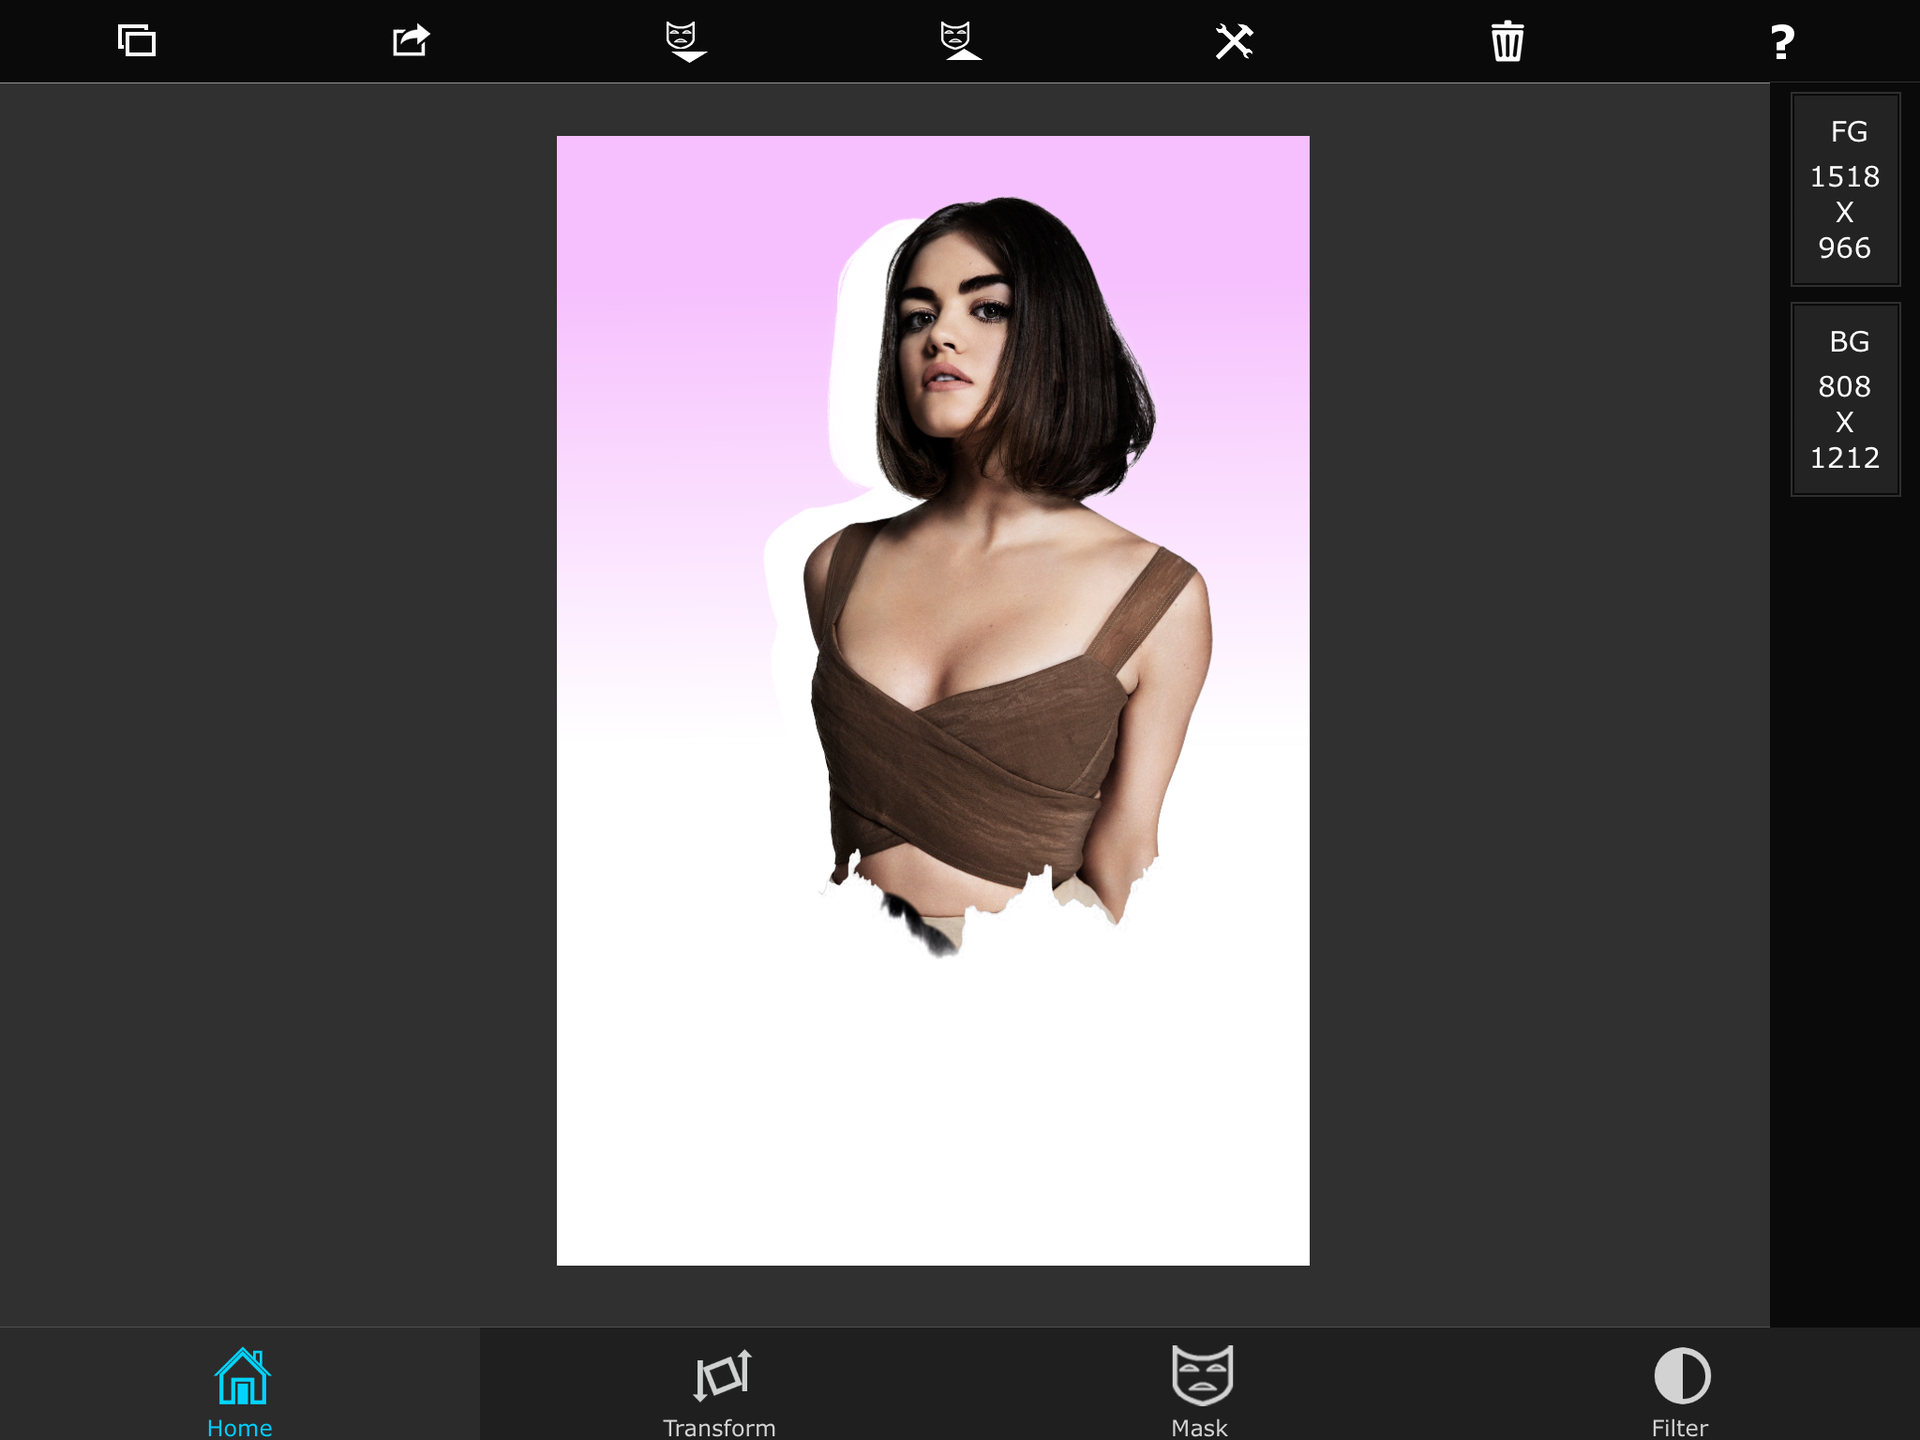
Then it should look like this, if you also get a black bit zoom to it and then get the brush and just erase it with the brush (you can also use the smart brush)
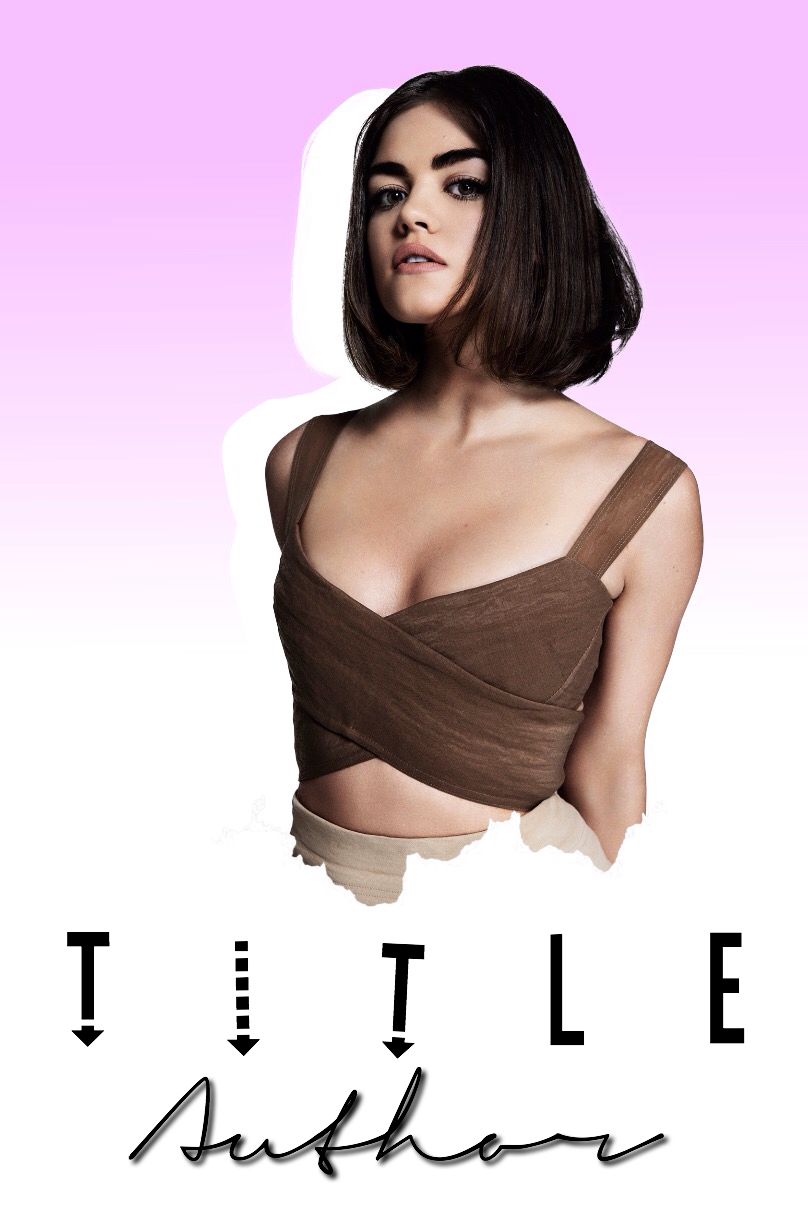
Once you've done that you can save and then you're finished, this was also what I did with the text.
Bạn đang đọc truyện trên: Truyen247.Pro