115. || page rip
{ 115. CHAPTER CONTENTS : tutorial }
[ REMINDER : please, from now on out, if you use any template, idea, icon, or anything else from this book, give me credit or whoever I say I got the idea from. Just put my username in the books information or dedicate a chapter to me. Thanks! ]
-*+*-
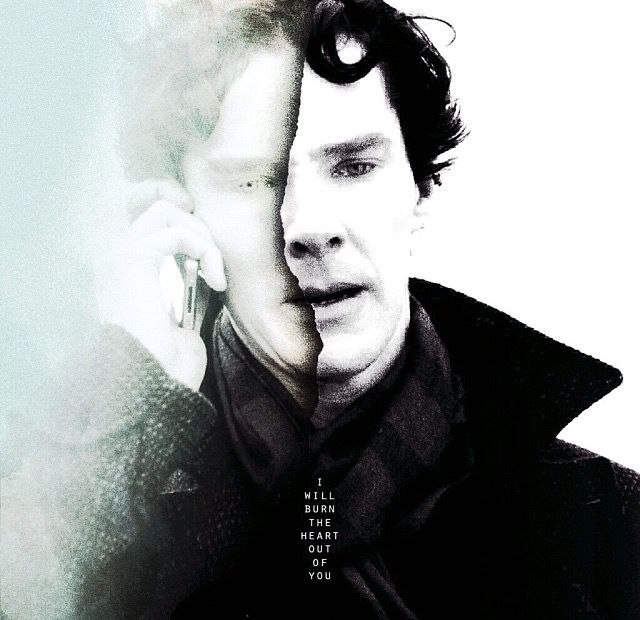
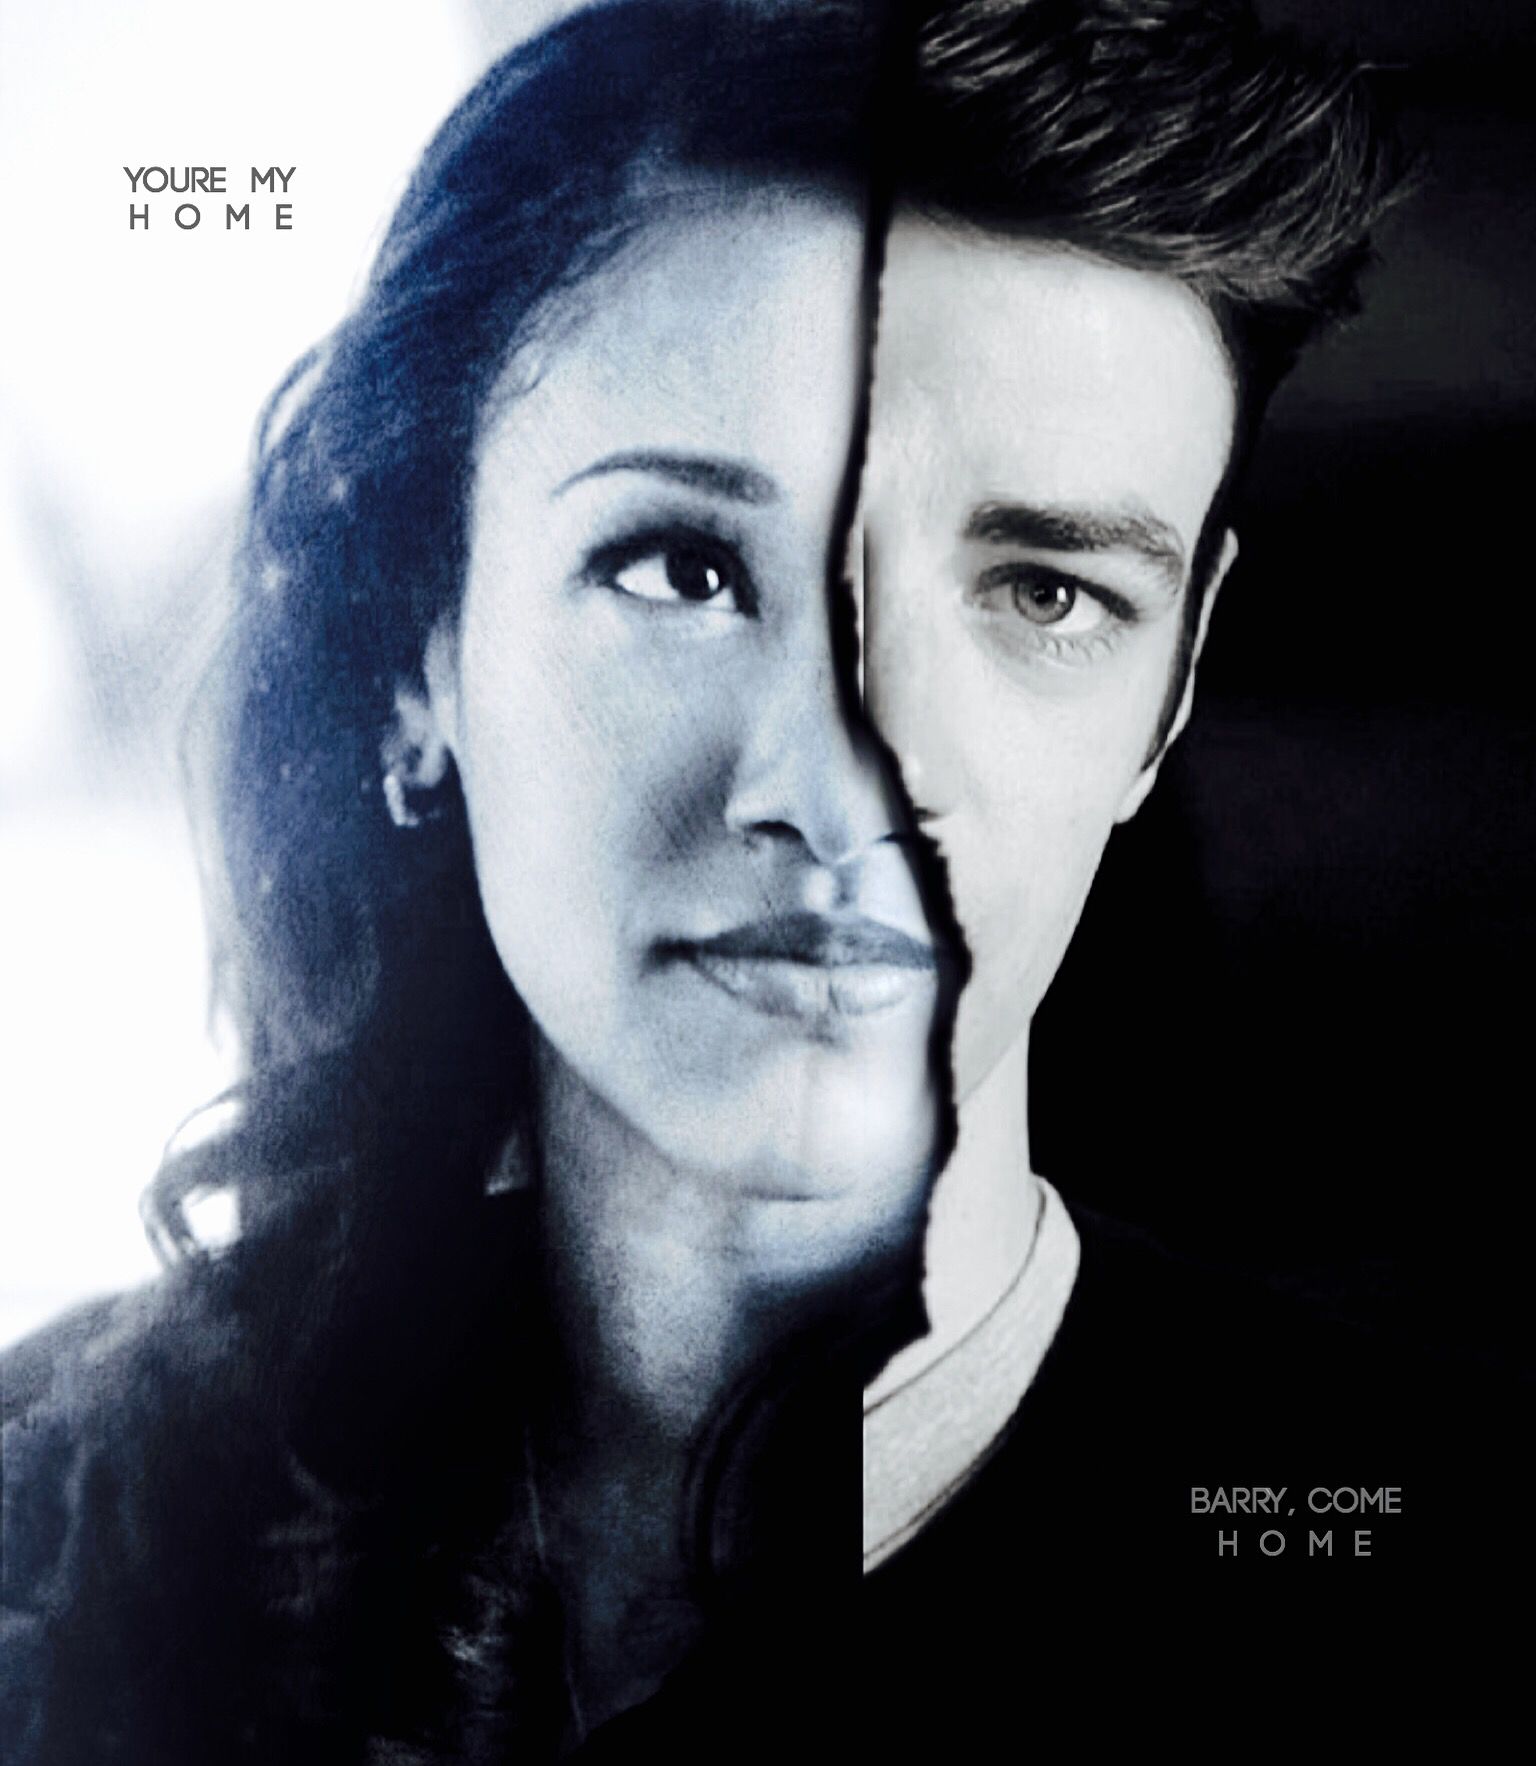
Other Examples


Superimpose
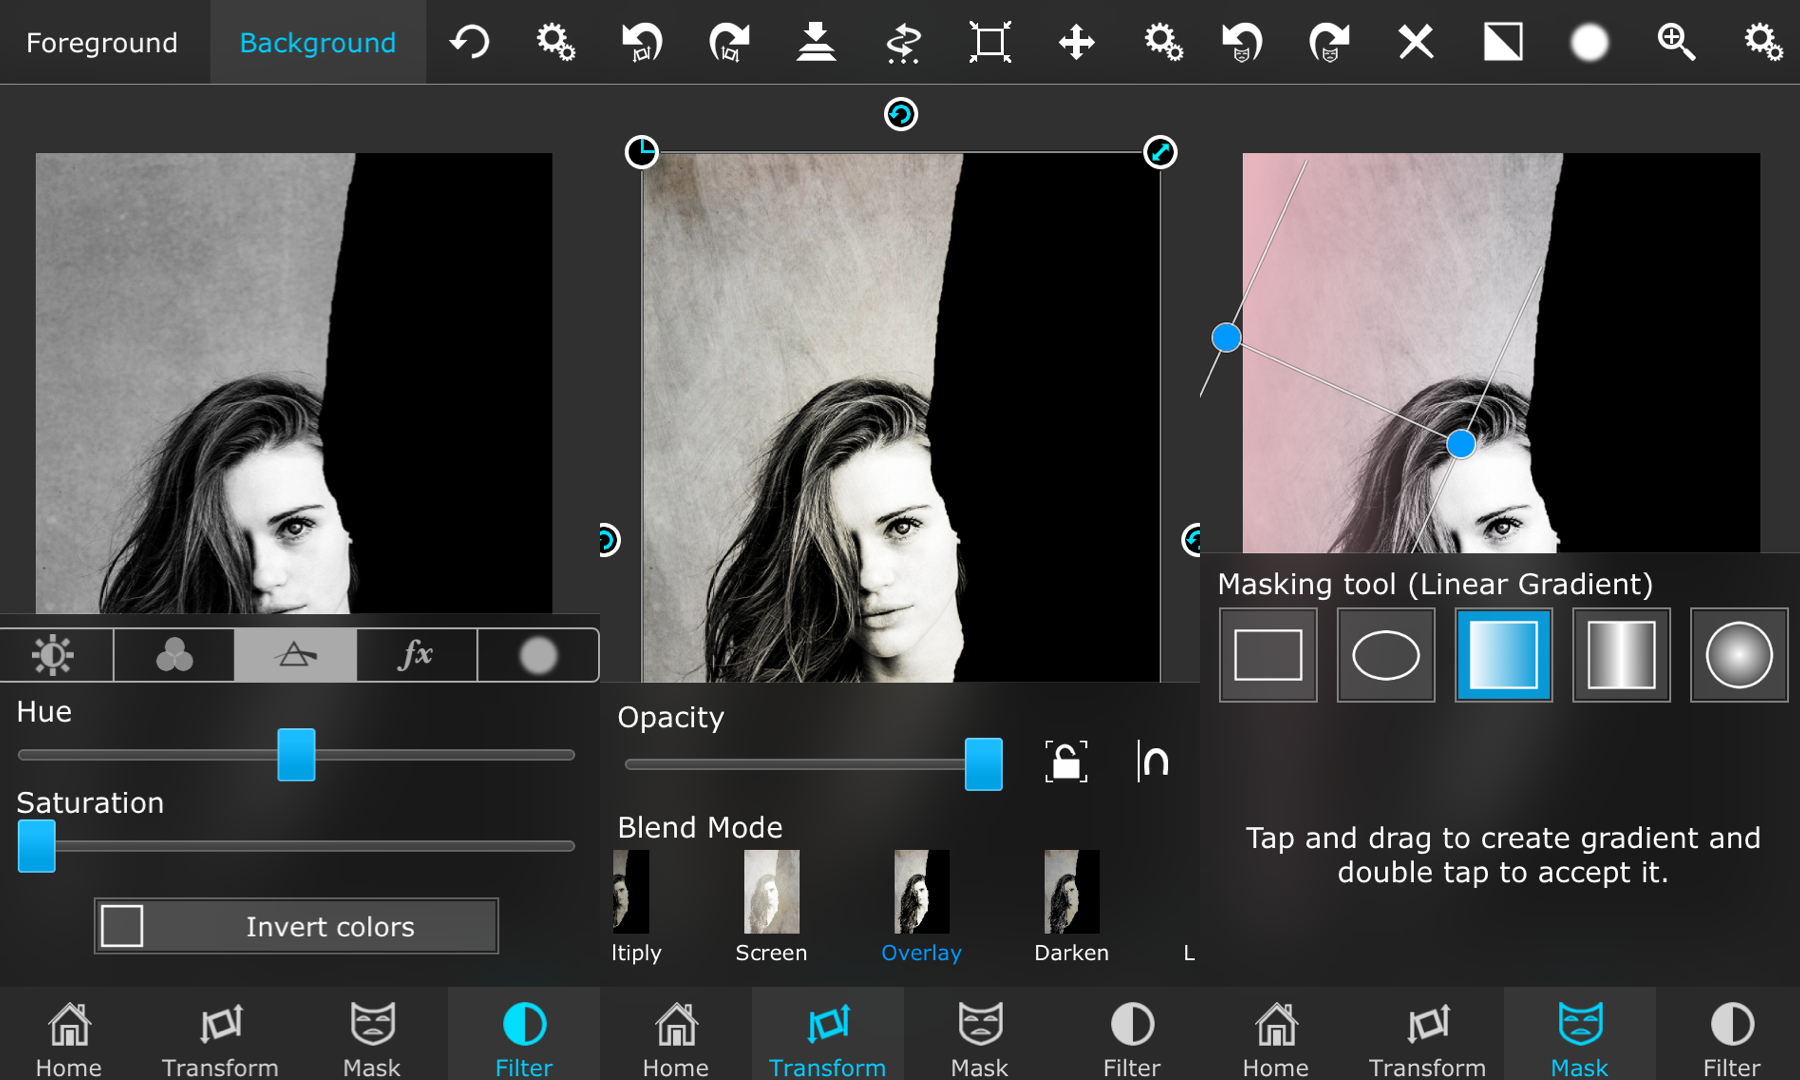
i. Open your image as the background and the ripped page as the foreground. Center the ripped page image and then select the magic brush. Use the magic brush to erase the white side first. Go to the filter tab and turn the contrast all of the way down. Next, turn all of the colors down to where they make it black. Save. (DO NOT MERGE!!)
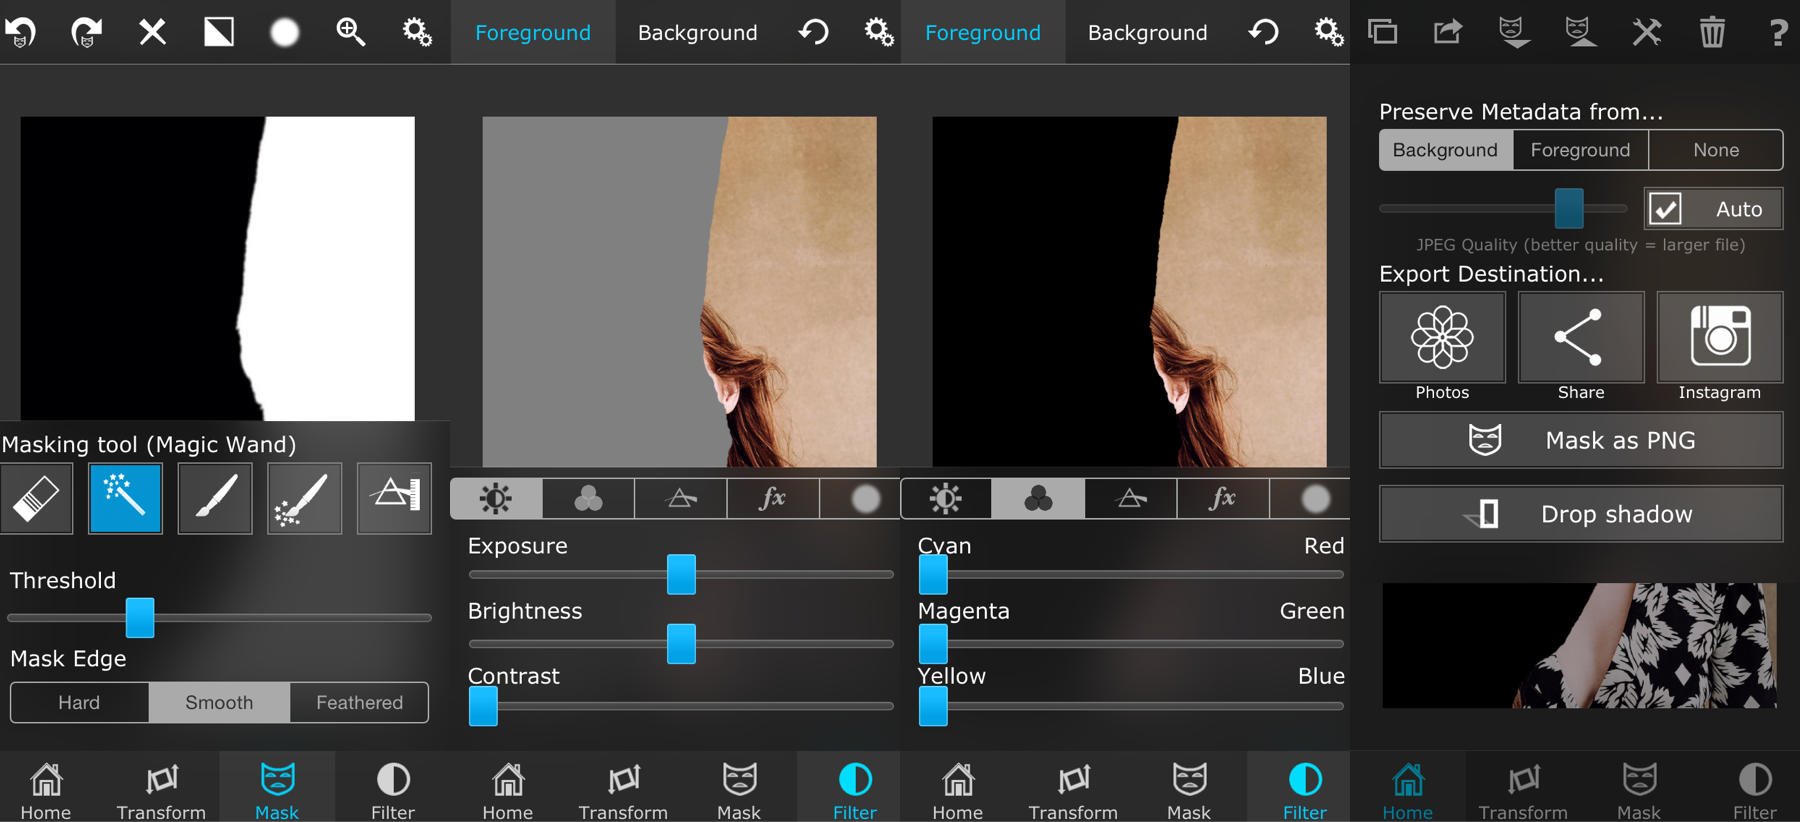
ii. Go to the filter tab and the mask tab and reset everything to where it was exactly as you first had it before you erased the white side. This time, you're going to erase the black side, turn the contrast down, turn the colors down to make it black, and then merge. This is just step one repeated except you merge this time around.
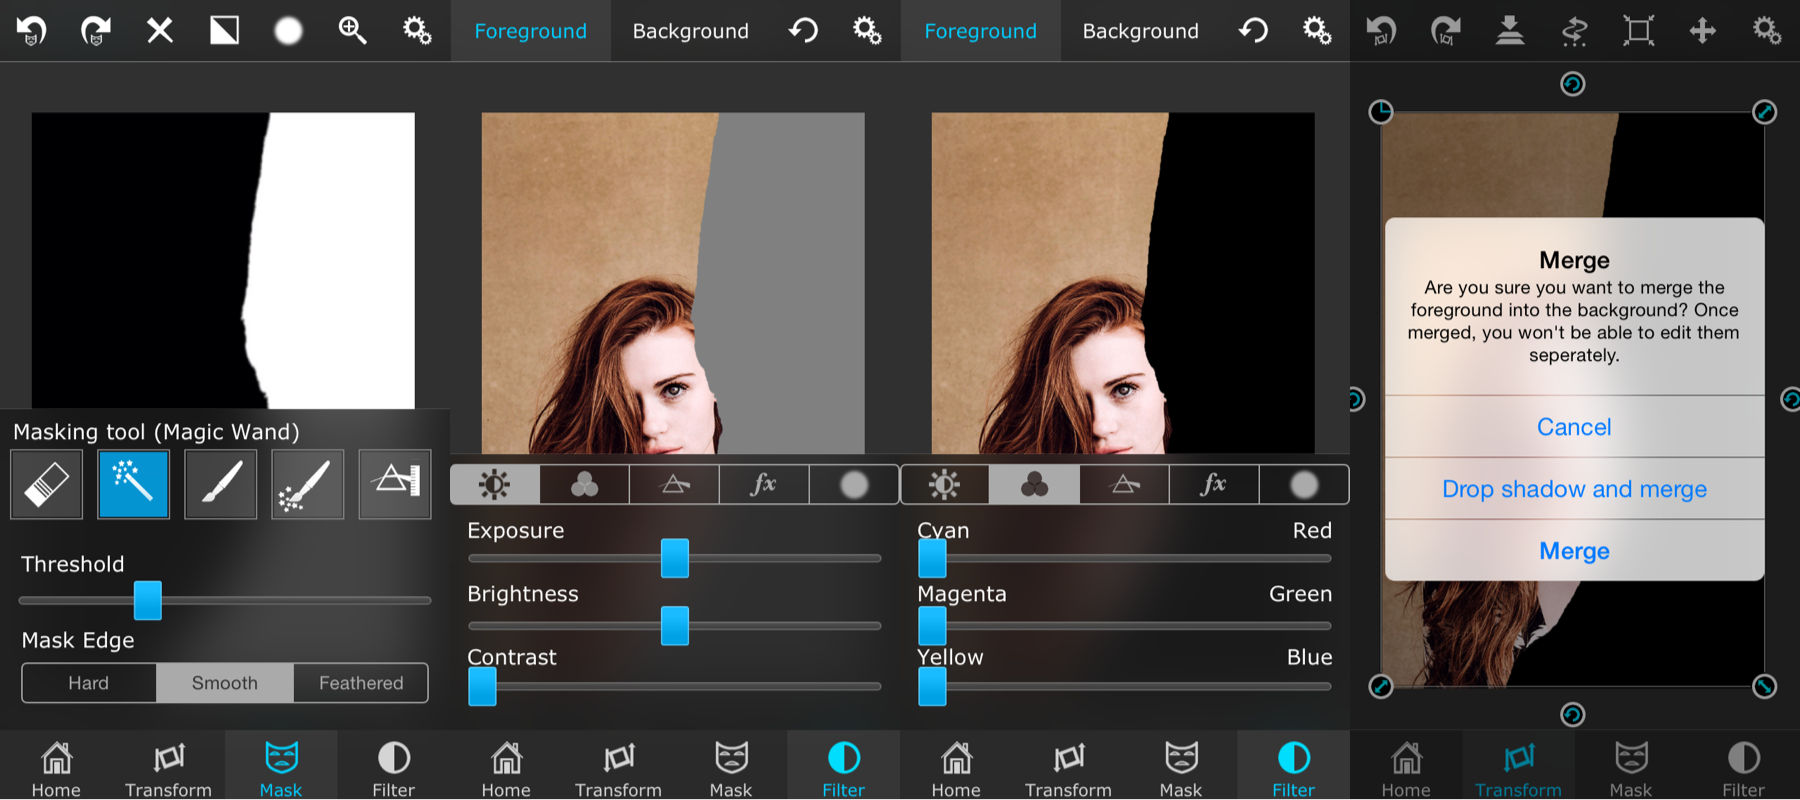
iii. Upload a color image of your choice as the foreground ad use the gradient tool under the mask tab to color the area you want (make sure the color doesn't get on the black side) and then merge. You can also make the image black and white under the filter tab by turning that saturation all of the way down. Next, just upload the other add on texture image or another image of your choice as the foreground, put it on overlay, and then merge (feel free to experiment around by changing the color of the texture).
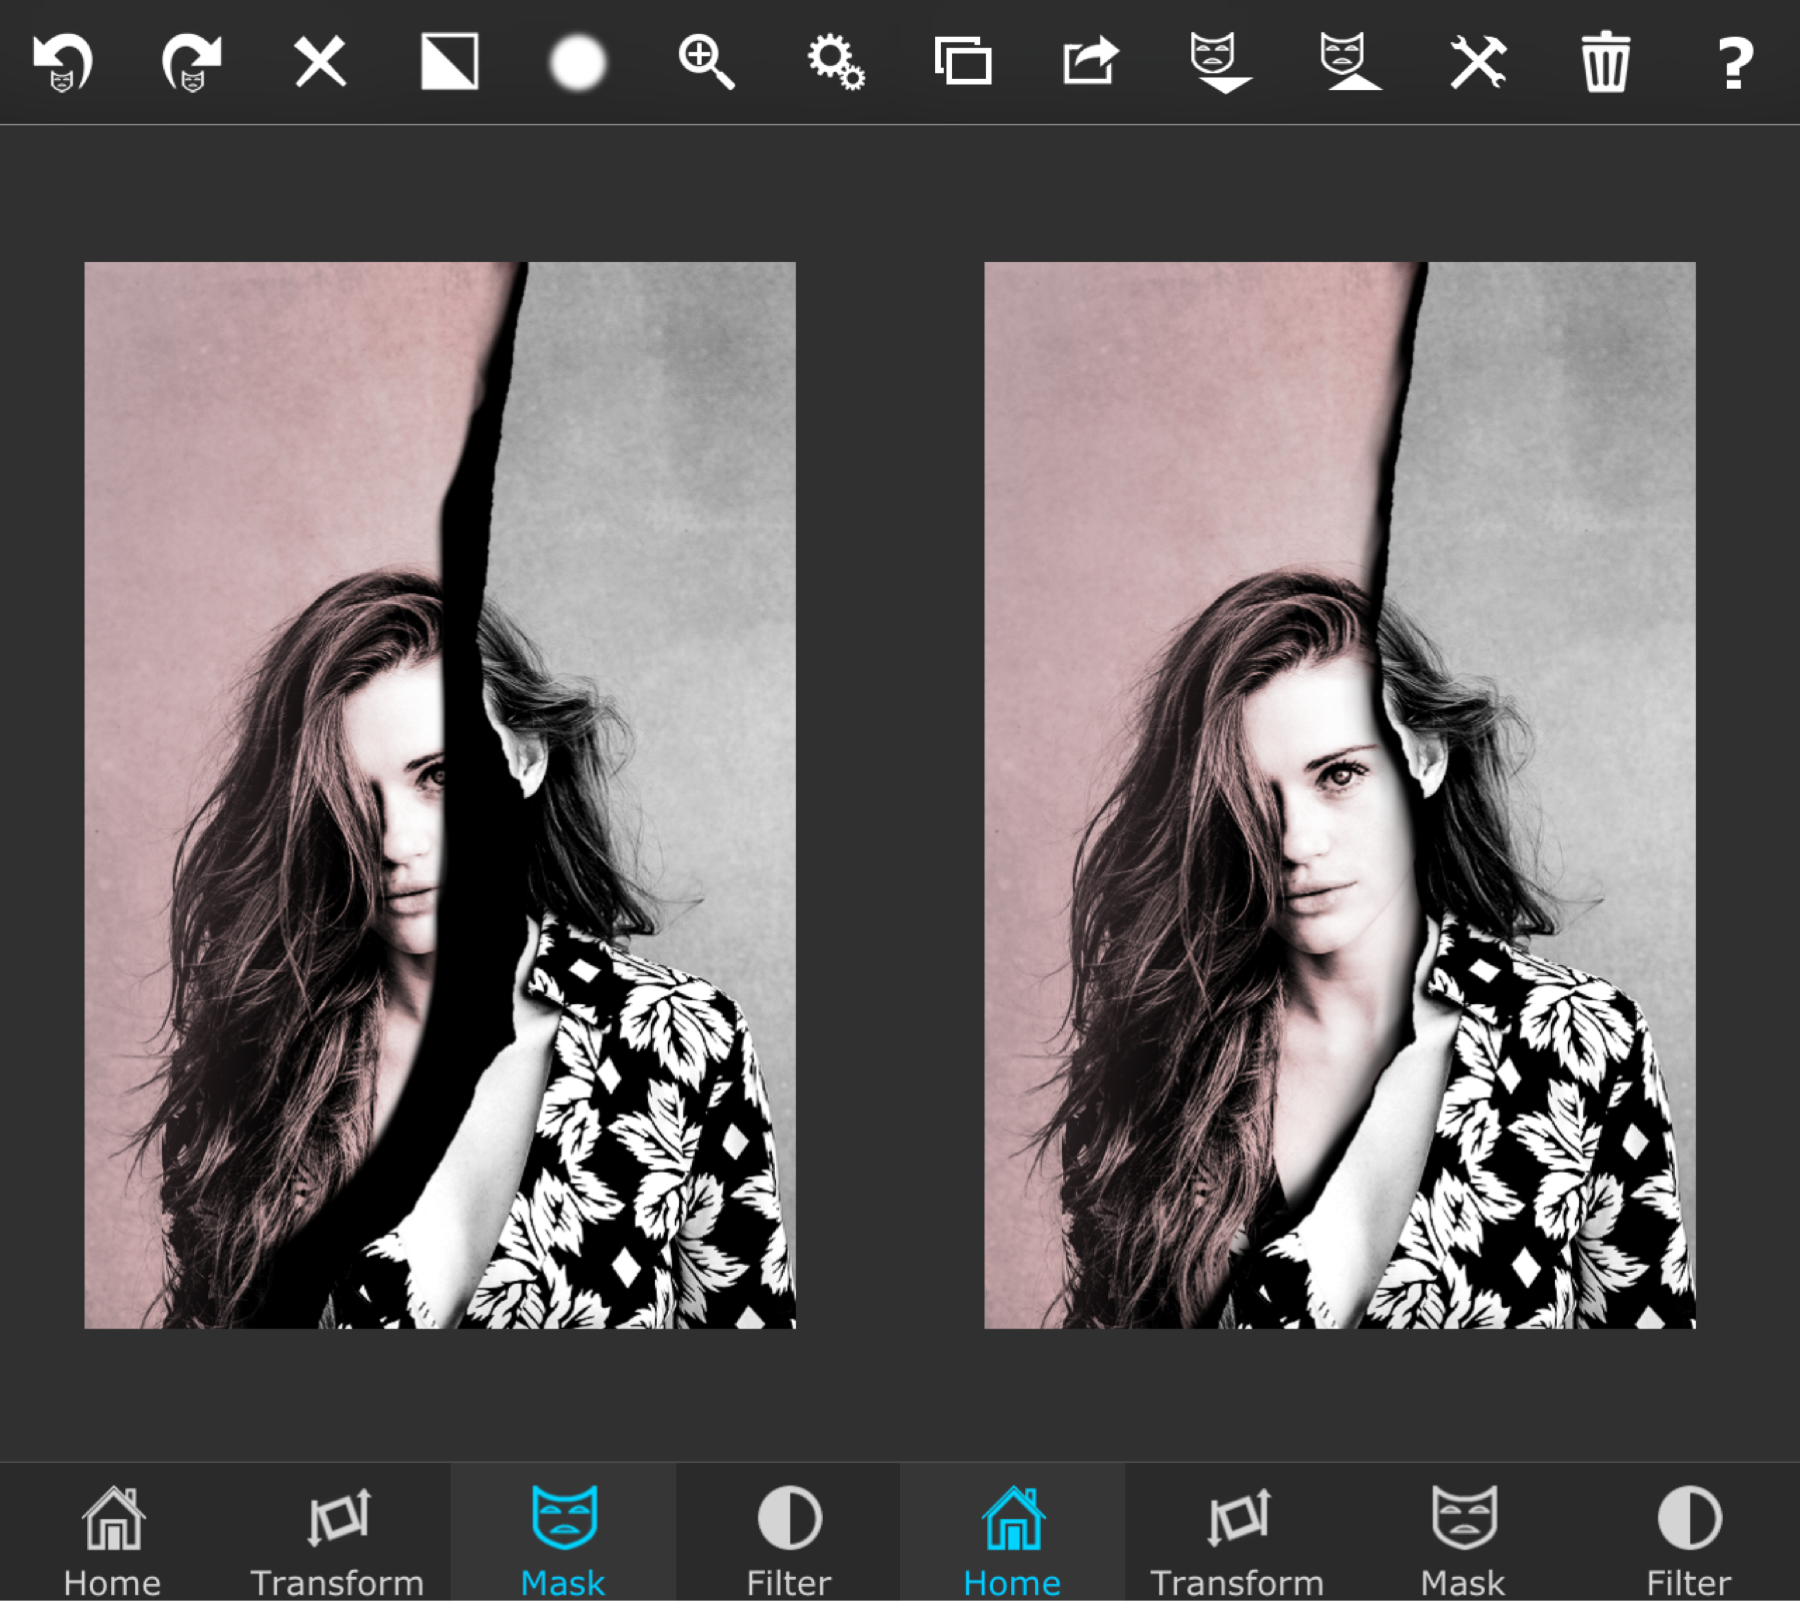
iv. When you are done adding textures to this side, upload the image you saved earlier as the foreground and center it. Leave the overlay mode on normal and just erase some of it to where the black extends out a little ways onto the opposite colored side (1st picture below). Then, what I did was use the soft brush under the mask tab to zoom in and erase a little to where it looks like that side is "sticking out" towards you. Save when done.
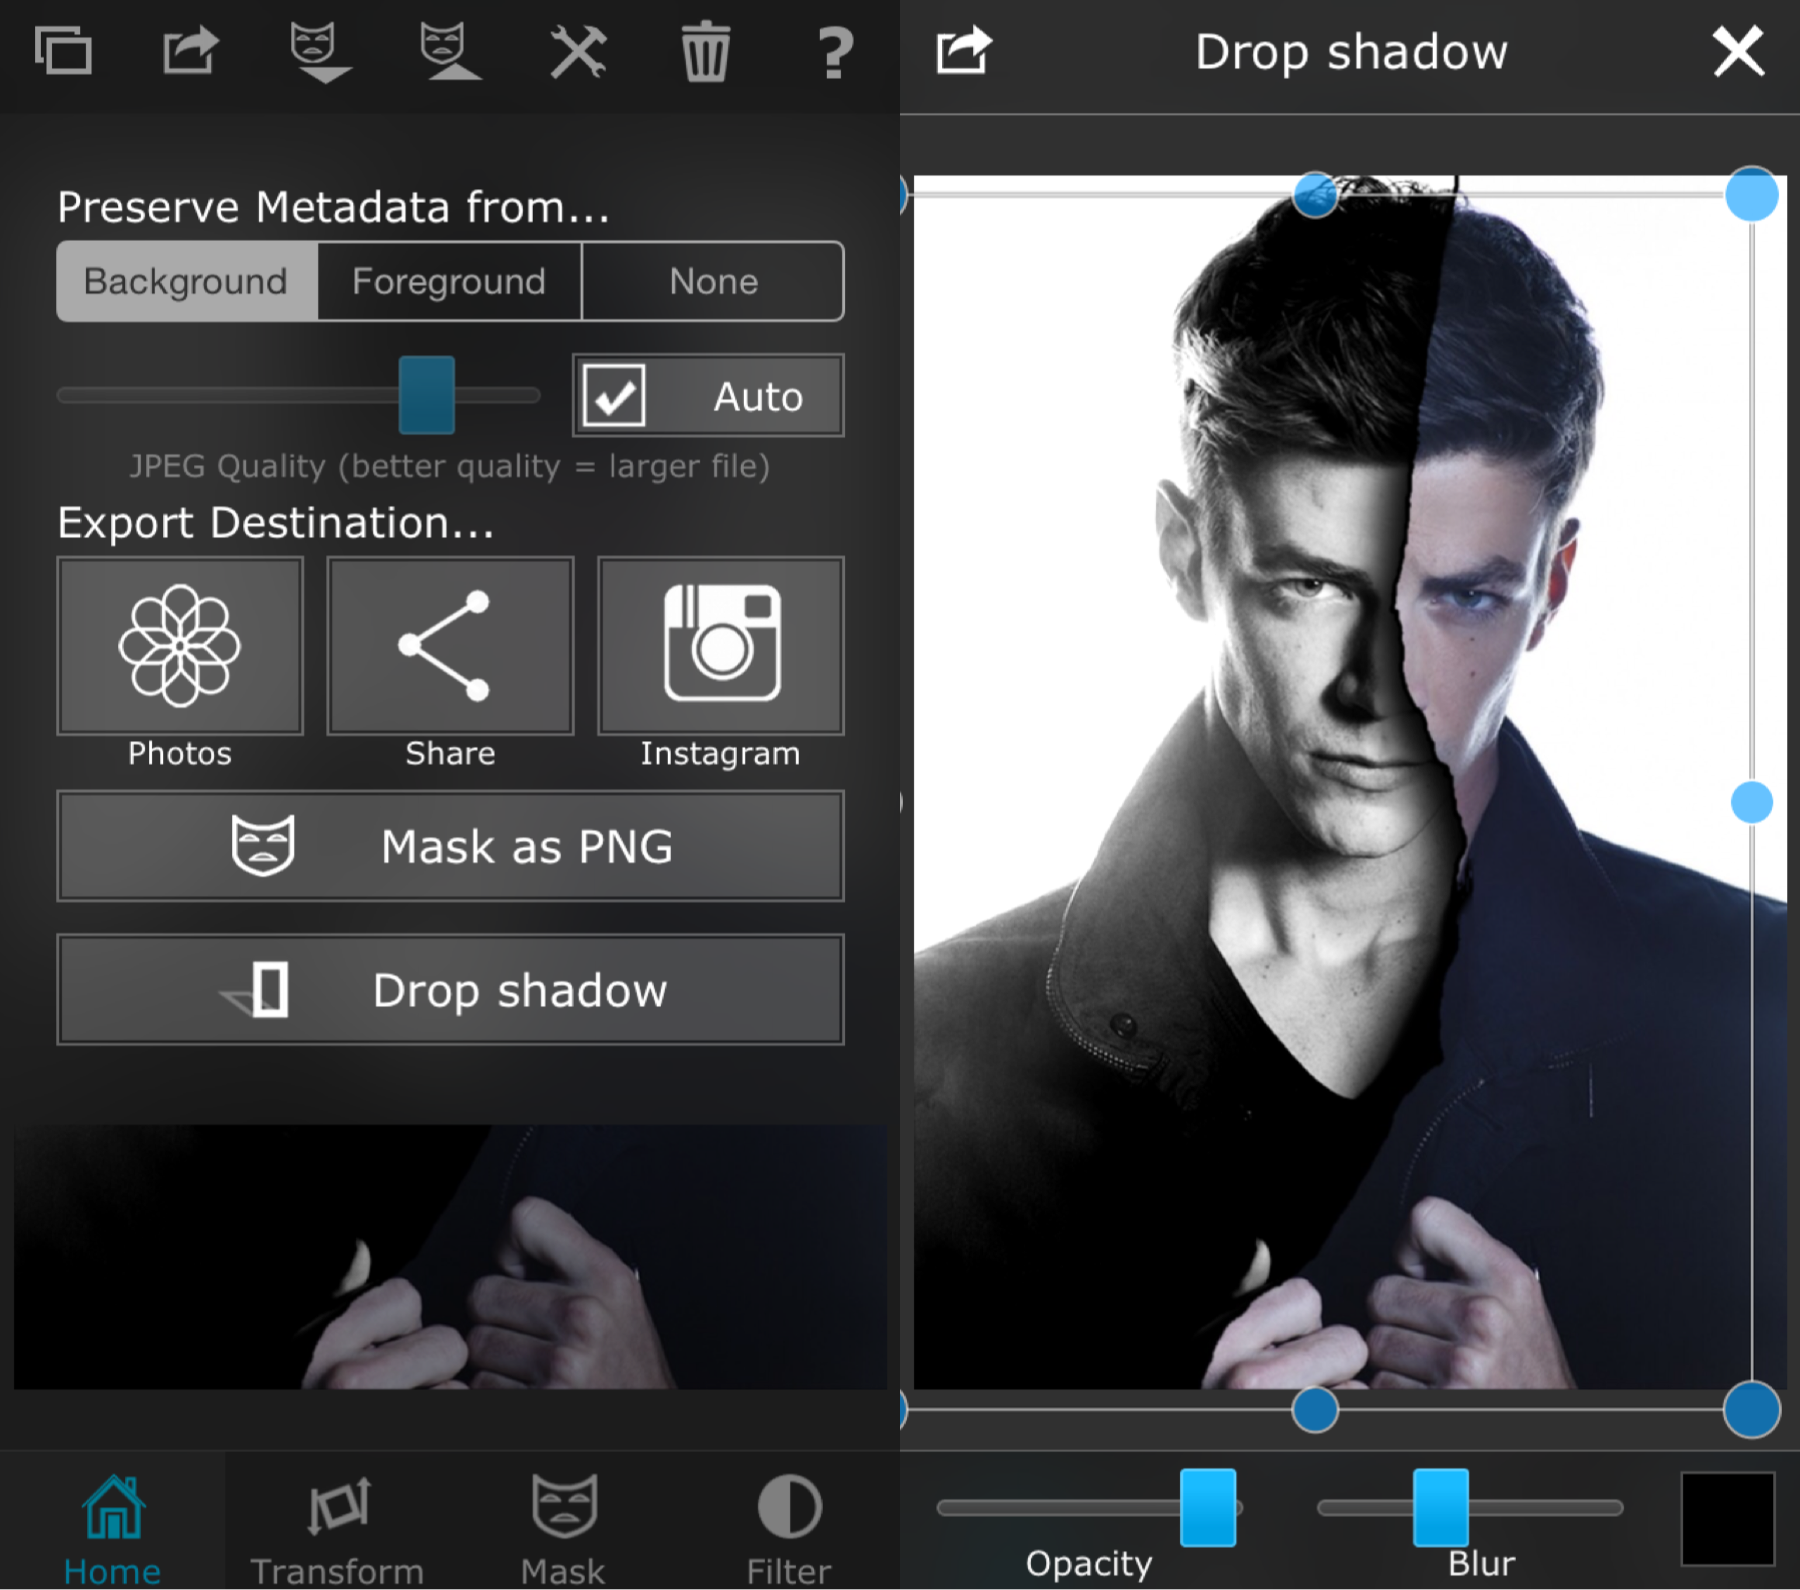
v. If you can't do the step above, another option that might work is after centering the saved image, just use the magic brush to erase the black side and then go to the home tab and select drop shadow. Use this to make that shadow effect, but it might not work 100% of the time. This is more for images that will work with the magic brush. Merge when done and then save.
Add Ons


{ FONTS : CODE Bold }
Comments
ayee, so this was stolen from instagram as well (tbh I couldn't follow the directions very well but I managed to get this outcome instead and liked it). It's a little complicated and hard to get at first (it was for me) but after awhile, you'll get it.
Oh, and in those other examples, the 3rd one and 4th ones are mine. The other two are from instagram, and I can't quite remember where exactly. I hate my memory. But I posted the westallen one on iris.wests if you'd like to go give that a like ((:
Also, are your guy's notifications not working very well, because mine are like telling me "Oh hey taylor, you have like 300 notifications but we're only gonna show you 2 because you aren't worthy". It's infuriating me.
Well that's all for now; hope this will tame ya'll for awhile (;
Bạn đang đọc truyện trên: Truyen247.Pro