How To Draw... Cats :}
As requested by Hiker1611Newacc , I will be showing a step by step on how to draw cats in my style. There might be an overly excessive amount of layers and/or steps but that's most likely just me— you can do things on the same layer if you'd like!
I use the app ibis Paint X :3
Starting off, I would usually draw a tiny line and zoom in to the line, then erase it. After that, thats where I'll draw on. And yes, this does mean that there's quite a bit of empty space left.
Brush Used ~ Dip Pen (Soft)
Brush Size ~ 3.0p x
(Please note that this isn't required. It is just what I normally use to draw)
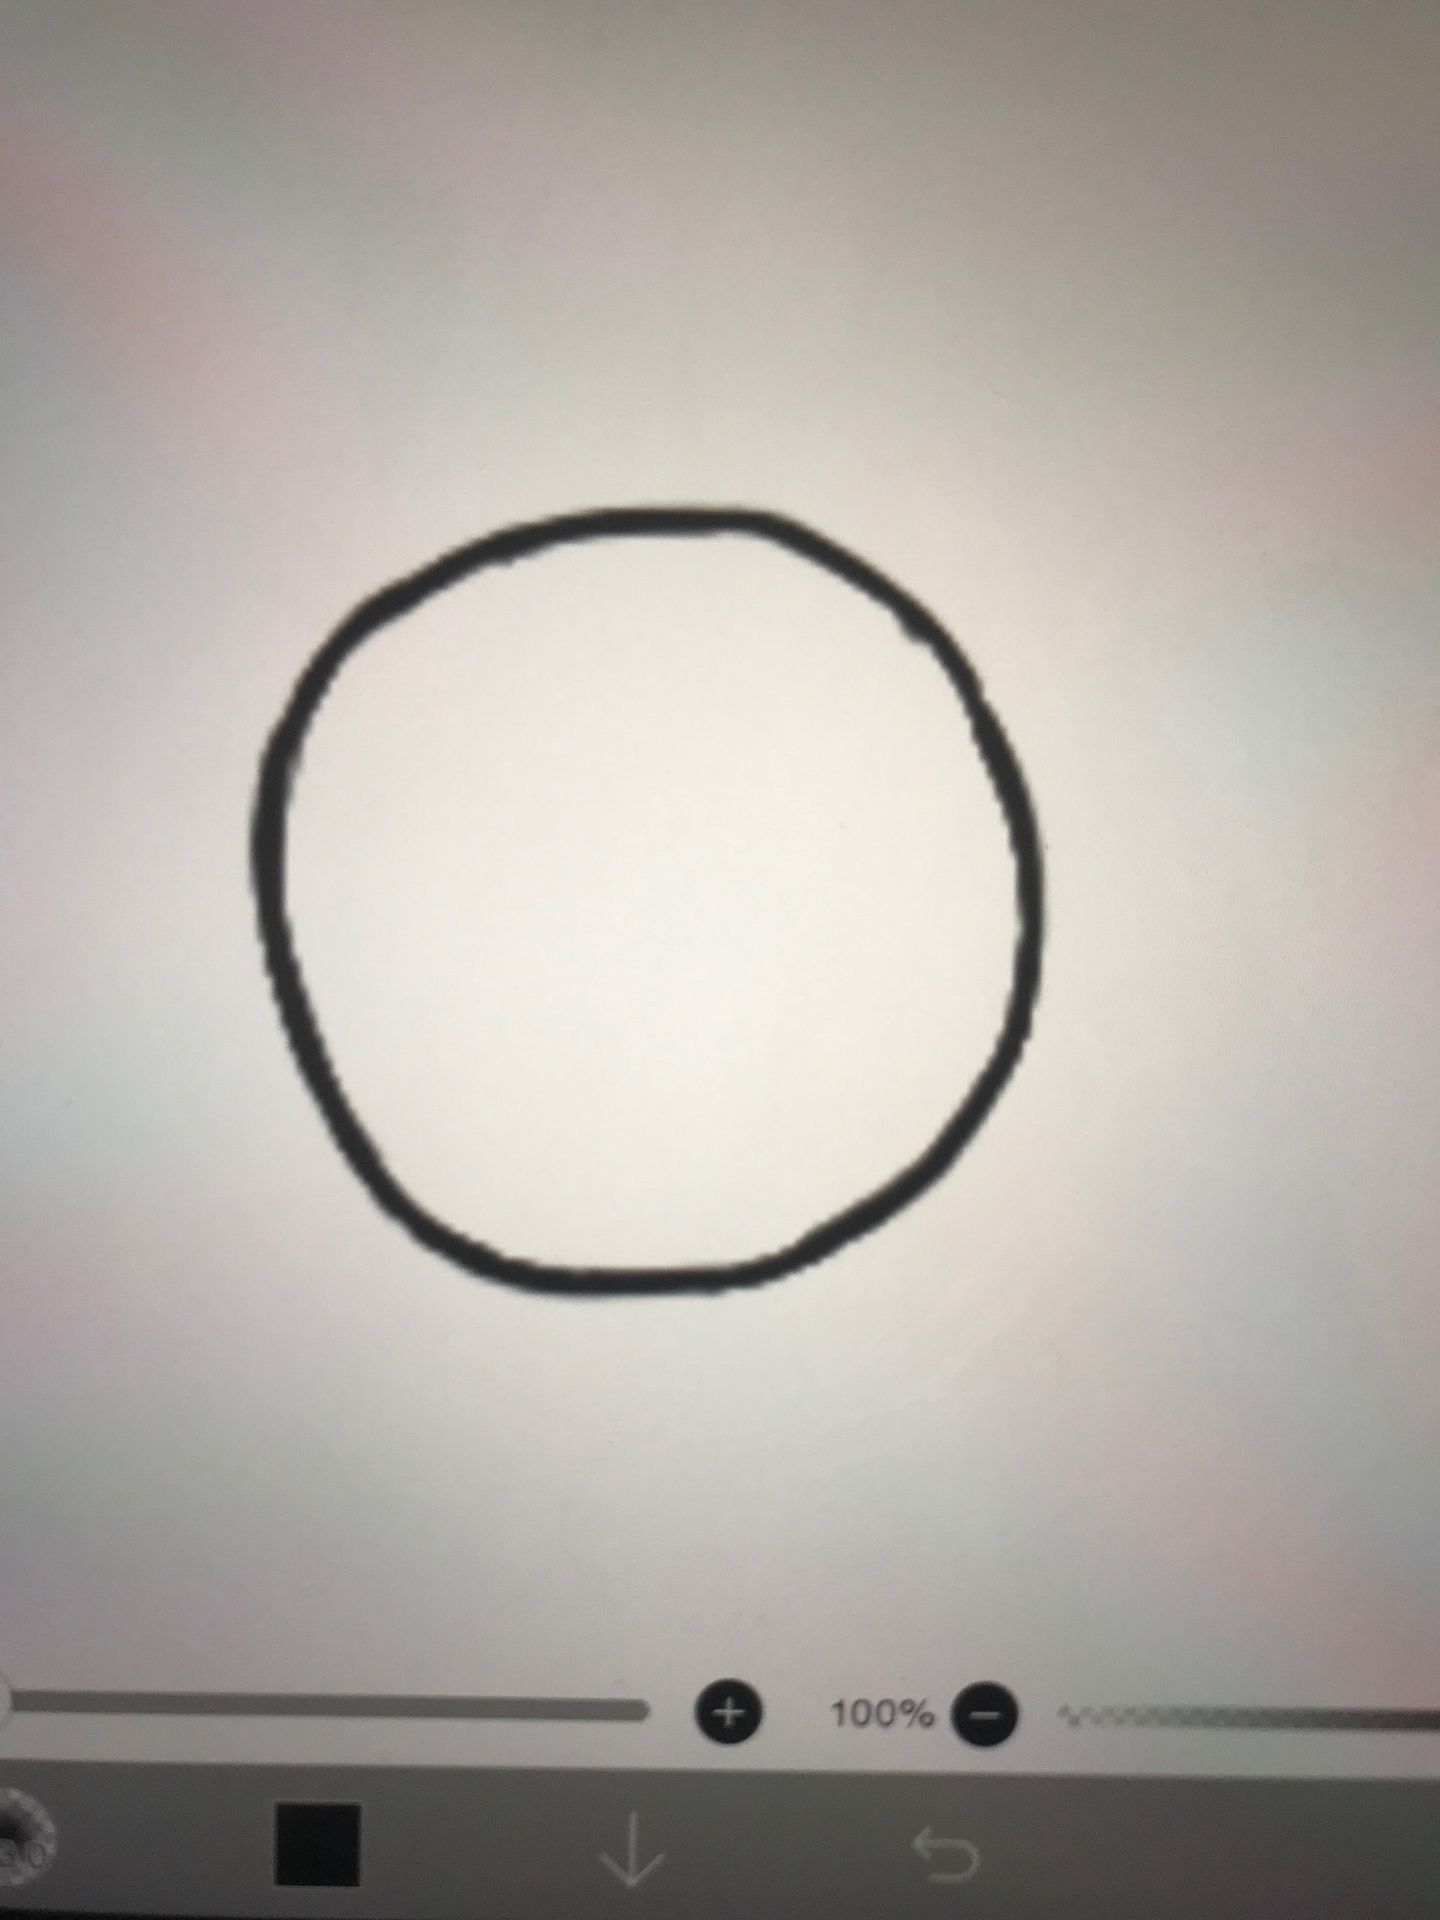
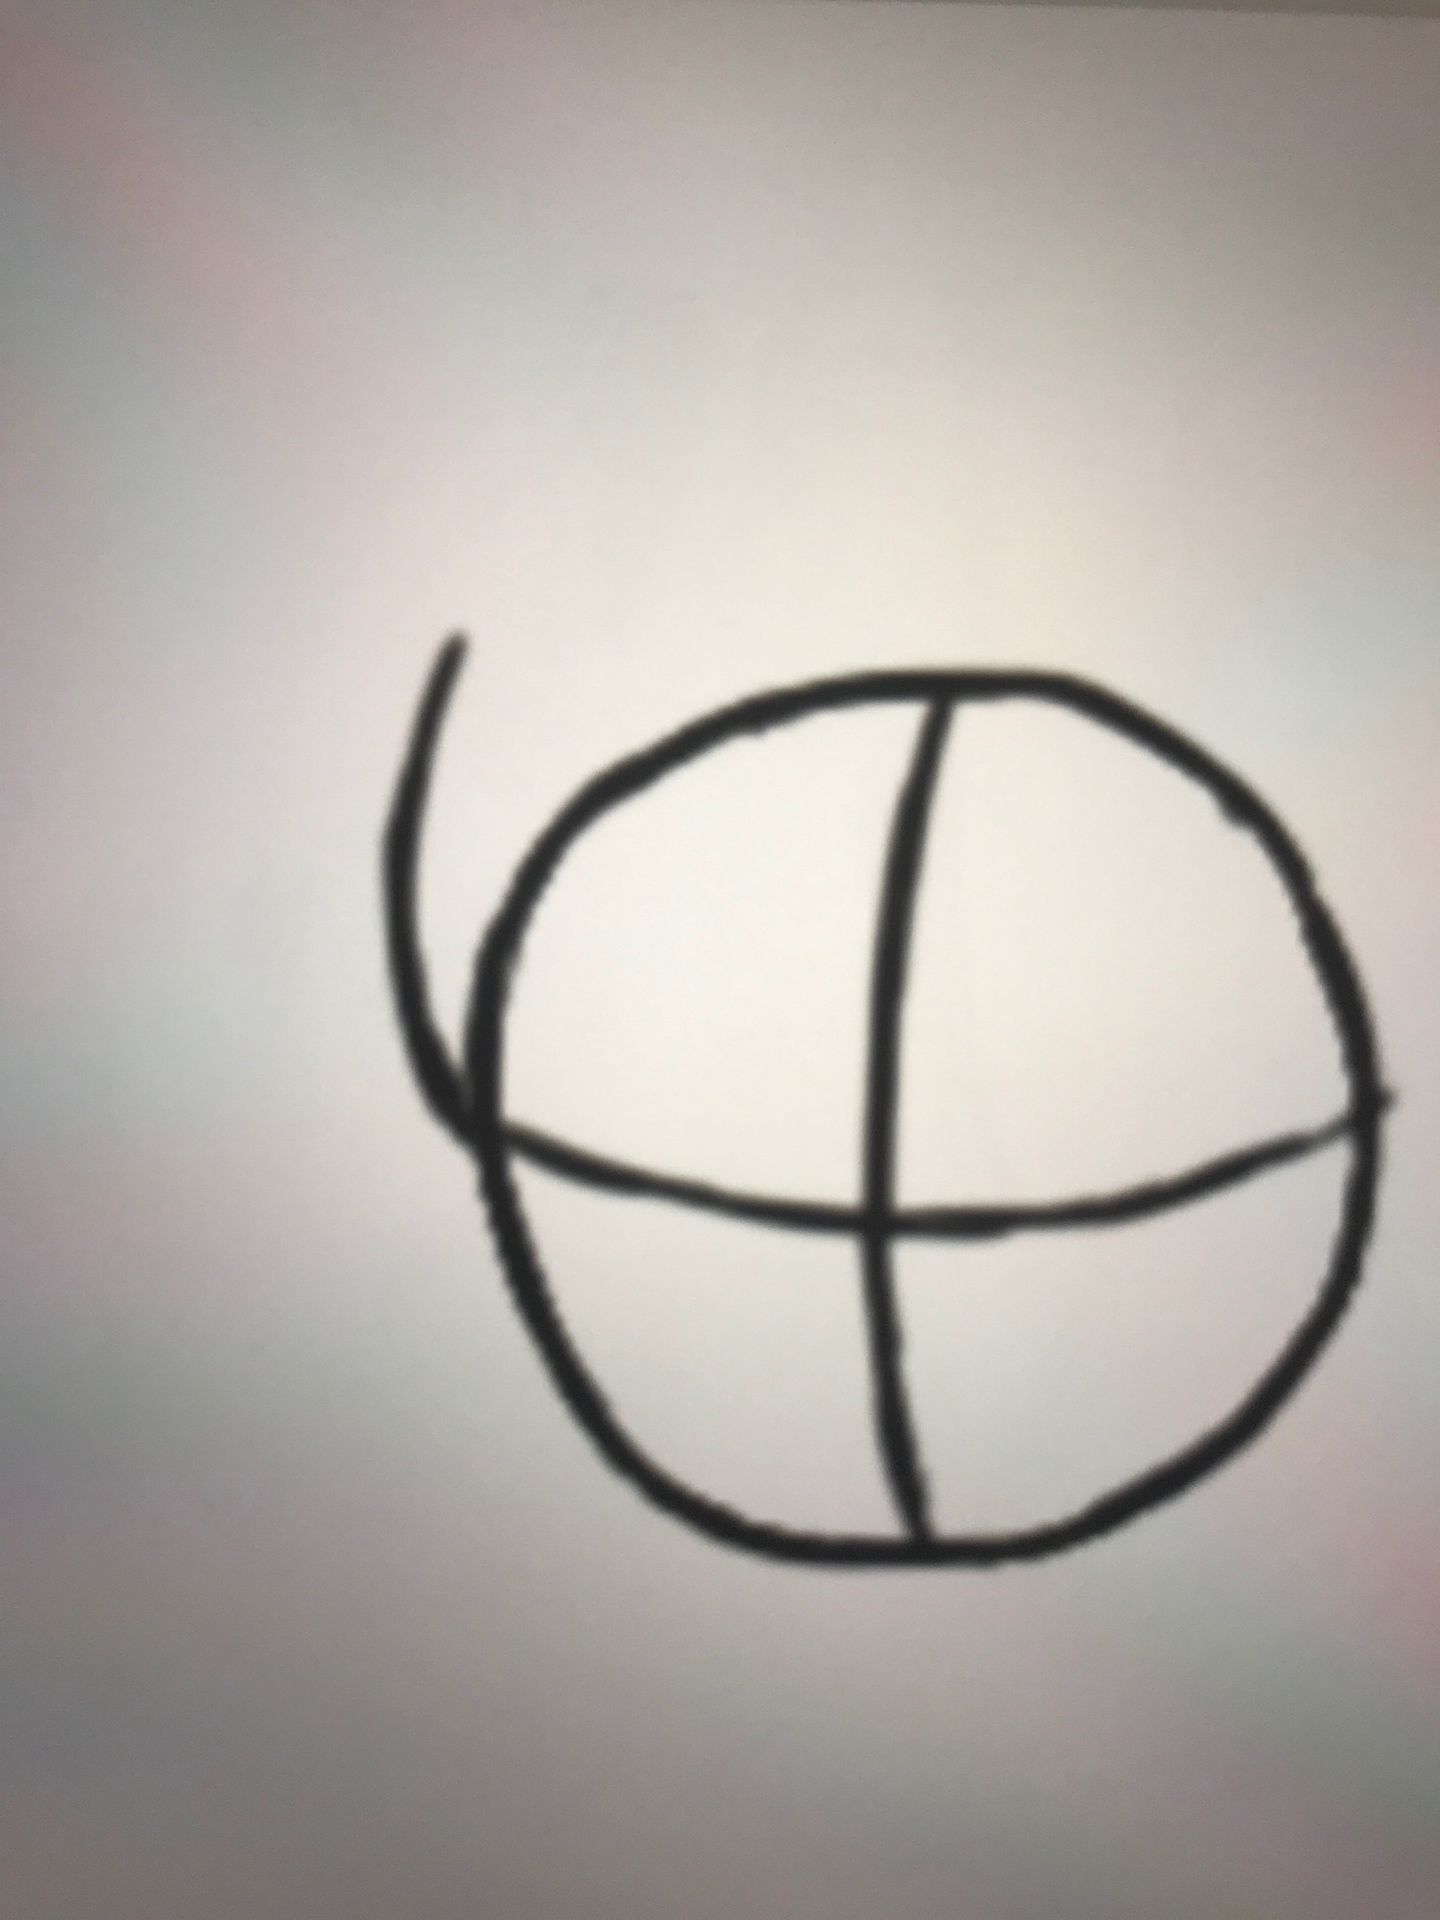
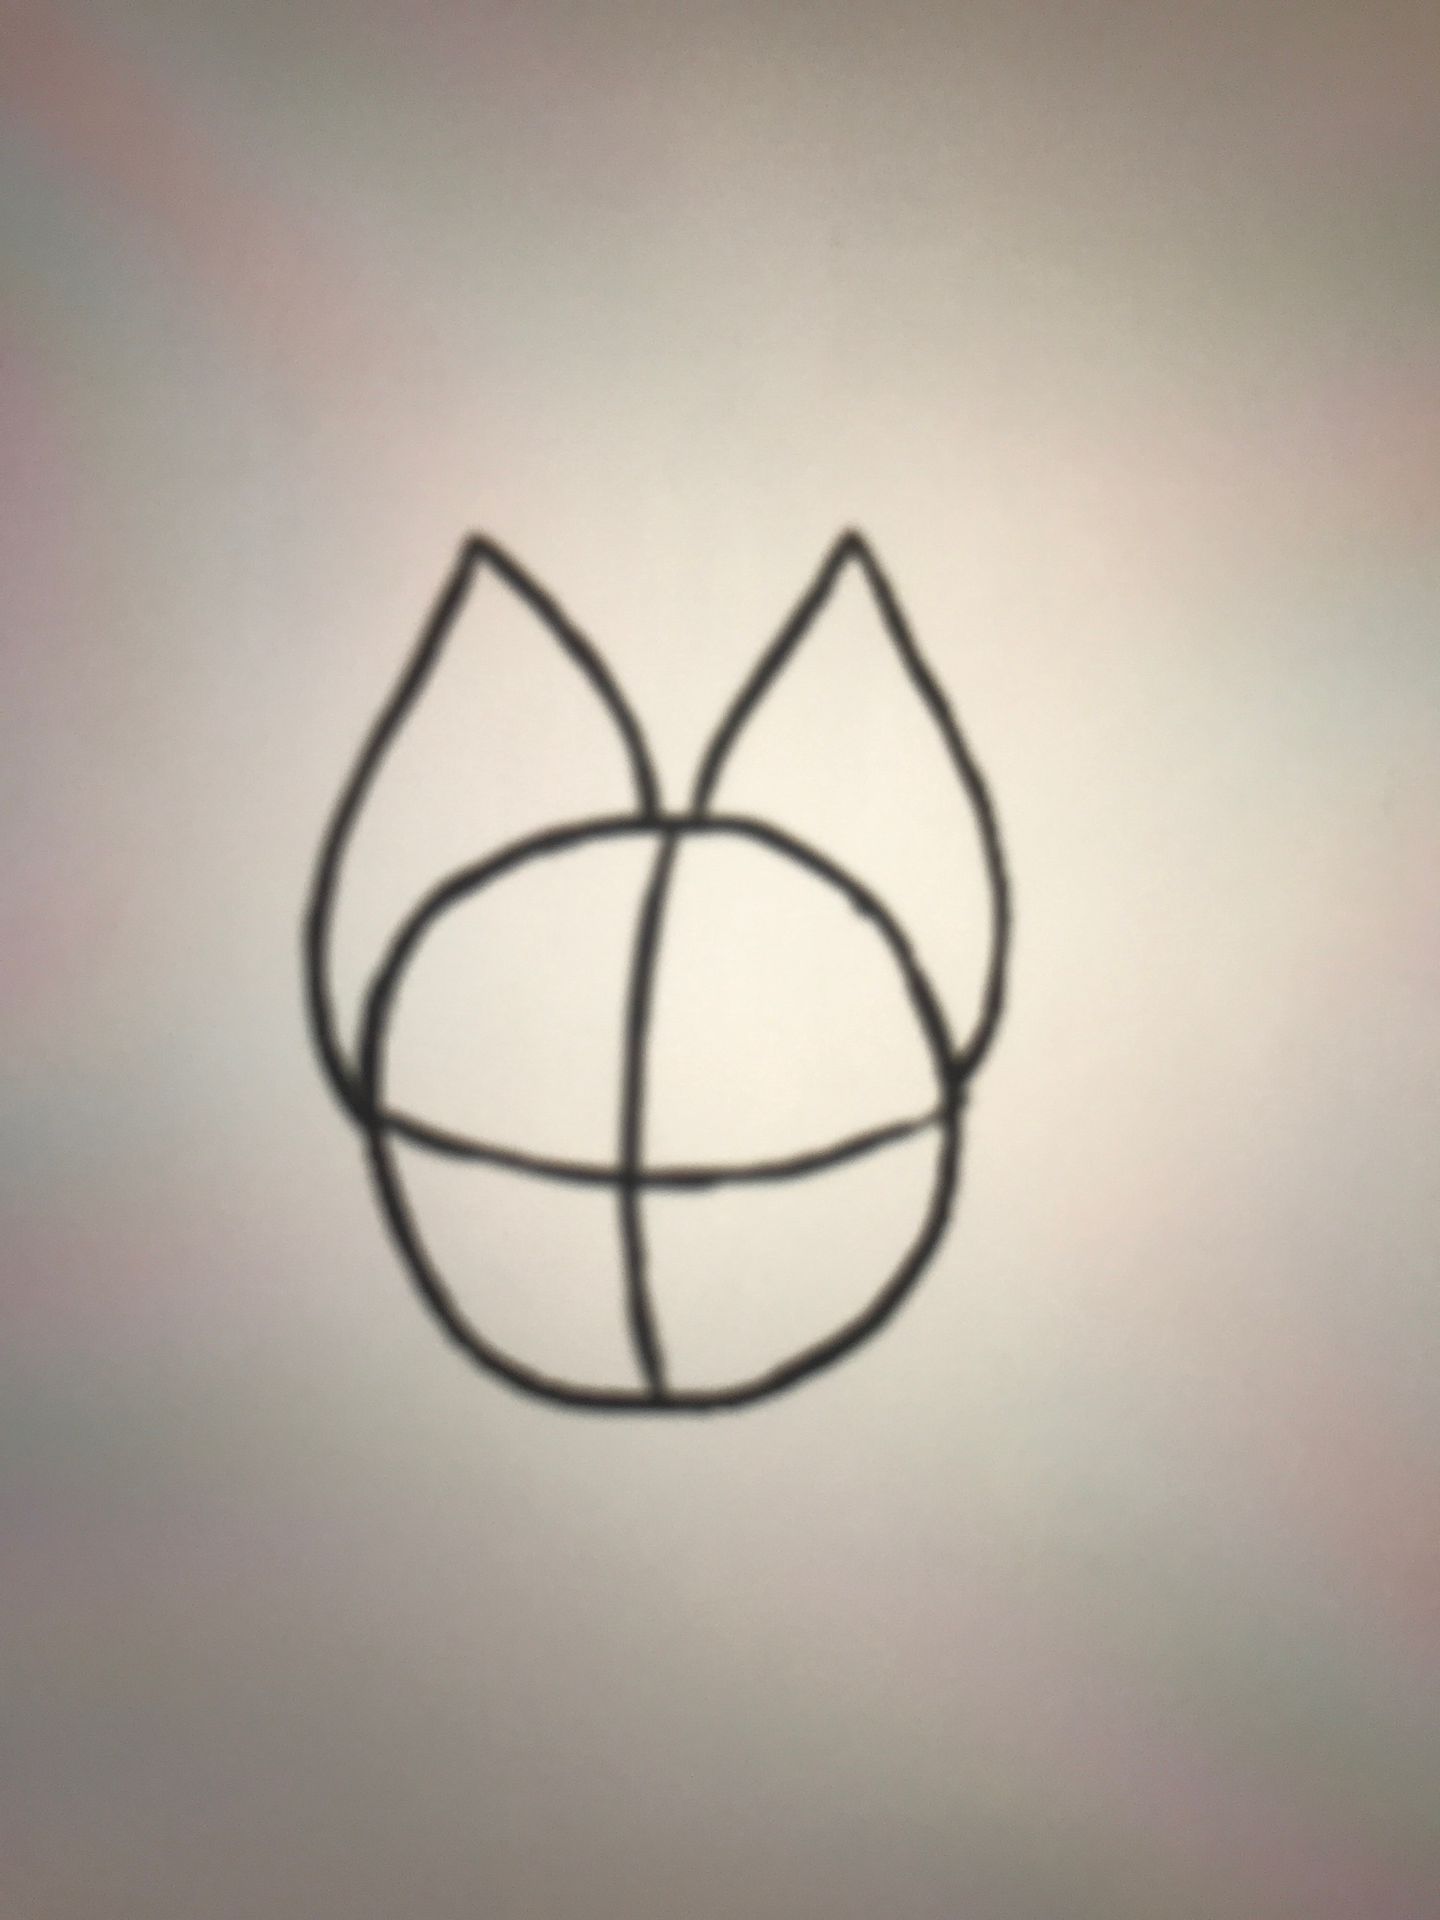
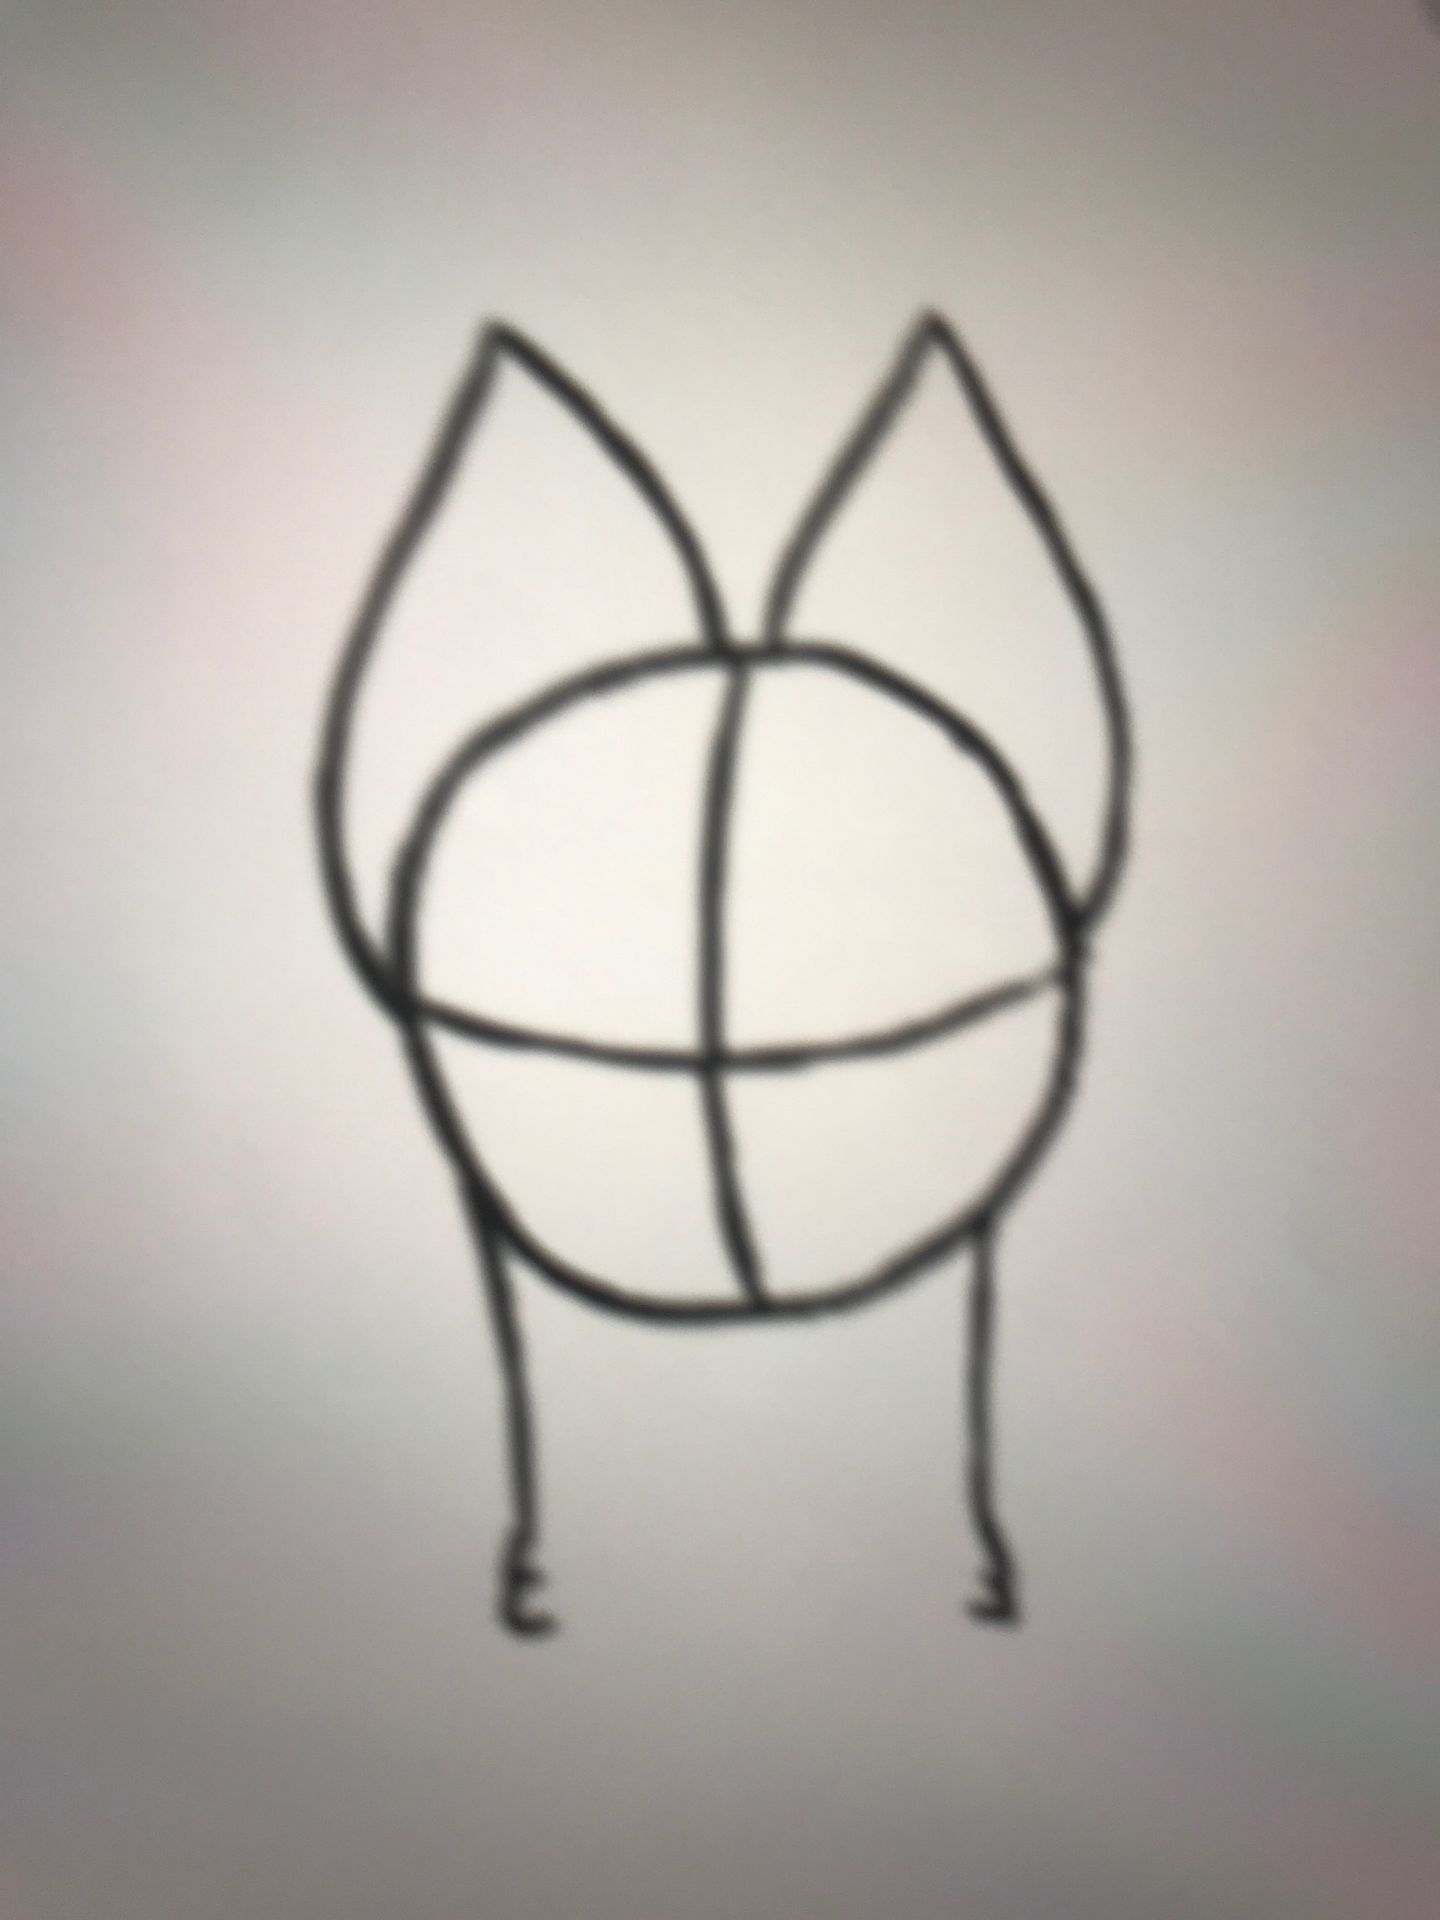
Step 1. Draw a circle
• Layer 1
1. You can use a tool for drawing circles or draw a circle yourself. It doesn't need to be an extremely neat, perfect circle. Personally, I like to draw the circle myself since it makes it easier for me to control the circle.
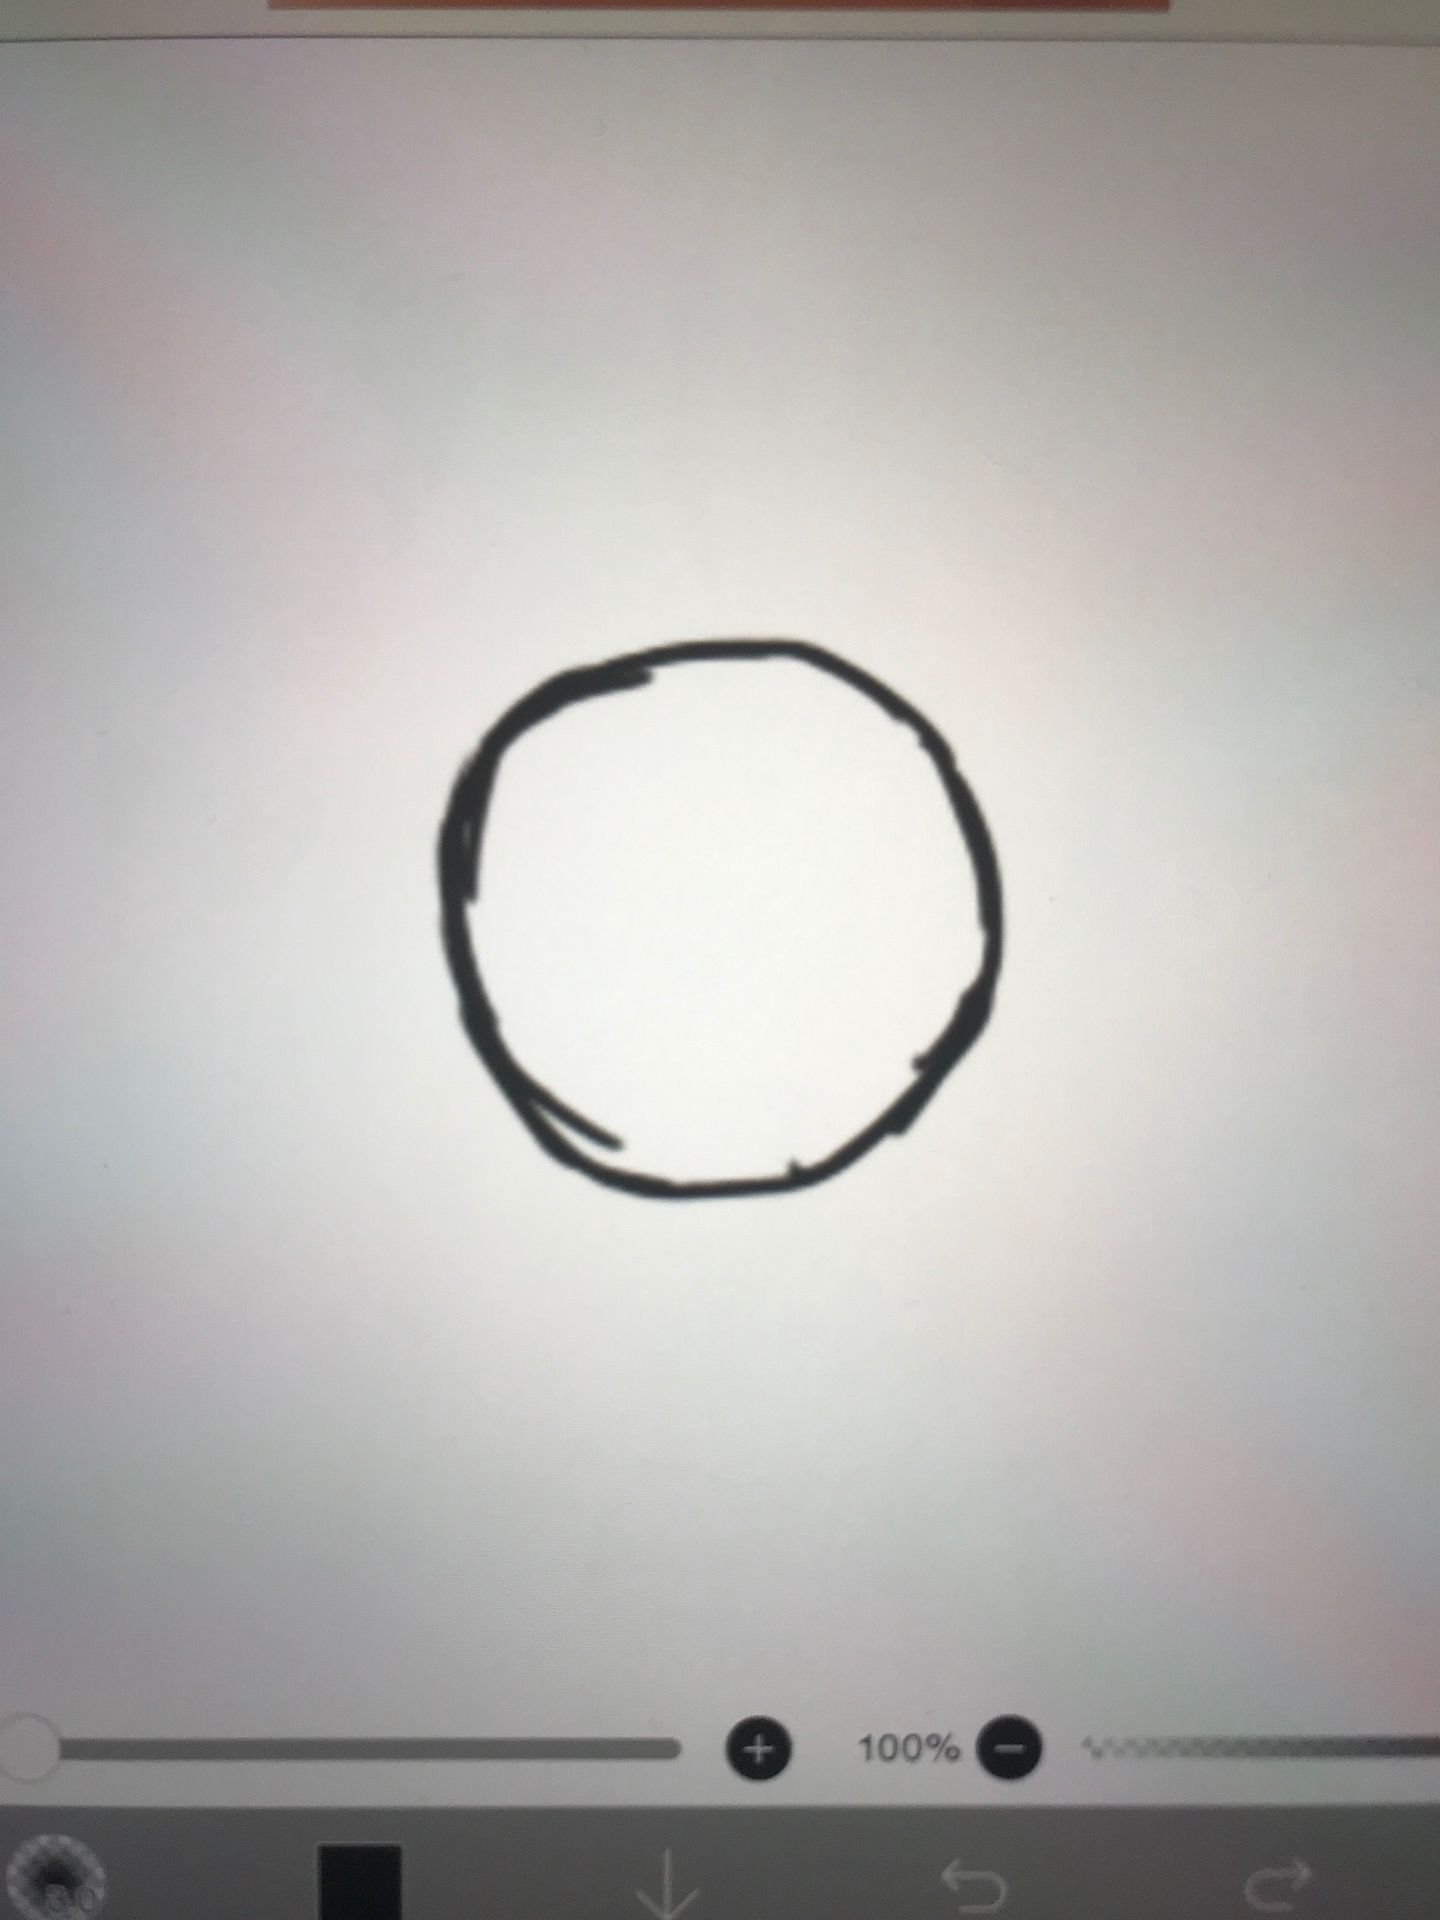
2. Clean around both the inside and the outside of the circle. Try to even out the line a bit. And, if needed, redraw some parts of the circle.
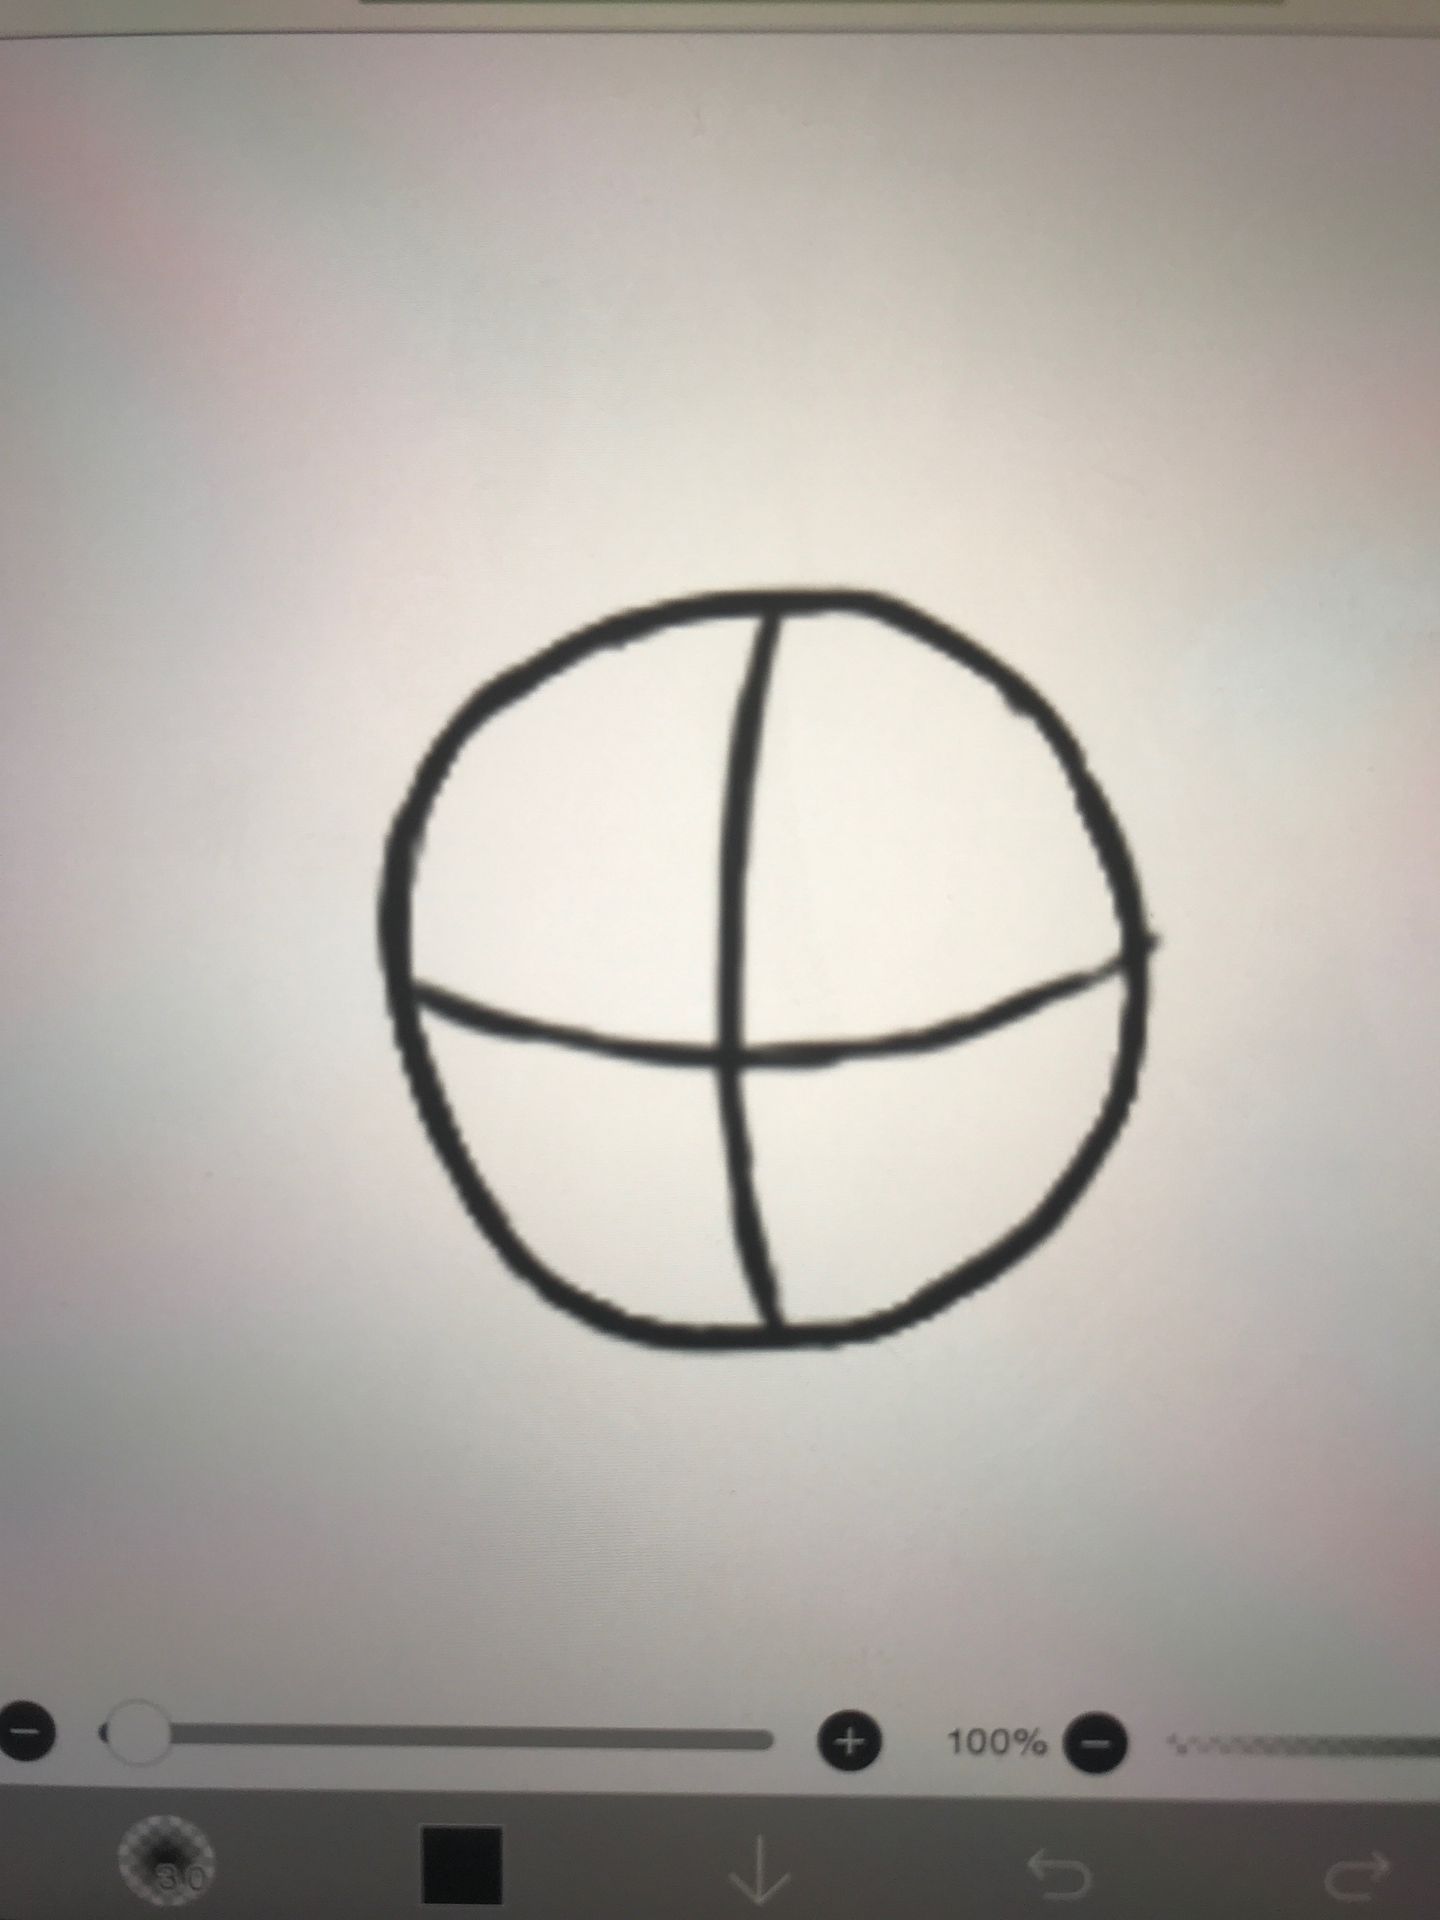
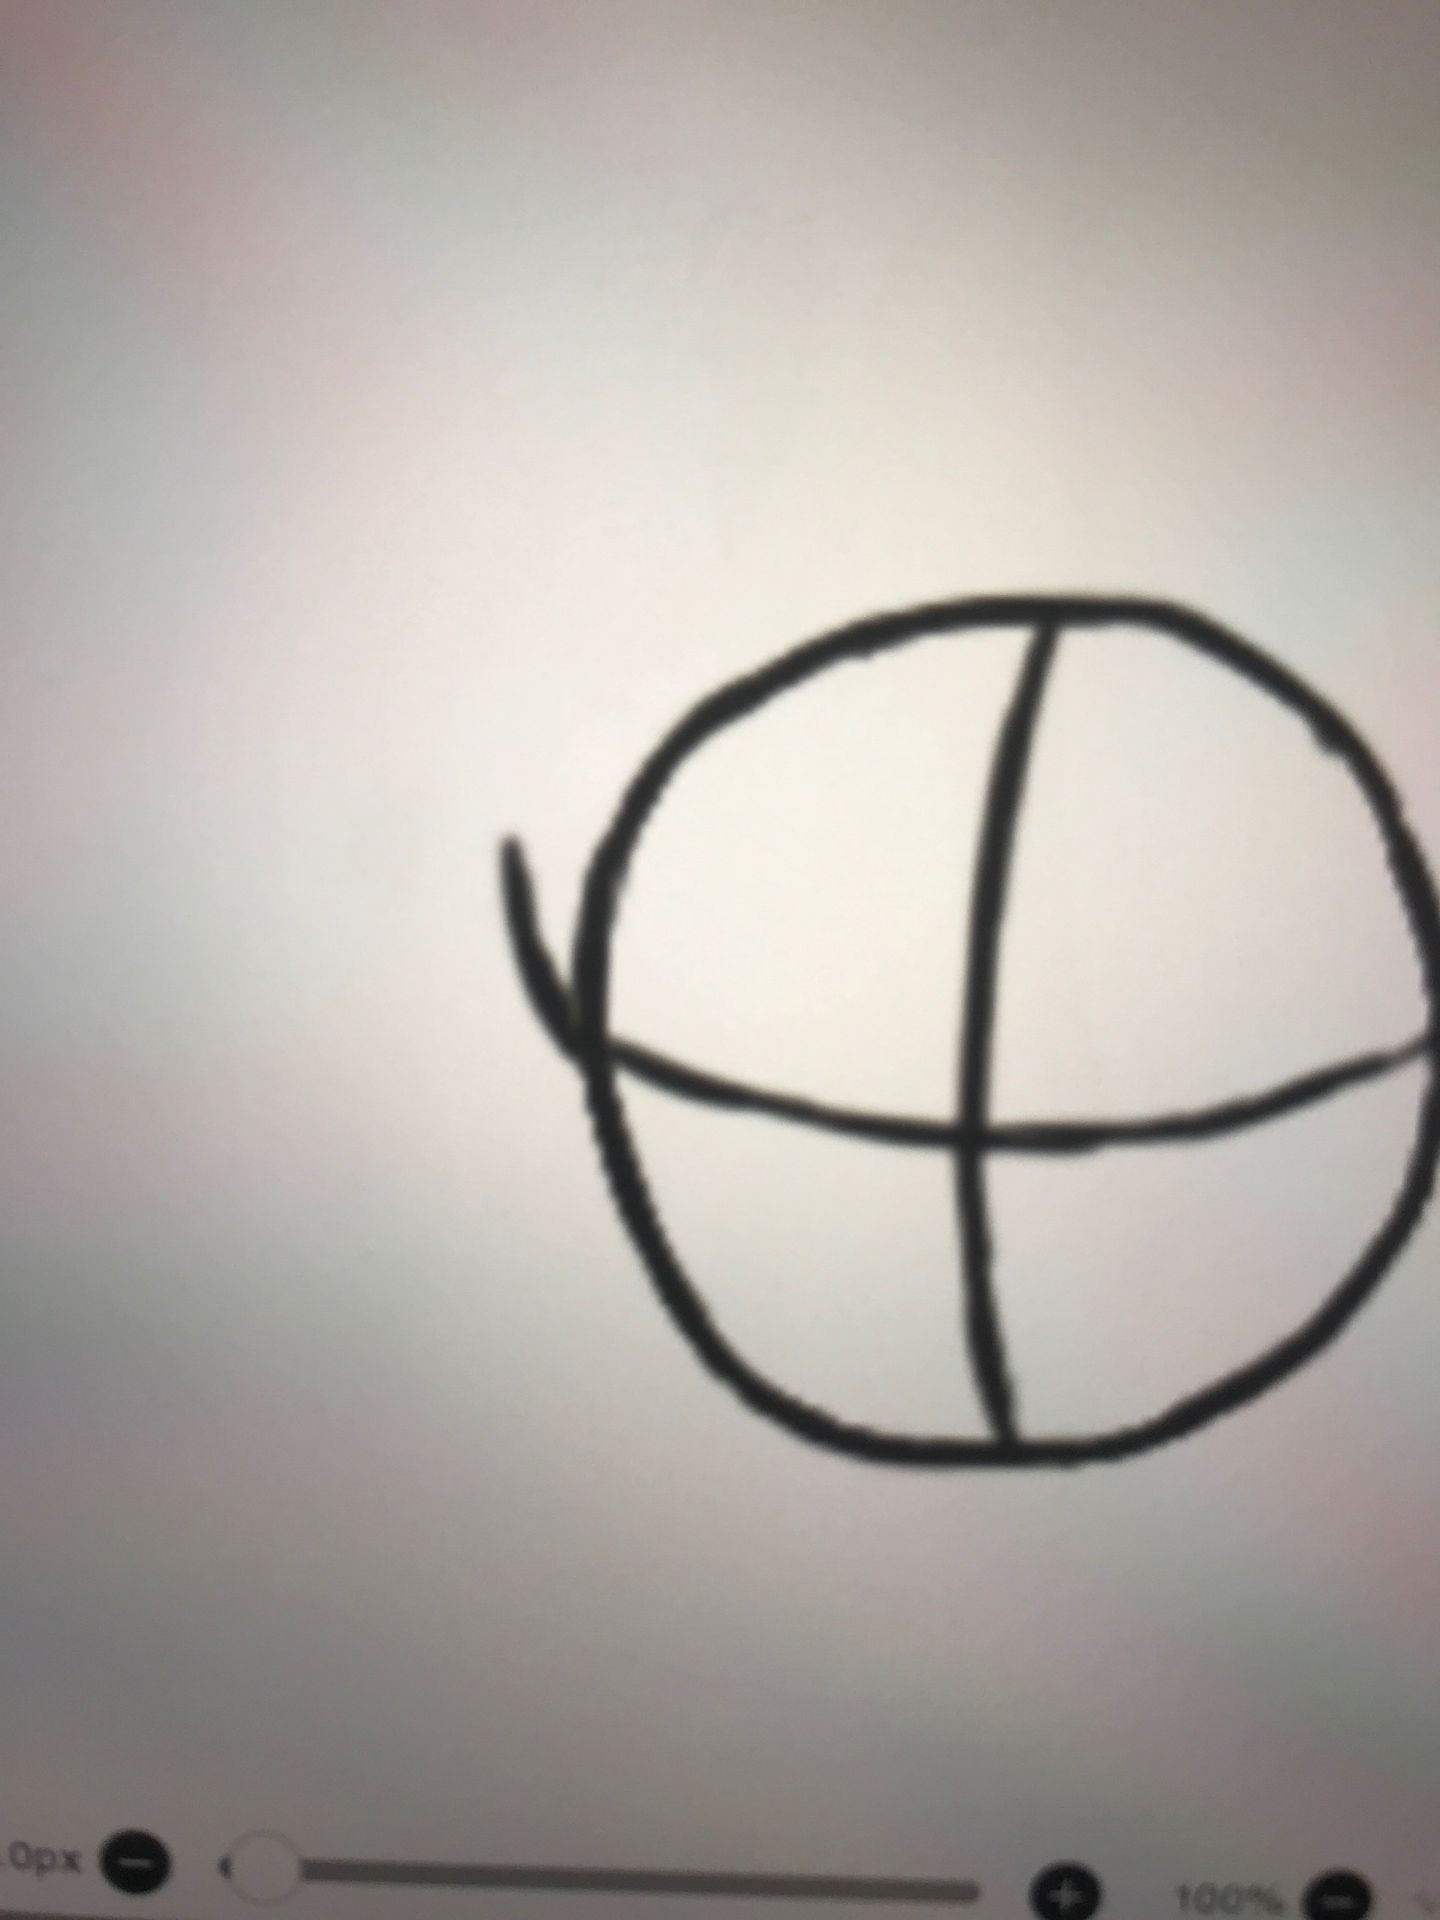
Step 2. Create sum lines on the inside :]
• Layer 2
I most likely don't use this correctly, to be honest. I usually use this for drawing the ears. Turns out, its much easier for me to draw ears when I do it this way.
Step 3. Draw the ears
• Layer 3
1. For this part, you will create a curve starting from where the horizontal line starts.
2. And from there, you will begin to curve it towards the right (or left, depending on which ear you start on first. I like to start on the right ear since its easier to make a curve for that ear).
3. After curving it, you will raise it (while continuing to move it) until you're satisfied with the height.
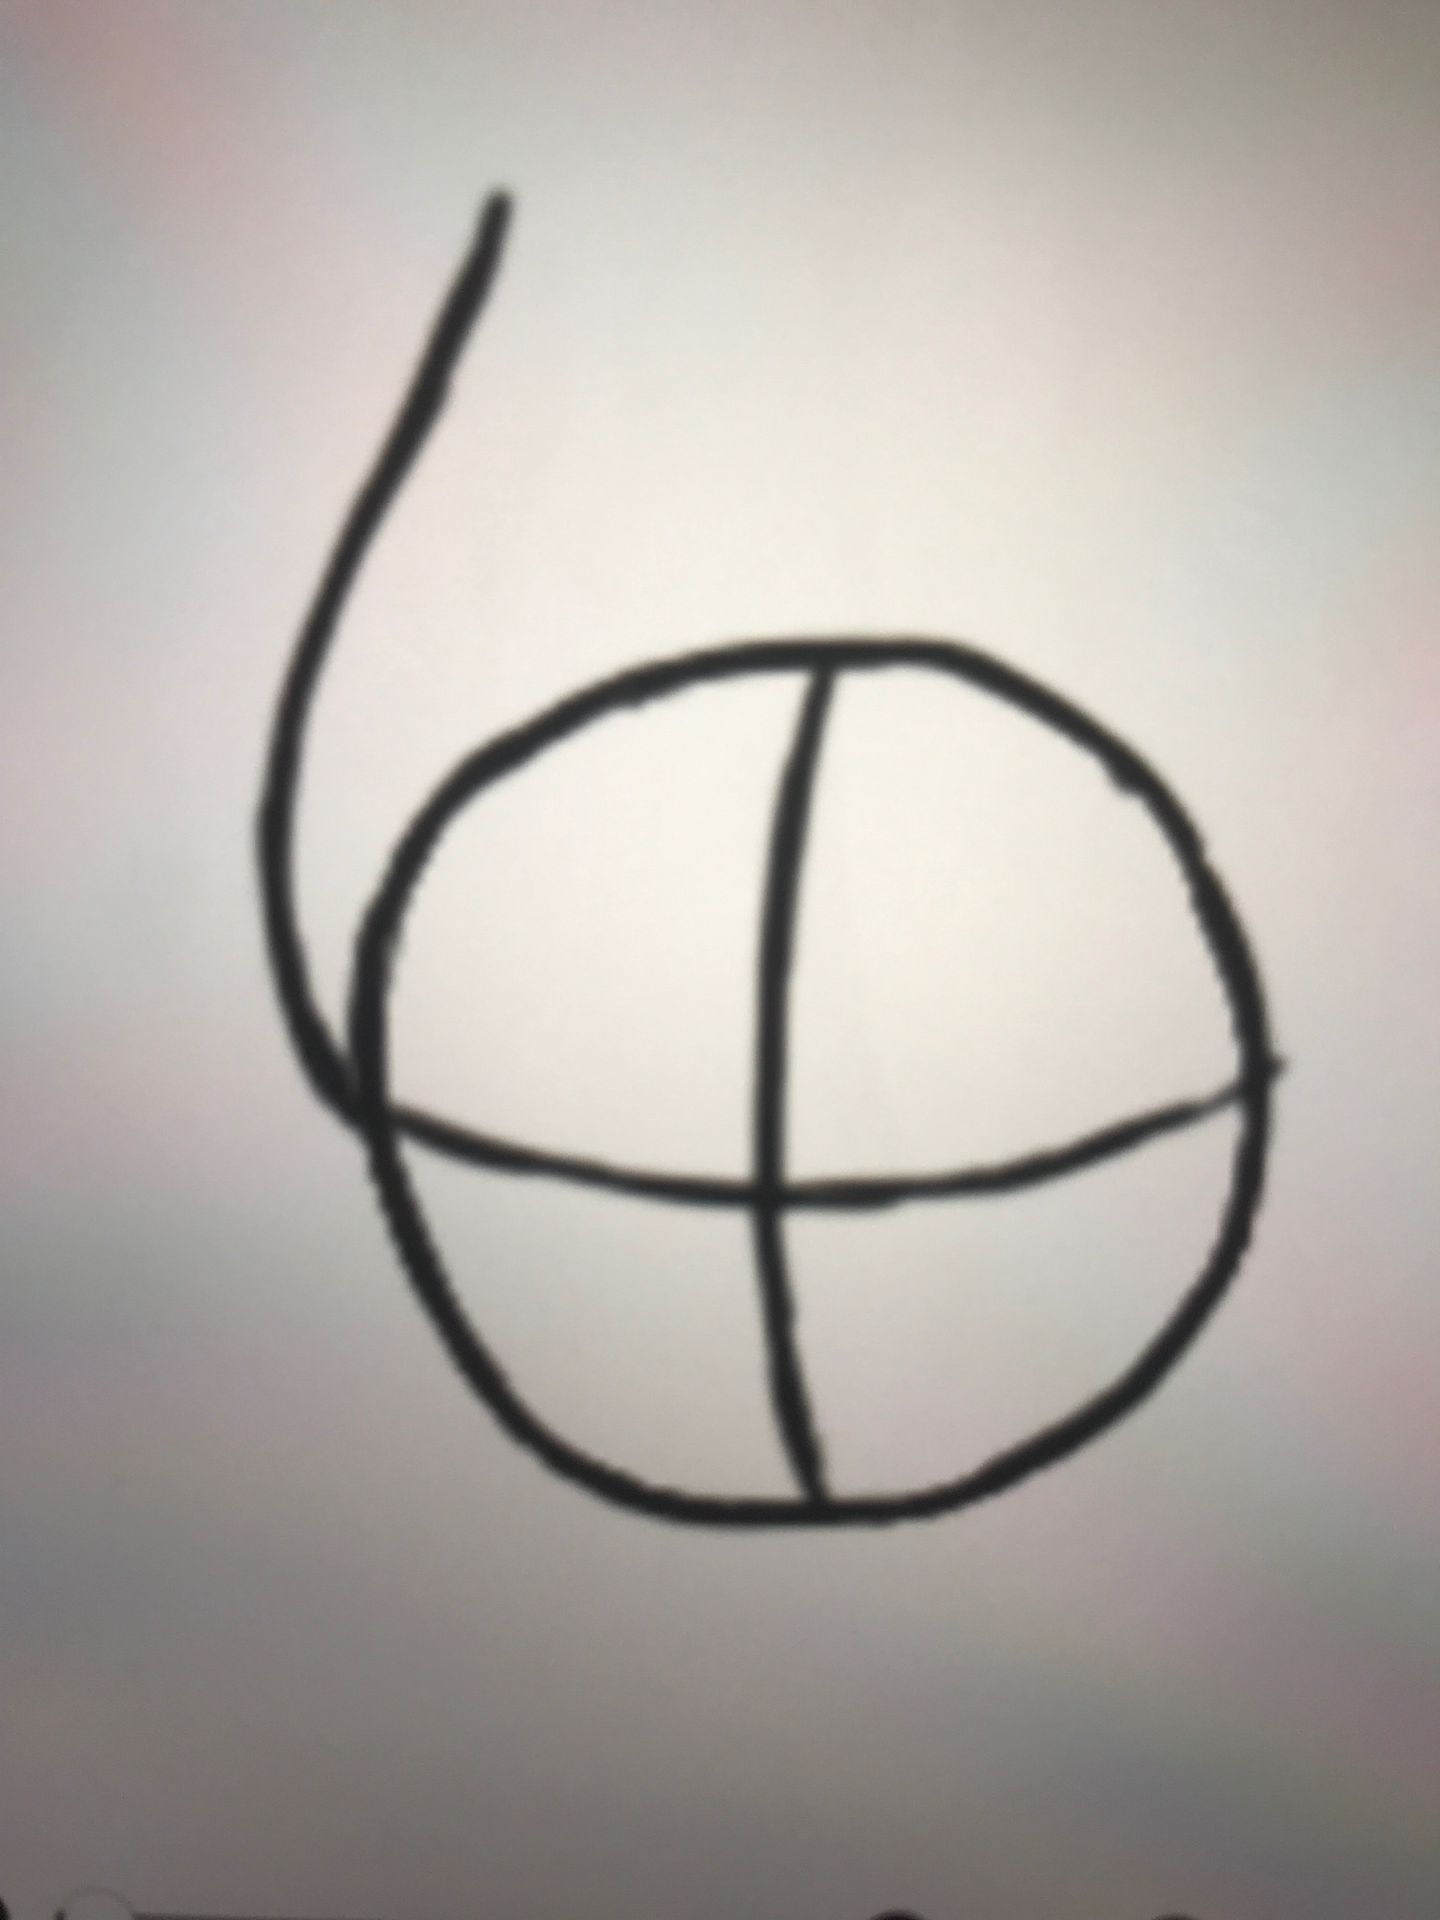
4. Now bring it towards the top of the vertical line, but not exactly on it. Be sure to curve it as well!
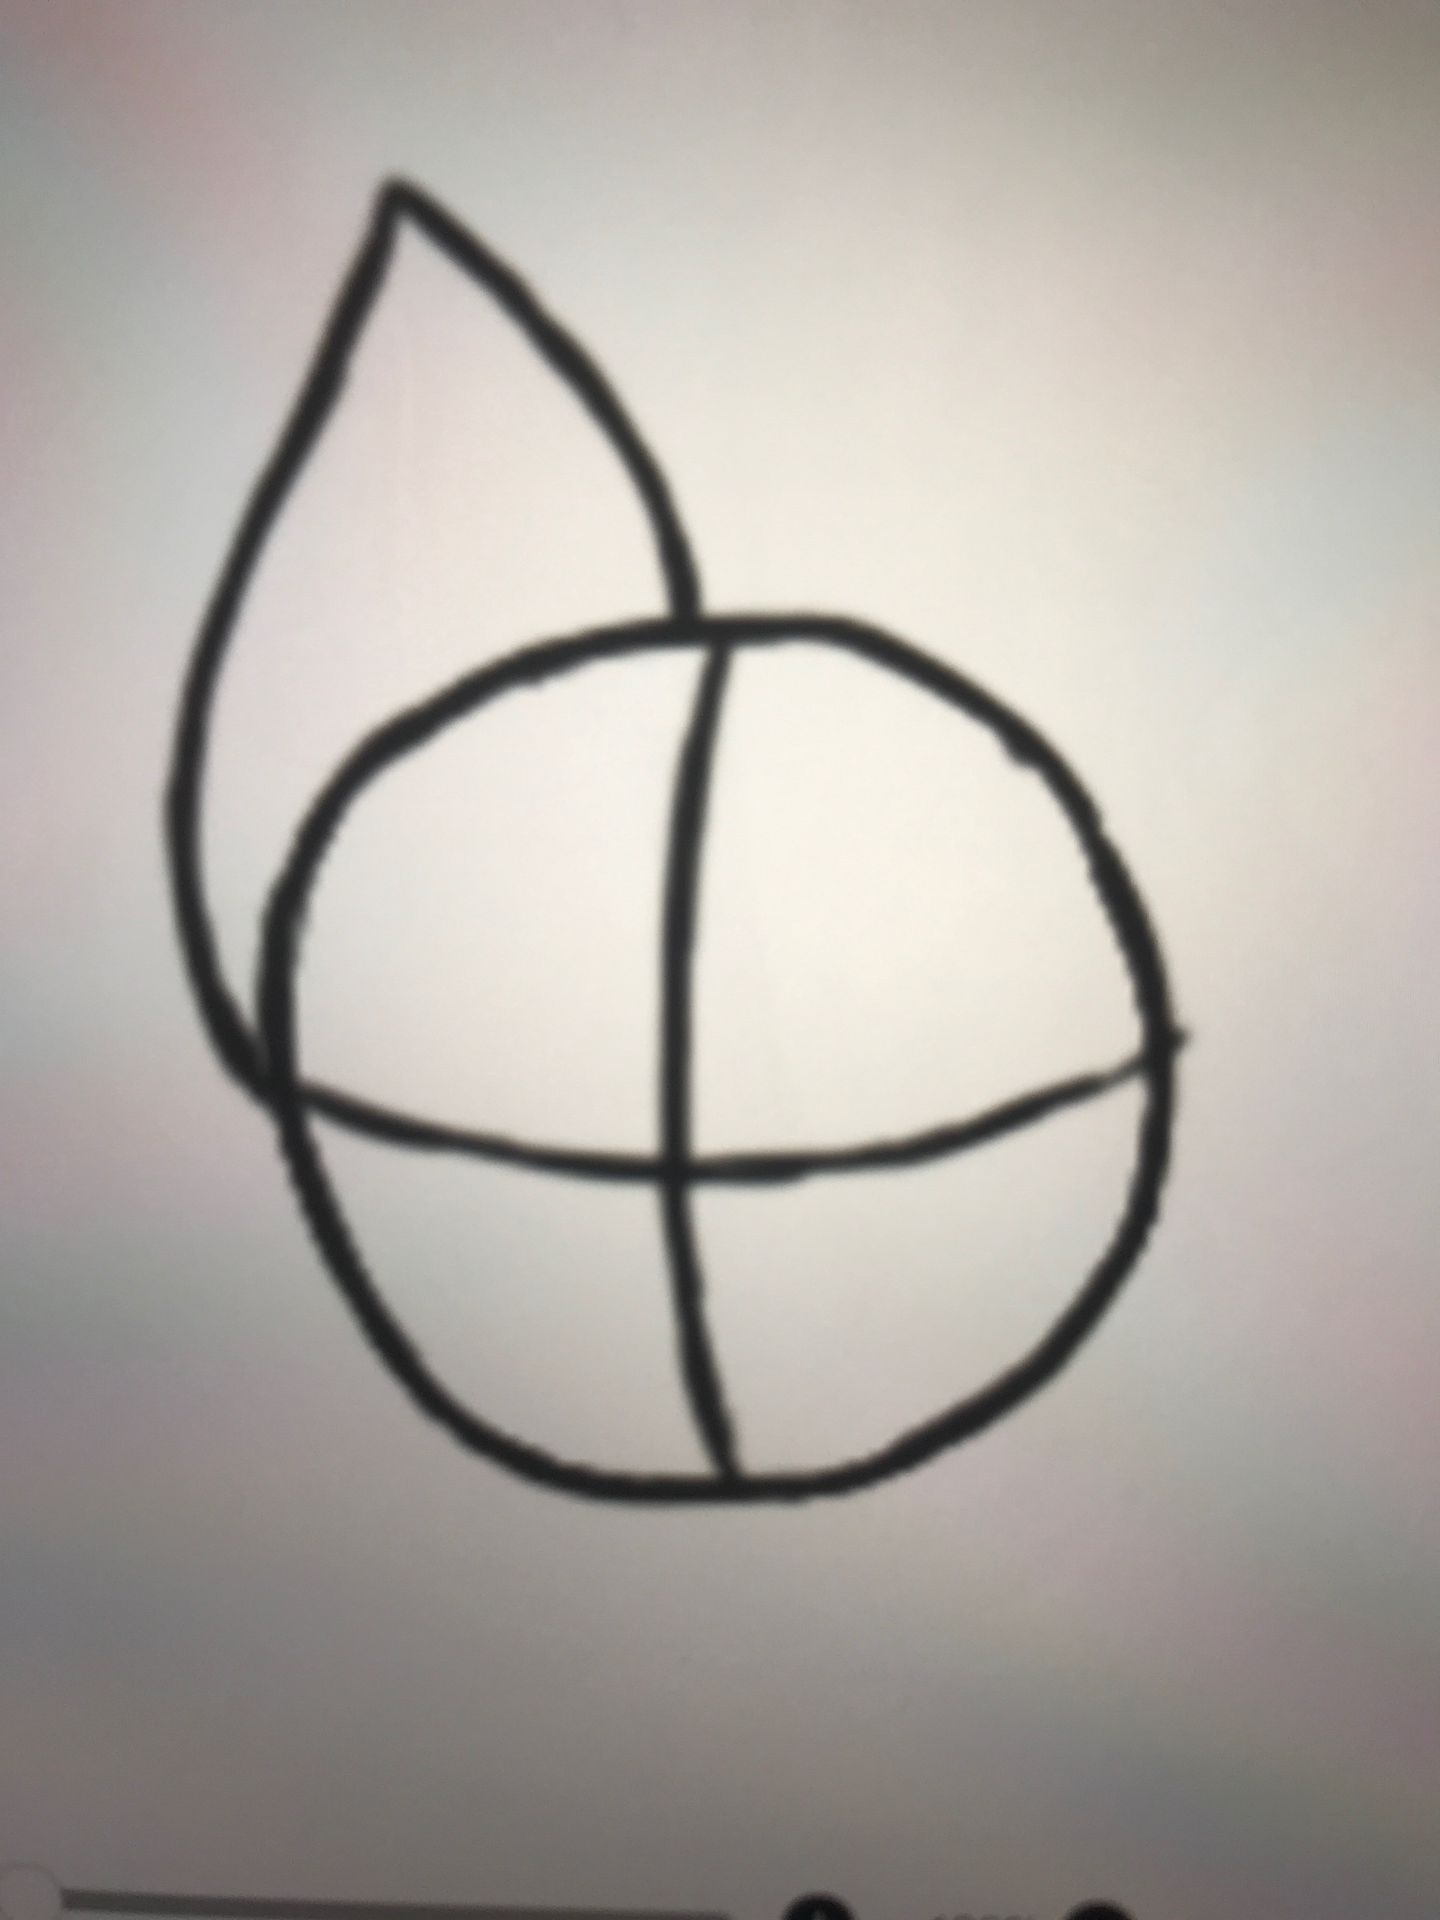
And now repeat these mini steps on the second ear!
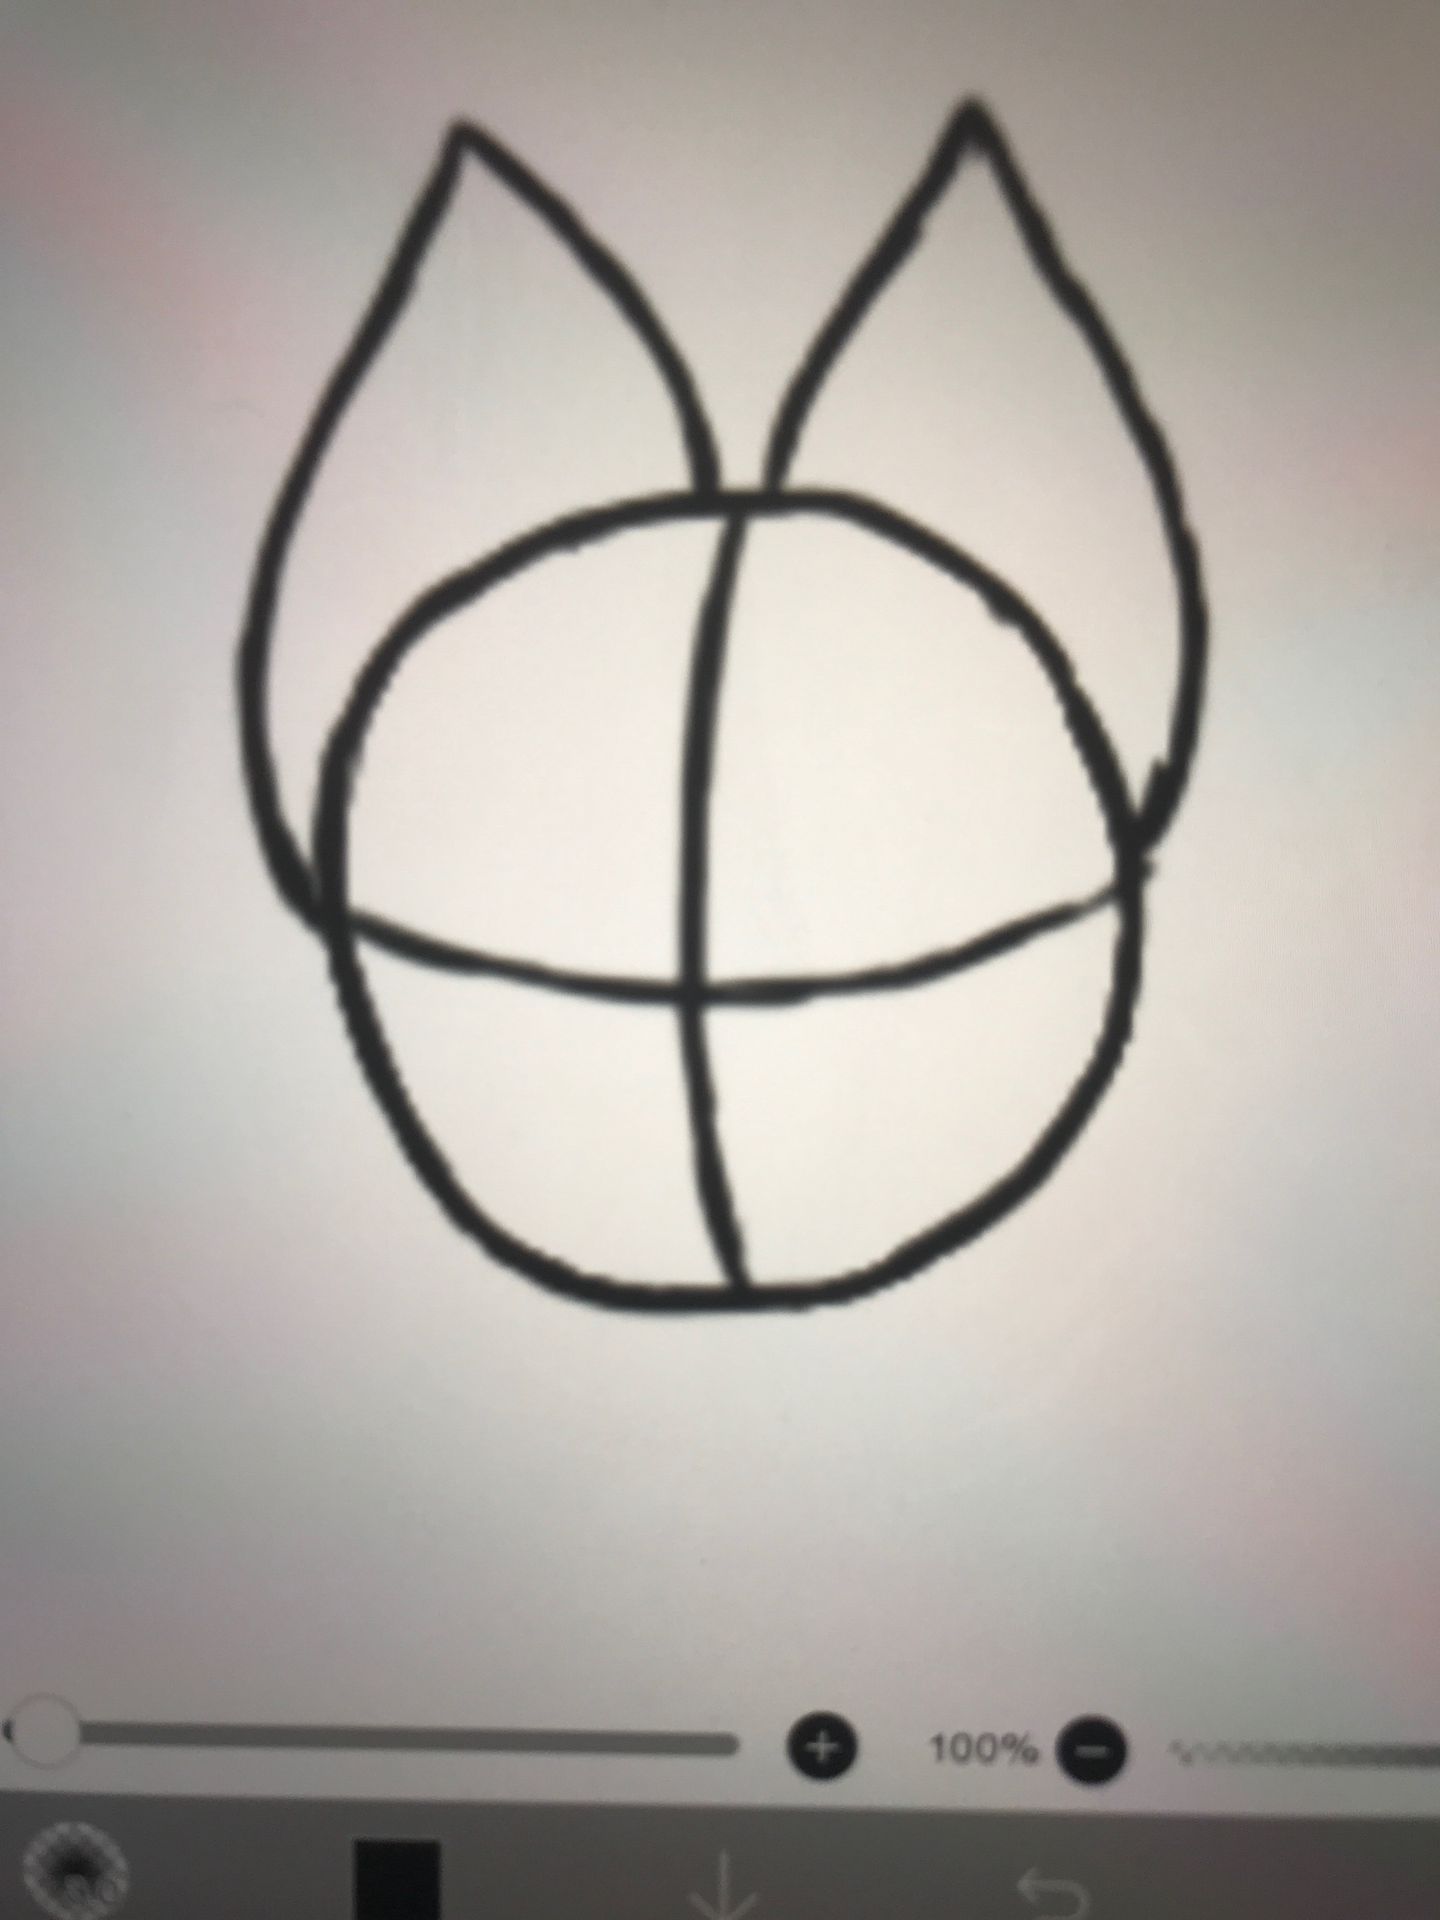
It's fine if the ears aren't even- I can't get ears to be even as well :')
5. Now clean around the ears a bit! Erase the uneven parts and if you need to, erase a part you don't like and redo it.
Step 4. Draw the neck
• Layer 4
1. Create to lines to show the area of the neck.
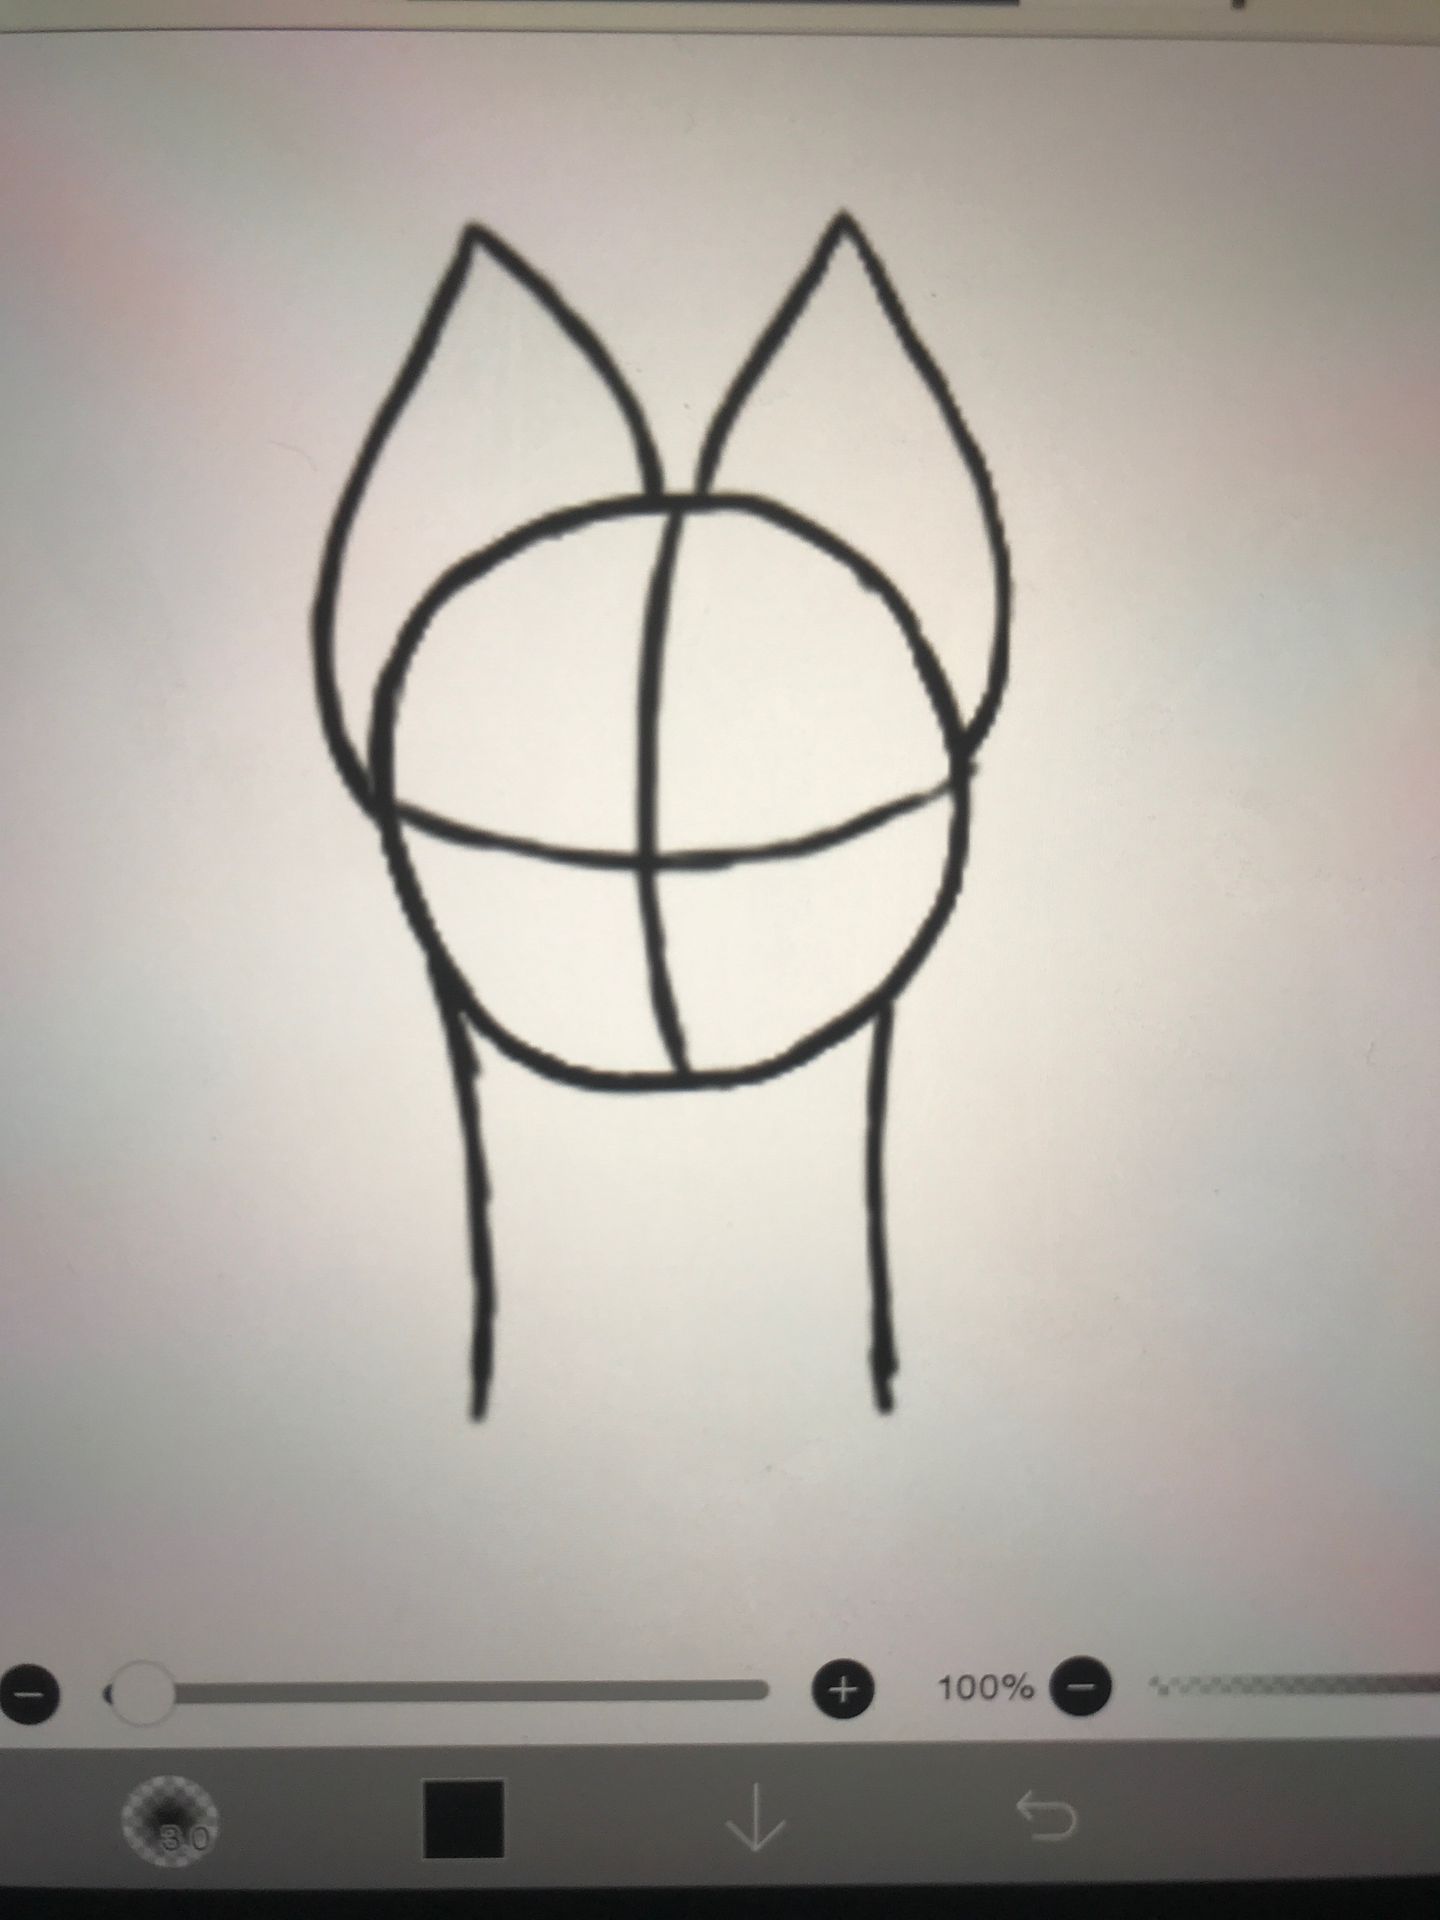
2. Don't forget to clean up the lines a bit!
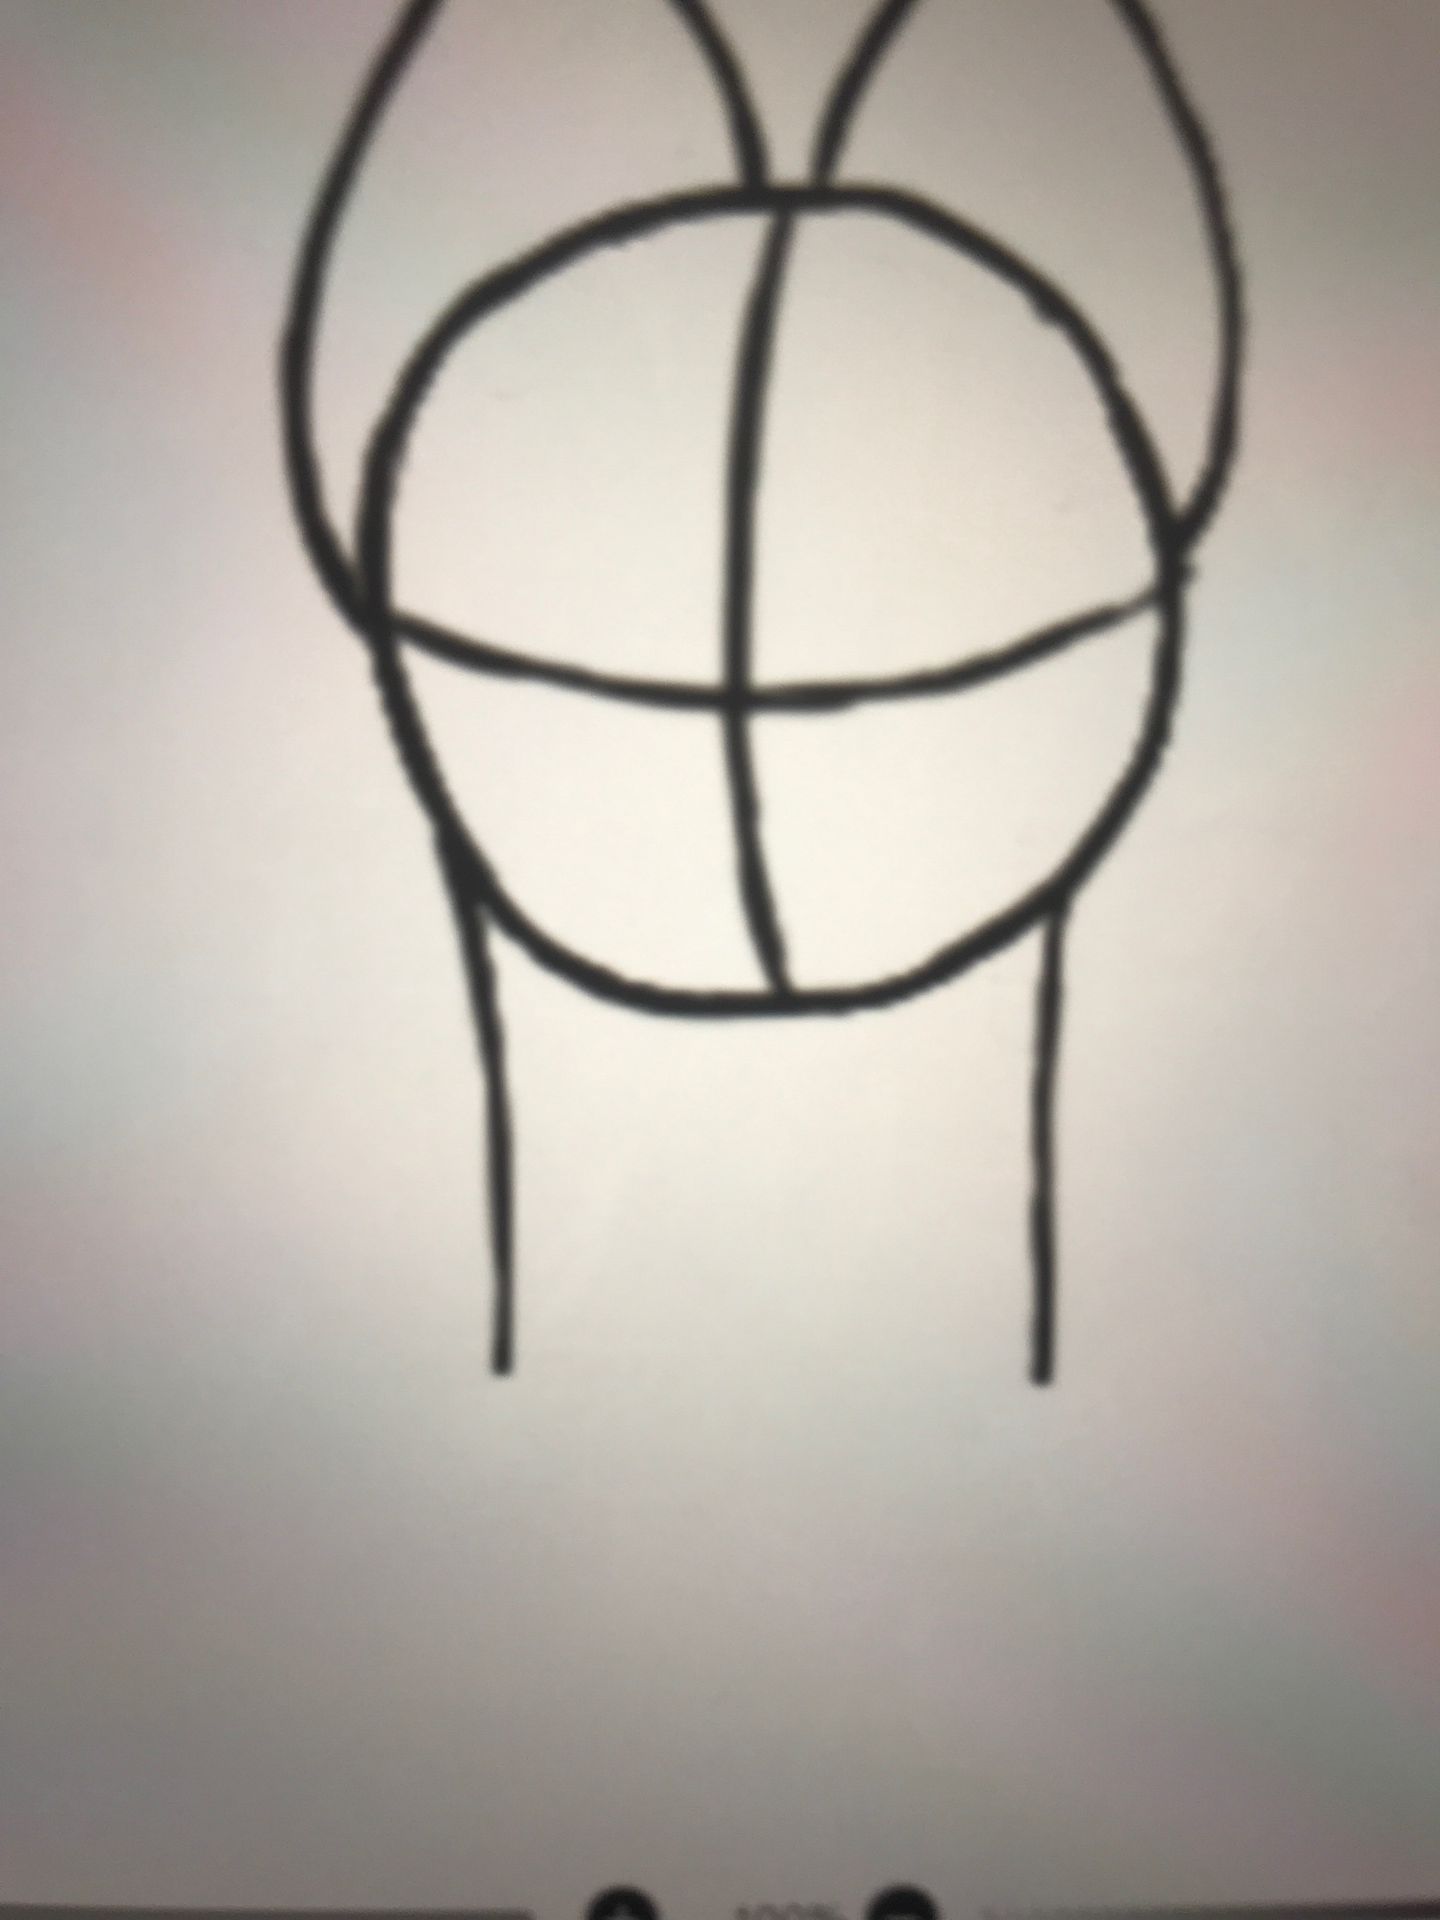
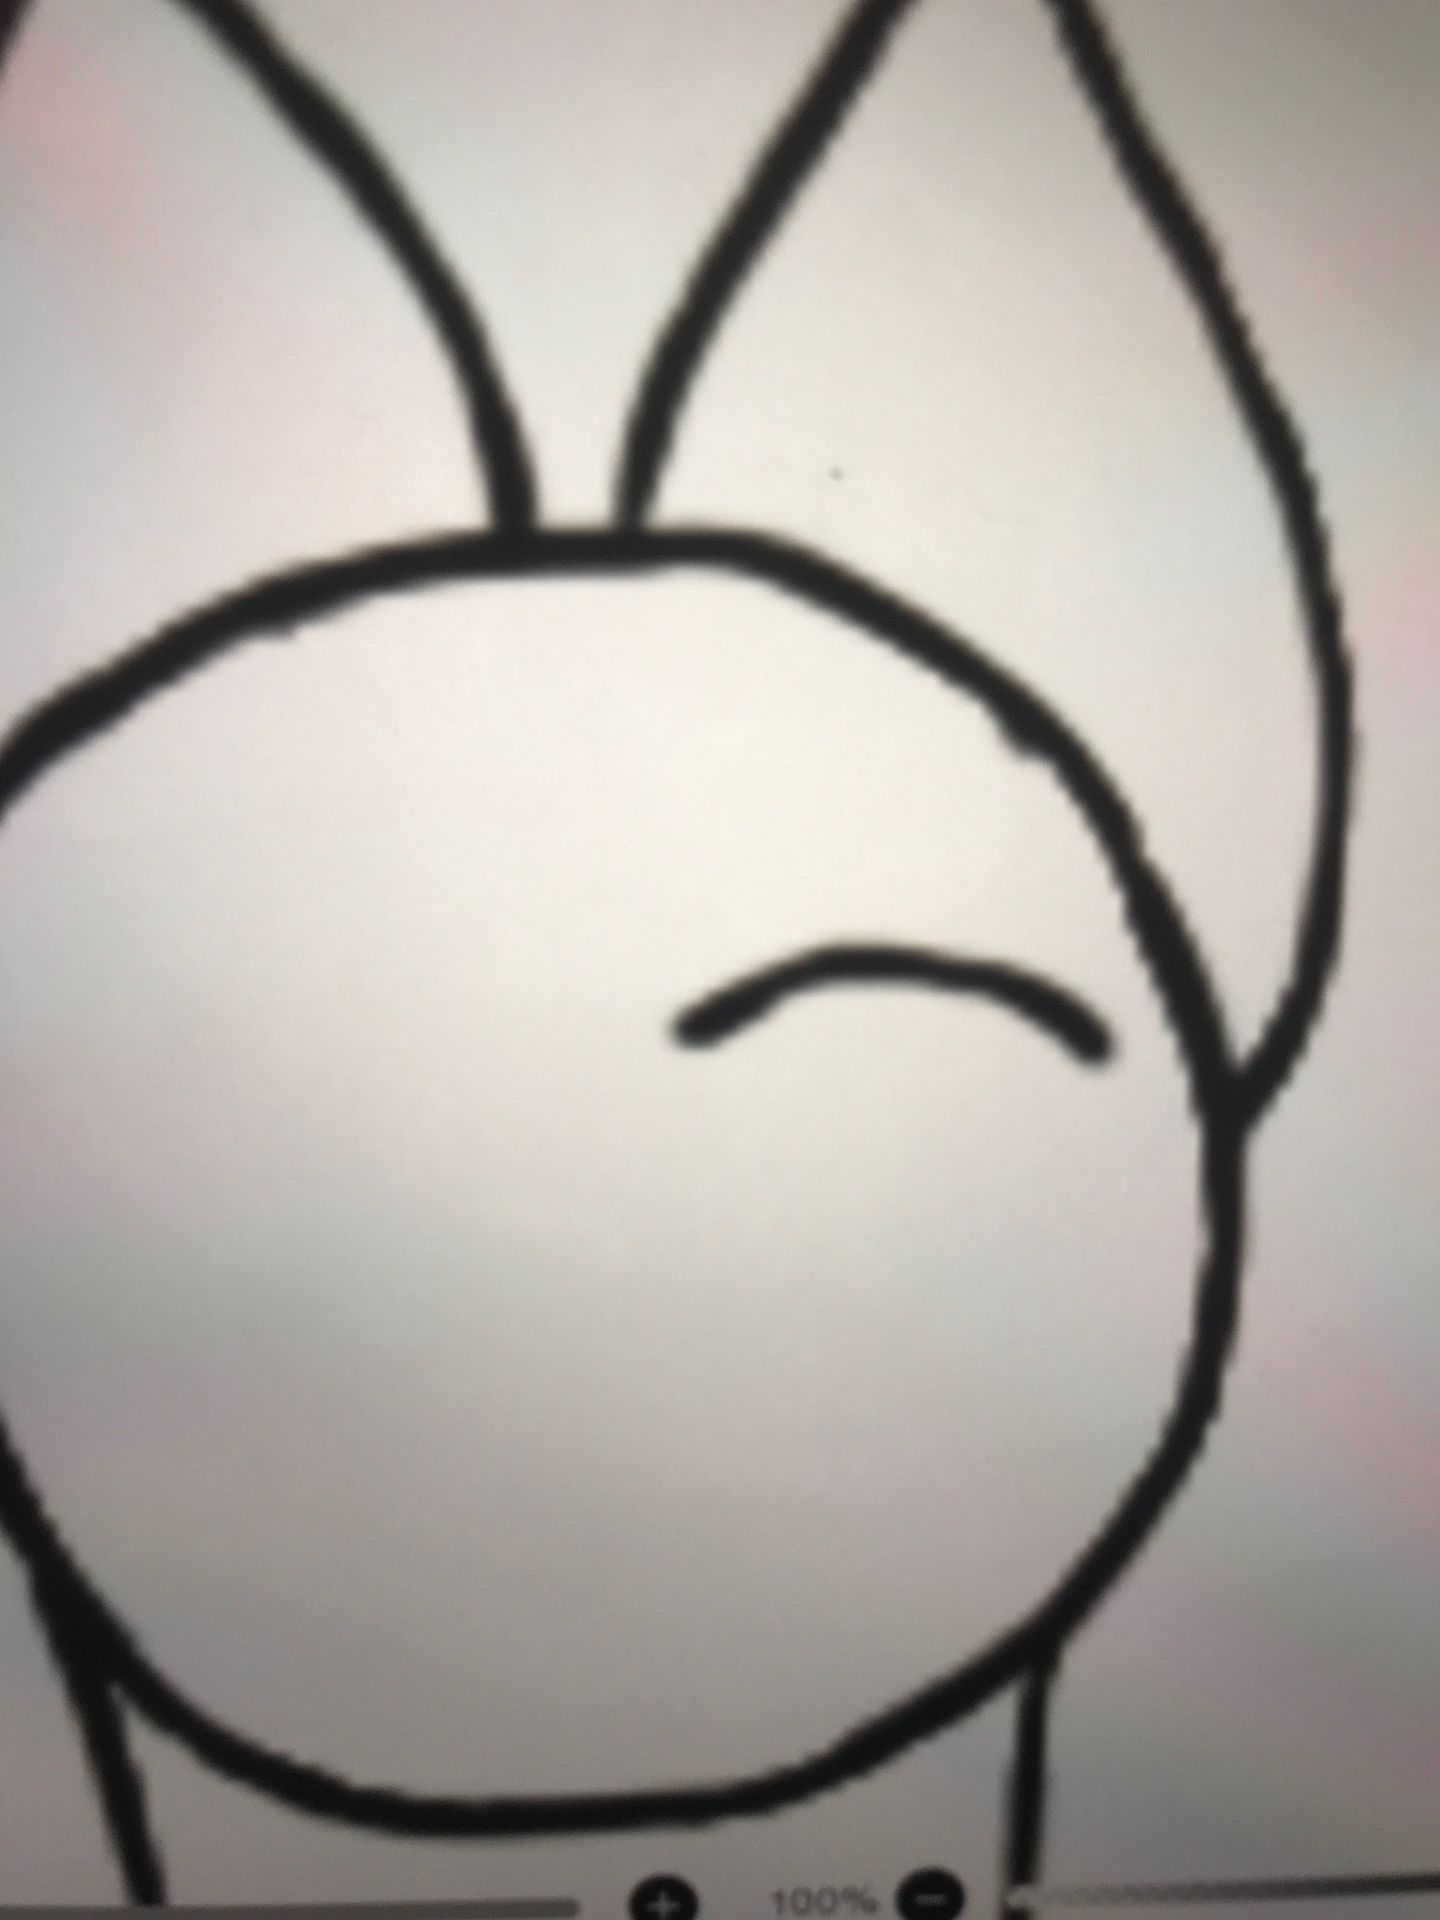
Step 5. Neck details!
• Layer 5
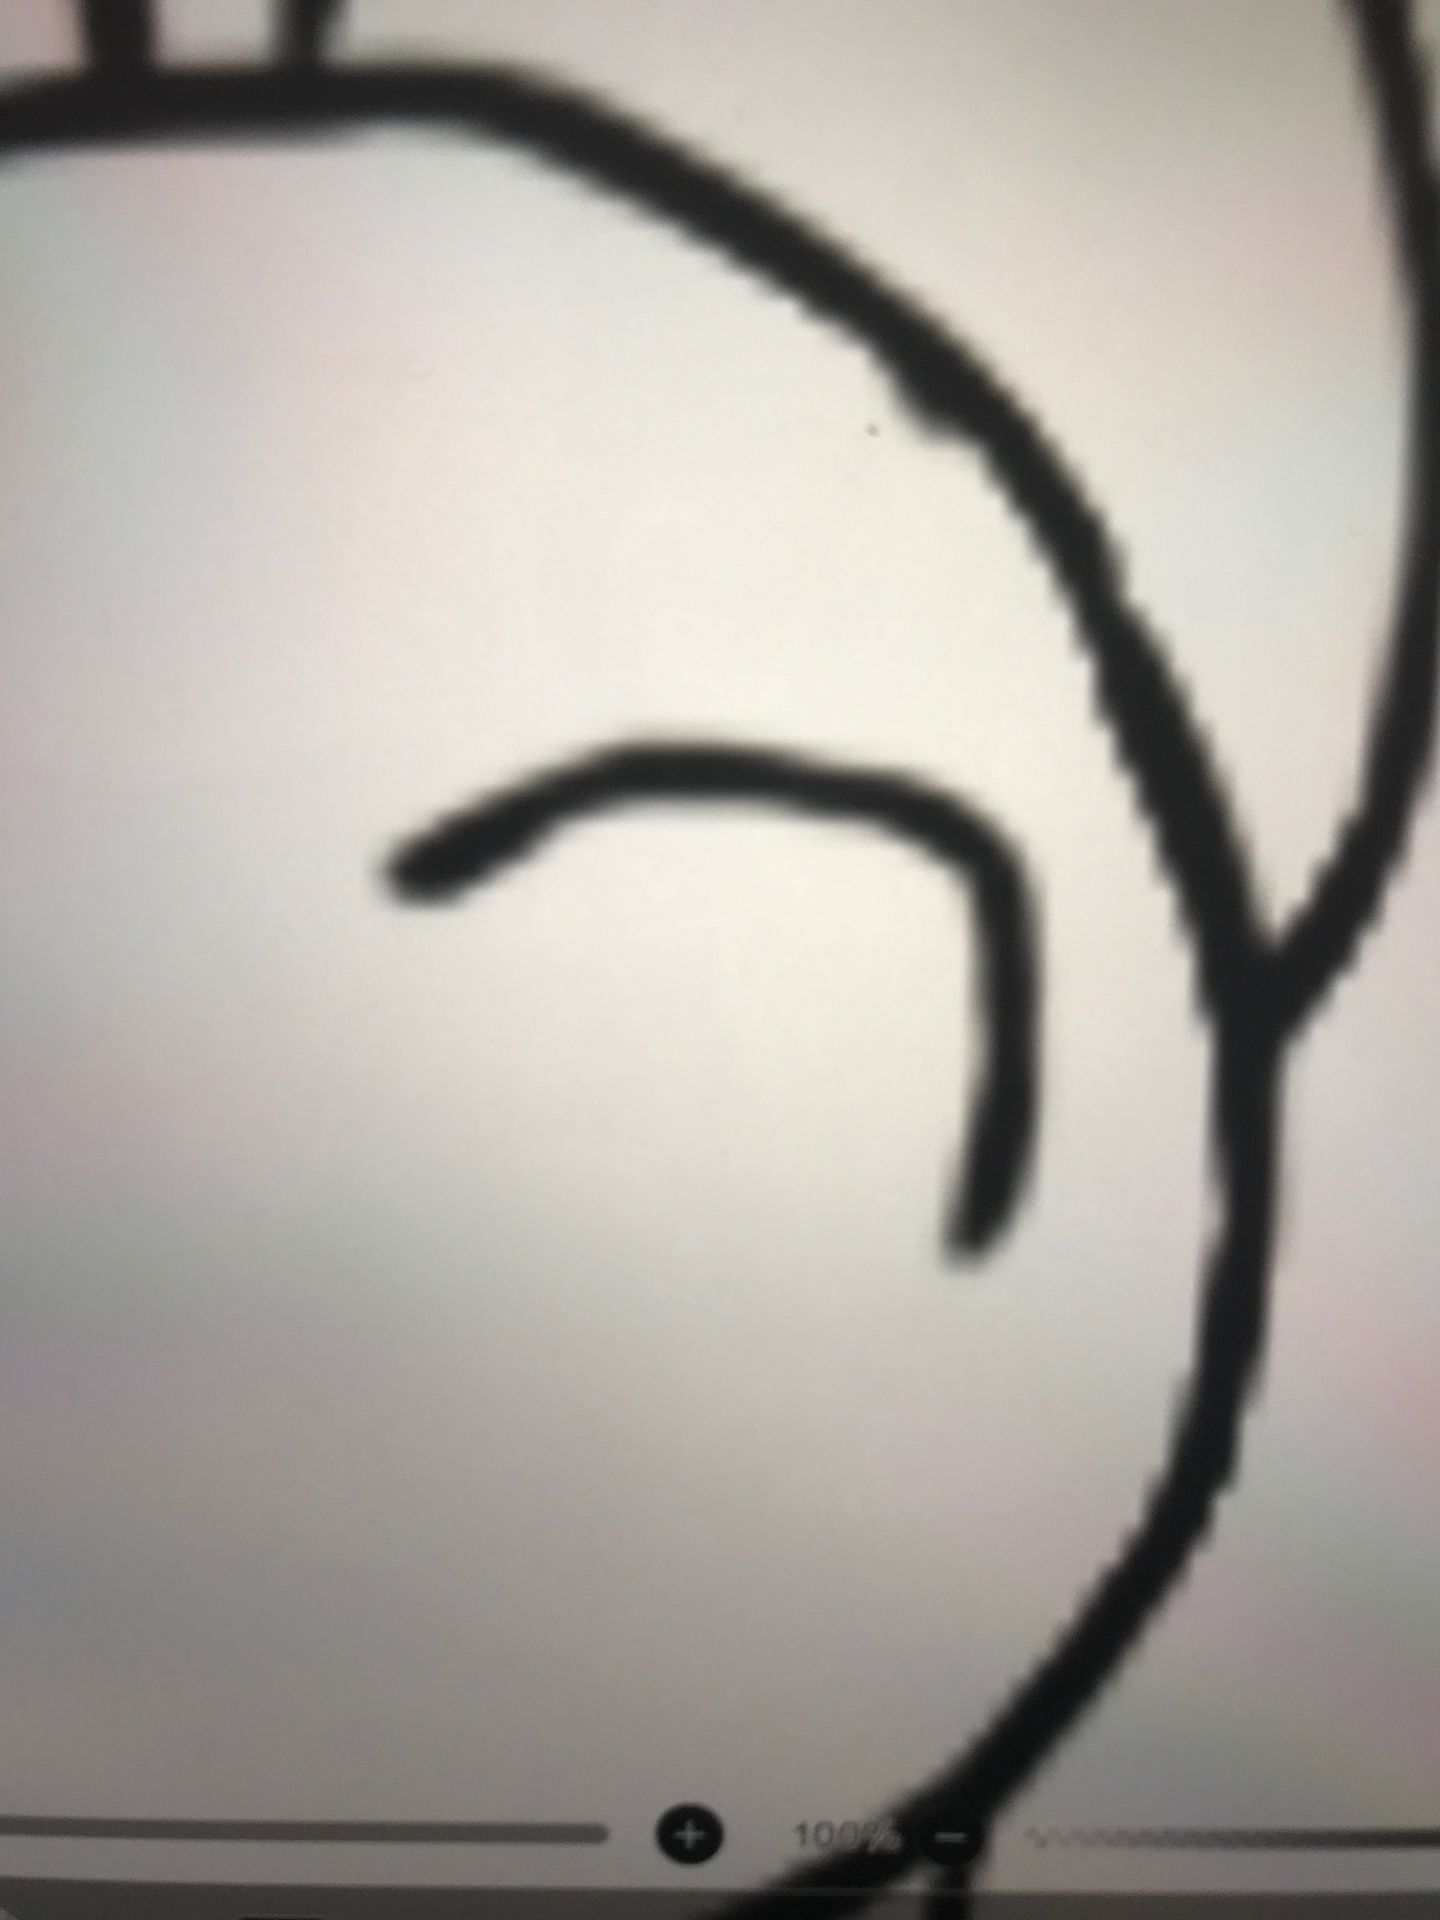
1. Depending on the floofiness of your catto, add some f l o o f to the neck! I generally almost always add tiny tufties around the bottom of each side. As seen below...
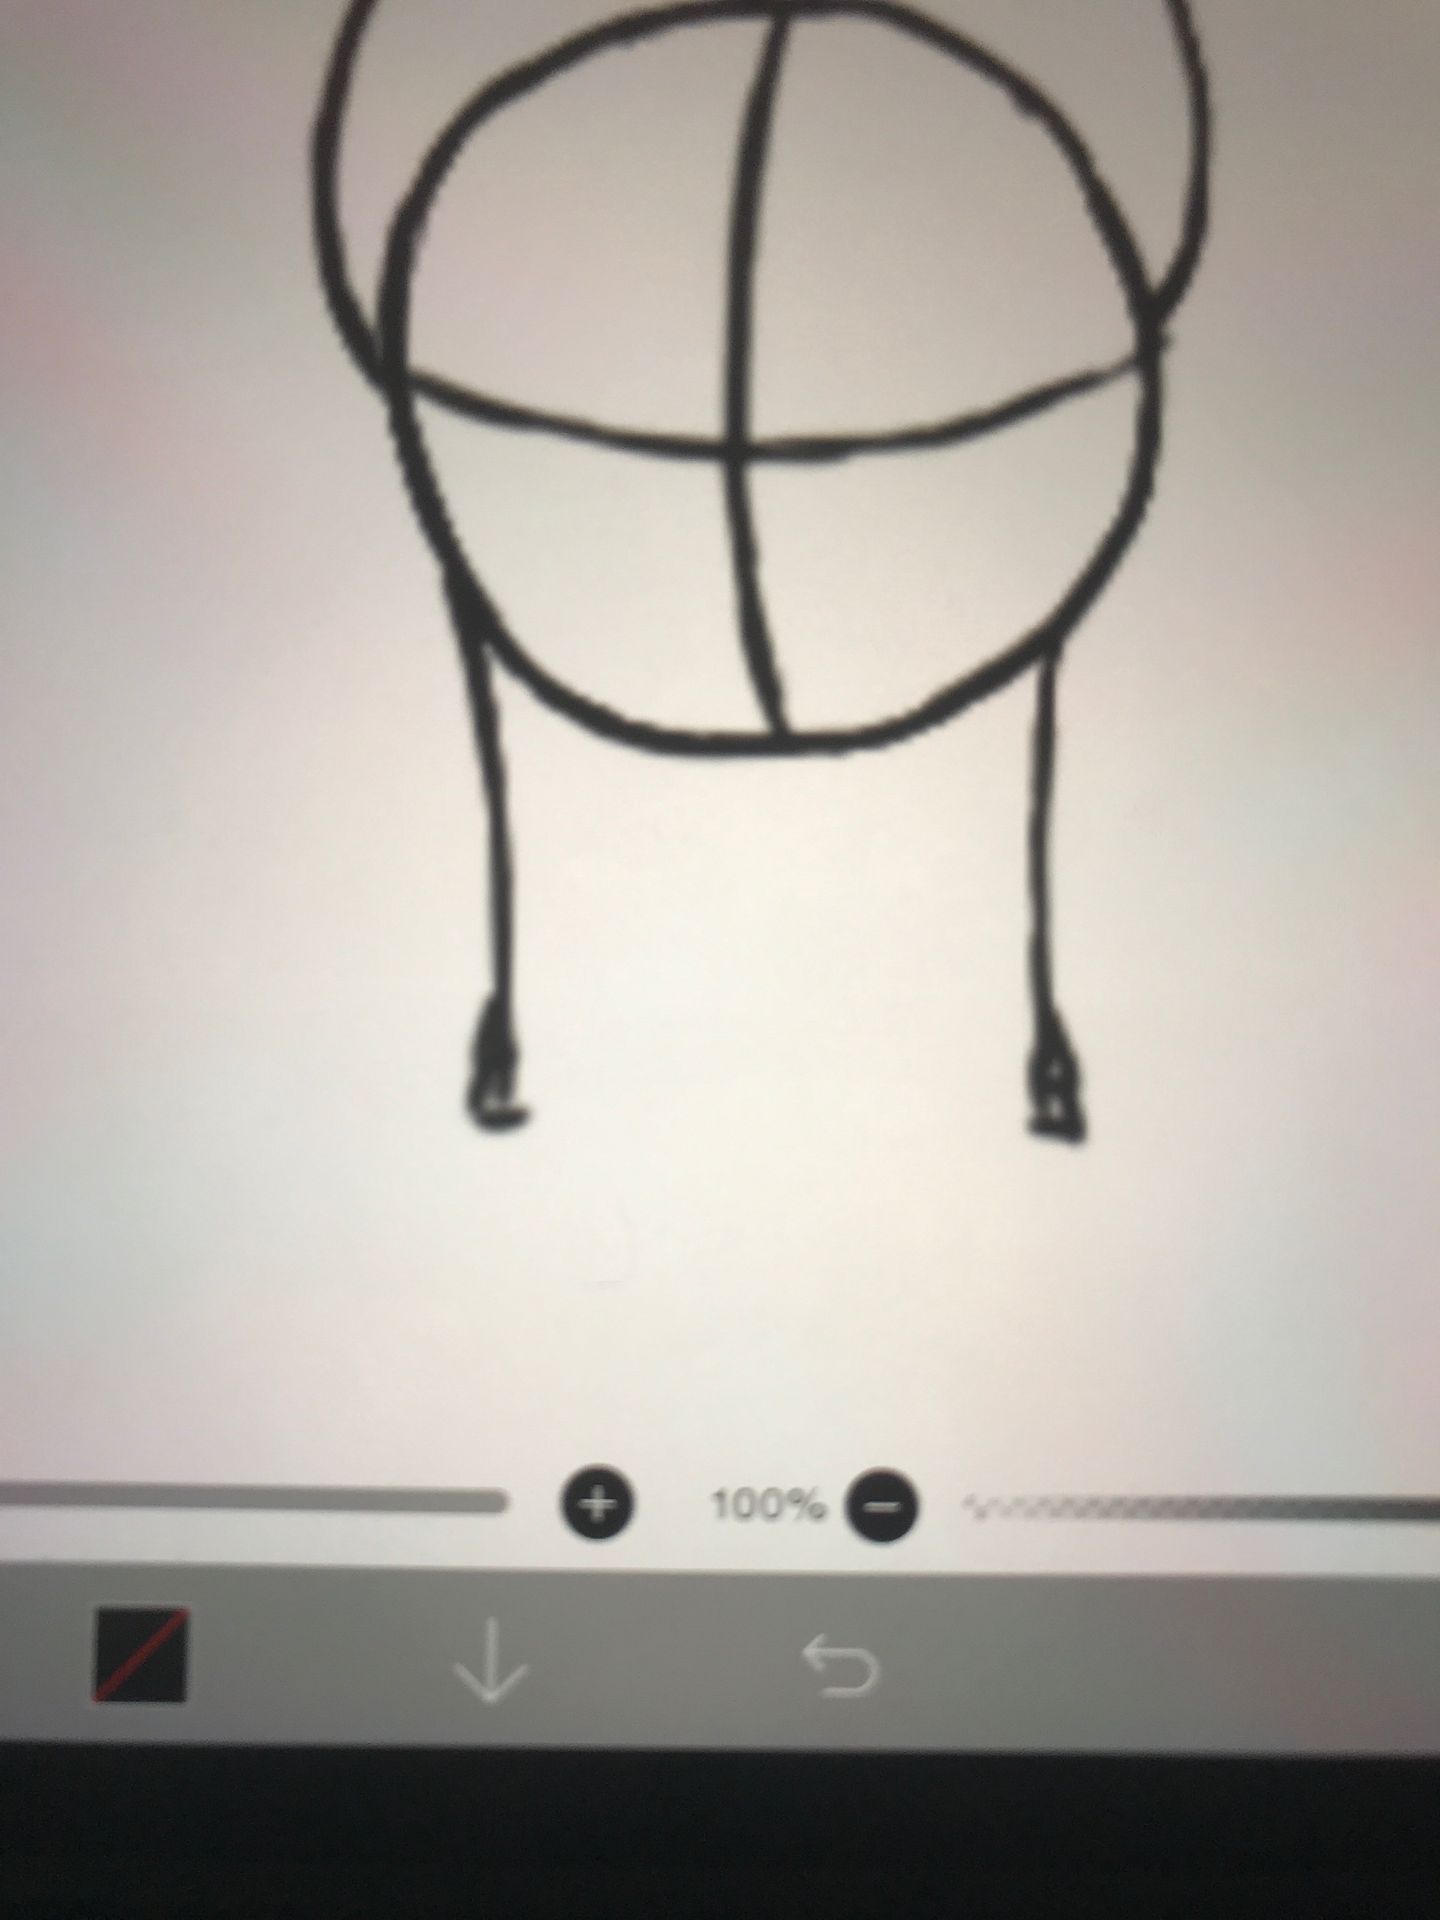
2. After you added the floof you wanted, go back to layer 4 and erase the lines near the floof!
Step 6. Create the eyes
• Layer 6
1. Before starting, hide the 2nd layer. Once you're done, you're ready to draw the eyes! Mainly I do the left eye first. And, like with the ears, it is because it's much easier. To start on the eye, first you will be making a curve.
2. Now make a slightly curved line down
3. Make an oval shape :3
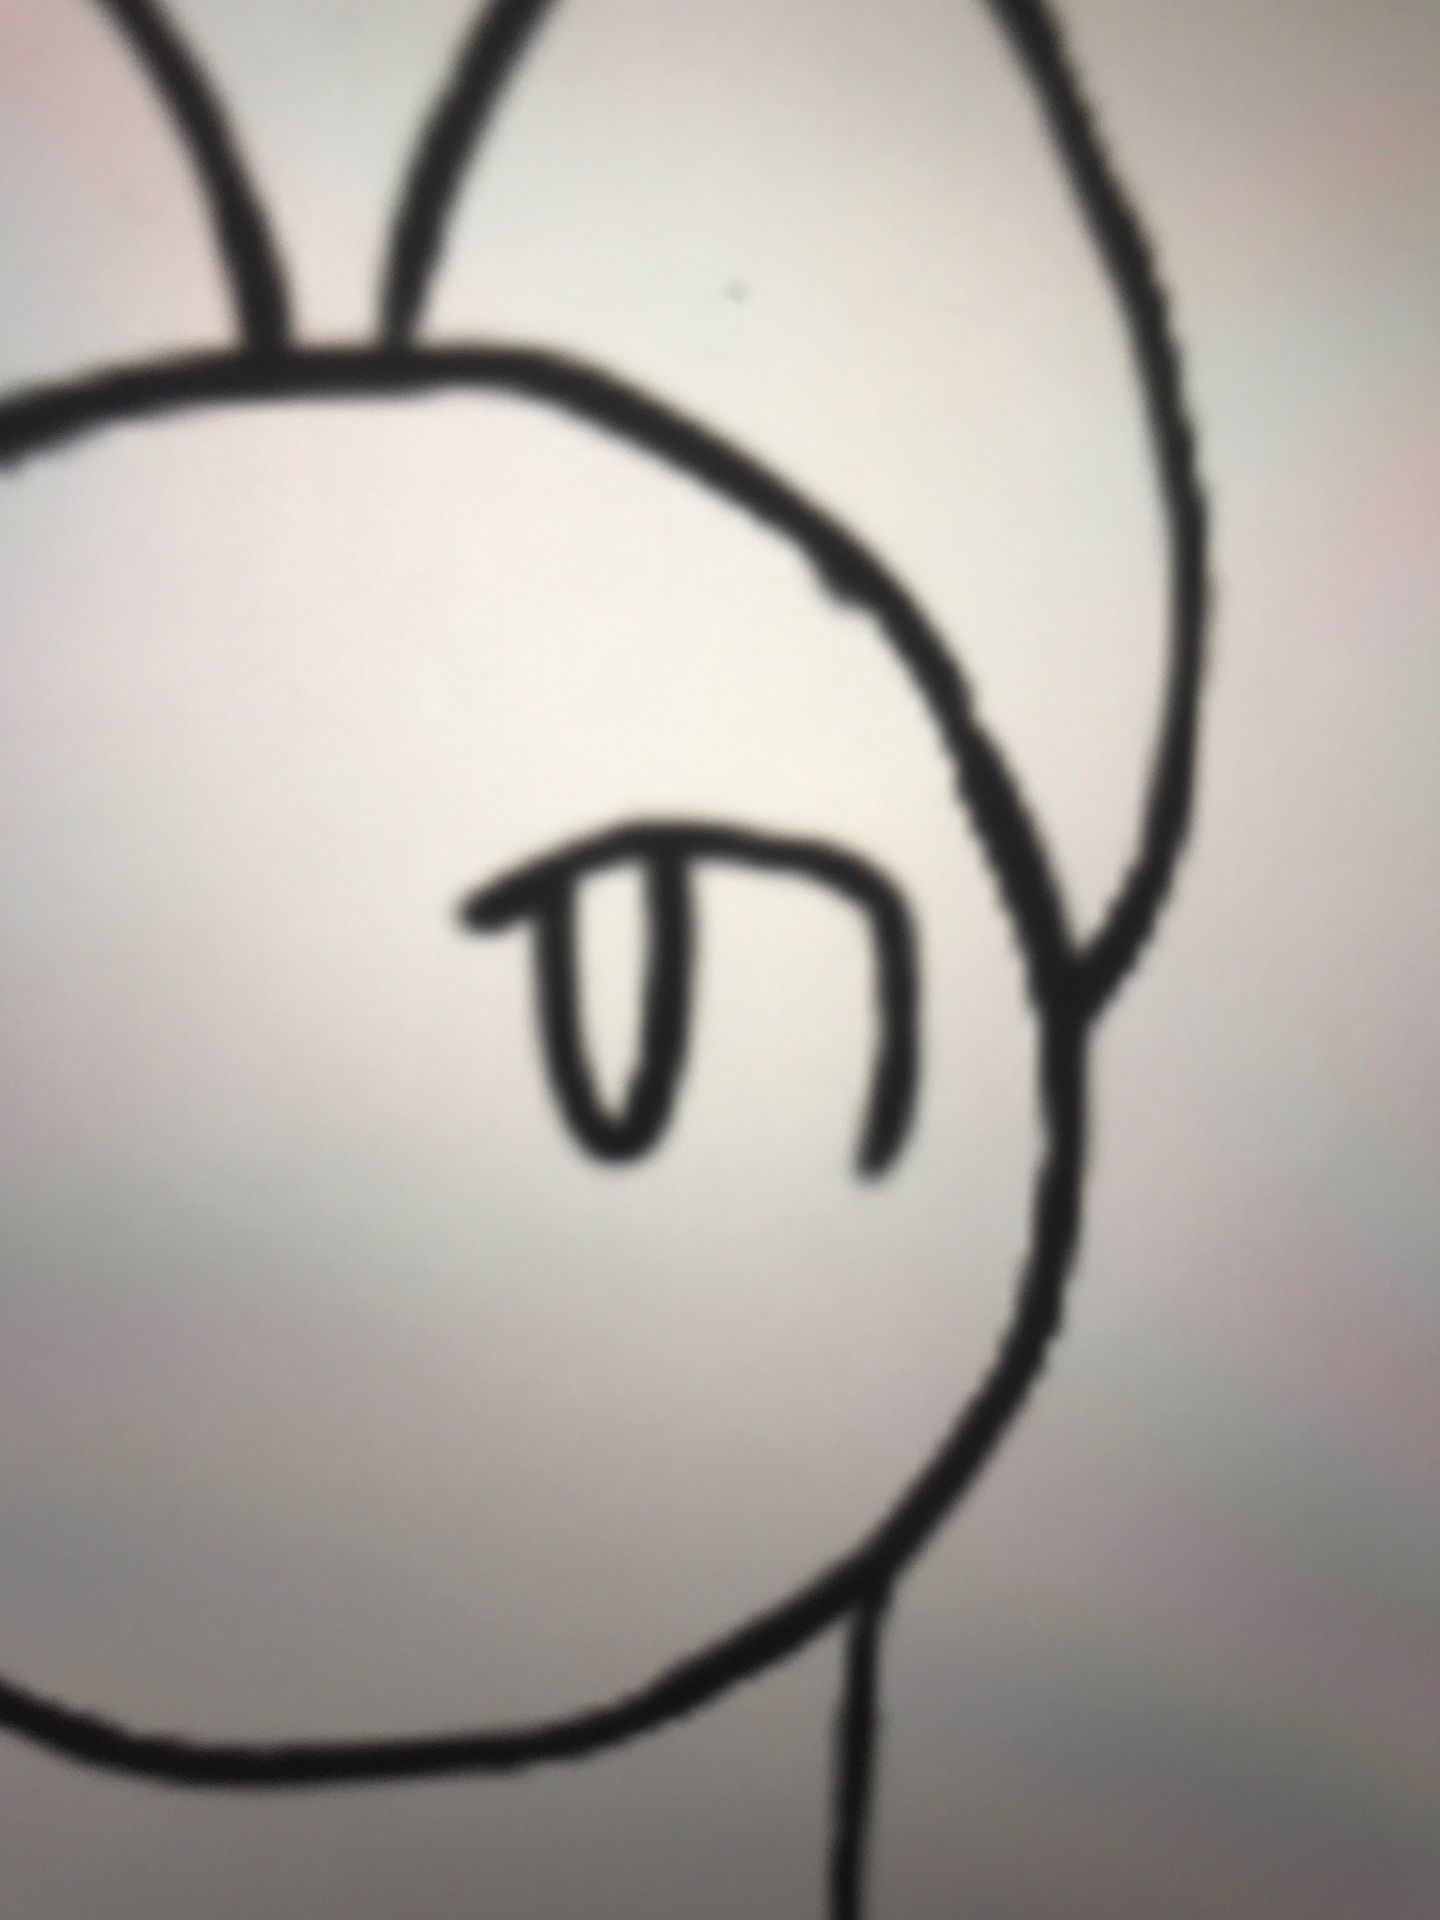
4. Repeat for the other eye ^^

5. Clean around the eyes as needed!
Step 7. Create the nose and mouth
• Layer 7
1. The nose is fairly simple. You can curve the tips/edges a bit or make a slightly rounded triangle.

2. The mouth is even more simple! Depending on the expression you want, draw it as a curve, line, frown, or an upward point a few centimeters below (^)
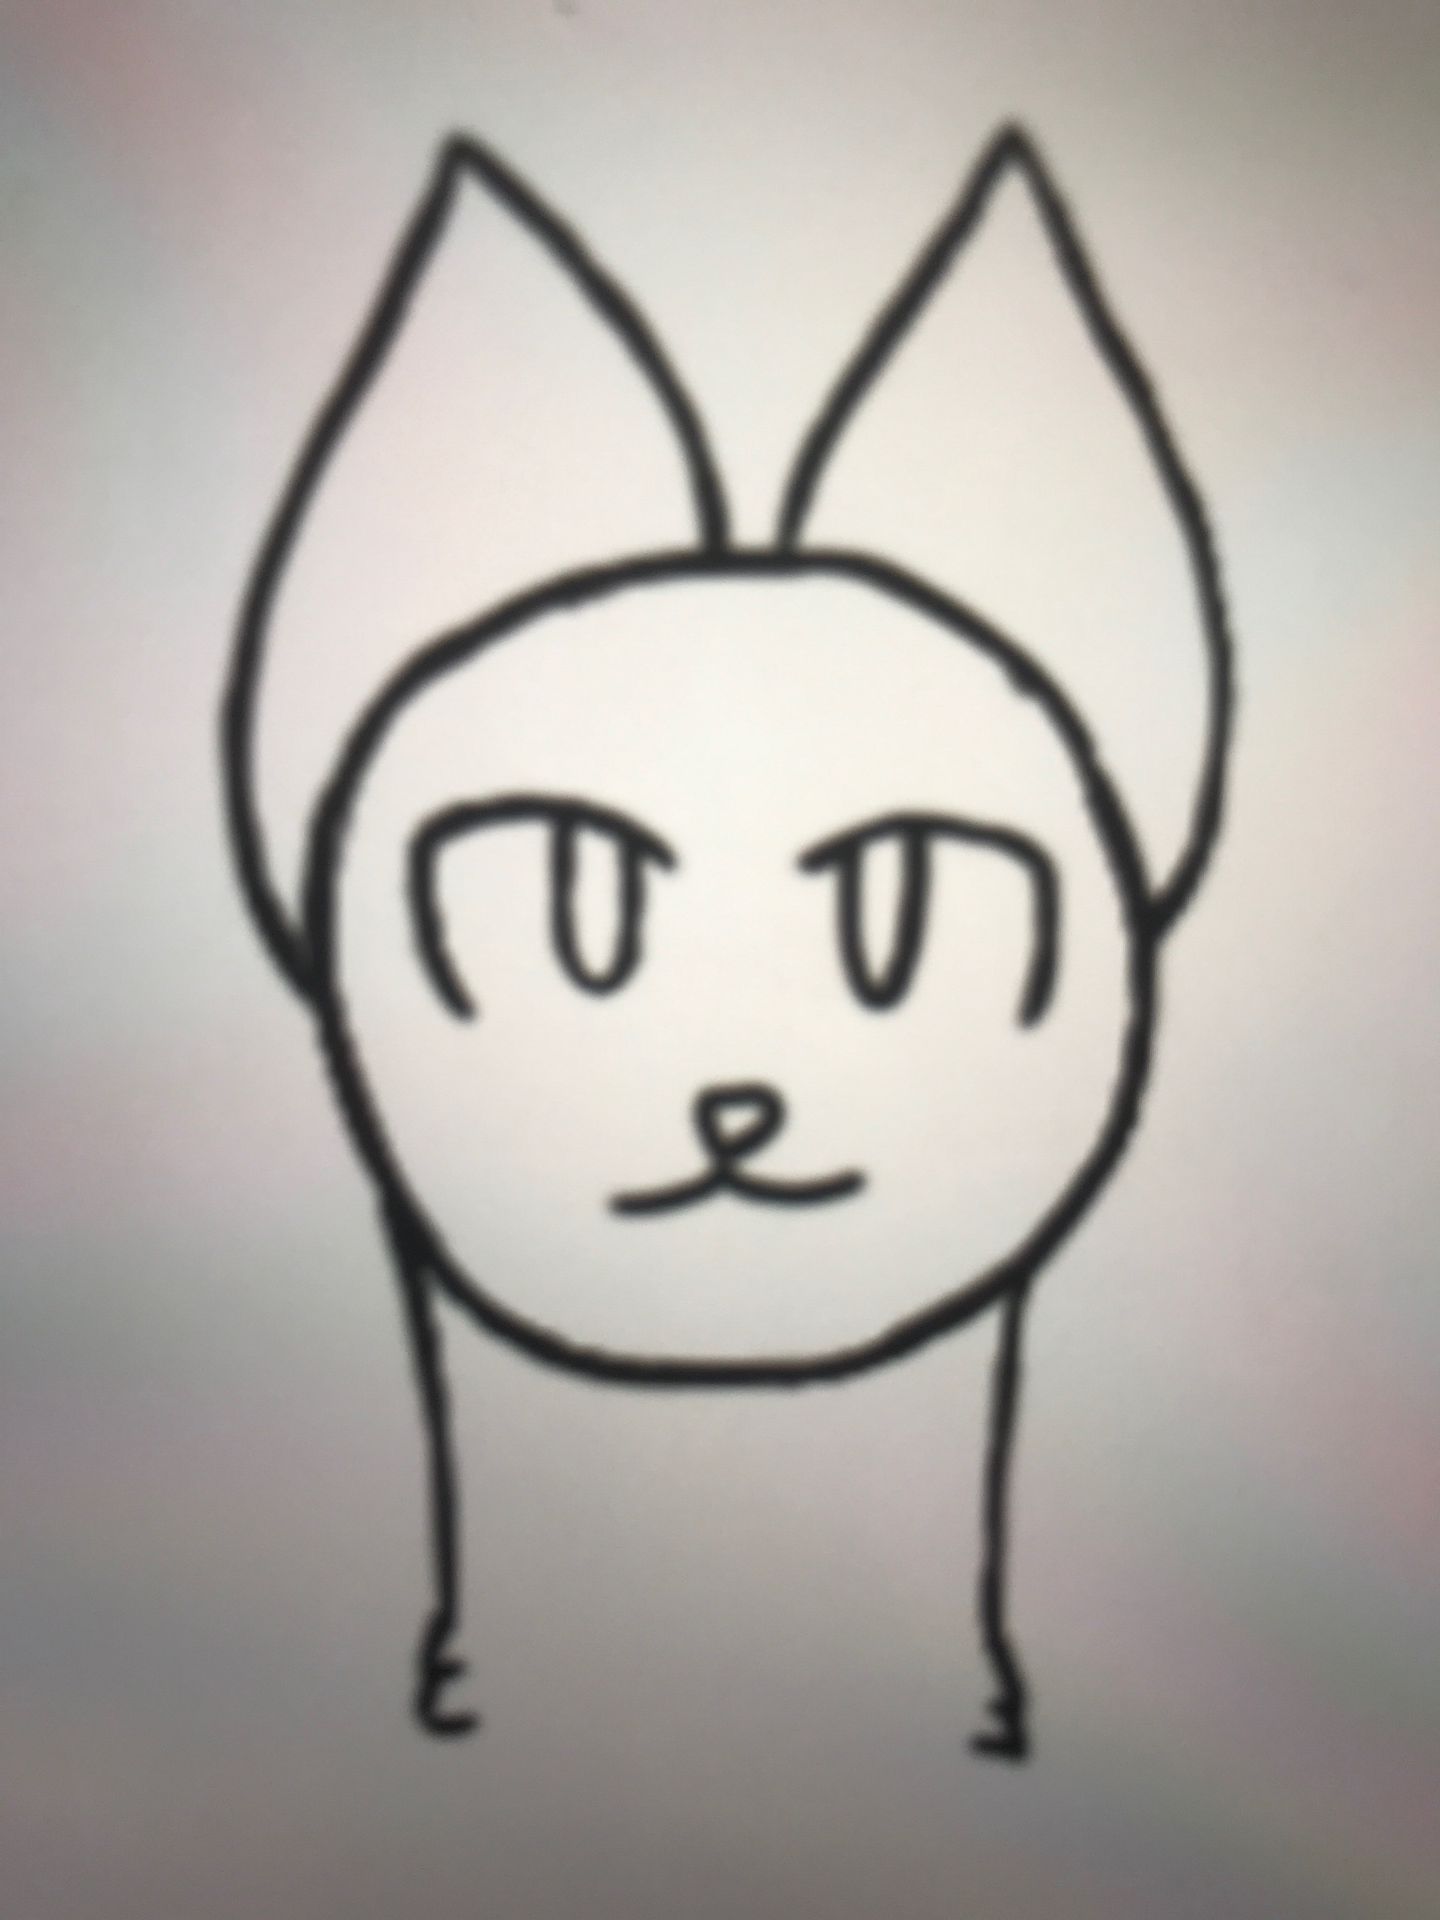
After this, the main base should be done! You can now color as you wish ^^
Bạn đang đọc truyện trên: Truyen247.Pro