hiya
Hello! I may have taken an accidental hiatus for a month, but I'm back now!
I guess I got caught up in school, but now that its over, I should have more free time
First thing's first
@ScarletteWhite
here's your request of Pikachu, I hope it looks alright!

Also, MangoAndMiracle asked for a tutorial of how I blend my markers, so I'm going to do my best to explain ^^'
Of course, if anyone else wants to follow along, they're welcome to do so!
The materials I used for this drawing are:
3 crayola markers
Piece of paper
Pencil (with eraser)
Also, before I begin, there's a technique you need to know for blending.
Since you can't easily mix the colors once they're on the page, you need to mix the colors while they're still in the markers. To do that, you need two markers, one in each hand.

Decide which color you want to be on the page first; this will be the marker that will be on top of the other. Touch the tips of the markers together, and hold them there for about 5 to 10 seconds, depending how long you want a certain color to last.
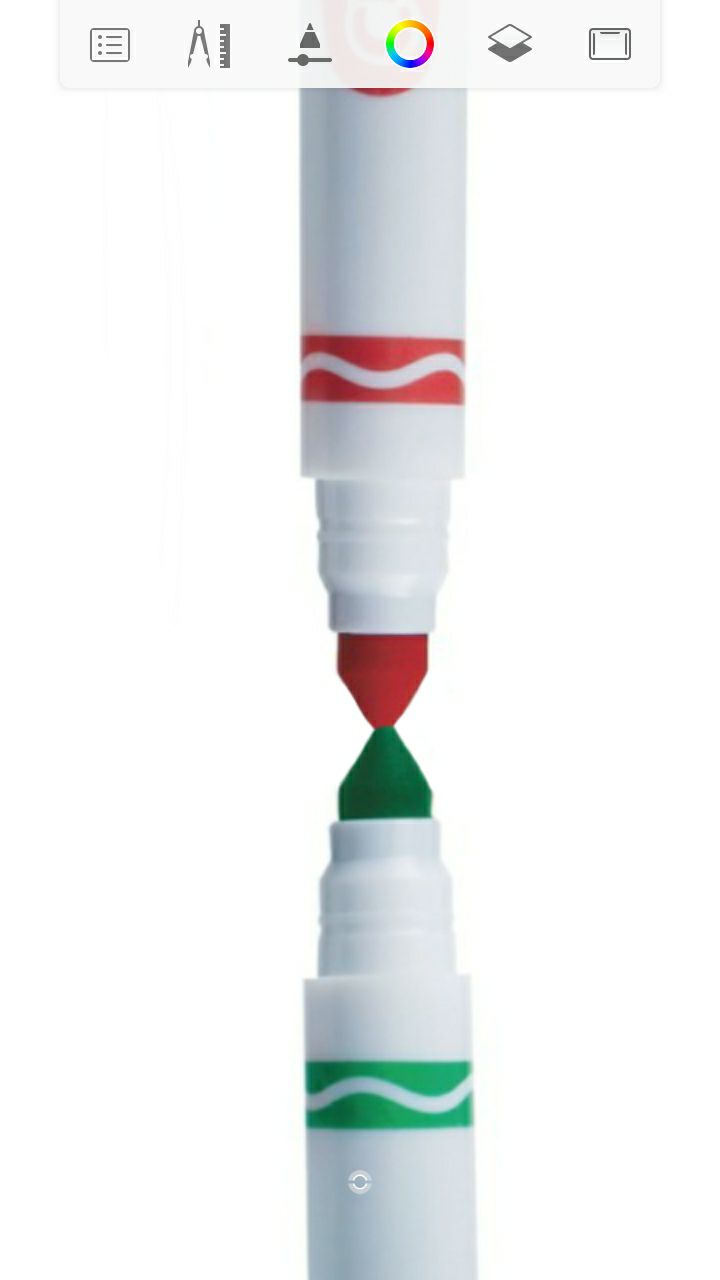
Make sure the markers are completely vertical, otherwise the ink of the markers won't transfer.
When you've finished, the marker that you transfered the color to should look something like this:
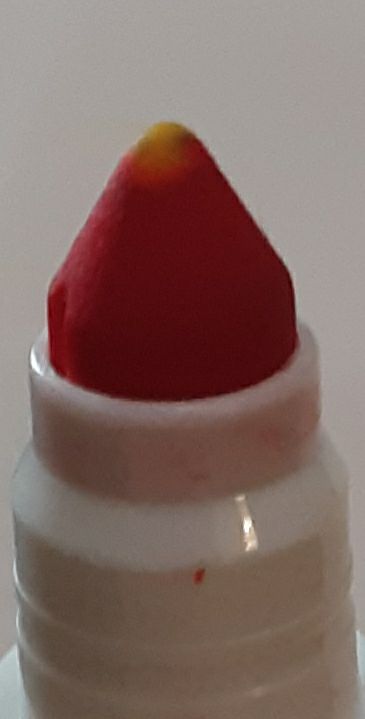
(Yellow transfered to red)
Then color in a straight line, and you should get a gradient that looks something like this:

You can play around with this effect for a bit with different markers until you feel like starting on your drawing!
Now that that's out of the way, I can start the tutorial!
The first thing I did was pick out the markers I wanted to use for my drawing. It really doesn't matter what colors you use, as long as you have a light colored one, a medium/main one, and a dark one.
I chose a yellow, red, and purple marker:
Yellow will be my lightest color
Red will be my medium/main color
Purple will be my shading color

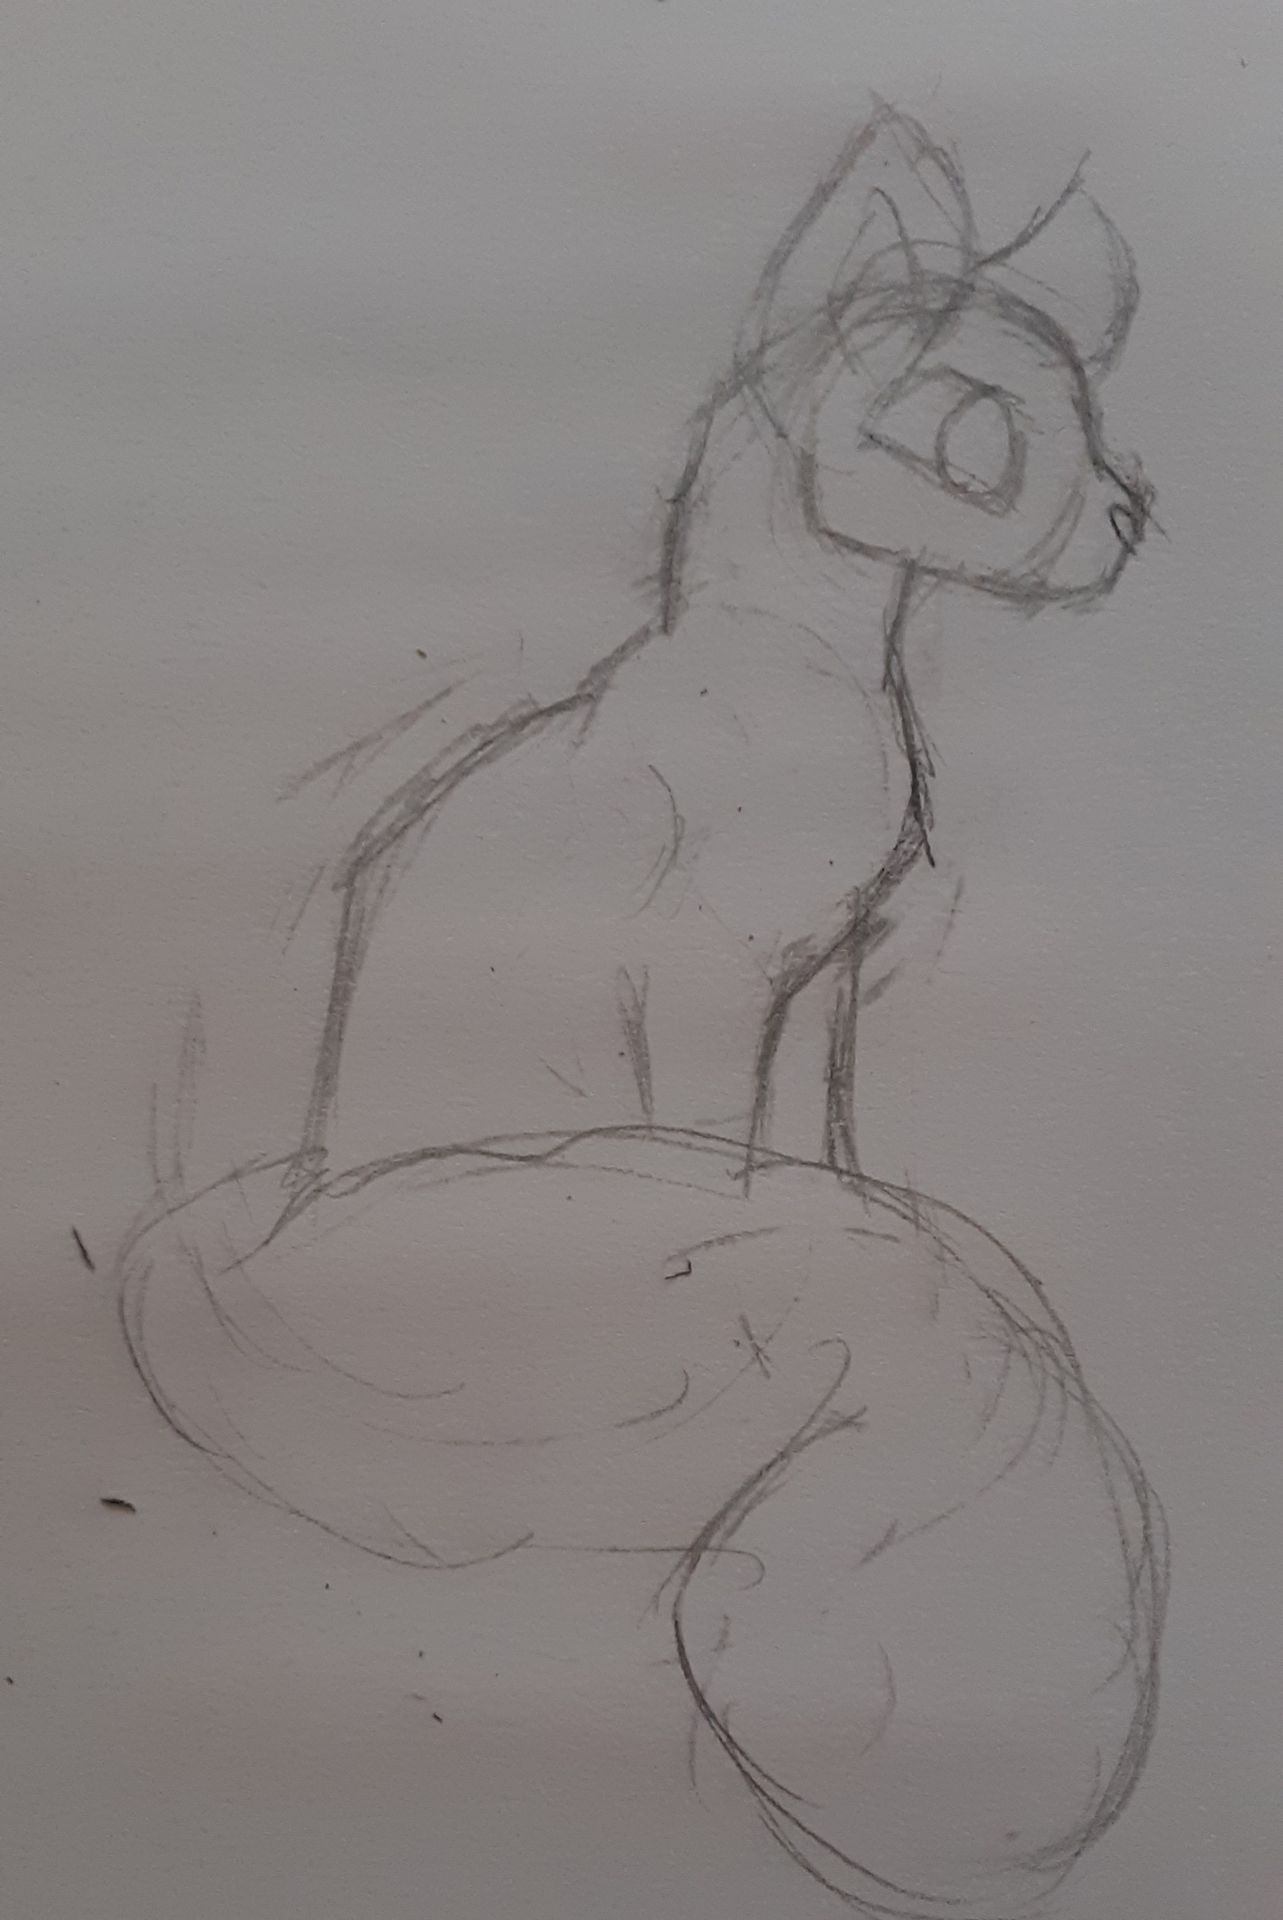
First, I make a quick sketch:
After that, I had to decide where I want the light to hit the subject

Now for the actual marker part!
I always make sure to start with the lightest color: that is, I made sure to transfer my lightest color to the main color.
I begin with transferring the lightest marker's ink to the main marker, like so:

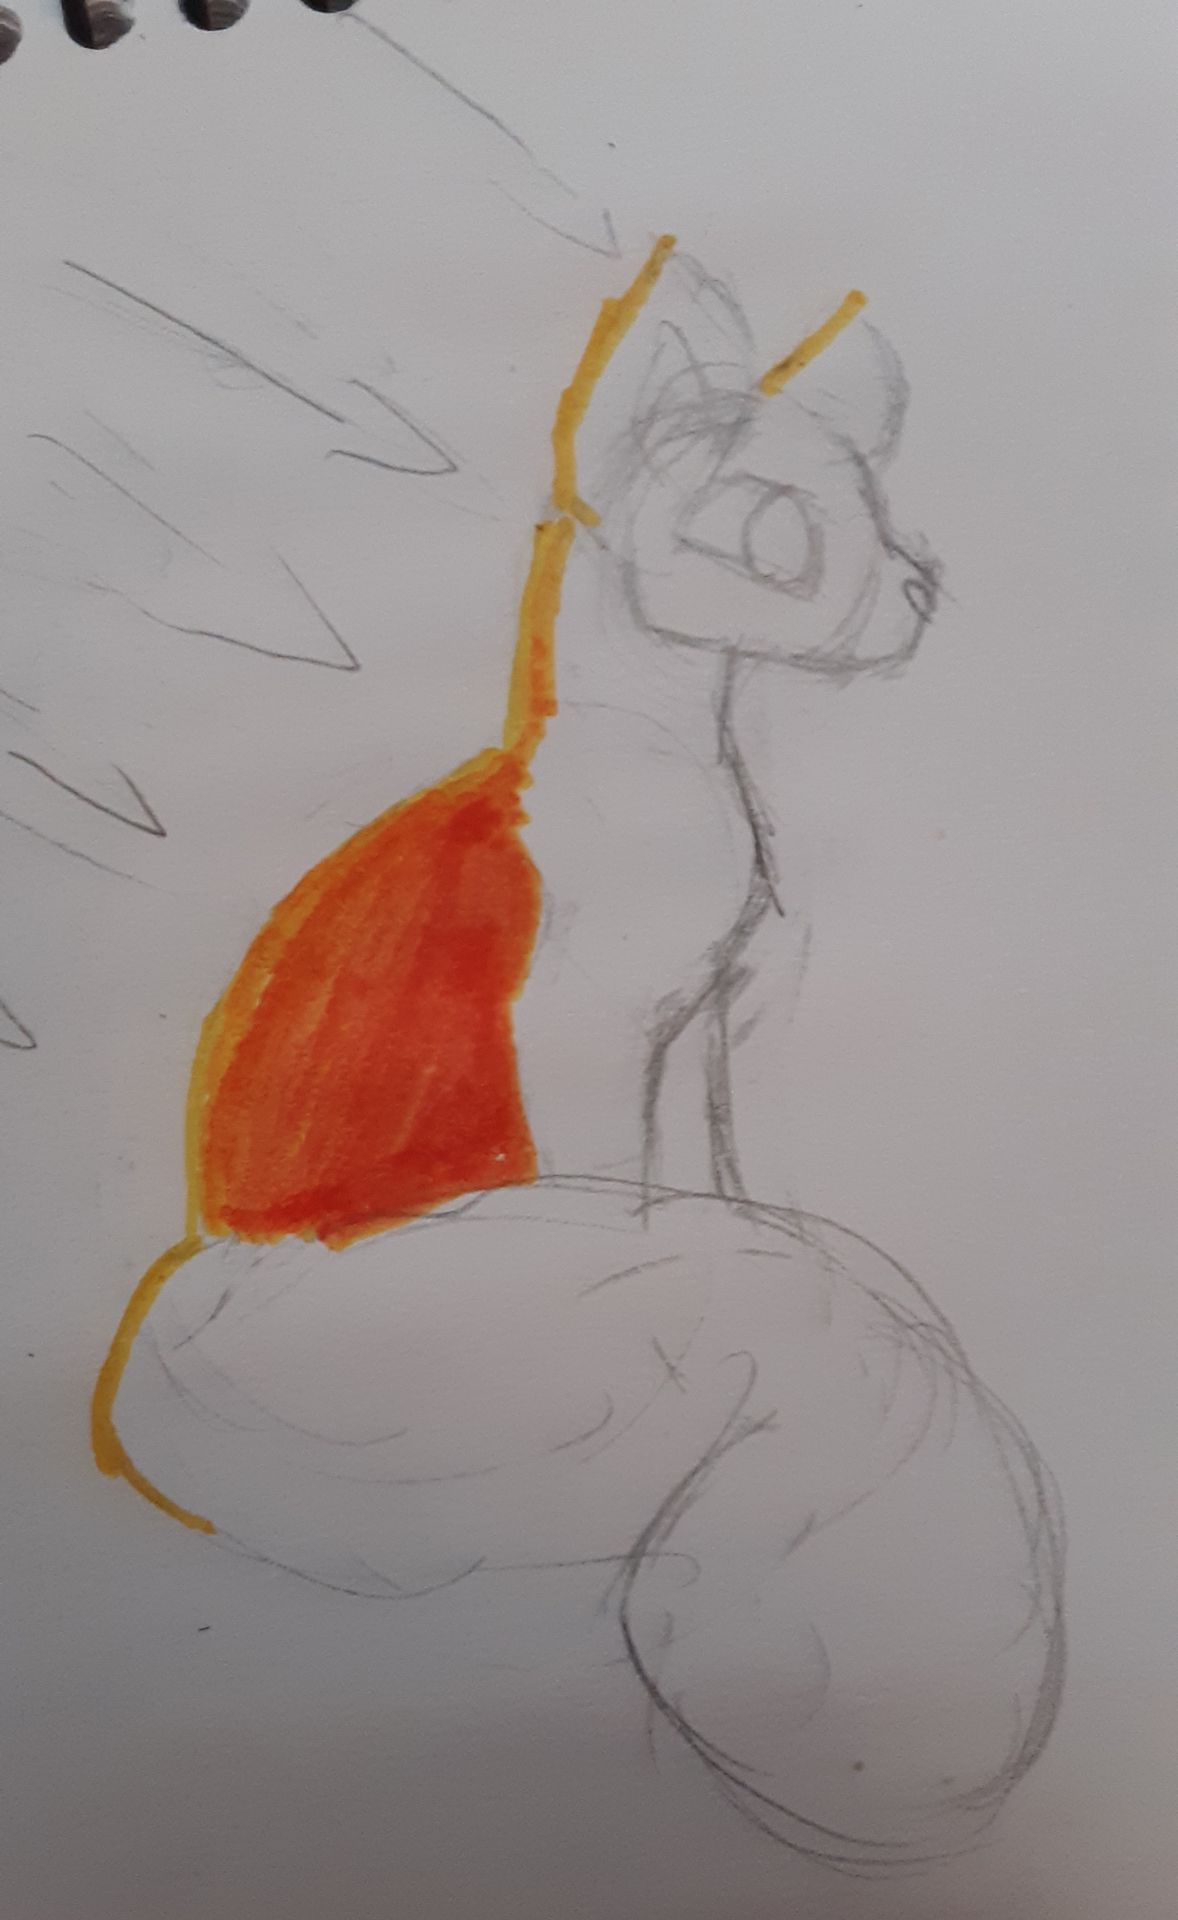
I then start lining the areas where I think the lightest parts should be (the areas facing the light source)
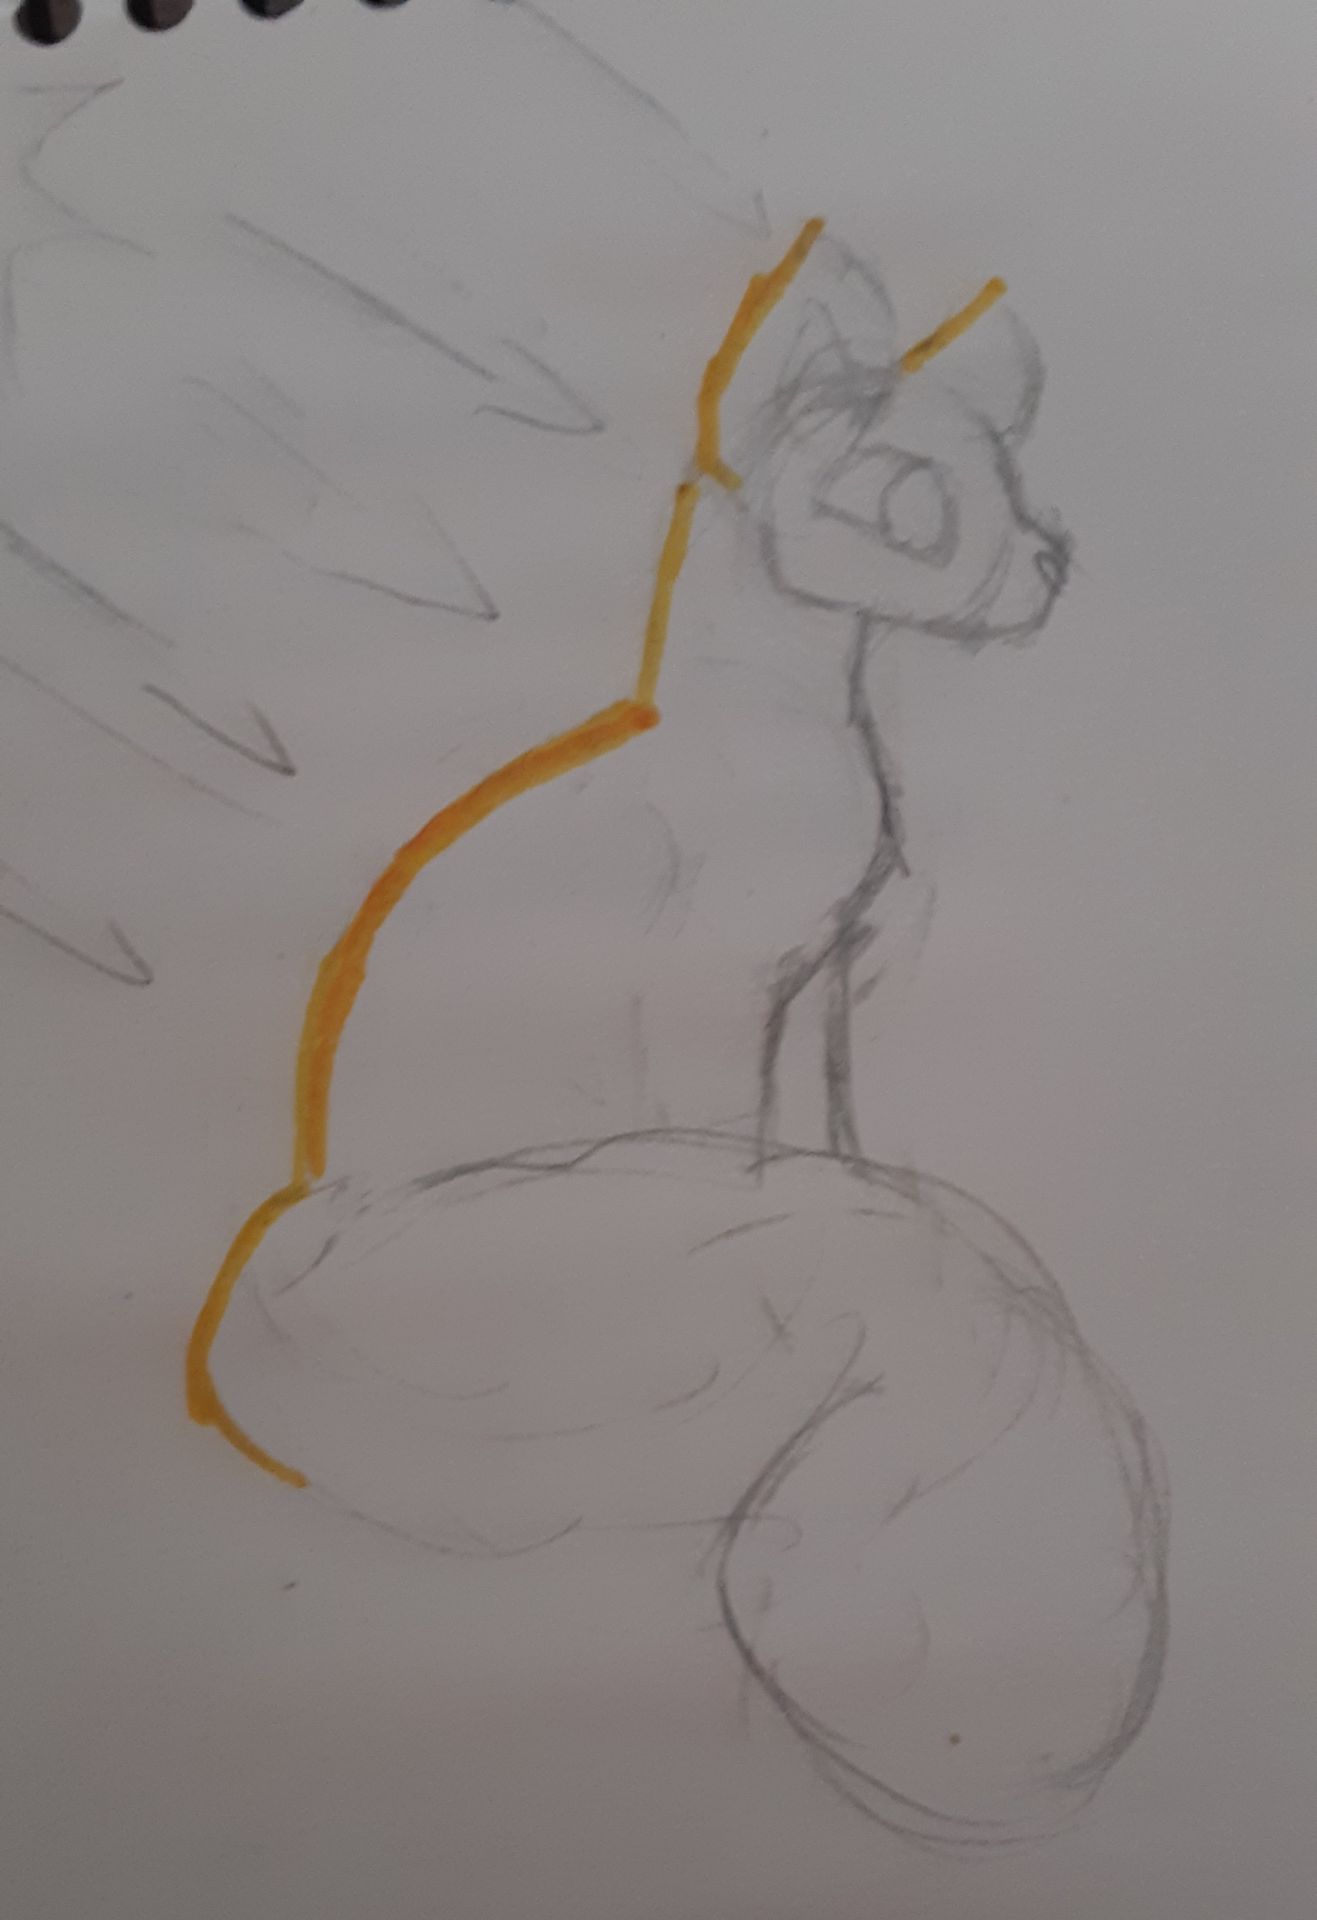
I then choose a specific area to work in. For this drawing, I chose the back area to start. Starting from the outer edge, I begin to color inwards. As I move the marker inwards, the color goes from the lightest to the main color.
It should turn out something like this:
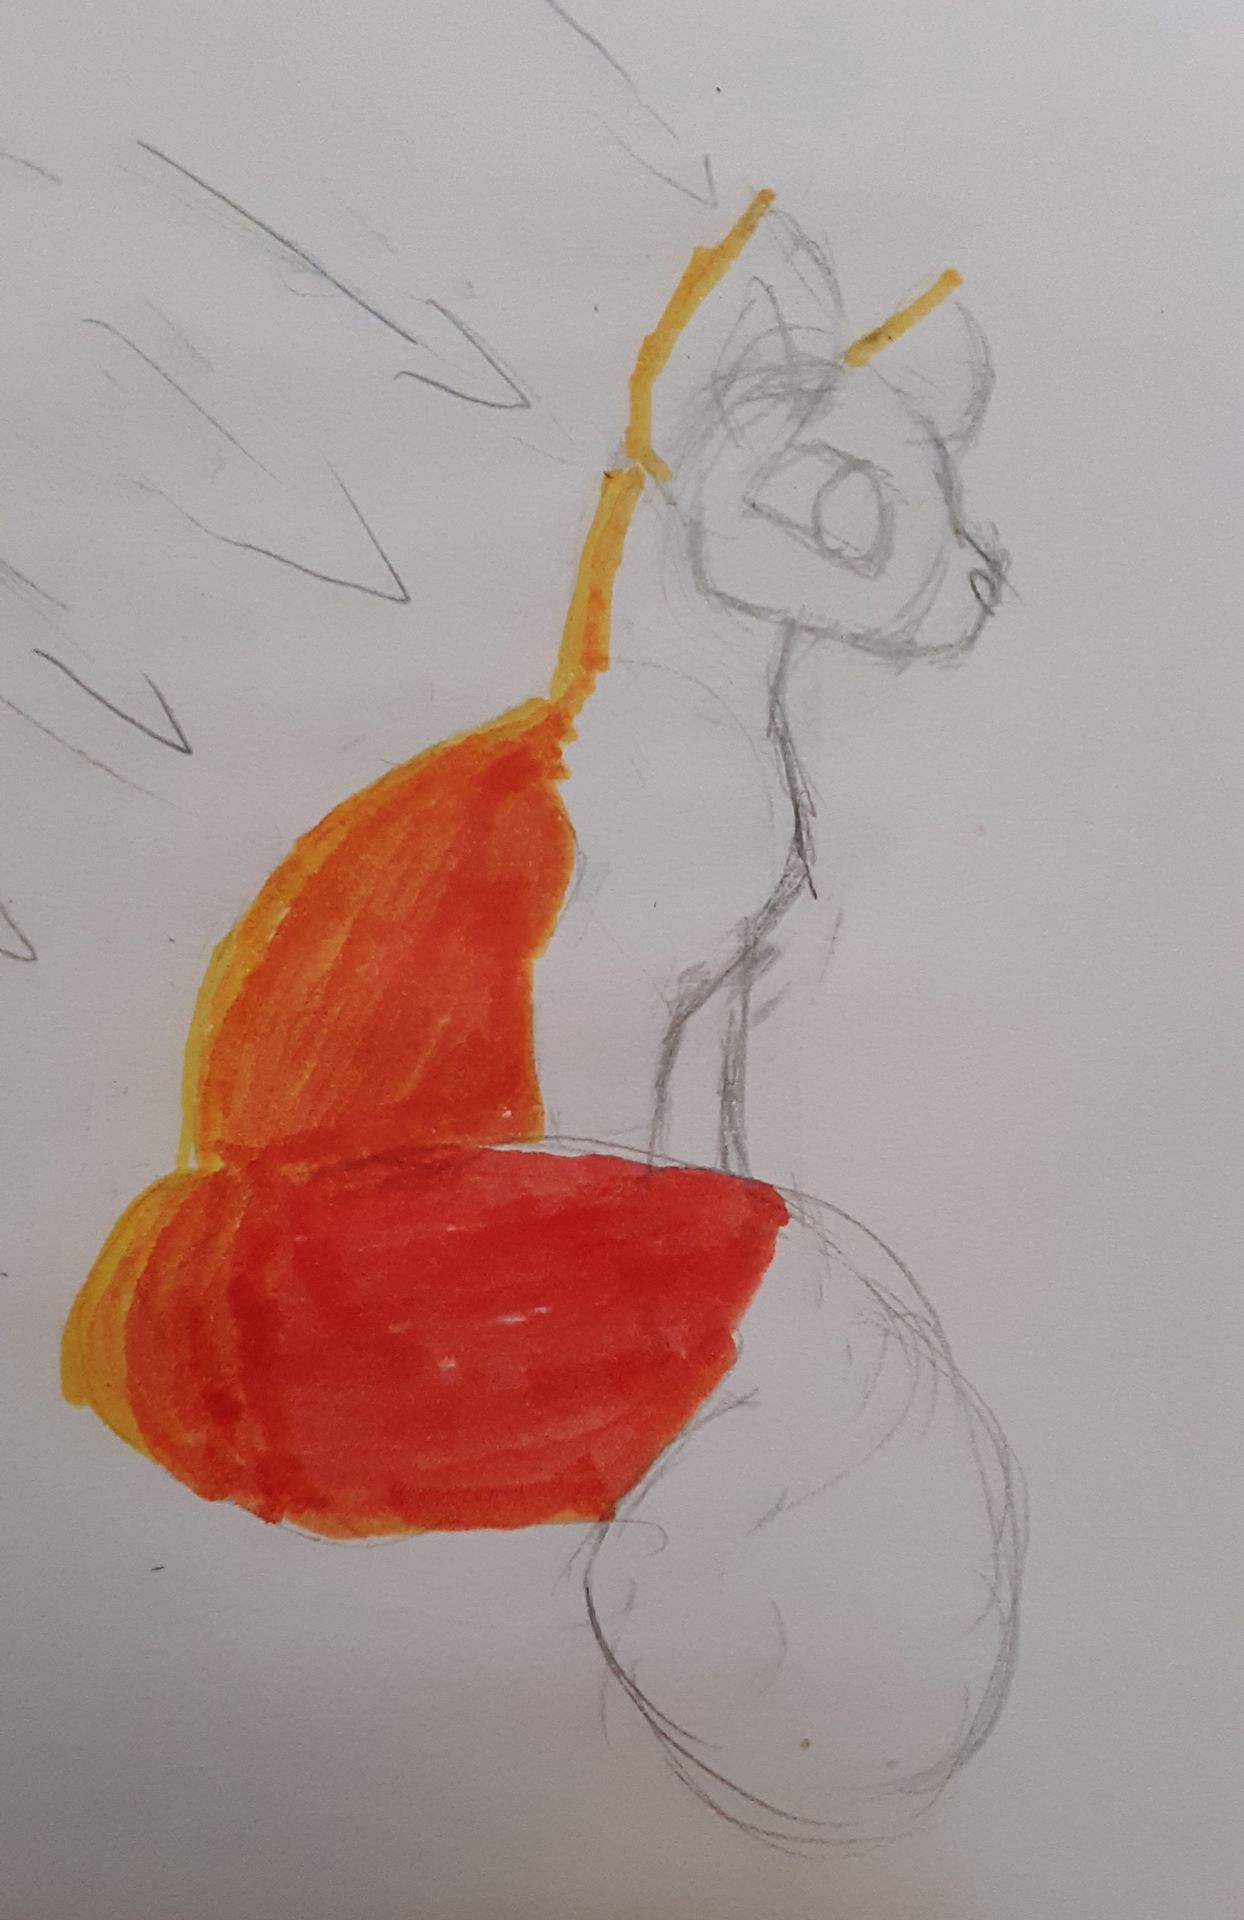
Then, I repeat the last step with the tail
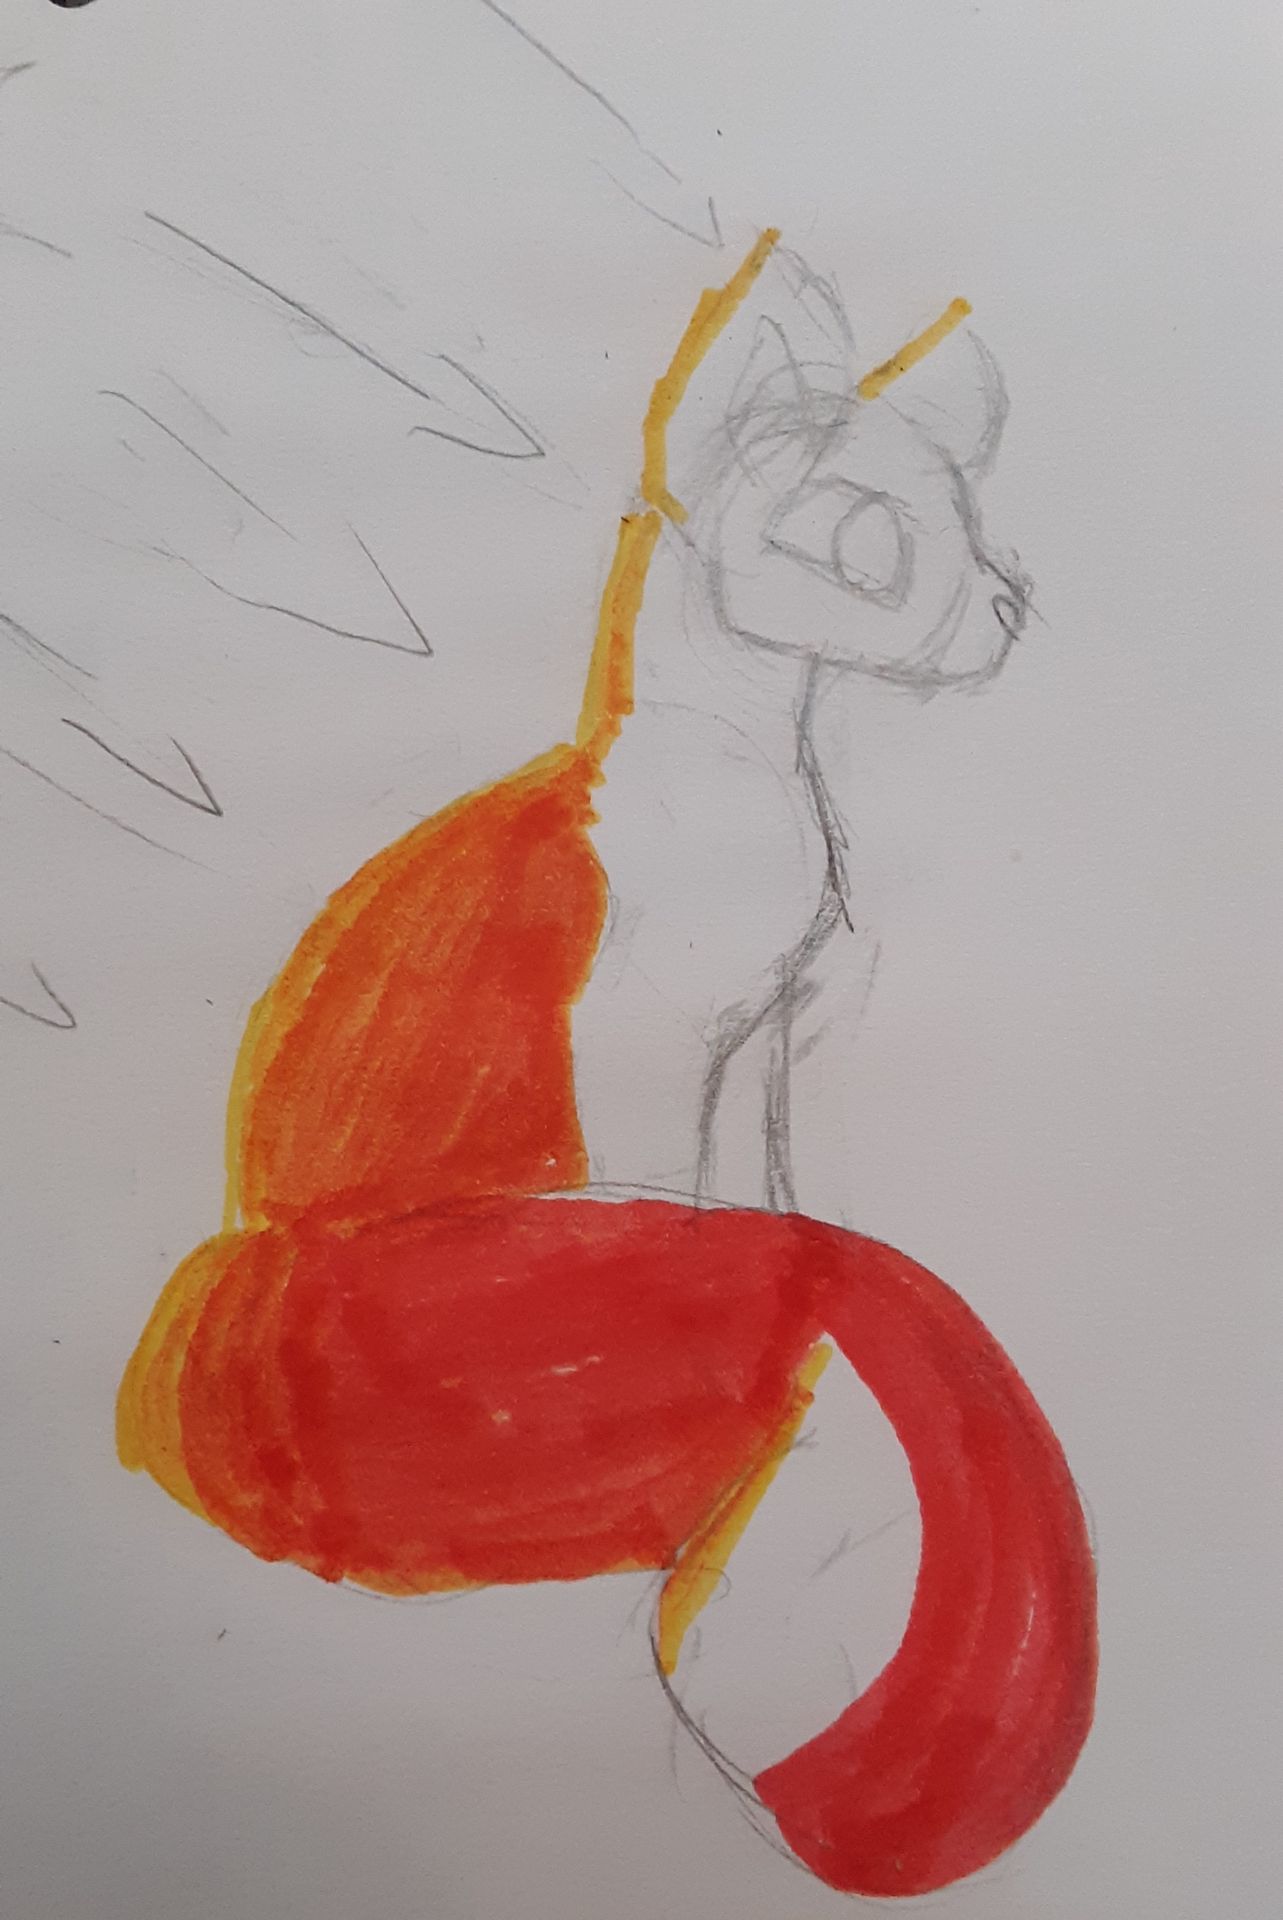
You'll likely notice there are some areas the lighting source hits that aren't on the outside of the subject.
The leg and head for example. You'll have to be pretty careful when adding the lighting to these areas. Because there will be no lineart at the end of this drawing, the way the you color your subject will be the only way to tell what's the head and what's the body. If you don't keep that lighting color clear, the drawing can end up a muddy mess.
Also, if you accidentally cover your lighting color with your main or shading color, it can be very hard to fix.
These next few drawings are me using the same technique from before.
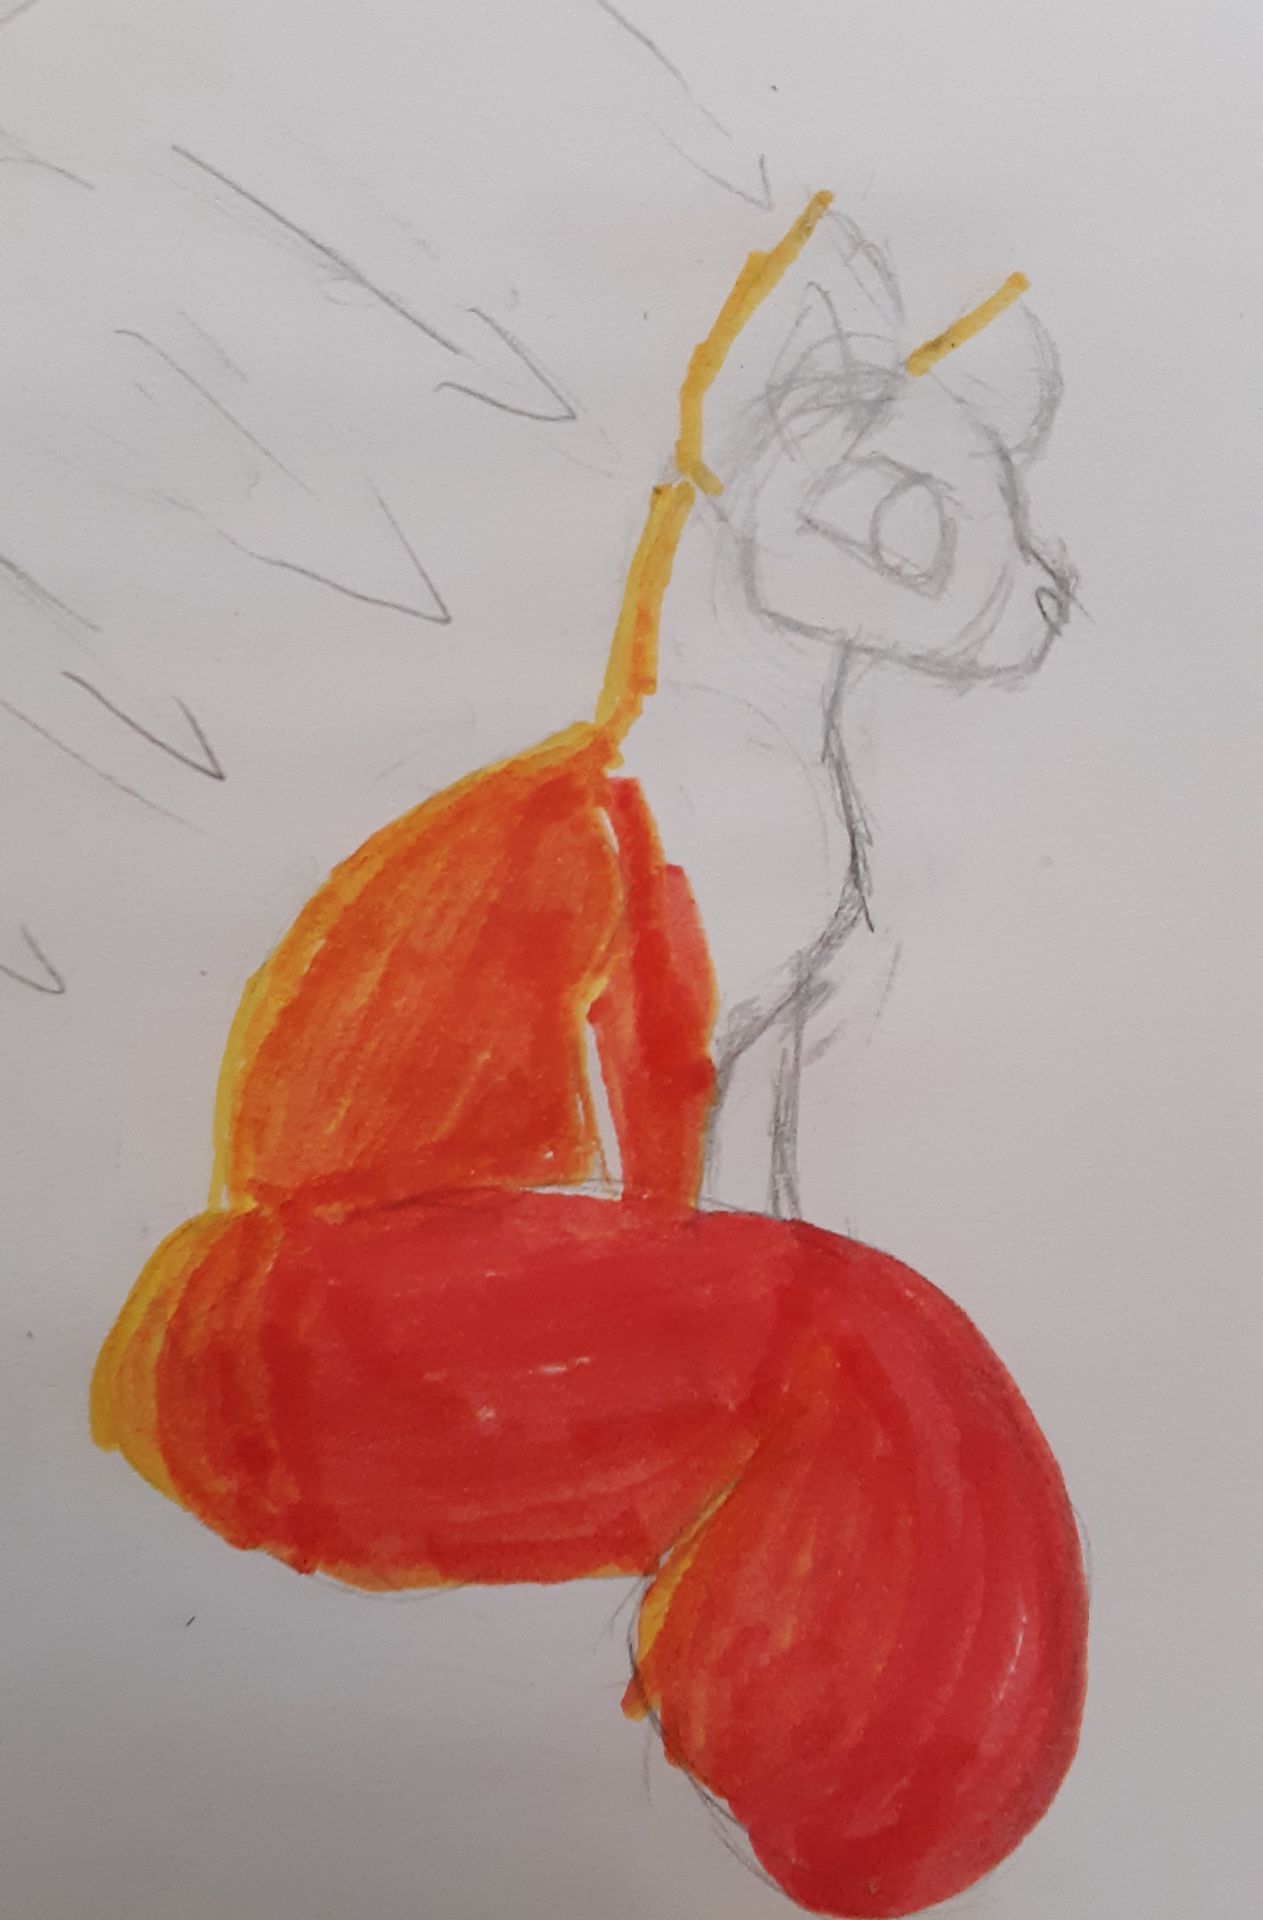


That's about it for the lighting.
I'll start with shading in the next chapter!
Bạn đang đọc truyện trên: Truyen247.Pro