
How to Draw a MudWing
The third person that replied on my message board suggested I do MudWings next! That was @SewerSavage163
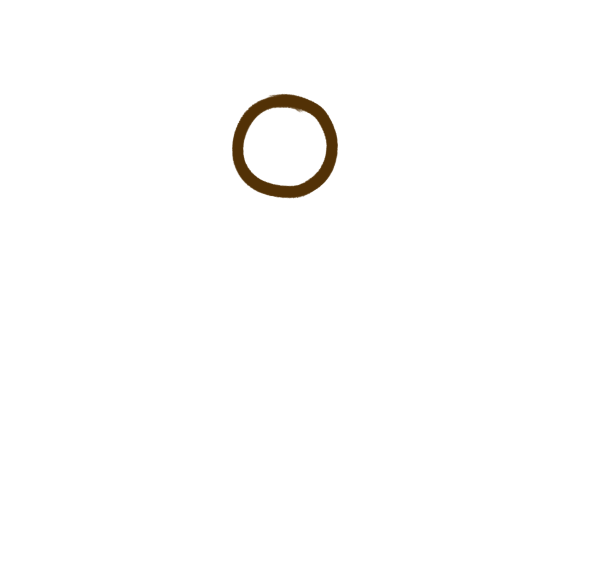
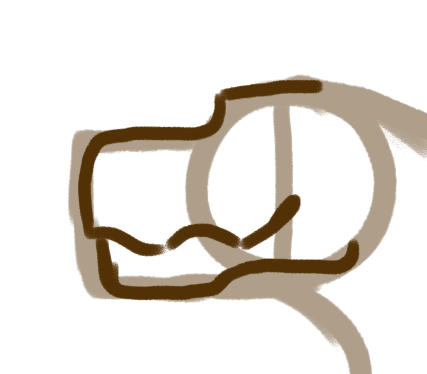
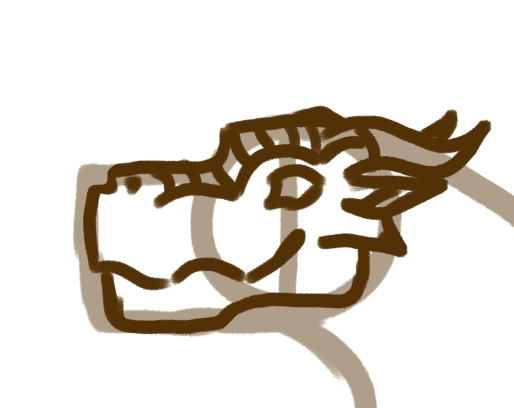
Step 1: Draw a circle, like in all the other tutorials I've done so far.
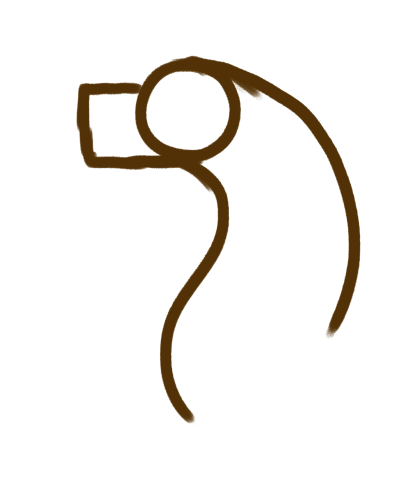
Step 2: Draw a rectangle. Make it almost as big as the circle, since MudWings have very box-shaped snouts.

Step 3: Draw the s shape and c shape for the neck.
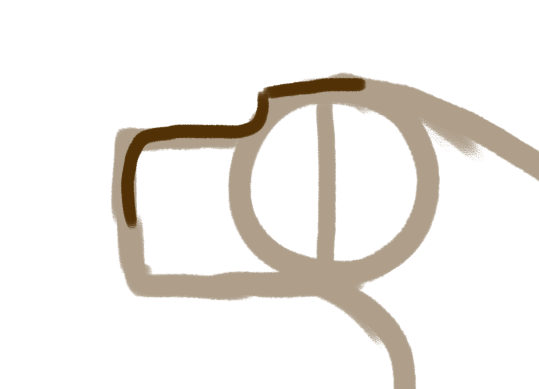
Step 4: Draw a line through the circle, then lower the opacity (or get a thinner pen if you're working in traditional) and smooth out the where the rectangle connects to the circle.
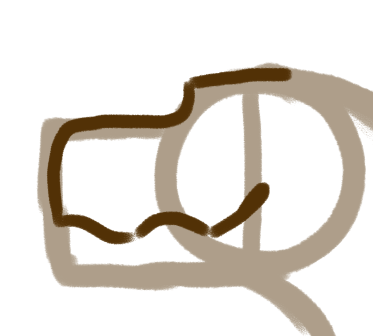
Step 5: Draw three curves for the mouth. In MudWings, the curves go down instead of up, so it's basically just an upside-down version of the other two I've already done.
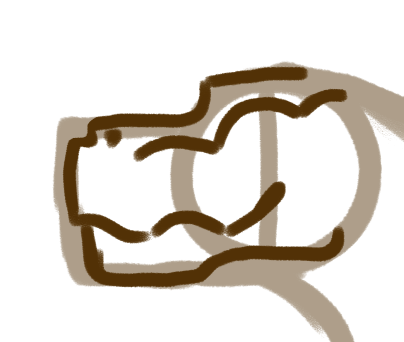
Step 6: Draw in the jaw. MudWing jaws are more curved than in other tribes, so maybe look at photos of lions or other big cats to get the shape right.
Step 7: Make a small indent in the rectangle. This is where the nose will go.

Step 8: Draw in where the nostril will go, then draw three curves for the crest.
Step 9: Draw in the eye on the line you made earlier. Make sure that there's a bit of space between the crest and the eye.

Step 10: Draw in the horn. MudWing horns are quite small compared to the other tribes, but you can play around with them however you want. The end of the crest should connect to the middle of the horn with a little line.
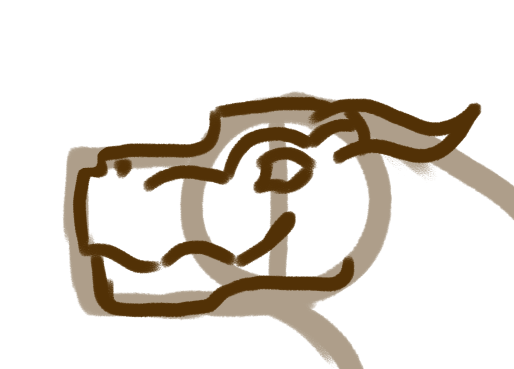
Step 11: Draw in the other horn.

Step 12: Draw in the ear.
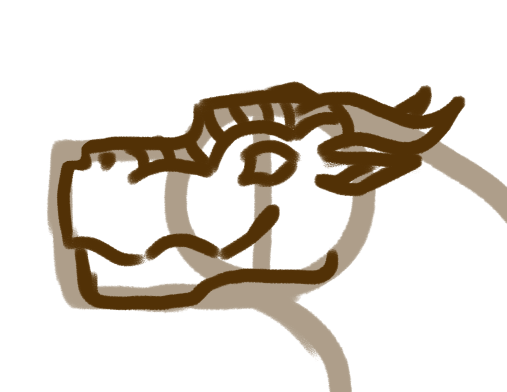
Step 13: Draw in a line that starts from the mouth then connects to the ear. It's almost like a slightly larger version of the SandWing cheek horns. If it helps you, you can visualize it as a continuation of the mouth with a little triangle at the end.
Step 14: Draw in a line where the underbelly will go.

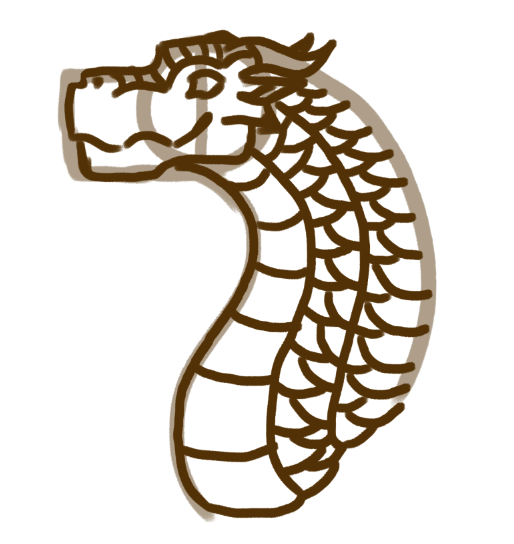
Step 15: Draw in some curved lines for the underbelly plates.

Step 16: Draw a line through the middle of the neck. This marks where a little row of scales will go, which separates the two rows of scales.

Step 17: Draw in some small, curved lines that connect to the underbelly. Make sure that they aren't long enough to connect to the middle line, but long enough that they go more than halfway through the gap.

Step 18: Draw some more curved lines that go from the middle of the gap to the middle line.
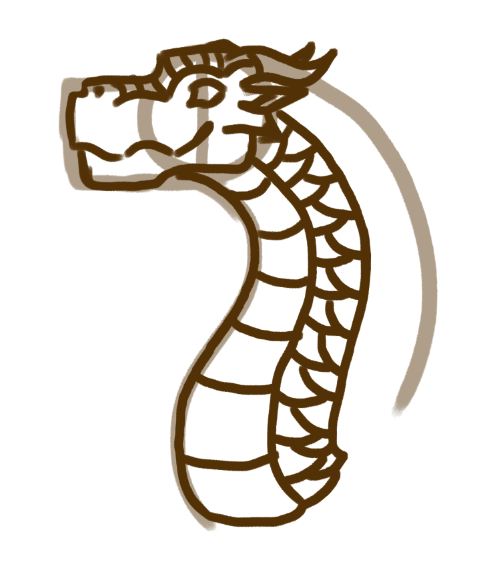
Step 19: Draw some similar curved lines in the upper gap. Make sure that they don't go more than halfway.

Step 20: Draw some more curved lines that touch the spine.
Continued in the next chapter!
Bạn đang đọc truyện trên: Truyen247.Pro