
❊ How to: Contour
Step-by-step tutorial
How to Contour the Face
App used: IbisPaint X

In this tutorial, I will show you guys on how I usually contour the face on IbisPaint X~ Let's get started!
ㅡ❊ㅡ
1. Open a new canvas and add your photo.
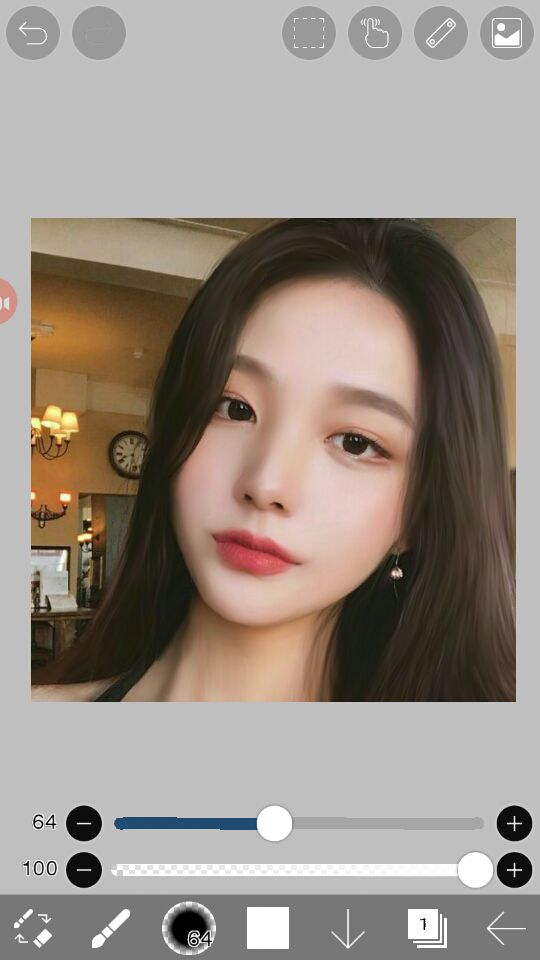
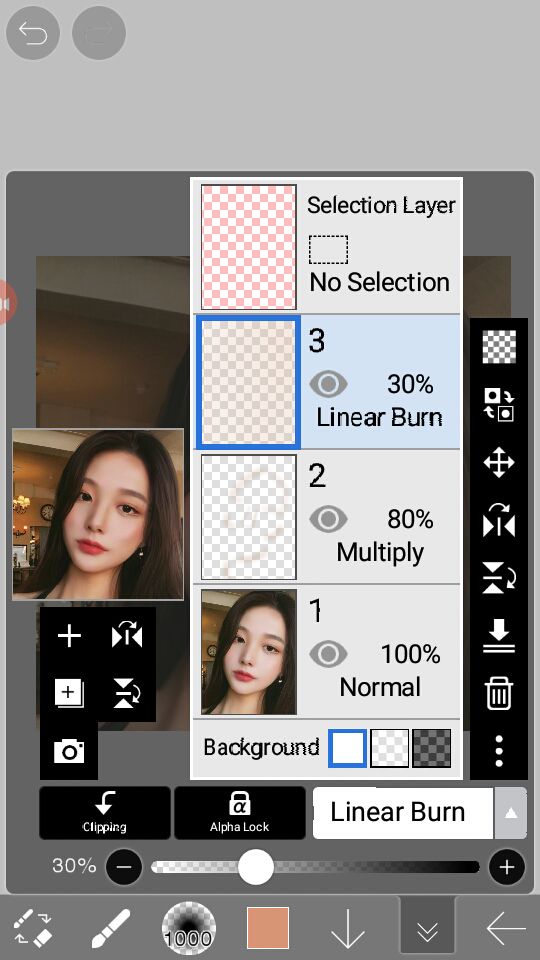
2. Add a new layer above the photo and set its blending mode to Multiply.

3
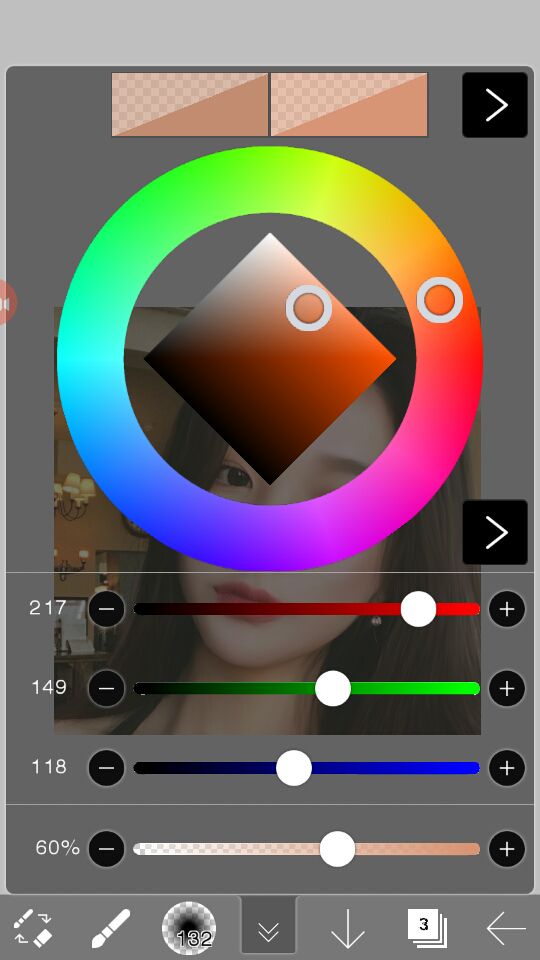
. Select the Trapezoid (20%) brush. Then, choose a color from the skin of your faceclaim by doing a long press on the photo. Choose the darkest shade of the skin on the faceclaim's face.

4. Now, let's start contouring the face. Decrease the opacity of the brush to make it more natural and not too intensified. Note that we're going to brush in these areas:
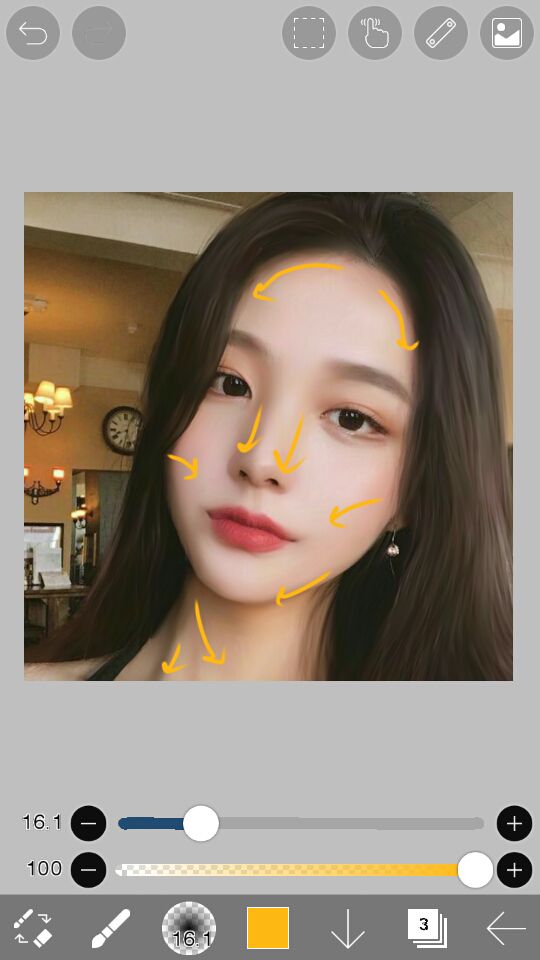
Areas to be contoured: Sides of the nose, cheekbones, sides of head at upper side, jawline, shadowed areas of neck

This is how I did it:
*Decrease the opacity of your contour layer if it looks too much and unnatural.
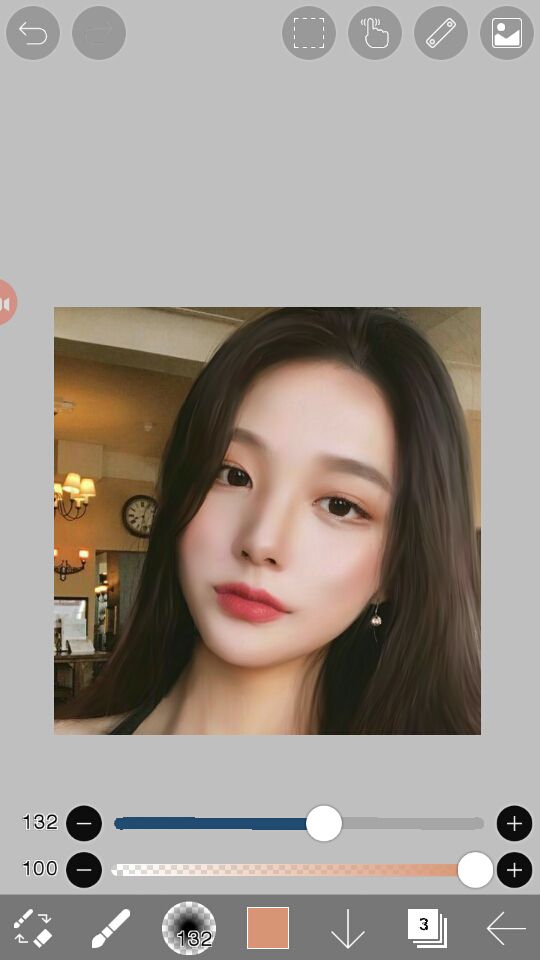
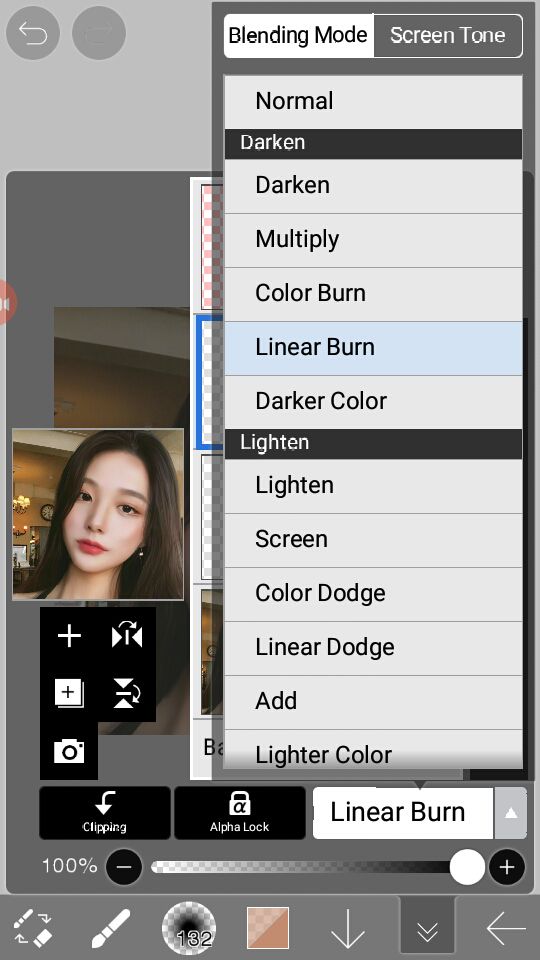
5. To enhance the overall skin tone of the faceclaim (because for me I don't want it like whitewashed or too pale), add a new layer and set its blending mode to Linear Burn.
6. Choose the lighter shade of the color you used on the contouring. brush it all over the photo, or just on the face. Decrease the layer's opacity to 30%.

Now we're done!
Outcome:

Contouring is the first thing I do when I make random edits nowadays~ I also used this pic as an icon :>


ㅡ❊ㅡ
Vote and add this book to your reading list if this helped! Comment if you have any questions. :)
Bạn đang đọc truyện trên: Truyen247.Pro